

Overview
In this tutorial, we will learn the steps to add a new C/C++ Header File to Project using Code::Blocks IDE. We can create a new C++ header file with the C/C++ header file wizard.
Add C/C++ Header File
Steps to Add C/C++ Header File to a project are as follows:
Launch Code::Blocks IDE
Click File >> New >> File…
Choose C/C++ header under the Files section.
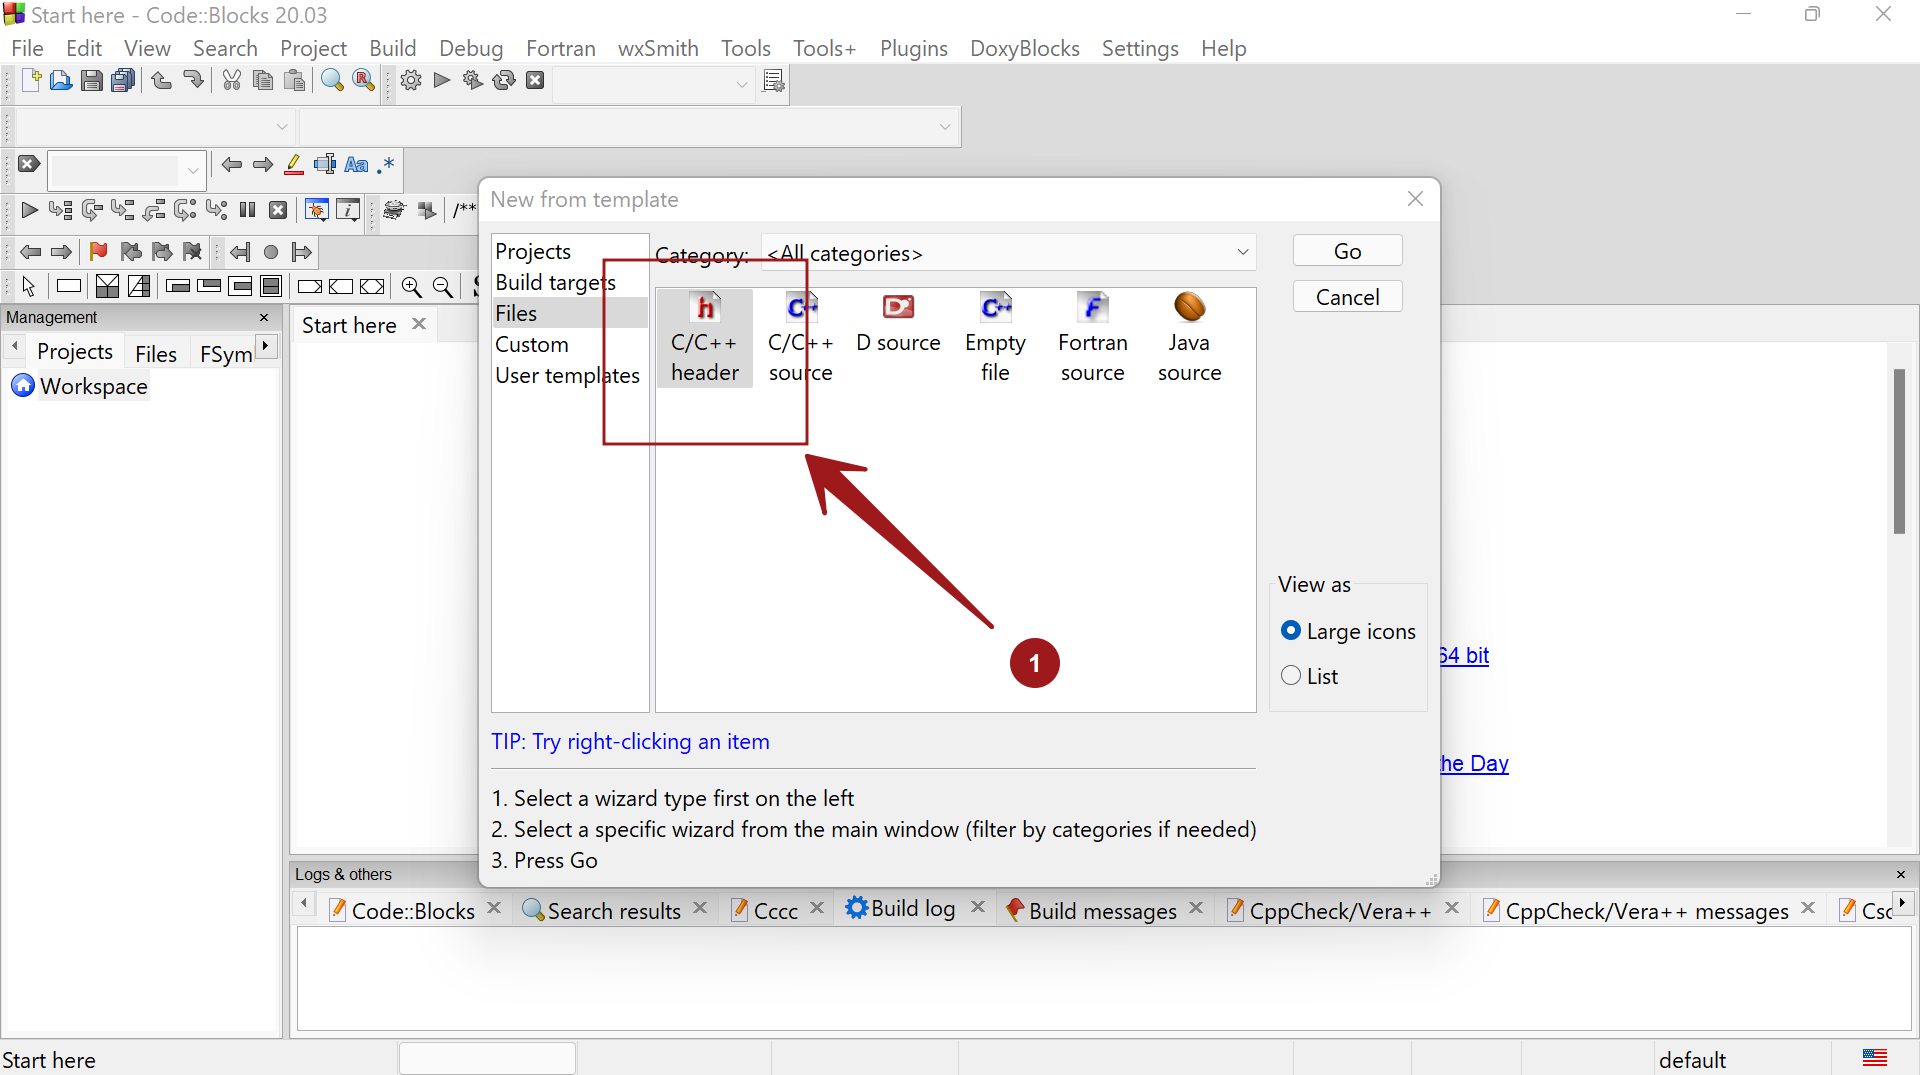

Click on the Go button.
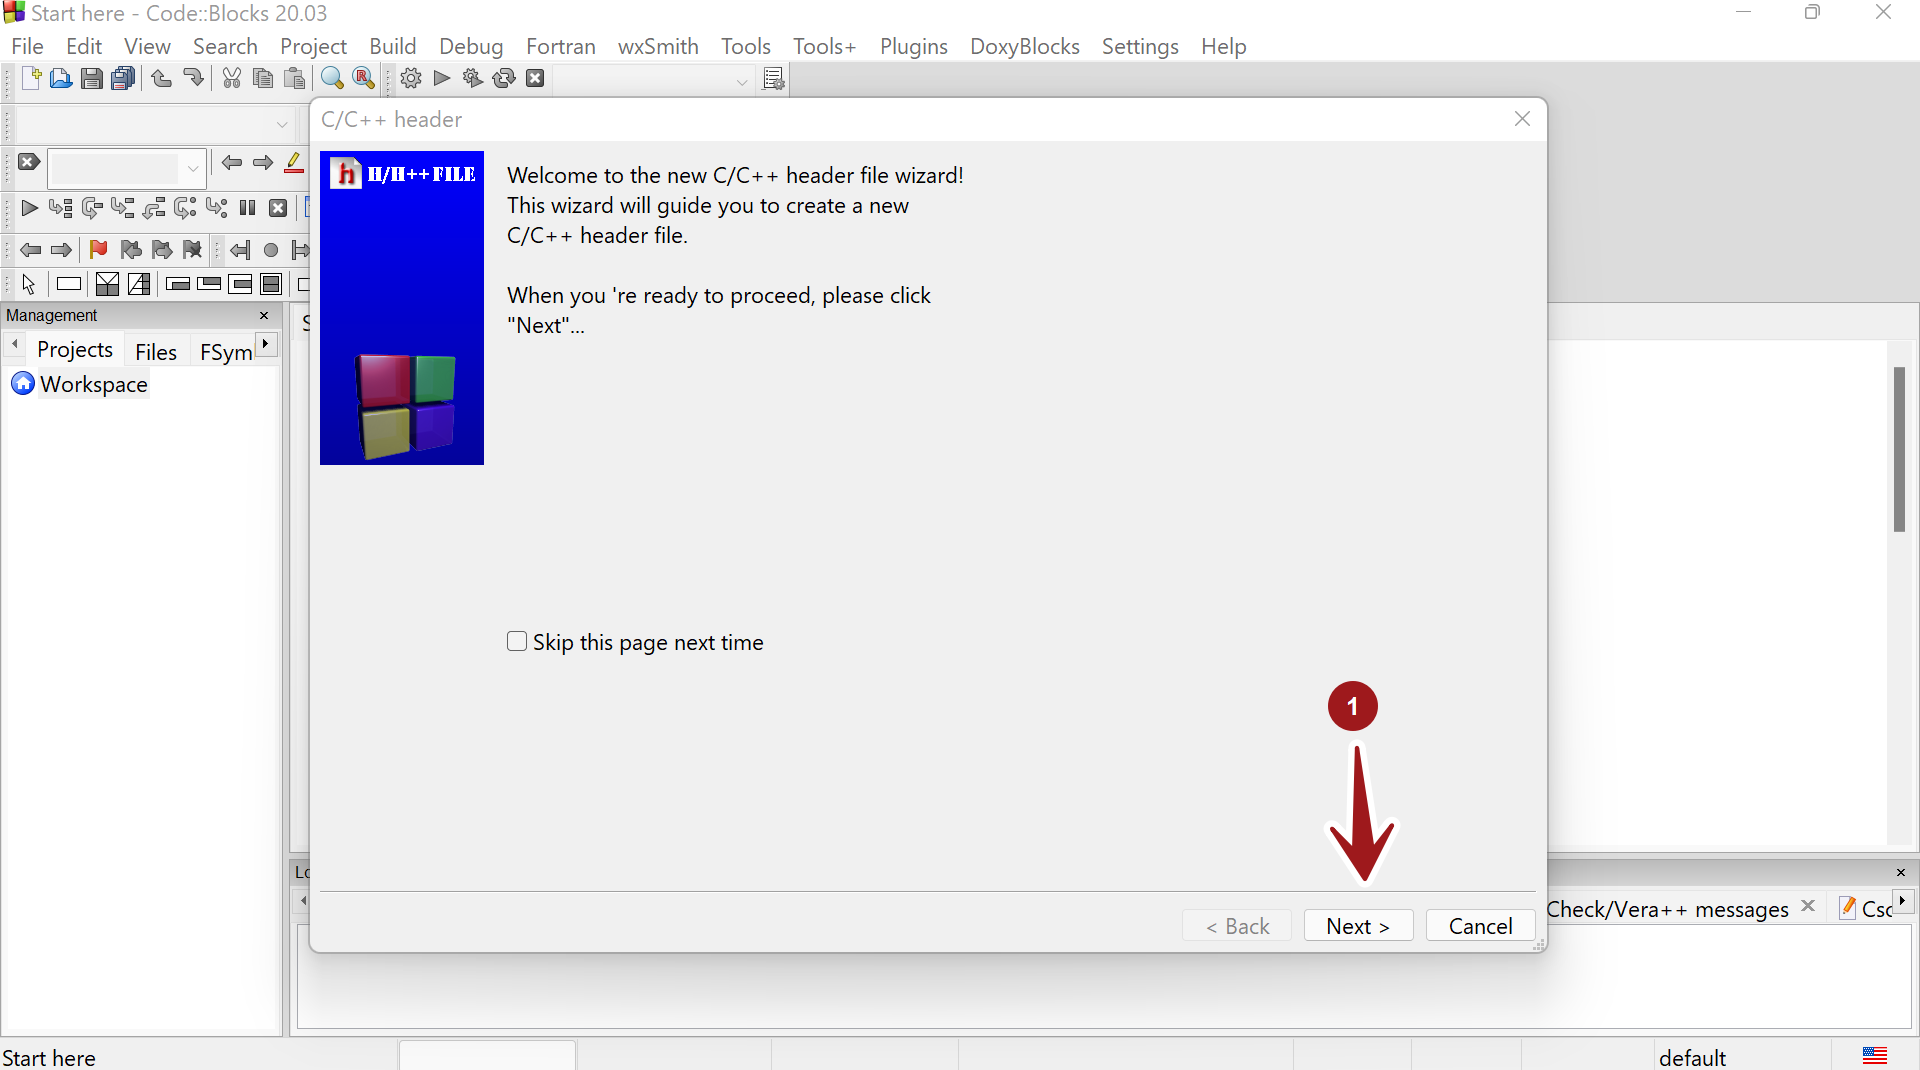
Click on the Next > button in the C/C++ header file wizard.

Enter the filename and choose its path. The file extension should be .h or .hpp
Check the option Add file to active project. Select the build targets Debug and Release.
Click on the Finish button to add the header file.
That’s it. The new header file would be listed under the Headers section in the project.
—
Code::Blocks Tutorials
Code::Blocks Tutorials on this website can be found at:
https://www.testingdocs.com/code-blocks-tutorials/
For more information on Code::Blocks IDE, visit the official website: