

Overview
To get started using TestNG in a project, we need to add the TestNG library to the project in the IDE or to the project build file as a dependency. This step is to fix the TestNG related errors in the project.
Steps to add the library
Launch Eclipse IDE.
Install TestNG in Eclipse IDE.
https://www.testingdocs.com/working-with-eclipse-installing-testng/
Create a TestNG test class with TestNG Annotations.
https://www.testingdocs.com/create-testng-test-class-in-eclipse-ide/
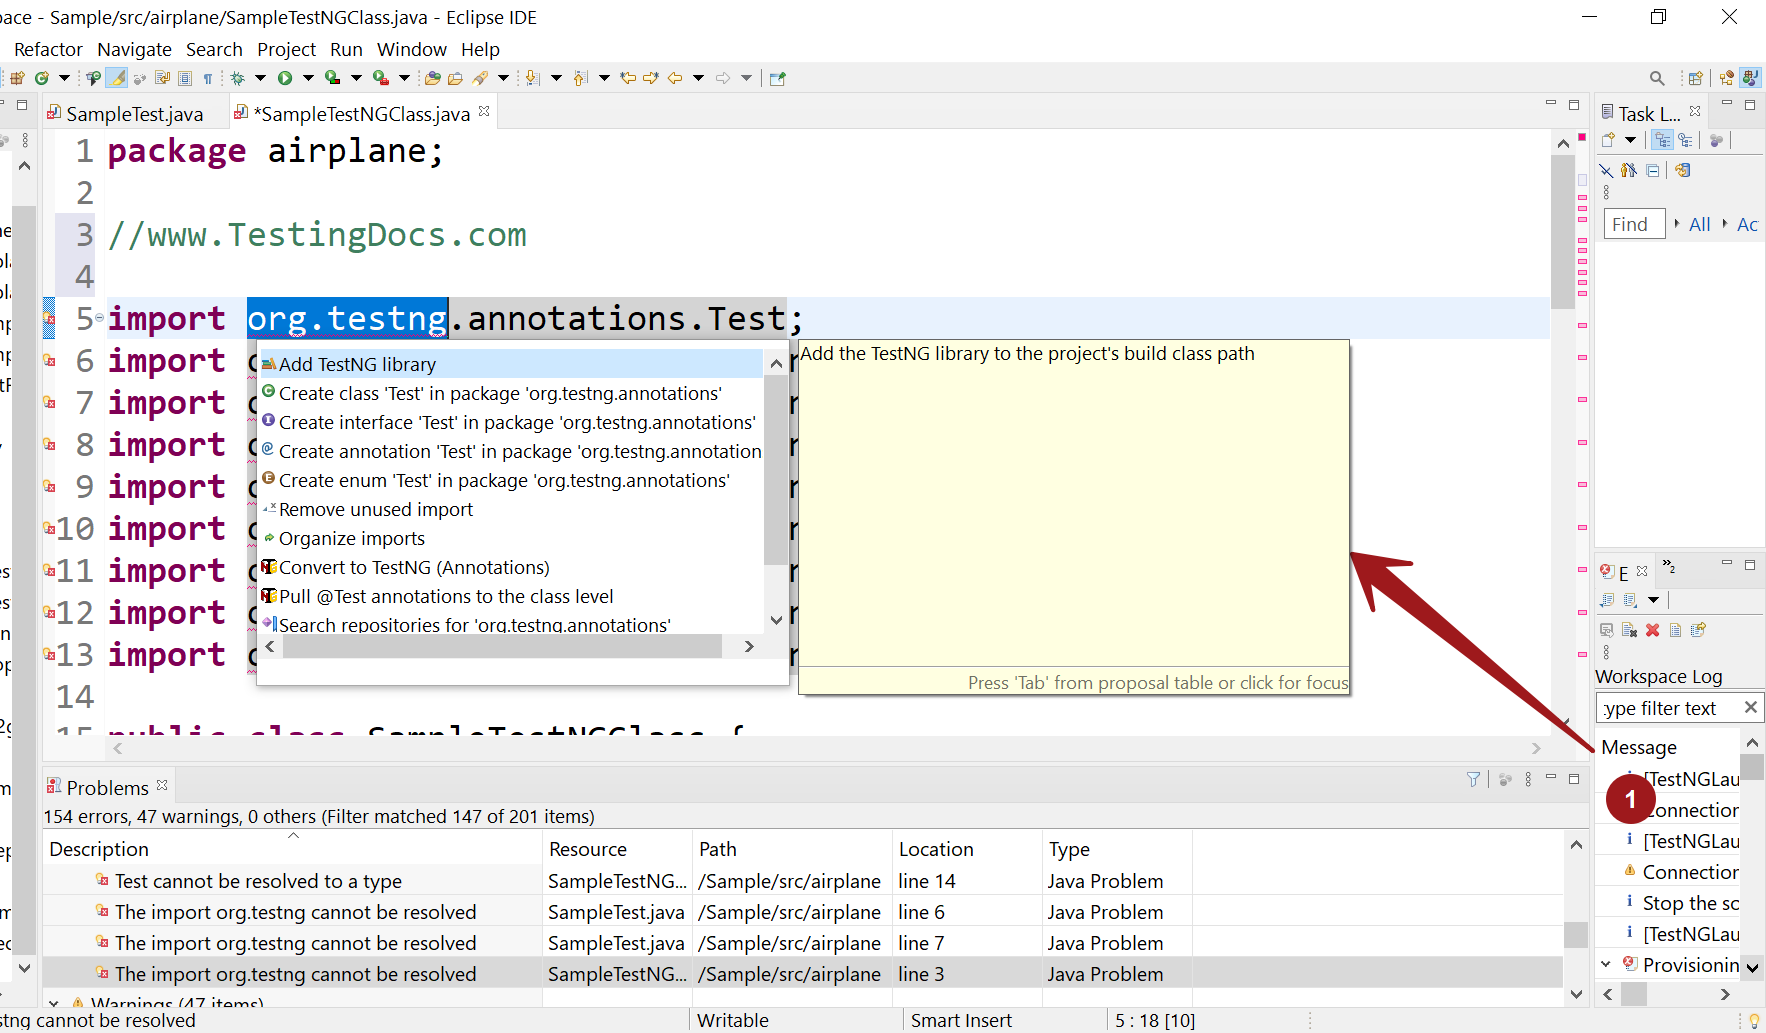

Click on the Error mark and choose the Add TestNG library option to add the TestNG library to the project. This option will add the library to the project’s build classpath. Successful addition would clear all the TestNG related errors in the test class.
Maven project
Most test automation projects that use Selenium Webdriver and follow the TDD(Test Driven Development)approach are built with TestNG framework. To add TestNG to the Maven project, open the pom.xml file. Add the TestNG dependency.
<dependency>
  <groupId>org.testng</groupId>
  <artifactId>testng</artifactId>
  <version>6.10</version>
  <scope>test</scope>
</dependency>
TestNG Tutorials on this website can be found at:
https://www.testingdocs.com/testng-framework-tutorial/
For more details on the TestNG Framework, visit the official website of TestNG at: