

Introduction
External library is packaged and distributed in JAR file format in Java projects. Jar may have many related individual java classes that we can reuse in our project. The easiest way to add a dependency of the project is using a build tool file like Maven or Gradle.
Sometimes you may find yourself in a situation to use an external jar file which are not hosted as a Maven repository. For example, an internal project jar file that your project depends on. In this tutorial, we will learn how to use jar files in other projects.
An external JAR file can be added to your project so that you might reuse the classes.
Steps to add a jar file
Locate or download the corresponding .jar file to your local machine.
To add the functionality provided by the external library to your projects, simply do the following:
Launch Eclipse
Right-click on the project, and select Properties
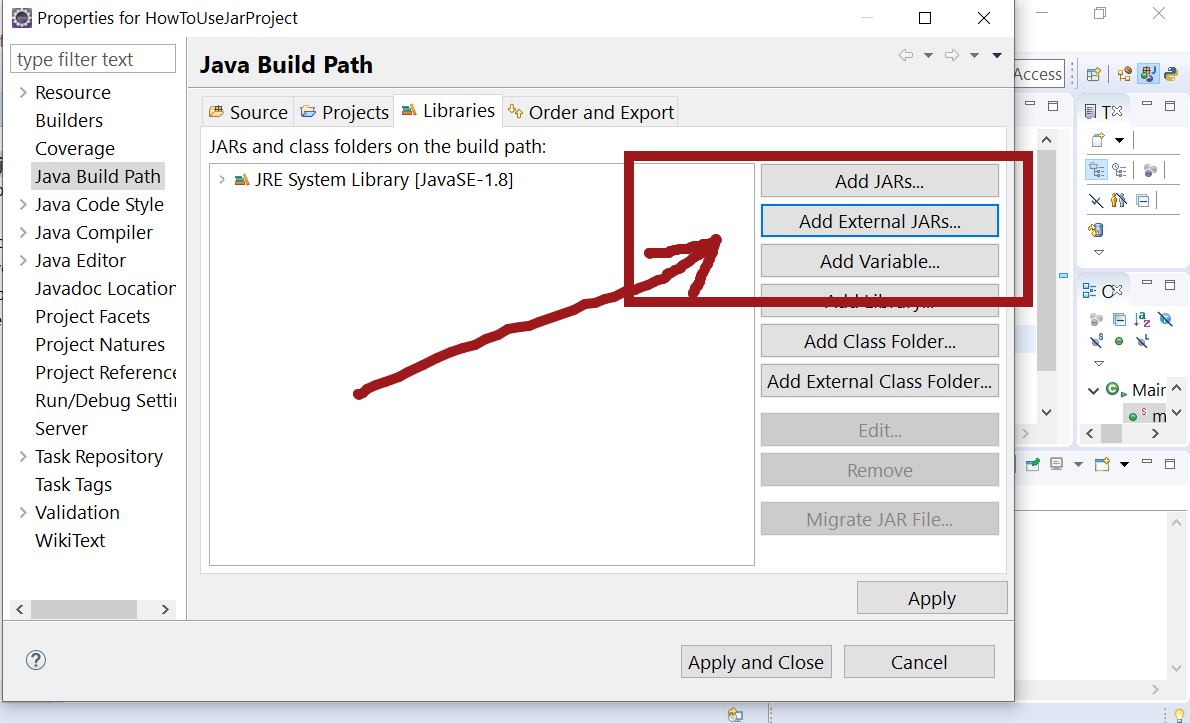
Select Java Build Path on the left, and then the Libraries tab.
Now, click the Add External JARs… button.

Locate the folder to which library should be added.
Locate and select the .jar file you just downloaded, and then click Open
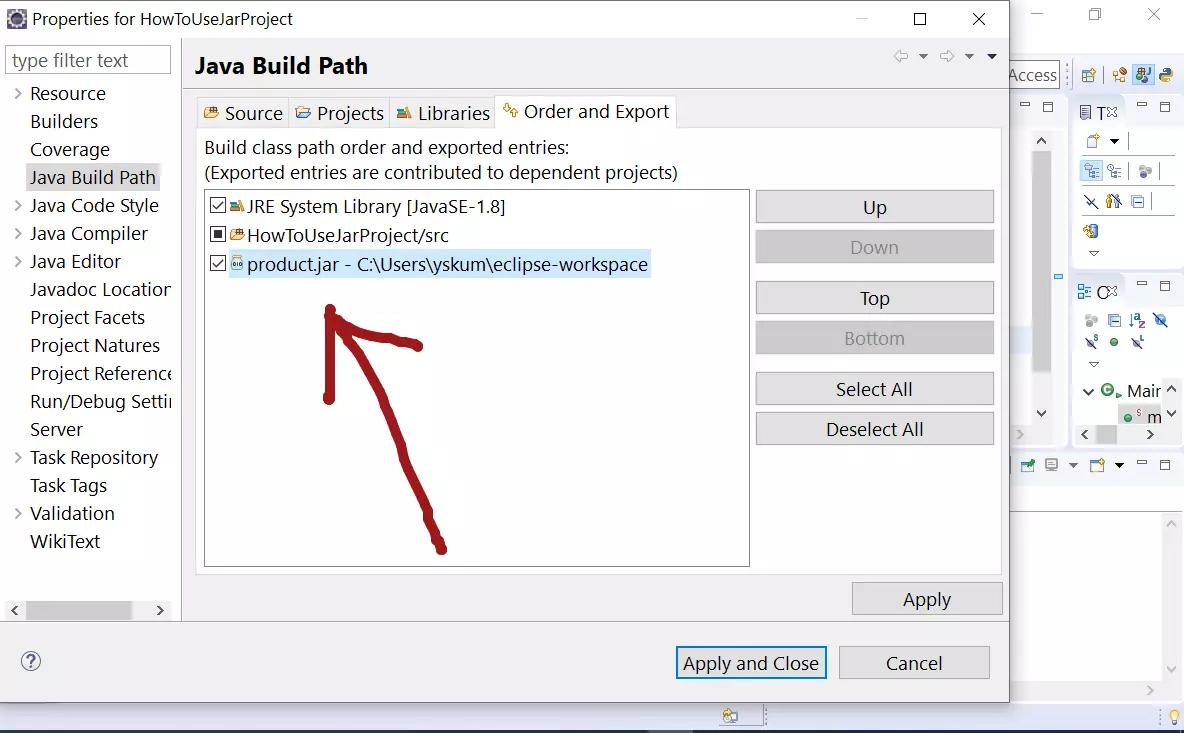
Click OK to close the dialog box.

Verification
When you open the project folder, you see Referenced Libraries in the project explorer, and upon expanding this item, you see the package jar listed.
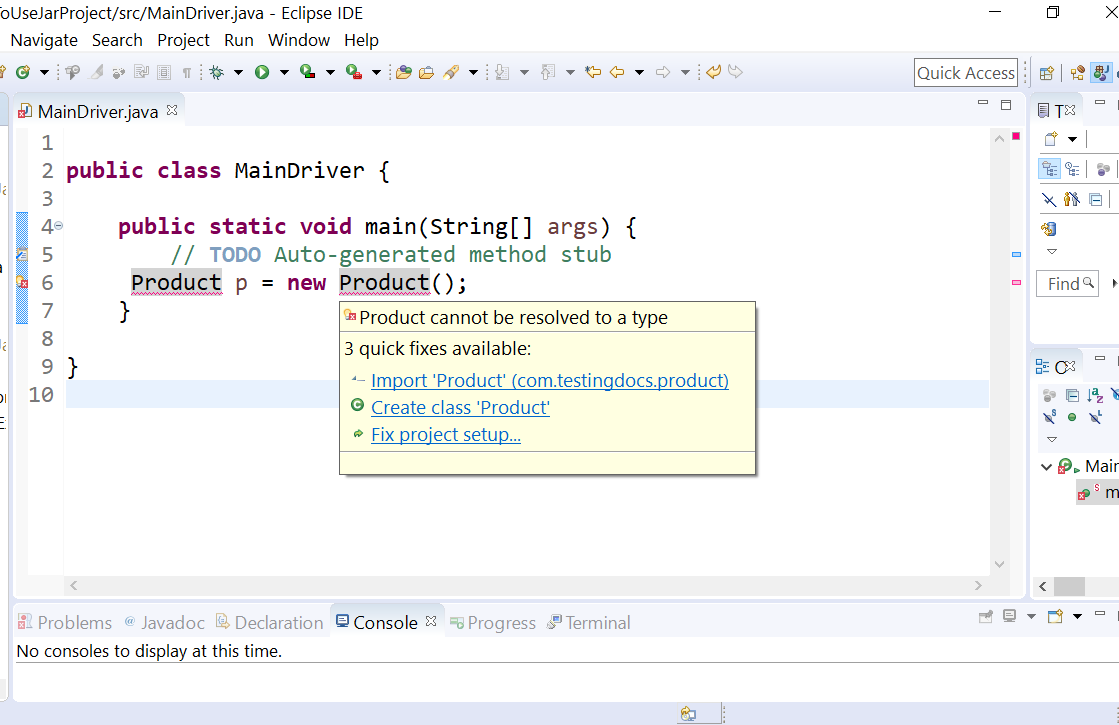
Once you add the jar file, you cam import and use the classes in your project.

https://www.testingdocs.com/export-a-jar-file-in-eclipse
—
Eclipse Tutorials
Eclipse Tutorials on this website can be found at:
https://www.testingdocs.com/eclipse-tutorials
For more details on the Eclipse IDE, visit the official website