

Overview
In this post, we will create and build a Maven project using Jenkins. Jenkins can be used to create a pipeline that can be used for continuous deployment, continuous testing , continuous delivery etc.
Let’s first create a Maven project in Eclipse.
Create Maven project
To create the project
File >> New >> Project >> Maven Project
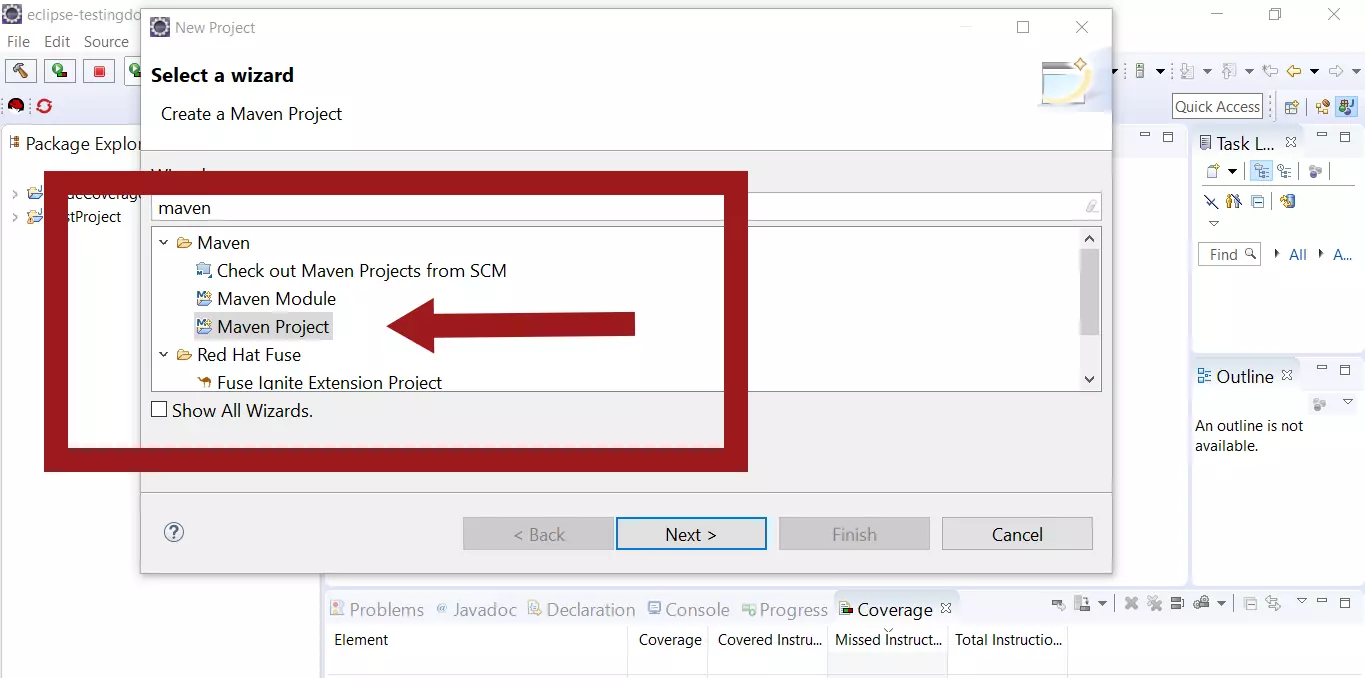

Click on Next button
Select an archetype for the project.Lets select simple quickstart archetype.
For example: maven-archetype-quickstart
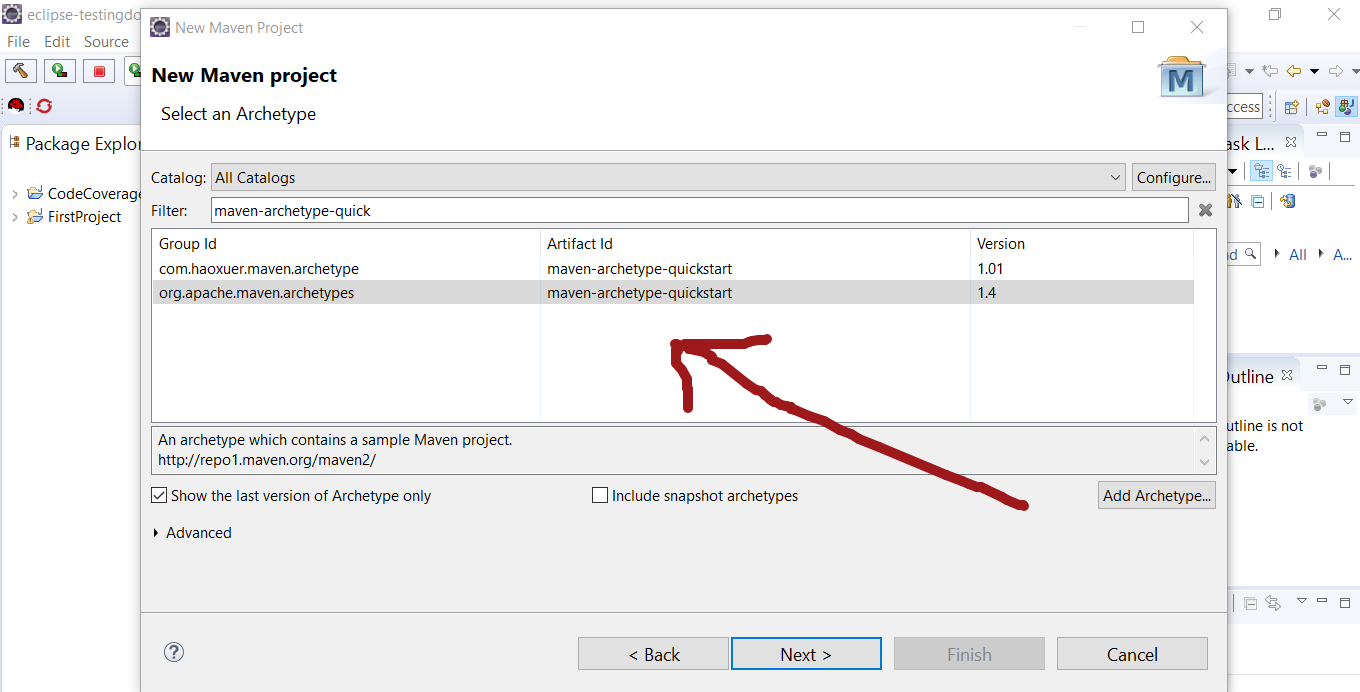

Click on Next button.
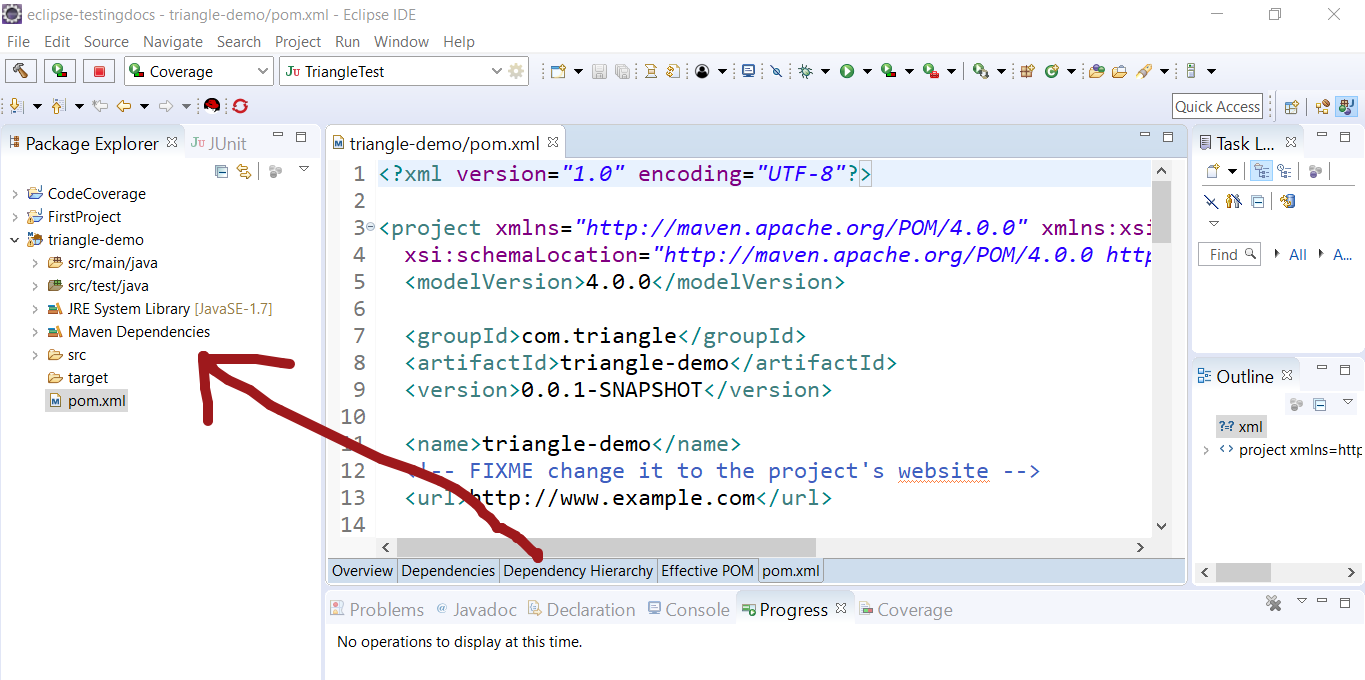
In the next screen define properties for your project.
Define property groupId: com.triangle
Define property artifactId: triangle-demo
Define property version: 1.0-SNAPSHOT
Hit the Finish button. Eclipse would create the project for you to work on. This step may take some time depending on your computer speed.

Create sample Java file and test code for the class.
Build
Go to Jenkins Dashboard -> New Item -> Choose name for the Maven Project for example TriangleExample
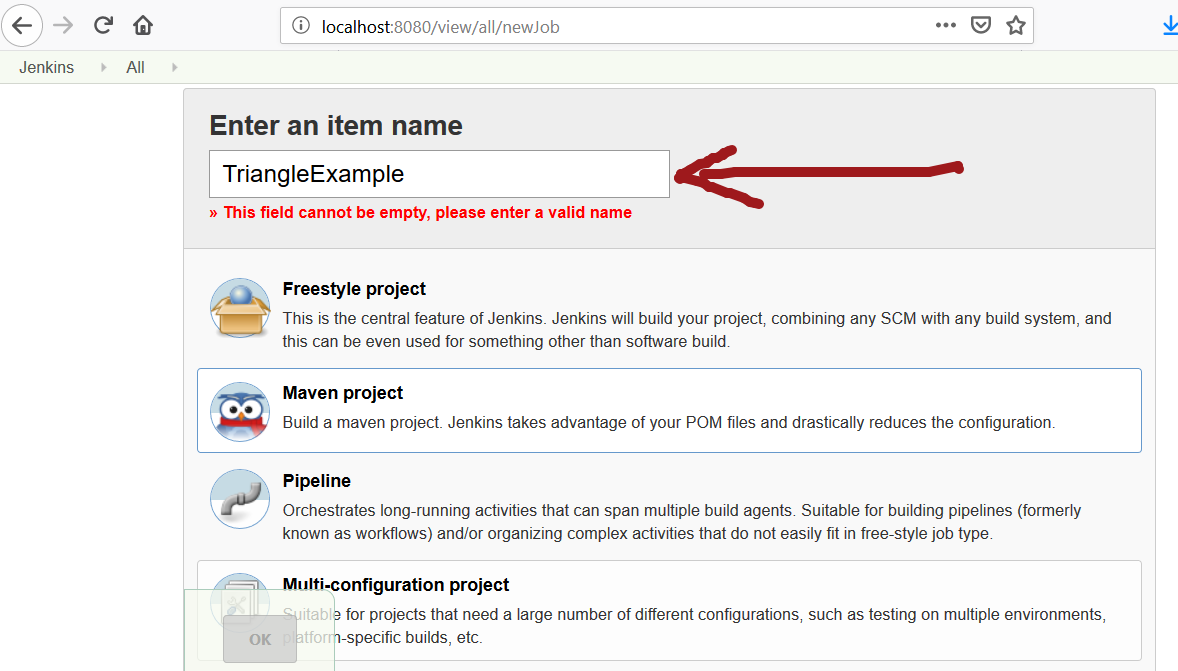

Select Maven project and click on the OK button.
In the configuration page , you can set and configure the build.
In the Build section of the page
Goals and options specify clean compile test
Click on Advanced… button to configure the workspace.
Check the option Resolve Dependencies during Pom parsing
In the Use custom workspace specify the project directory containing the pom.xml of the project.
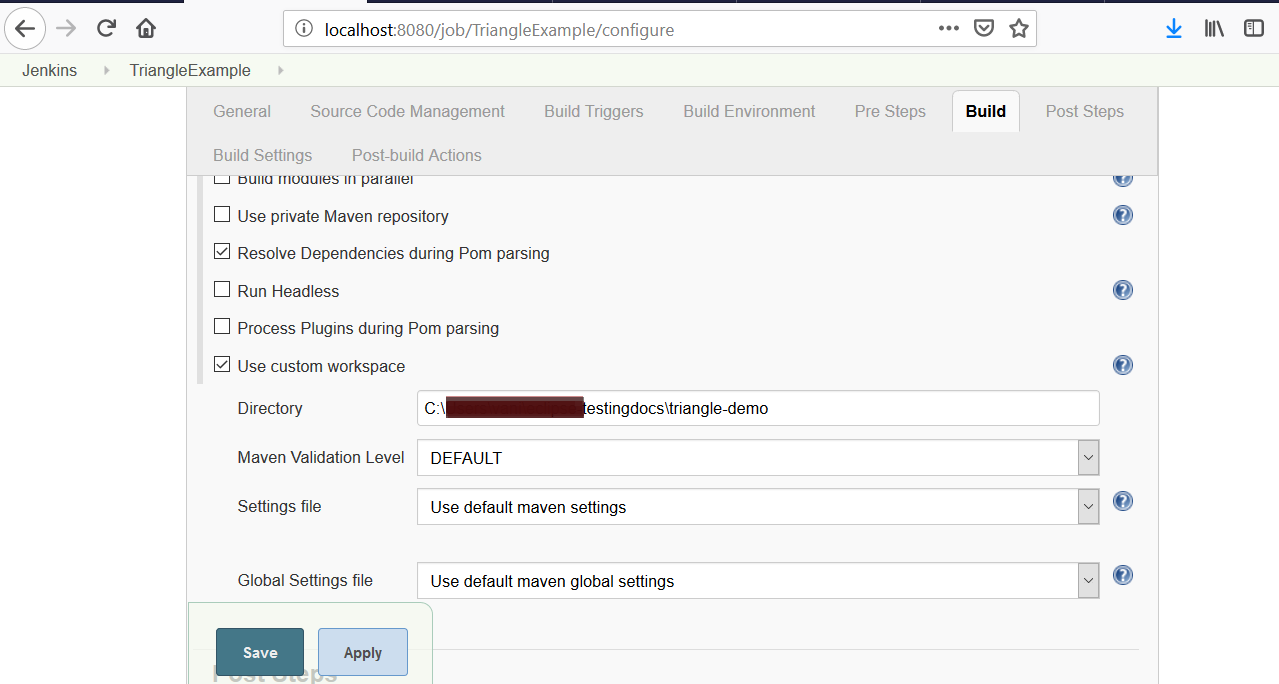

Click on the Save button to save the changes made to the build.
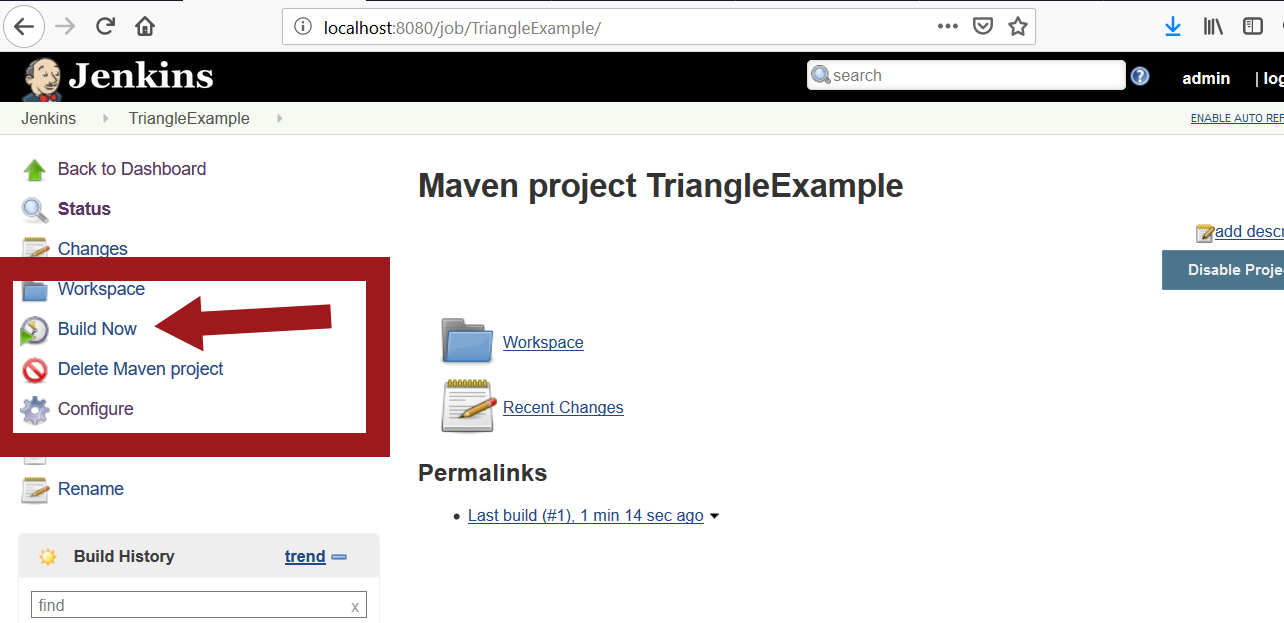

You can build the job by clicking on the Build Now link in the project page.To modify the configuration settings, you can click on the Configure link.