

Introduction
In this tutorial, we will learn to create a new project in IntelliJ IDEA IDE. The steps involved in creating a new project are listed below.
Note that: the IDE screens and options might change from version to version. The basic steps to create the project would be the same.
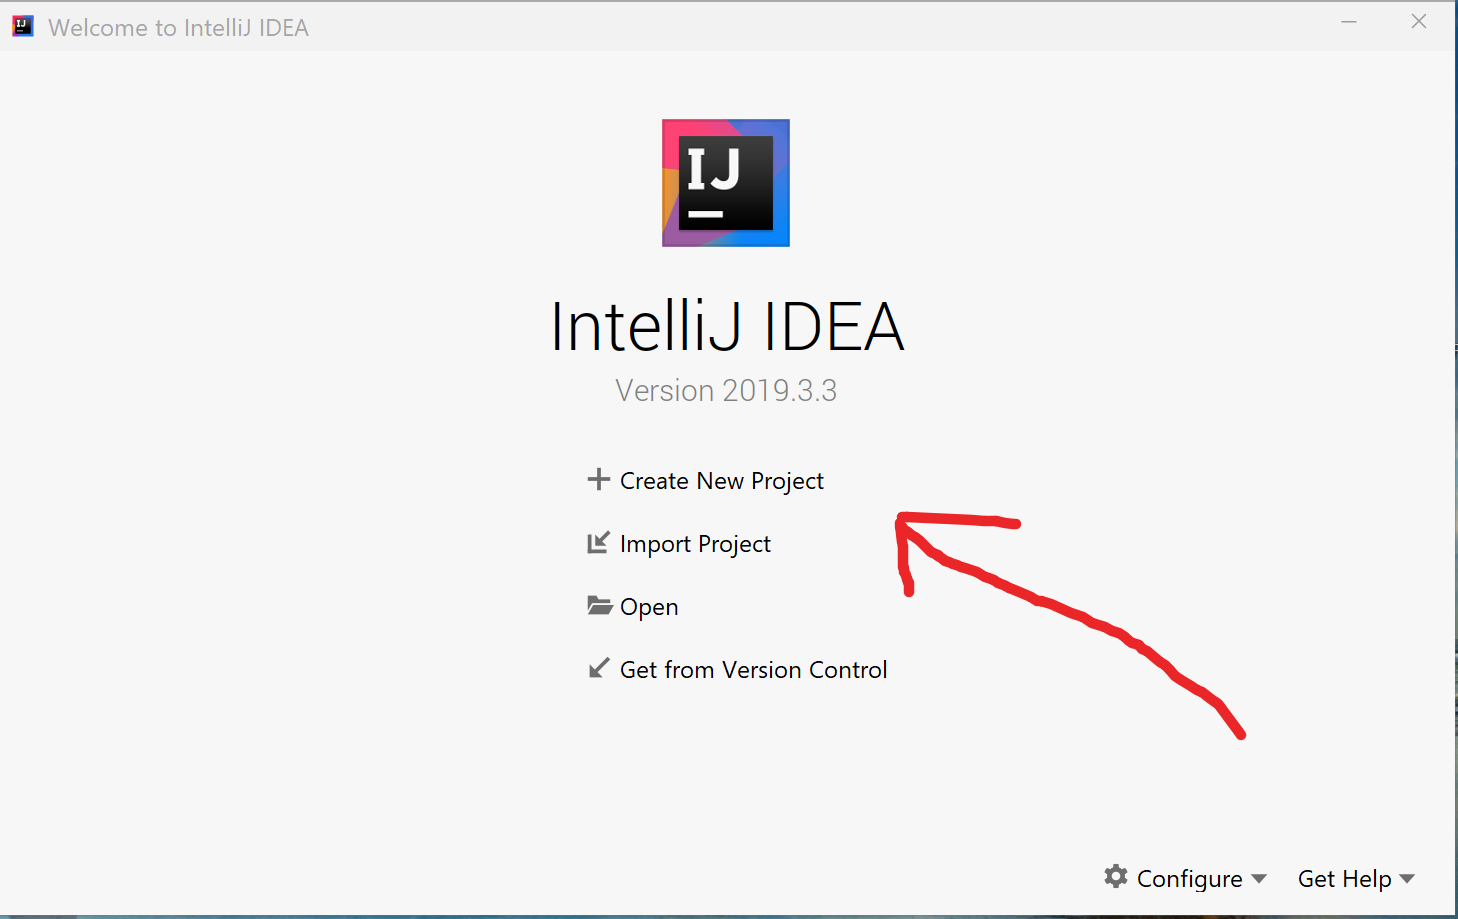
Launch IDE
To create a new project launch the IntelliJ IDE. Click on the desktop IntelliJ icon or the icon in the Taskbar.
Create a New Project
Click on the + Create New Project link.

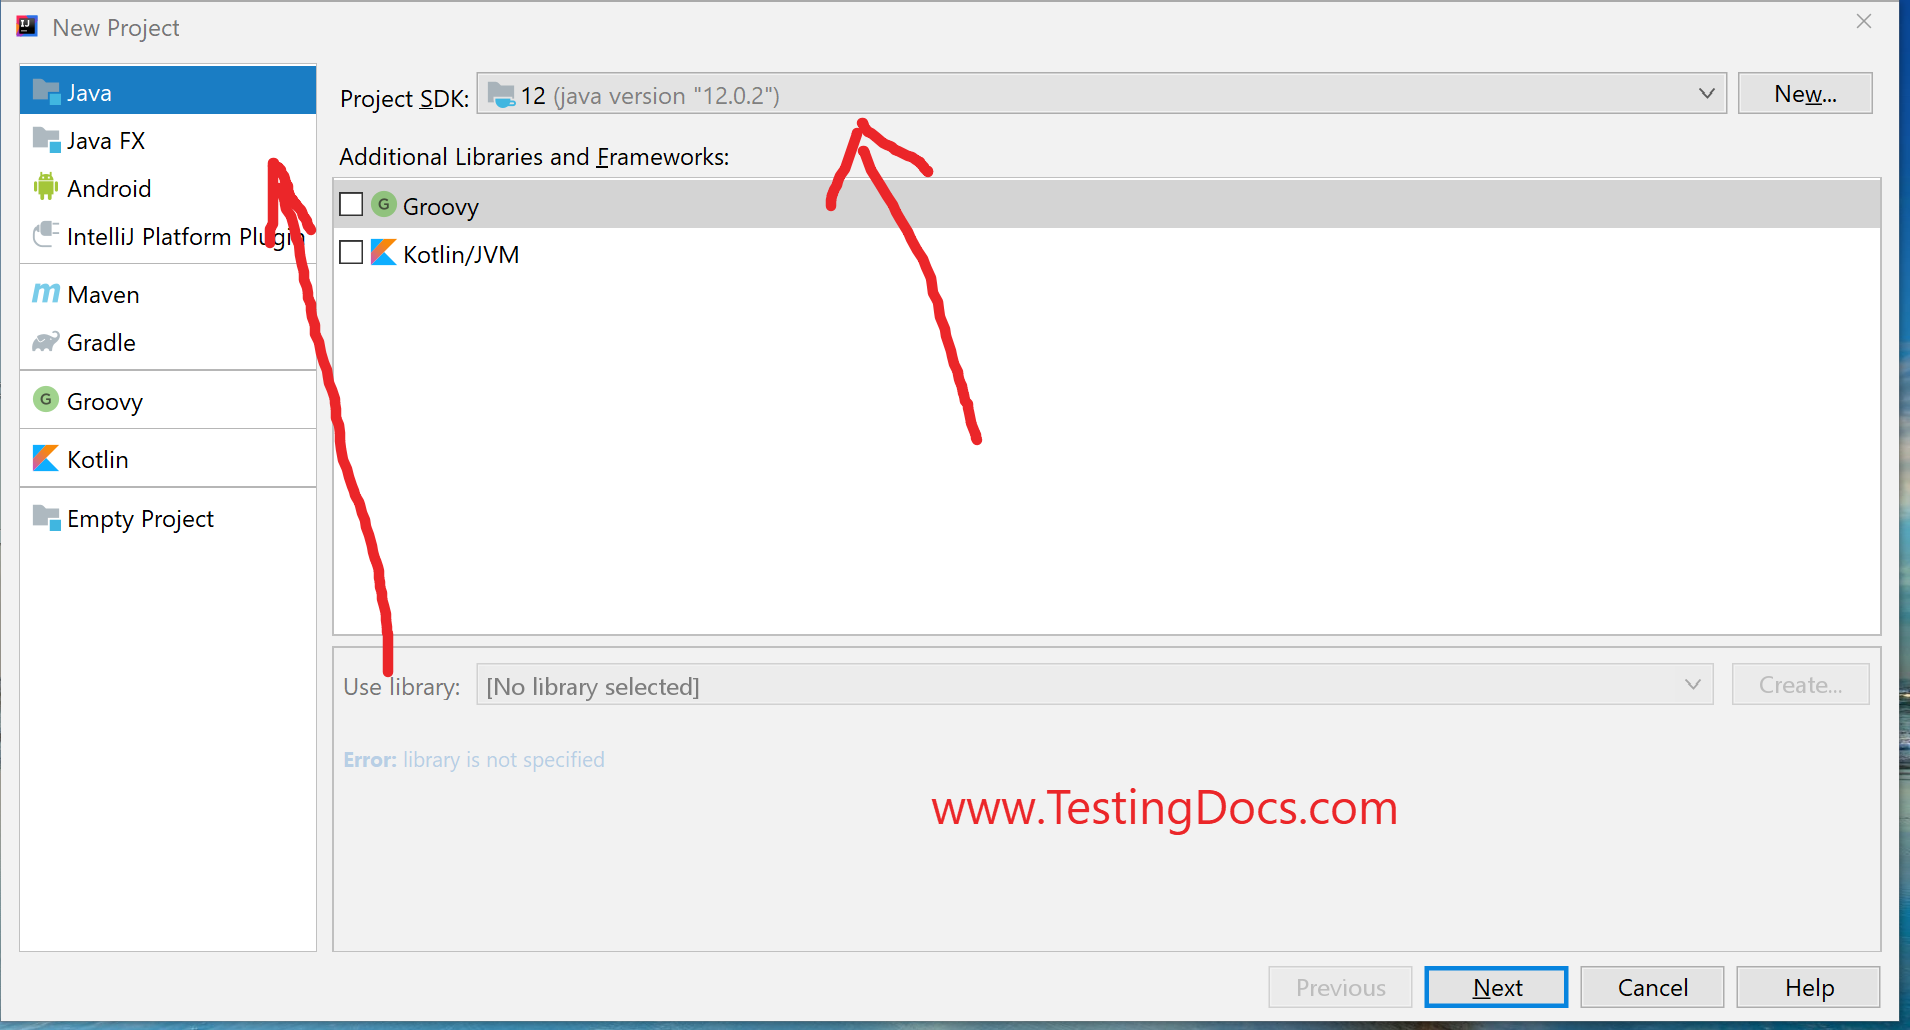
New Project Screen
In the New Project Screen, you can either create an Empty project or a specific project type.
Choose the Language and the Project SDK.
For Example, Java and the JDK 12.
Once done with the project configuration, click on the Next button.

Project Configuration
You can specify parameters like Project name, location, and the base package on this screen.
- Project name
- Project Location
- Base Package
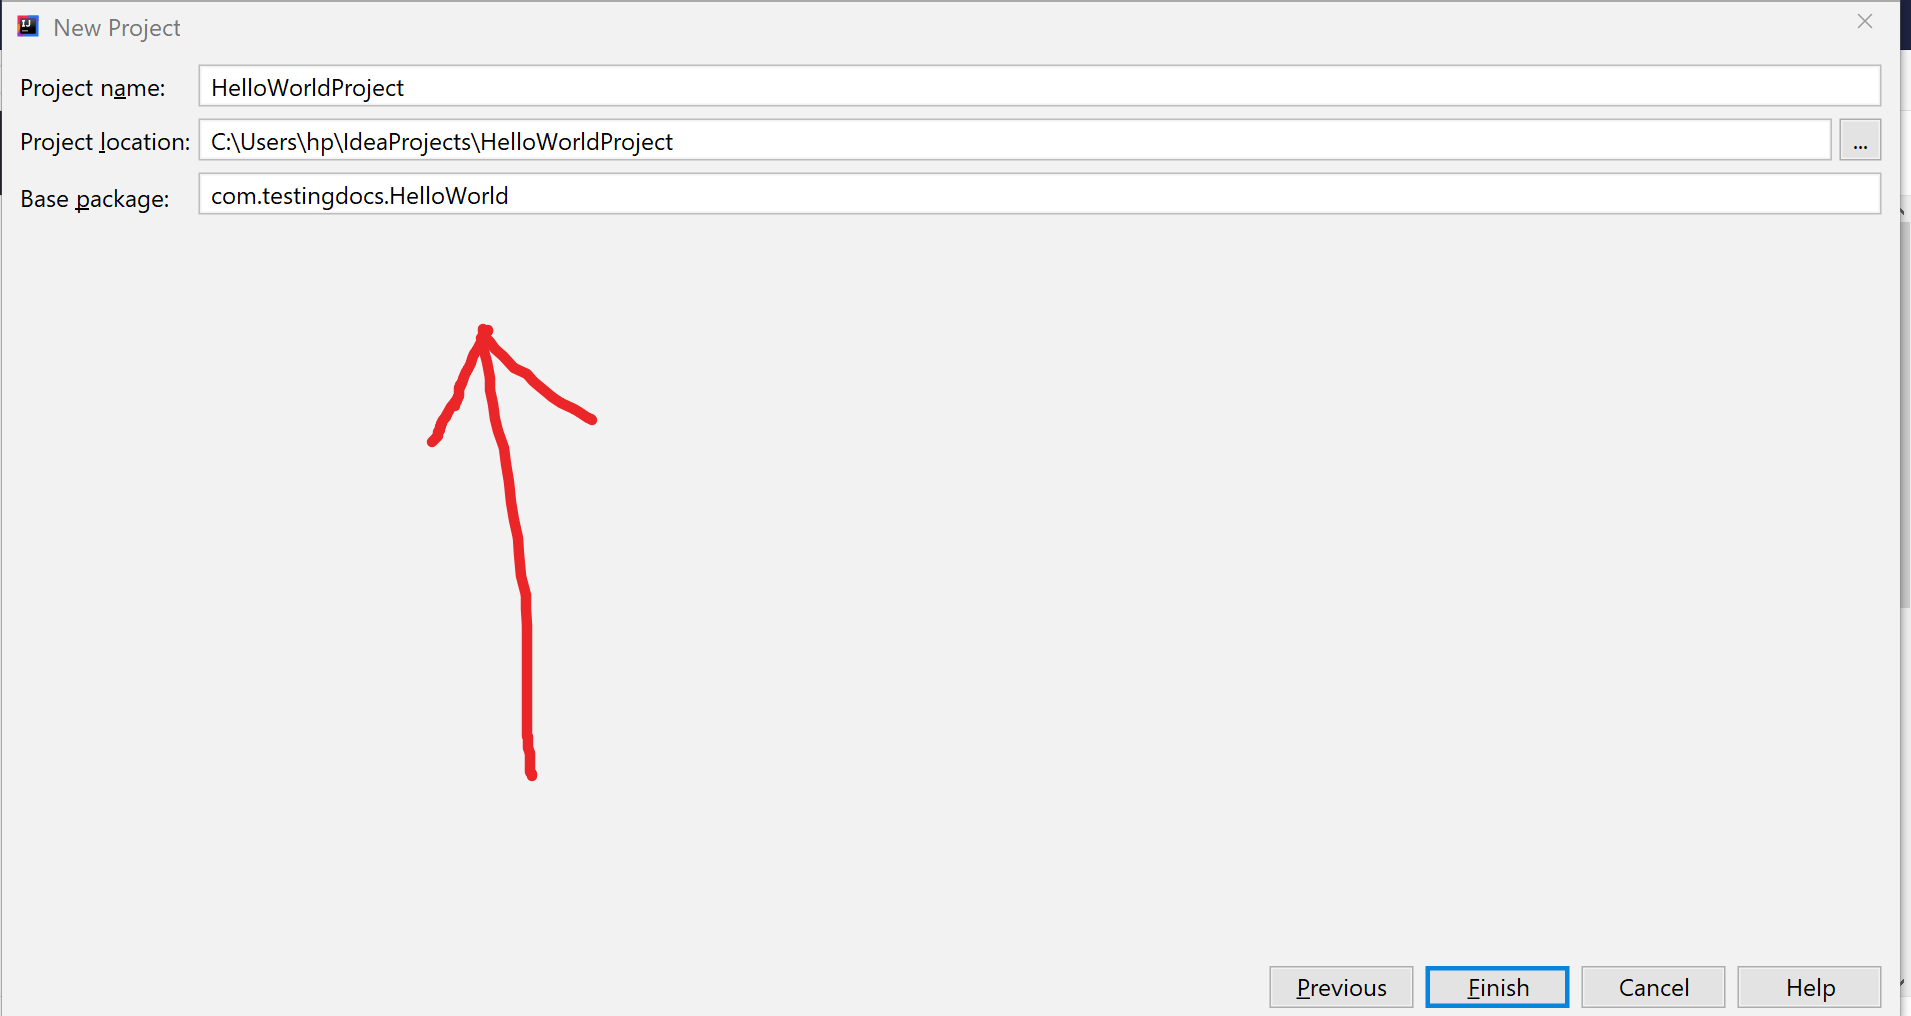

Click on the Finish button to create the Project.
Project Settings
We can customize the project setting from the File >> Project Settings screen. Some of the most used project configuration screens are shown below:
Appearance & Behavior: customize IDE appearance, fonts and themes, etc.
Version Control: Configure version control tools like Git, Subversion, Mercurial, etc.

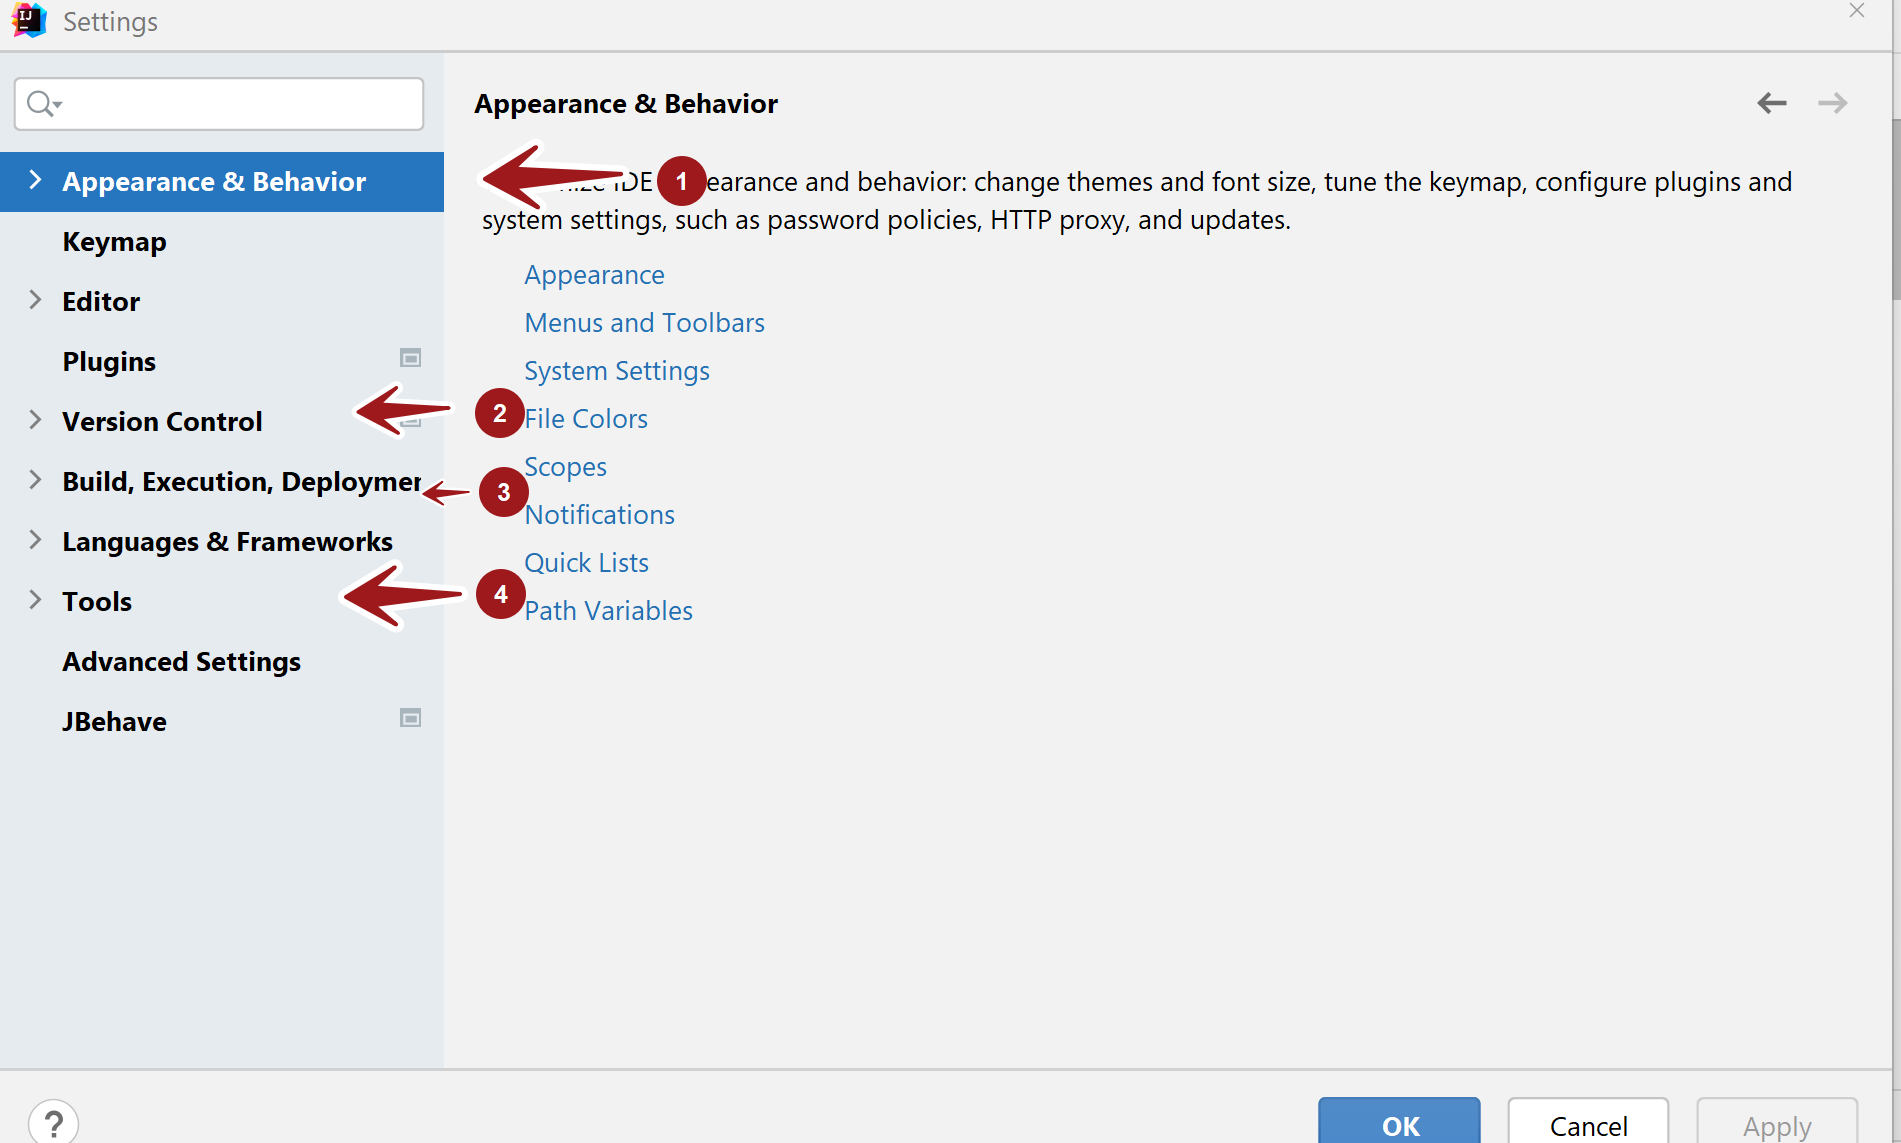
Build Execution: Configure build execution, complier, application servers, deployment options, debugger, etc. on this project screen.
Tools: Configure integration with 3rd party tools on this project screen, SSH access, SSL certificates, etc.
Project Window
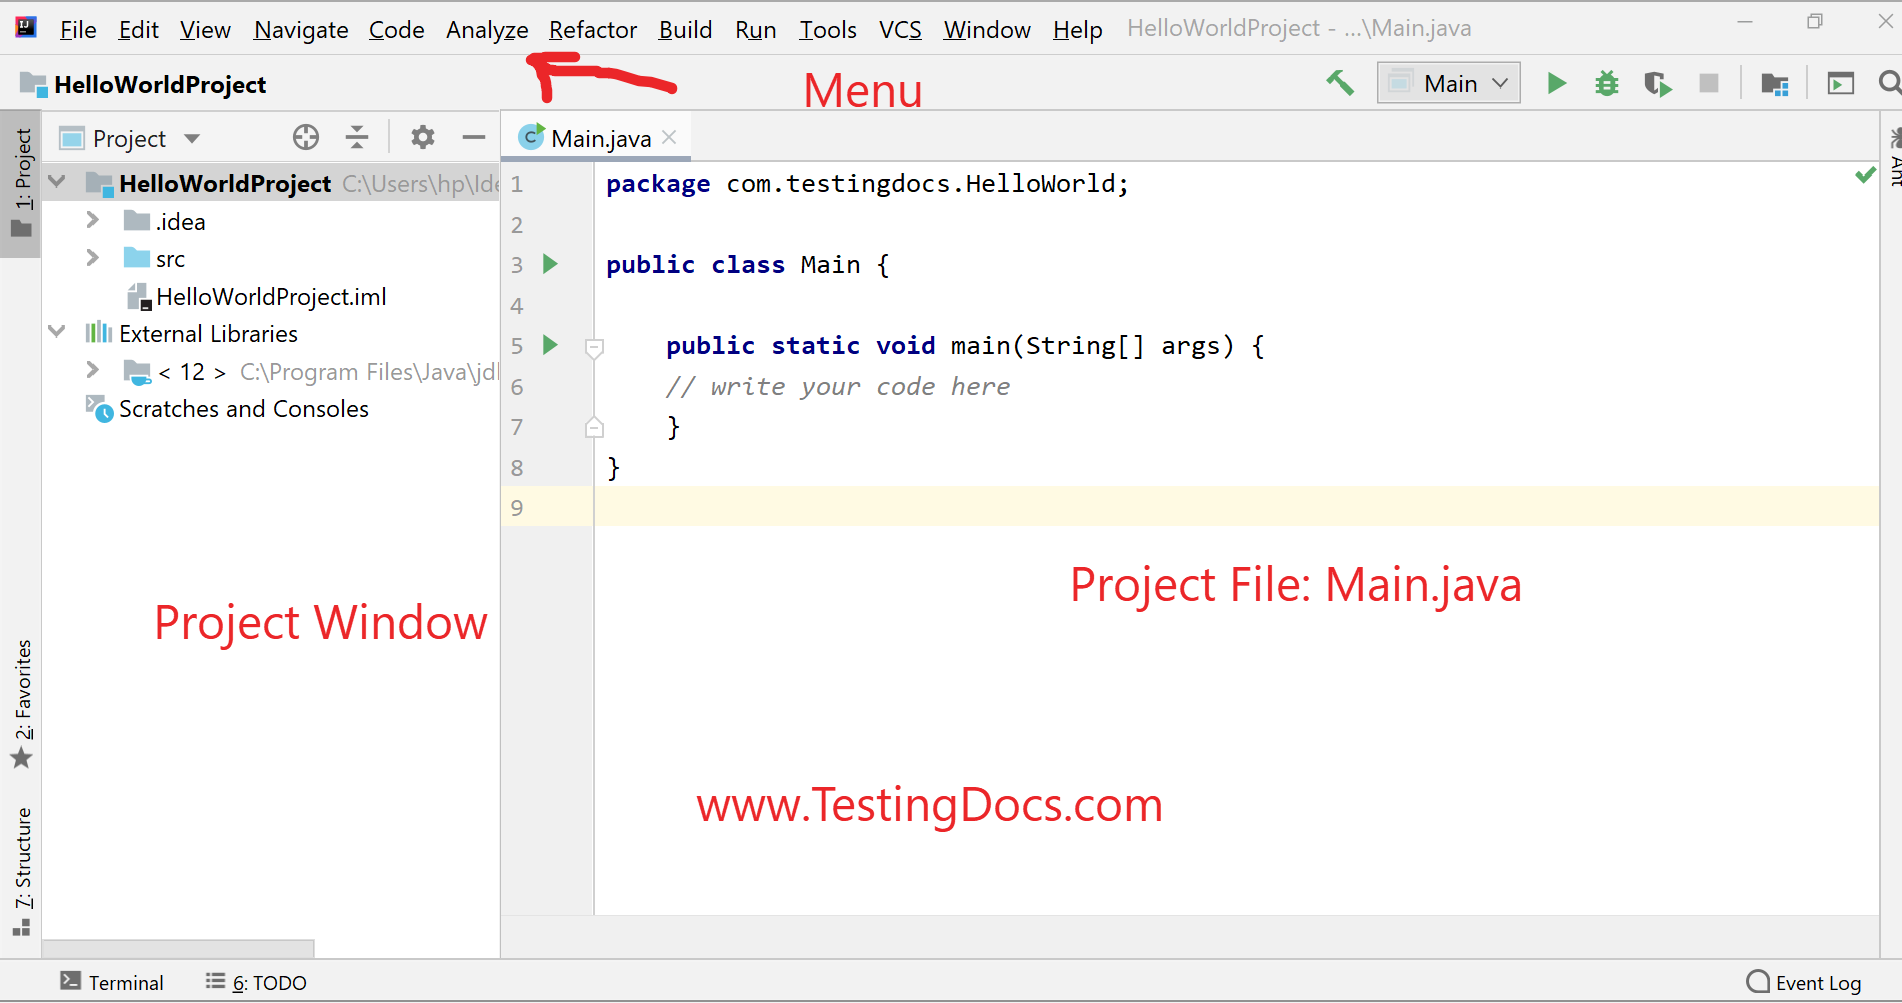

Now that we understand to create a project using IntelliJ, you can create and run a sample project using the IDE to learn its features.
https://www.testingdocs.com/simple-hello-world-program-using-intellij-ide/
–
IntelliJ IDEA Tutorials
IntelliJ IDE tutorials on this website can be found at:
https://www.testingdocs.com/intellij-ide-tutorials
More information on IntelliJ IDE visit the official website:
https://www.jetbrains.com/idea