Create New CLion C Project
Create New CLion C Project
In this tutorial, let’s learn to create a CLion C Project on Windows.
CLion is an Integrated Development Environment (IDE) developed by JetBrains that is mainly used for C and C++ development.
It provides a powerful coding environment with tools that make programming, debugging, and testing easier. CLion is cross-platform, meaning it runs on Windows, macOS, and Linux.
Pre-requisites
Install CLion IDE on Windows.
Activate the tool.
Create CLion Project
In this example, we will create a new project from scratch. The steps to create a project are as follows:
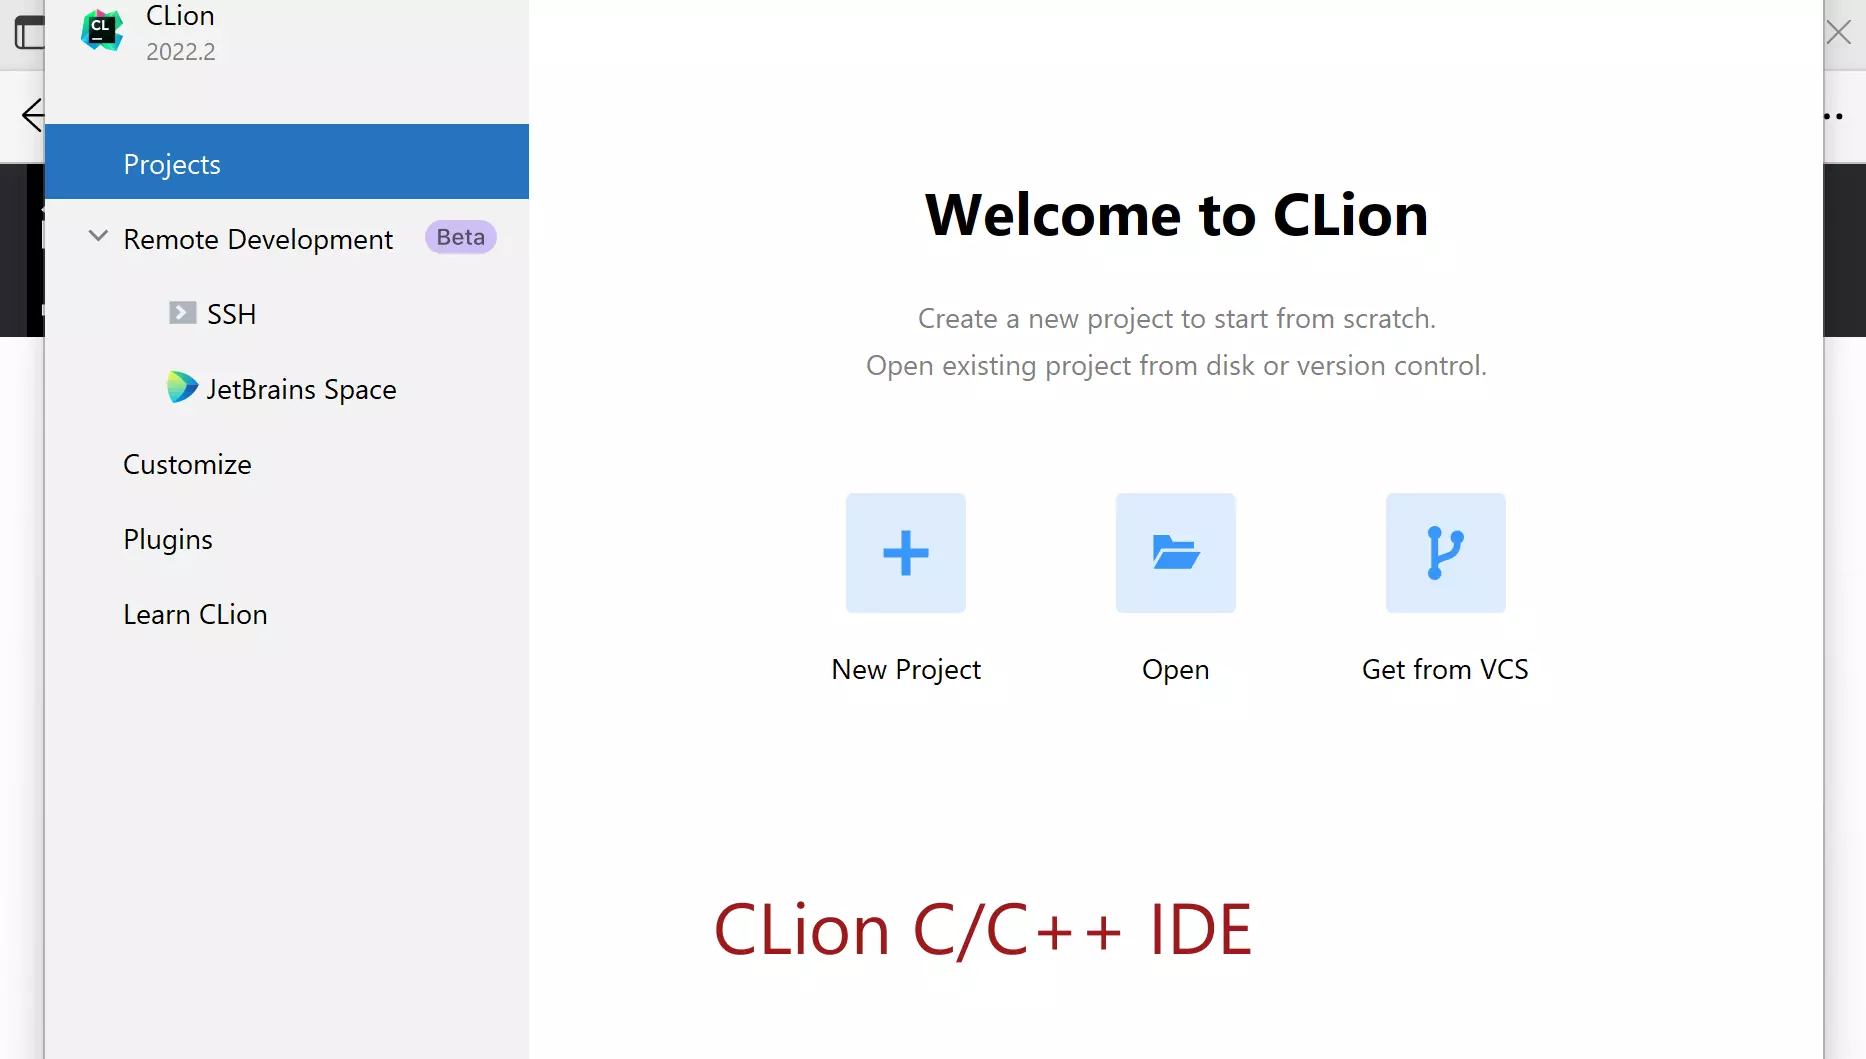
Launch the CLion IDE.
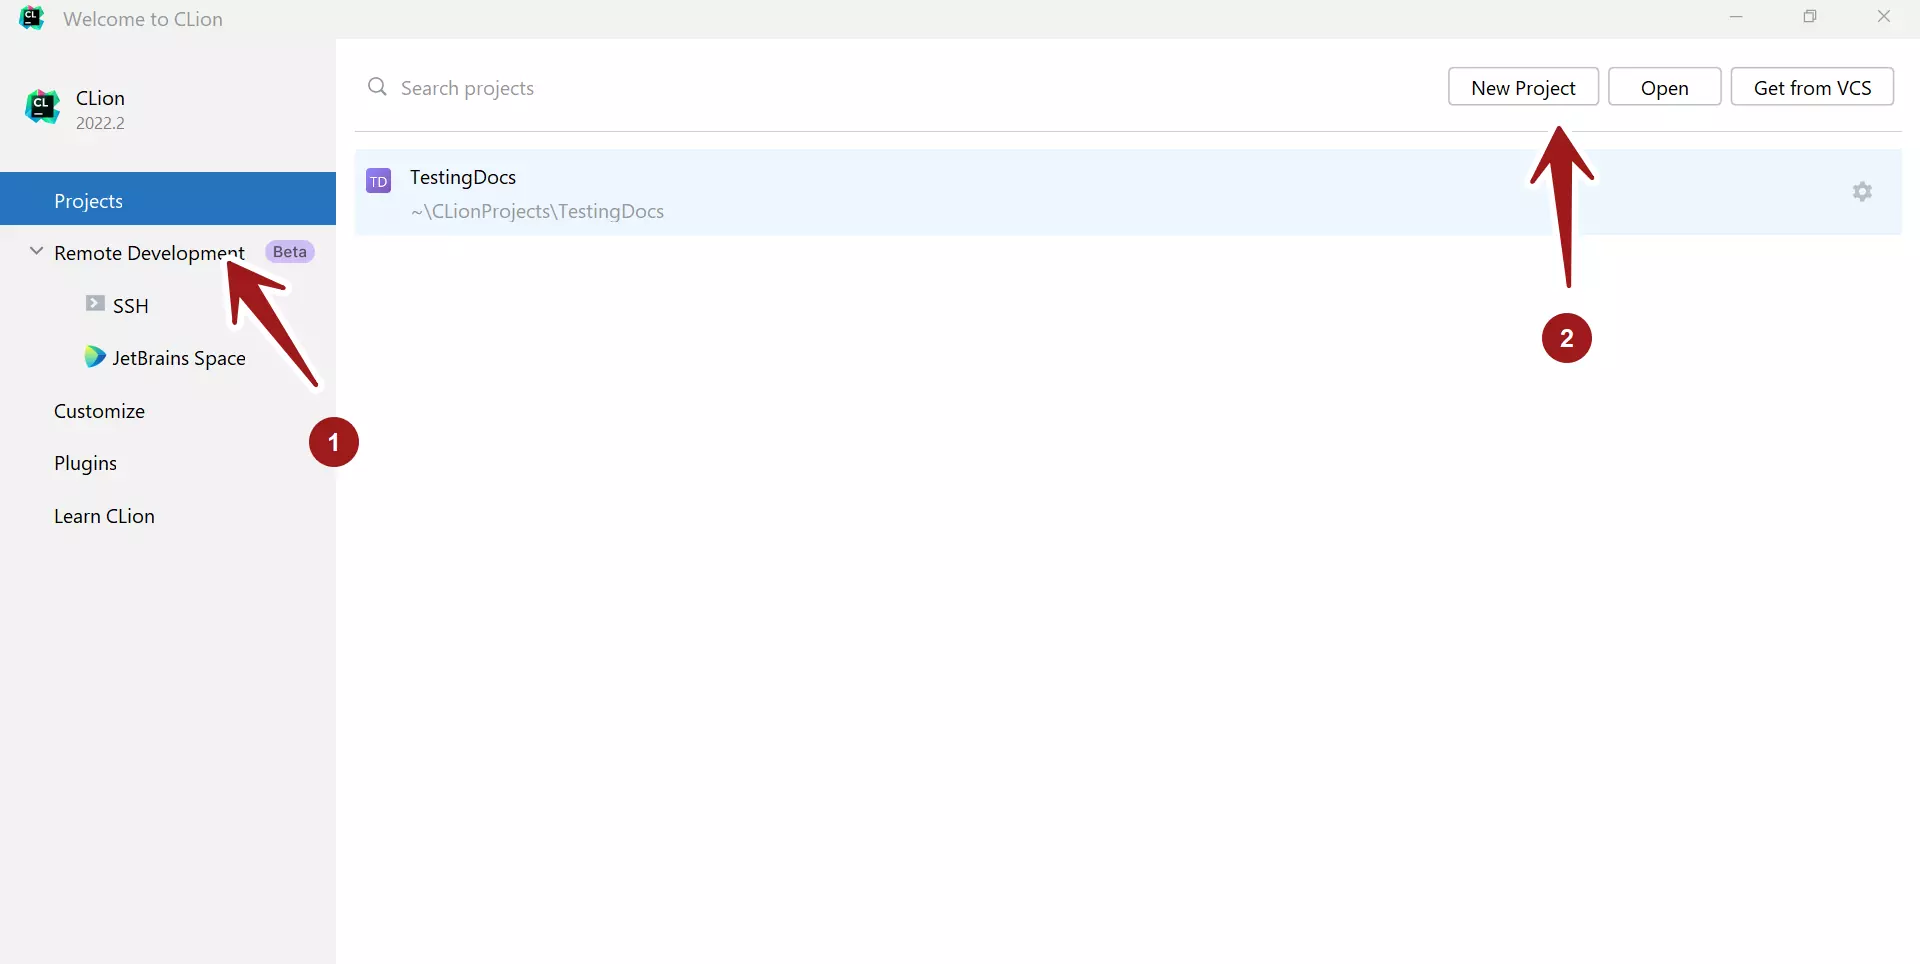
Click on the New Project + button to create a brand new project.
The screen would look like something similar if you have any already created projects.
Choose the Project type in the options. The project details depend on the project type. Let’s create a C Executable project.
Provide the project Location. Name the project and
Choose the language standard in the Language standard: drop-down list.
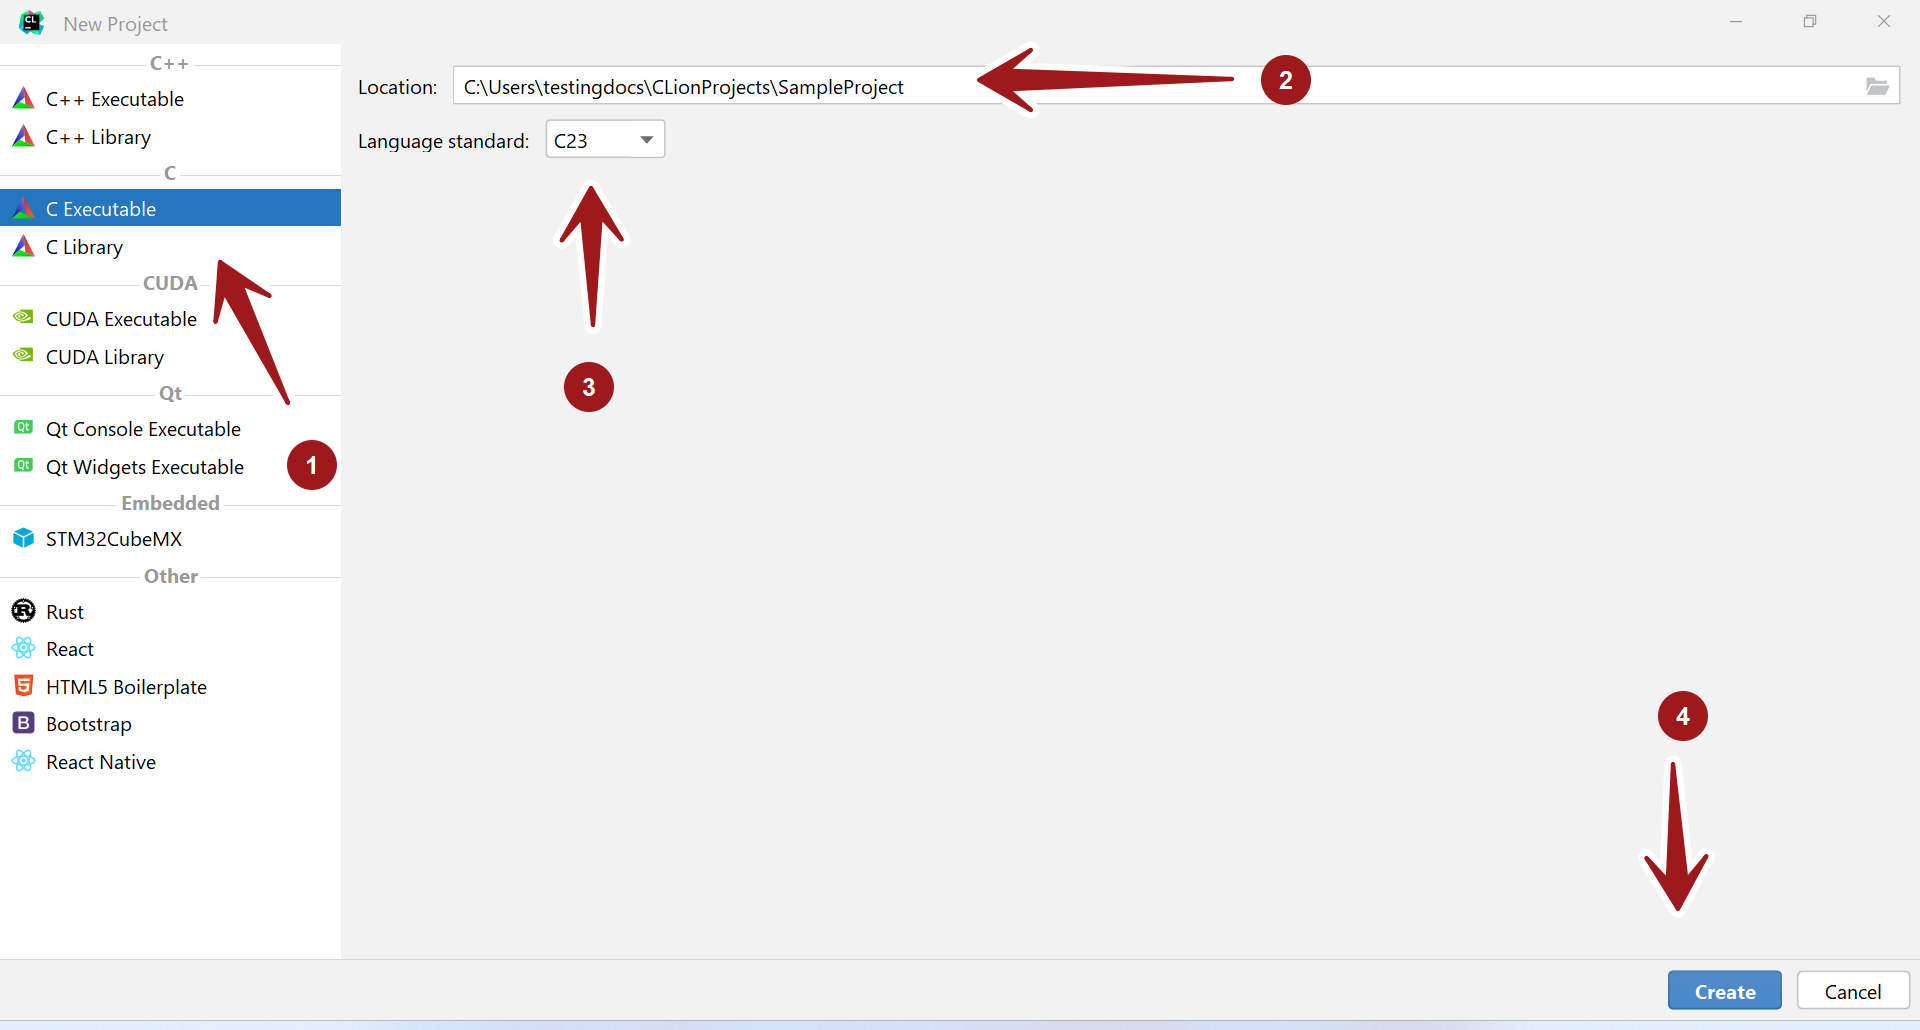
Click on the Create button to create the project.
This will load and create the project. The IDE will create the main.c and CMakeLists.txt files for you in the project.
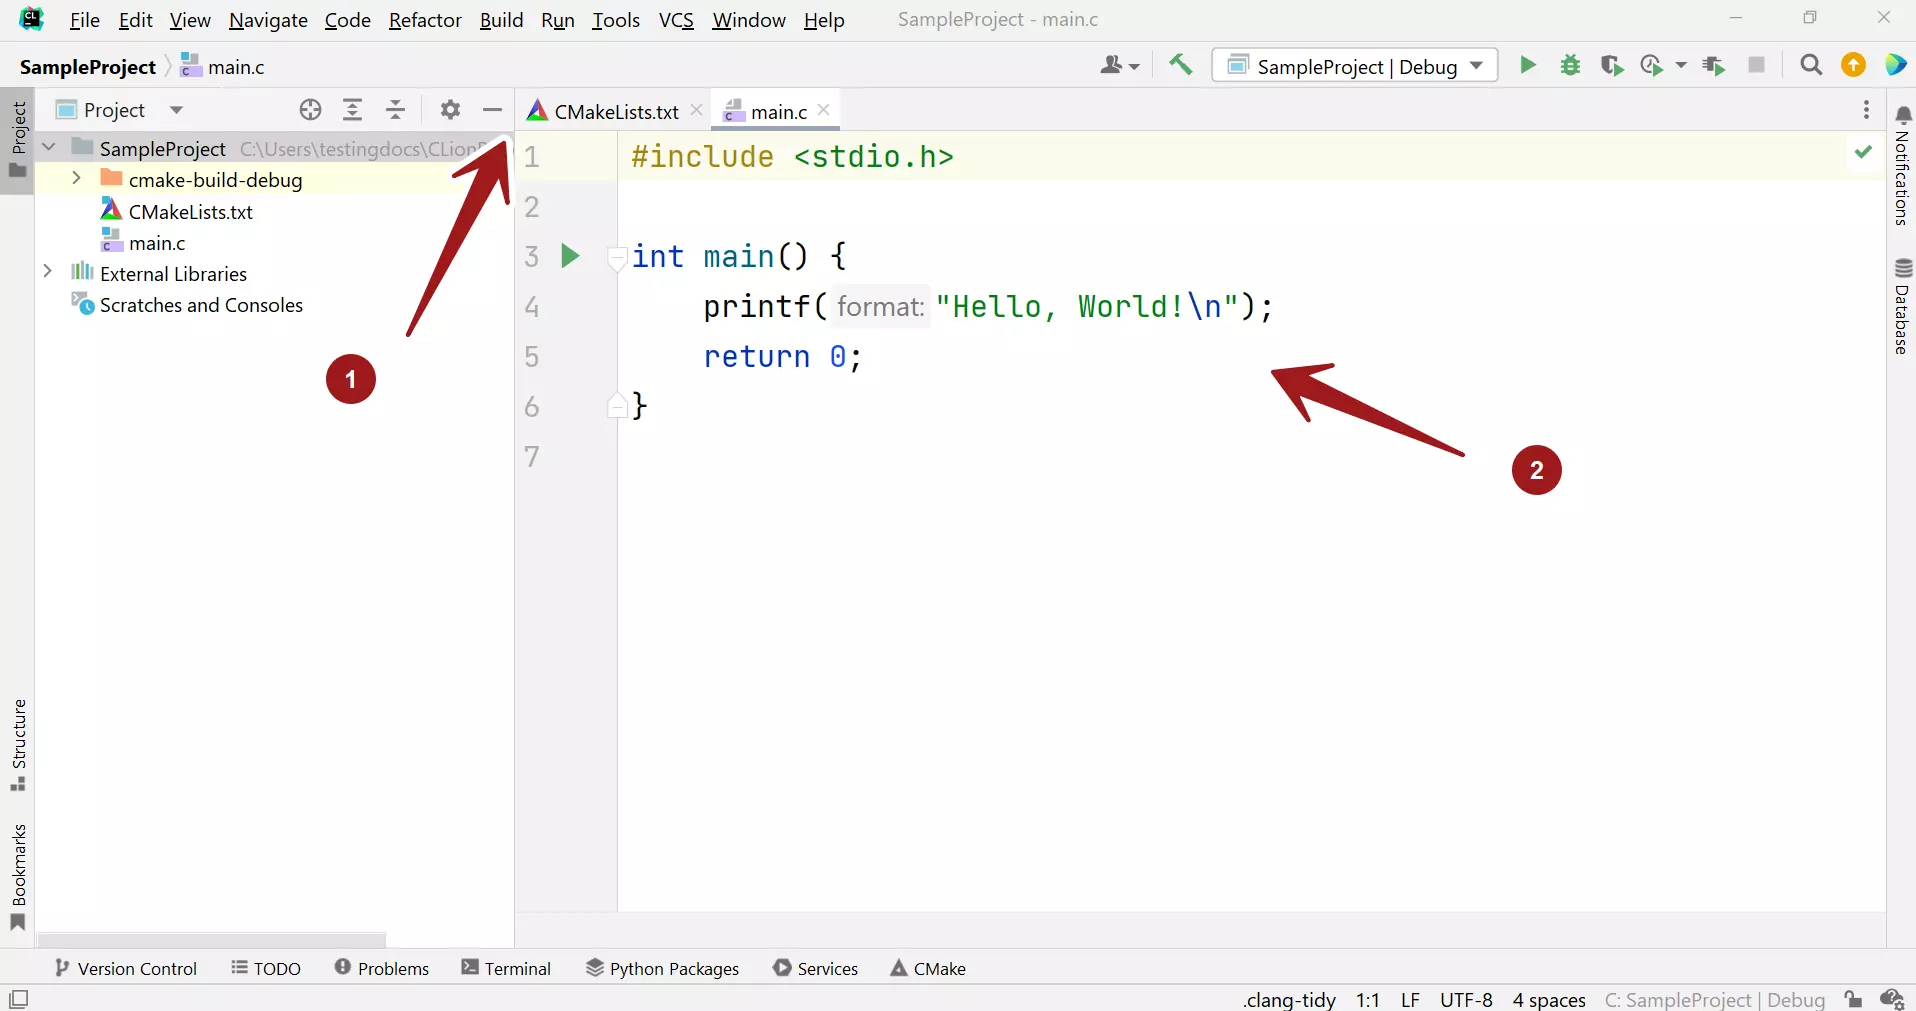
That’s it. We have successfully created a C project using CLion IDE. We can start developing the application.
CLion Tutorials
CLion Tutorials on this website can be found at:
For more information on CLion IDE, visit the official website:
- https://www.jetbrains.com/clion/


