

Overview
In this tutorial, we will learn how to create a New Project in Mantis Bug Tracking Tool. MantisBT is a free PHP-based bug tracking tool.
Create New Mantis Project
Follow the below steps to create a new Mantis project:
Log in as Mantis administrator.
Click on the Manage left sidebar menu item.
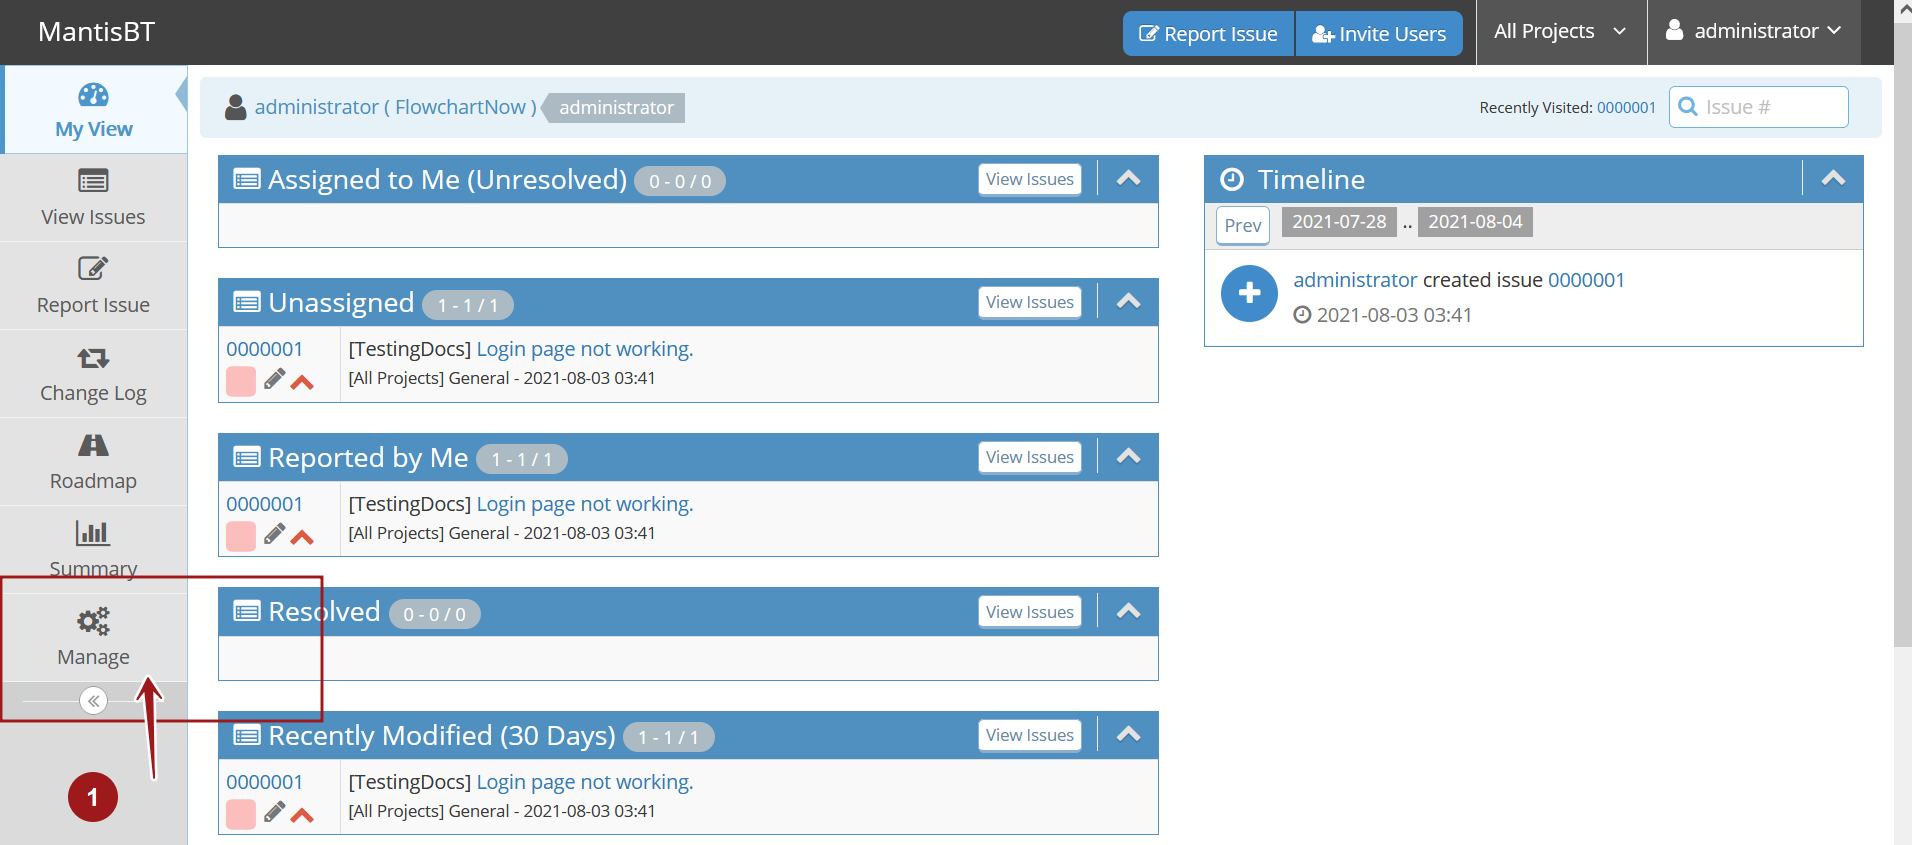

Navigate to the Manage Projects tab.
Click on the Create New Project button to create a new project.
Complete path is as follows:
Manage -> Manage Projects -> Create New Project
Enter the following project information in the Add project screen.
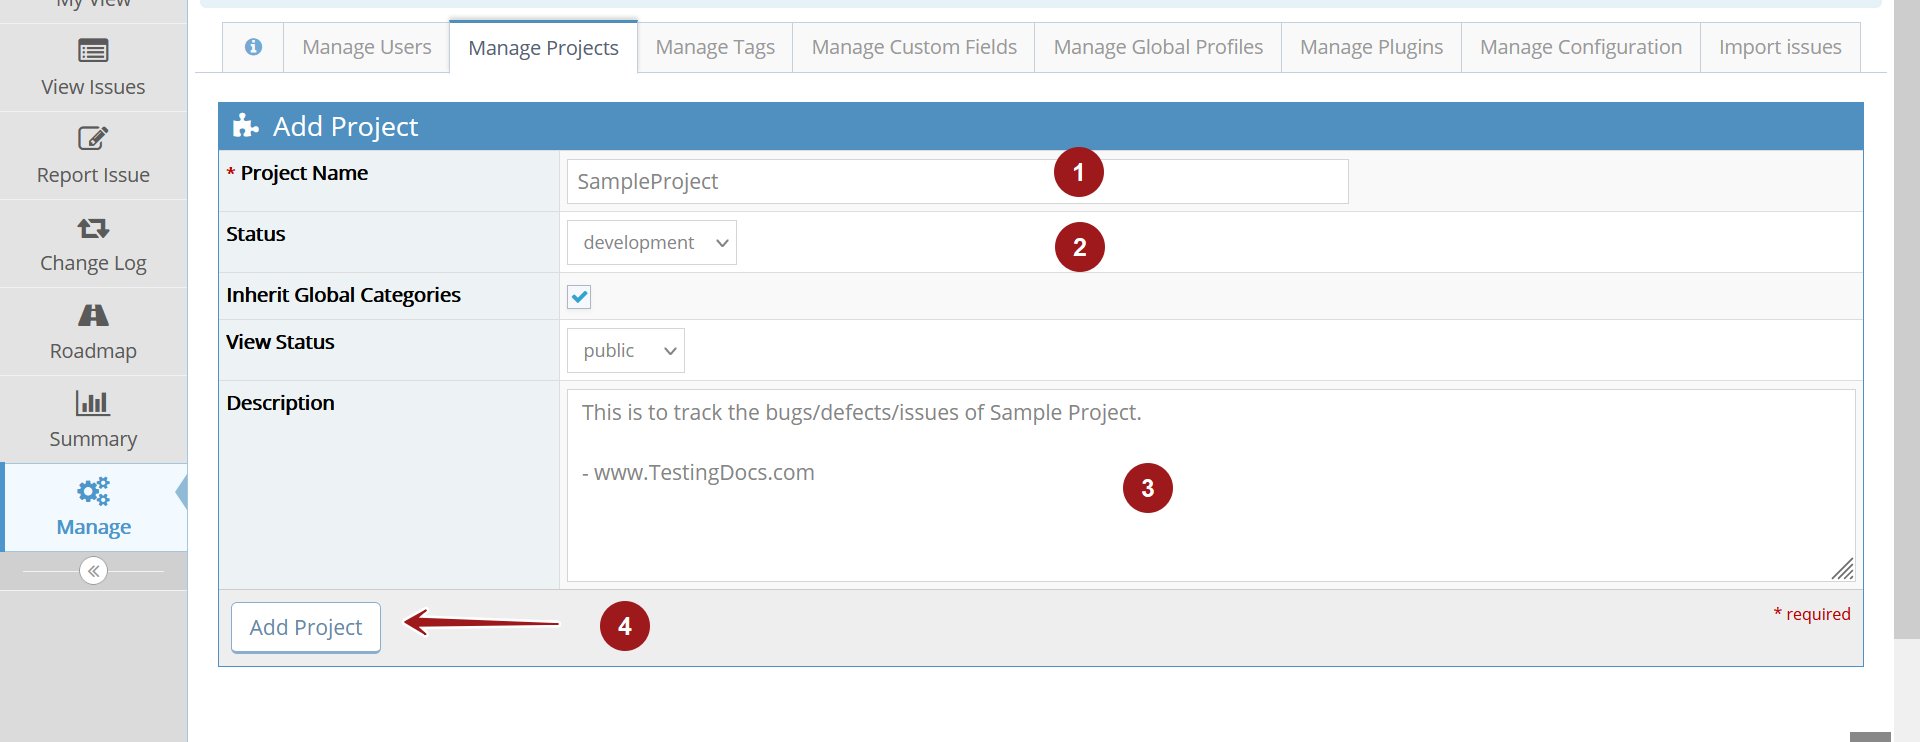

Project Name: Enter the project name
Status: Select the project status from the drop-down. The drop-down list consists of {development, release, stable, obsolete}
View Status: Select the project status. The project can be either public or private. A public project can be viewed and accessible to all Mantis users. A private project is only visible to assigned users. Administrators can add users to the project.
Description: Enter a brief description of the project.
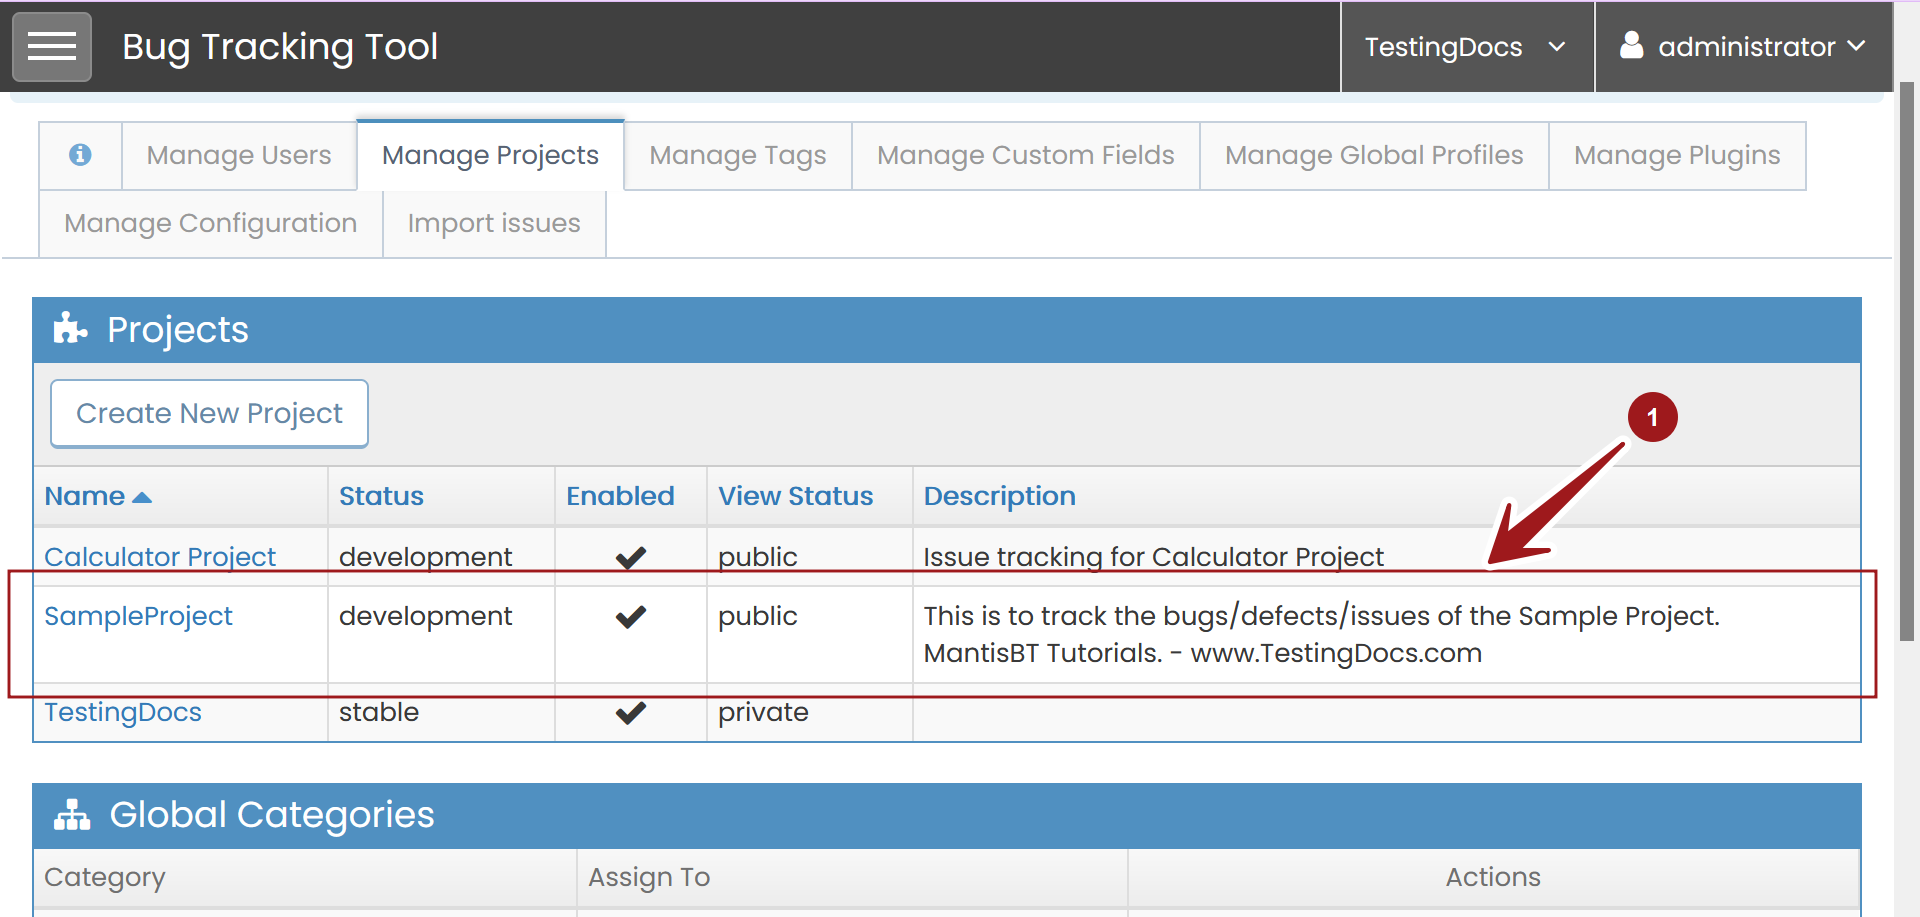
Once done click on the Add Project button to create the new project. The new project would be created in the Projects screen.

Sub Projects
In case the created project is a complex one, we can create sub-projects for the project or add existing projects as sub-projects.
Click on the Create New Subproject to create a sub-project.
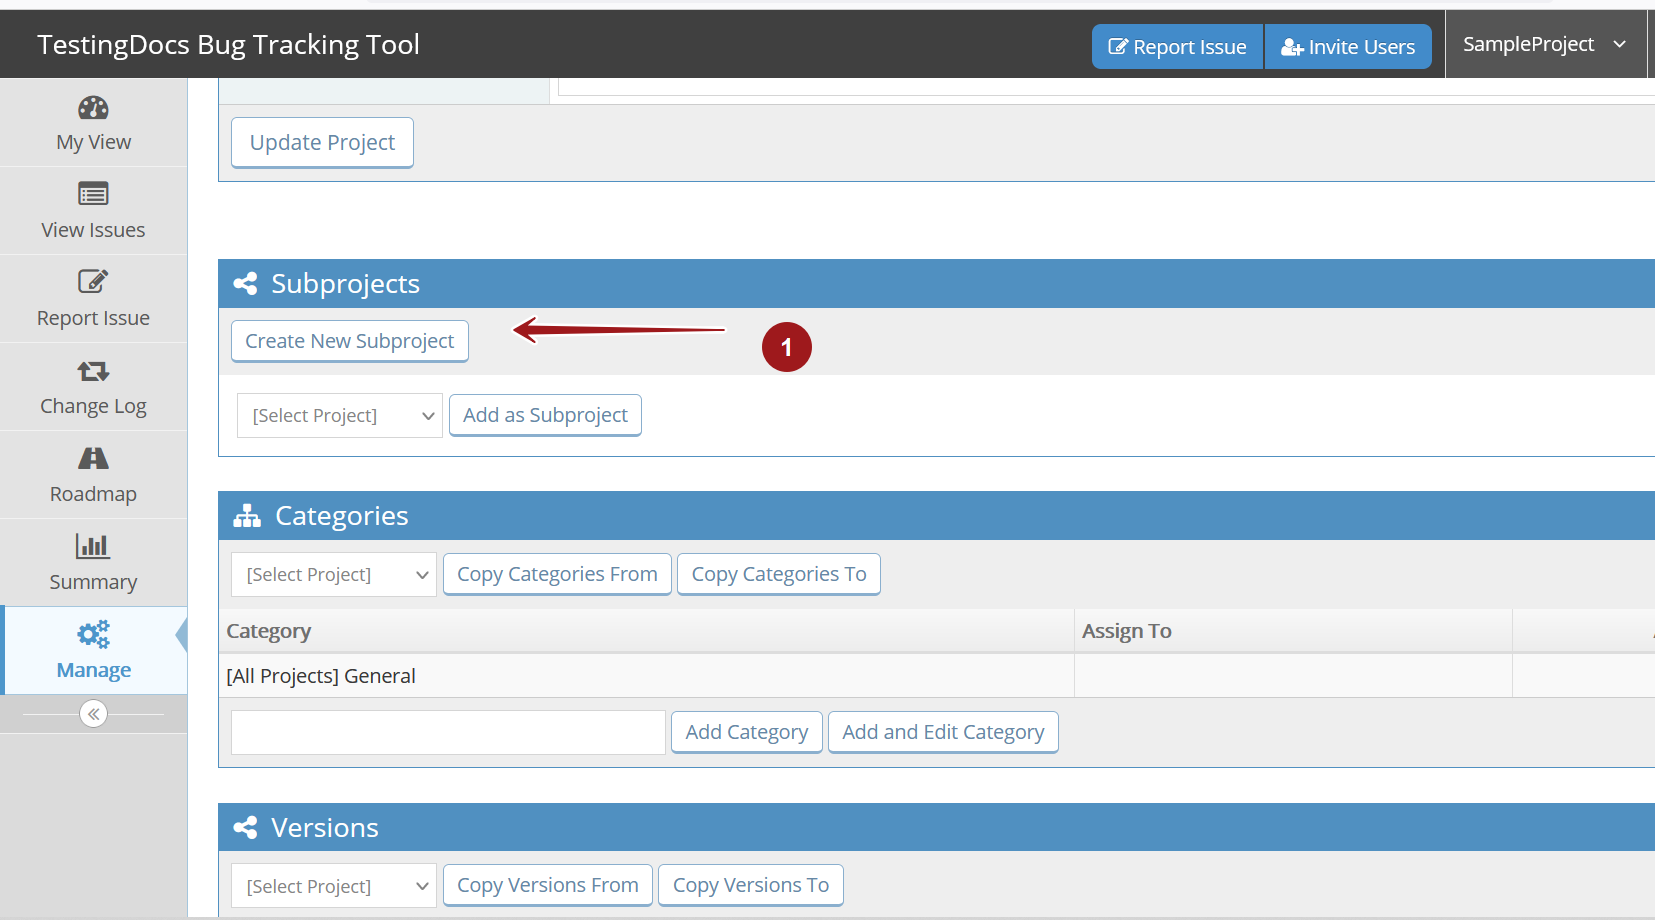

To add an existing project, select the project from the [Select Project] drop-down, choose the project, and click the Add as Subproject button.
That’s it. We have successfully created a new project in the MantisBT bug tracking tool.
—
MantisBT Tutorial:
https://www.testingdocs.com/mantis-bug-tracker-tutorial/
Mantis Website: