

Overview
In this post, we will learn how to create a package using the NetBeans IDE. A package is technically a directory that holds a group of classes.
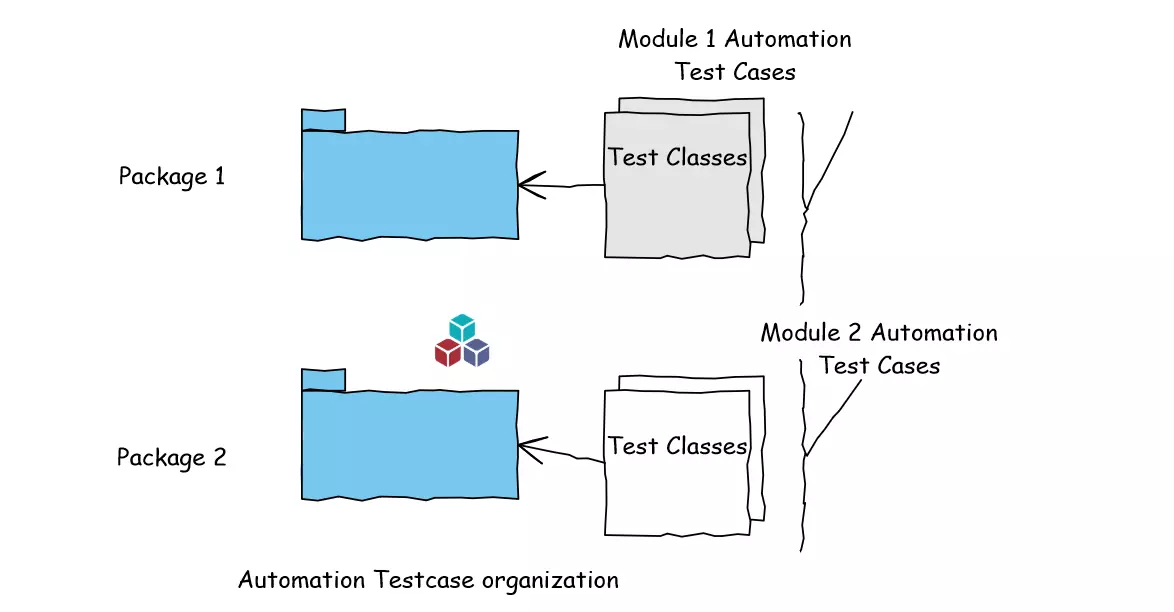
A Java package is a collection of related Java classes. Test automation of large sophisticated projects would consist of many Java test classes. Management of these automation test classes would be easy if you organize them into packages.

Advantages of Packages
Packages would reduce the test class name conflicts in the project. We can have the same test class names in different packages.
For example:
com.testingdocs.moduleone.SampleTest
com.testingdocs.moduletwo.SampleTest
Organizing test classes into groups in packages would make test automation management easier.
You can protect the automation code using the access modifier ‘protected’. protected variables and methods can only access by the classes of the same package. Any class outside the package may need to subclass to access the protected members.
Create a Package in NetBeans IDE
Let’s create a package using NetBeans IDE in this section.
Launch NetBeans IDE.
Create a Project using the IDE.
We can add the package by using the following steps:
Right-click on the Source Packages and choose
New >> Java Package…


In the Name and Location screen, specify the package name and click on the Finish button.
A new empty Java package would be created under the Source Packages in Explorer. NetBeans also allows you to create a Java package with a new Java class wizard.
—
NetBeans IDE Tutorials
NetBeans tutorials on this website can be found at:
https://www.testingdocs.com/apache-netbeans-ide-tutorials/
For more information on NetBeans IDE, please visit the official website: