Overview
App Inventor runs in the cloud. All the Projects that you create with App Inventor are stored on the cloud.
Steps to create a Project:
Open your Web browser and navigate to http://appinventor.mit.edu
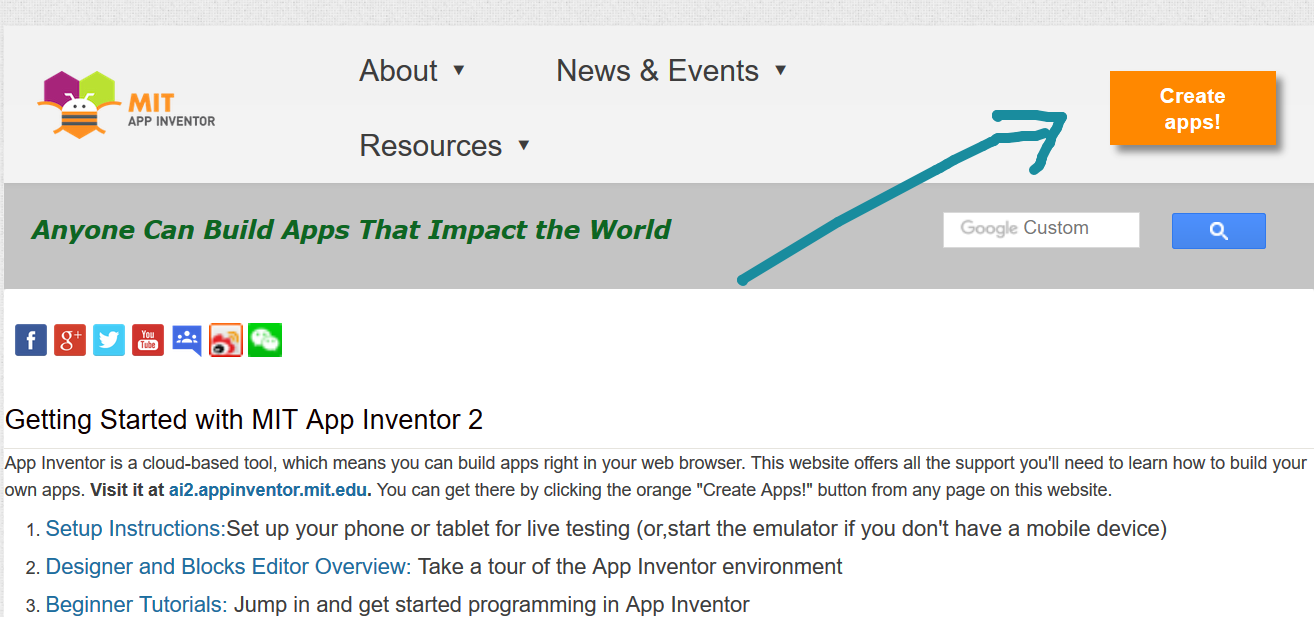

Click on Create Apps button. Login with your Google account credentials. Enter your email address and Google account password, and click Sign In.
To create a new project, click the New Project button.
Give a meaningful name for your project that describes it. For example “HelloWorld”
Click the OK button.

Once you create a project, you basically see two tabs.
1.Designer
2.Code Blocks
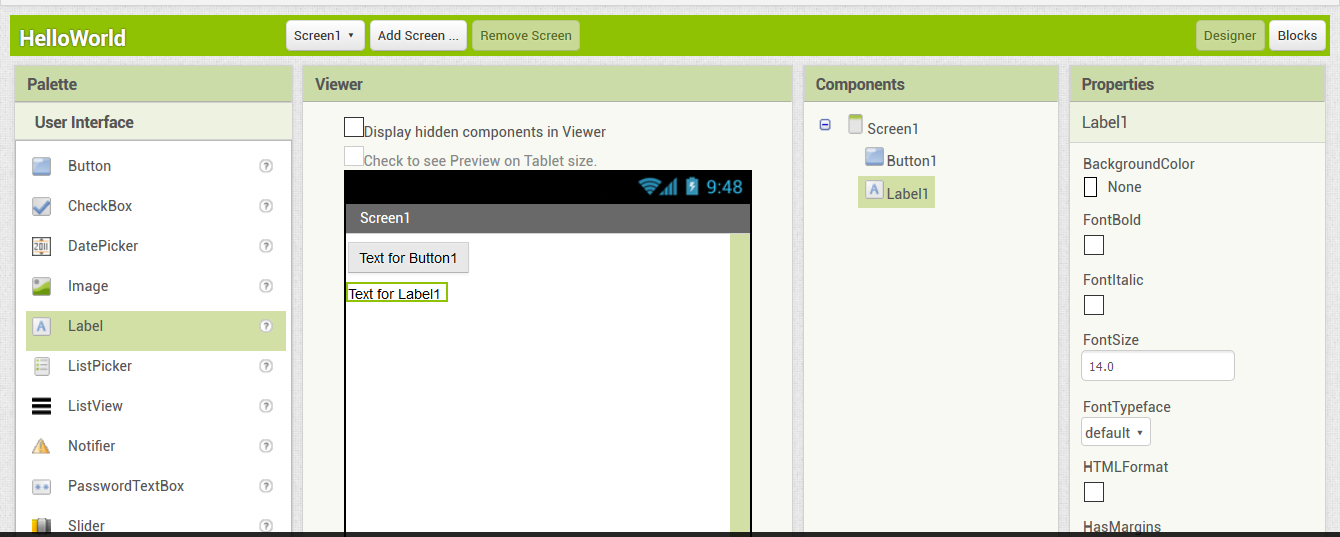
In App Inventor you can simply drag and drop code blocks, which are graphical building blocks, into an editor. These blocks, represent actions and data, to create fully functional programming statements. For example, I have dragged one button and label on to the screen.
Rename the Button1 to something like “Click”. Remove the label name “Text for Label1”. We will program to show “Hello World” label text when the button is clicked.
Adding Blocks of Code
The Blocks Editor is where you code blocks that perform actions. App Inventor provides numerous blocks that represent actions and data.
Now drag and drop the code blocks to display Hello World when the button is clicked. Drag the button click code block, Set label text block and string to set “Hello World” as shown below:
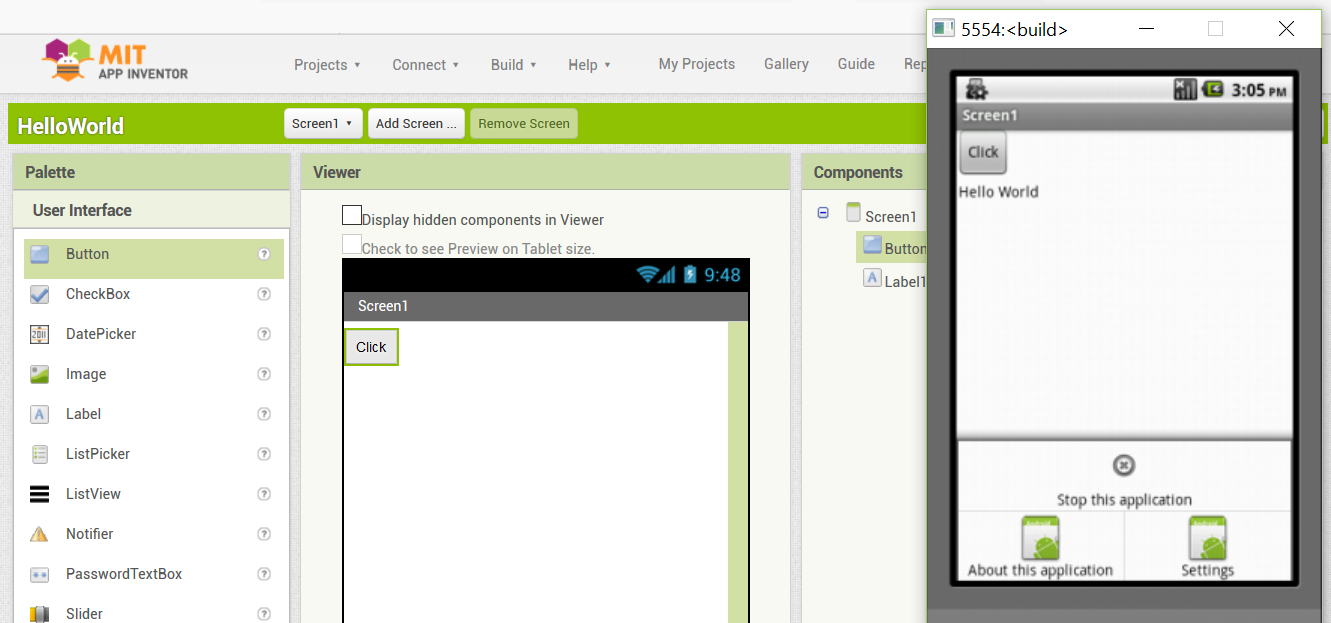
Start the Android Emulator or use a real mobile device.
Connect the app to the Emulator or a real device.
Click on the button Click. It will display Hello World message.