


Introduction
In this post, we will learn how to create a TestLink test project. Prior to this, you have to successfully install TestLink on the system without any errors.
TestLink Login
You can log in to the TestLink system by accessing the login screen URL. The way you access TestLink depends on the installation process. For example, we can access TestLink on a local machine using the following URL as shown below
http://localhost/testlink/login.php.
We can replace the localhost with the <IP>:<PORT> or domain name of the webserver.
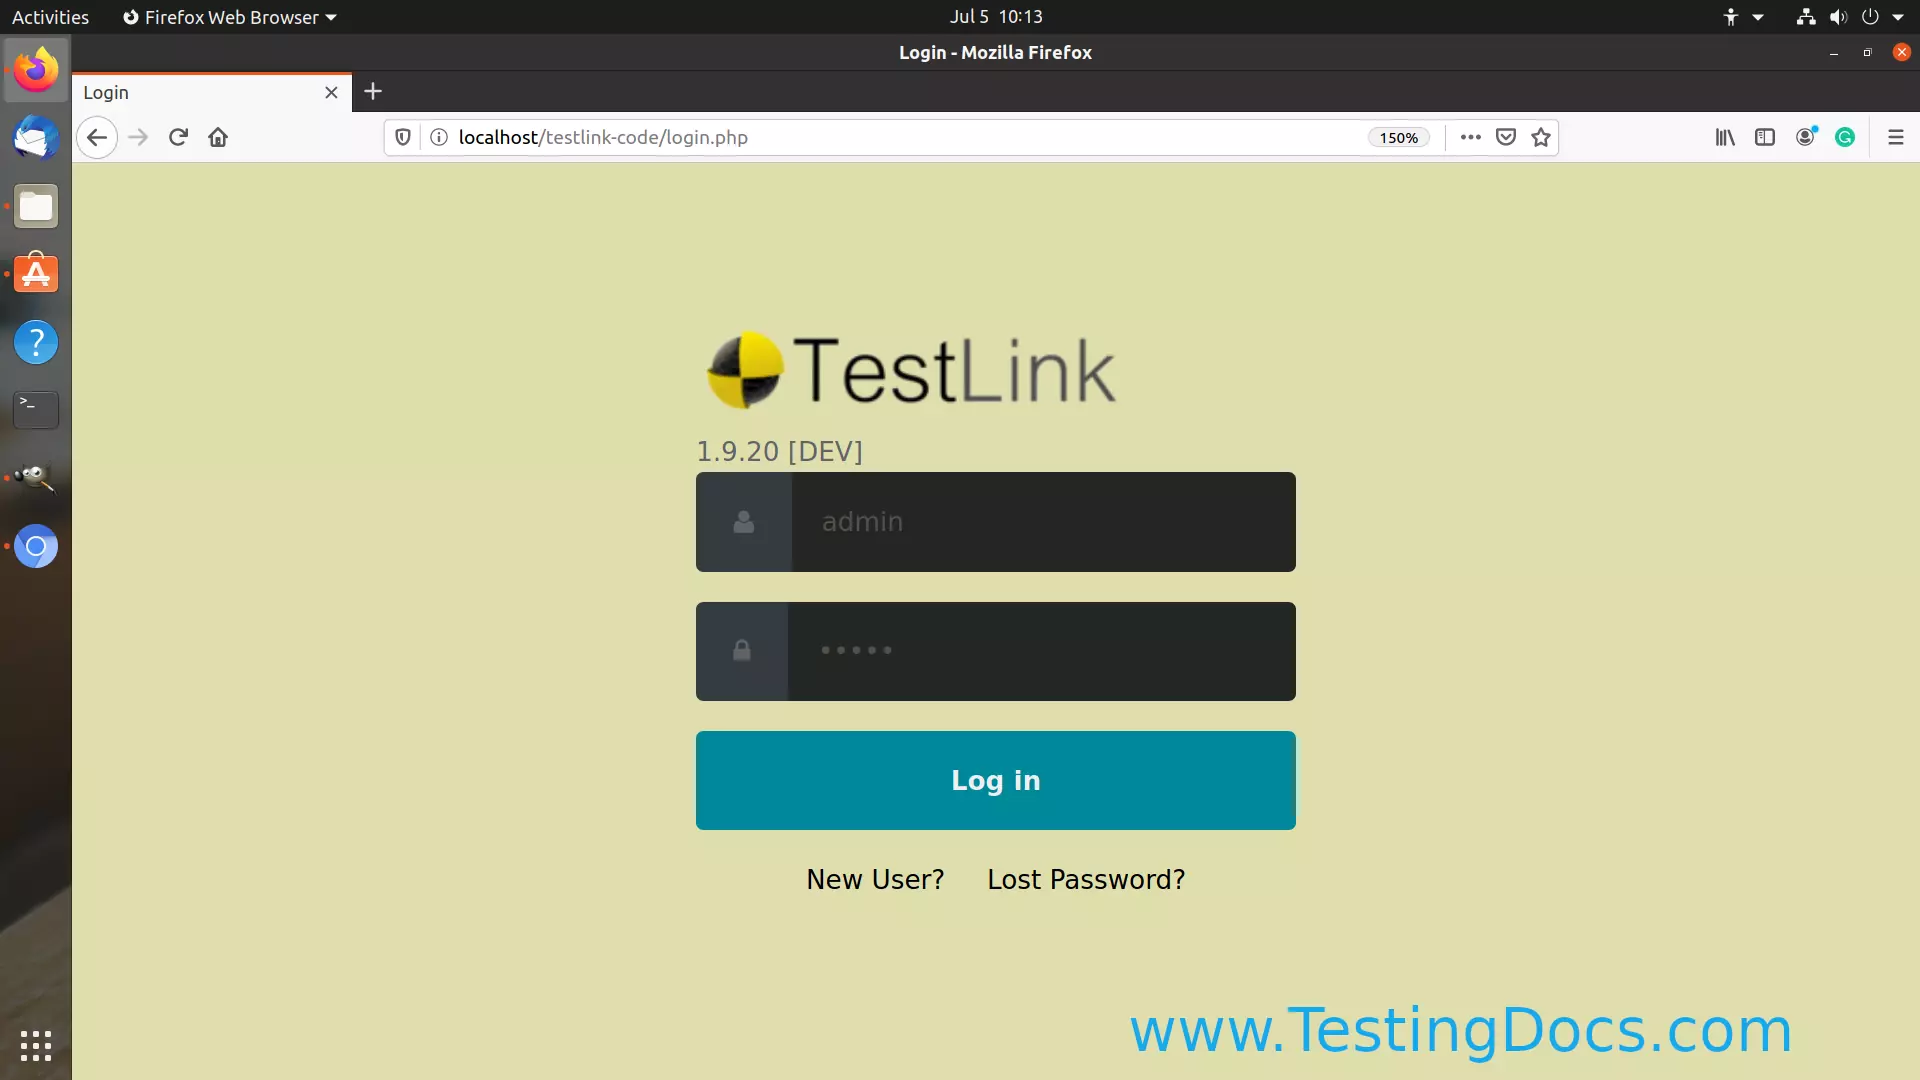

Enter a valid username, password, and hit the login button. For the first time login, we can use admin/admin credentials.
Create a Project
Admin roles can create the TestLink project. We can create a TestLink project when we log in to TestLink for the first time. After creating a Test project we can other artifacts like create Test plans, Software Requirements, specify and execute your Tests.
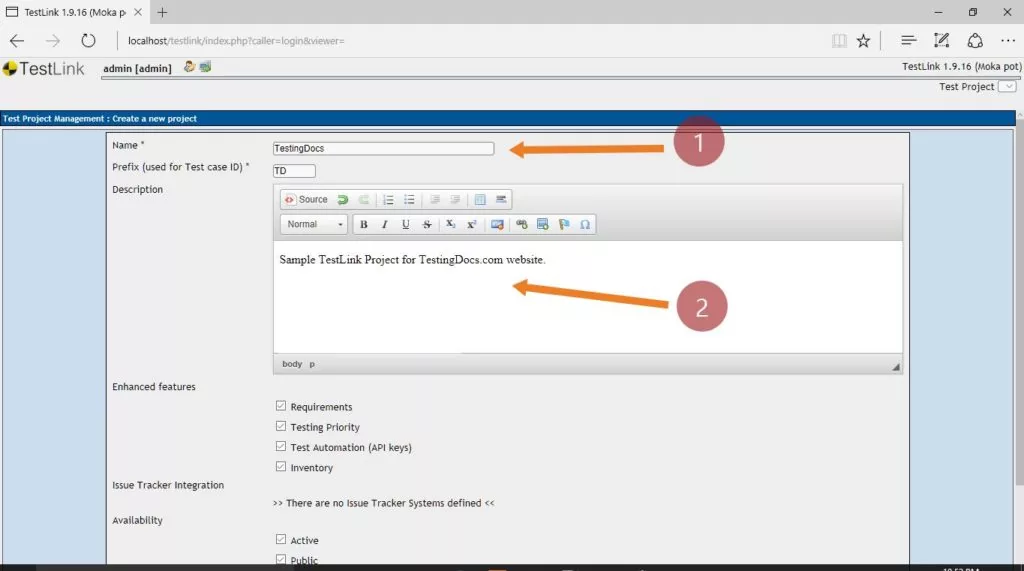
Project Details
Enter project details like :
Name-> Unique name of the TestLink Test Project
Prefix-> Project prefix.
Project Description.-> Project Description. Details of the Project.
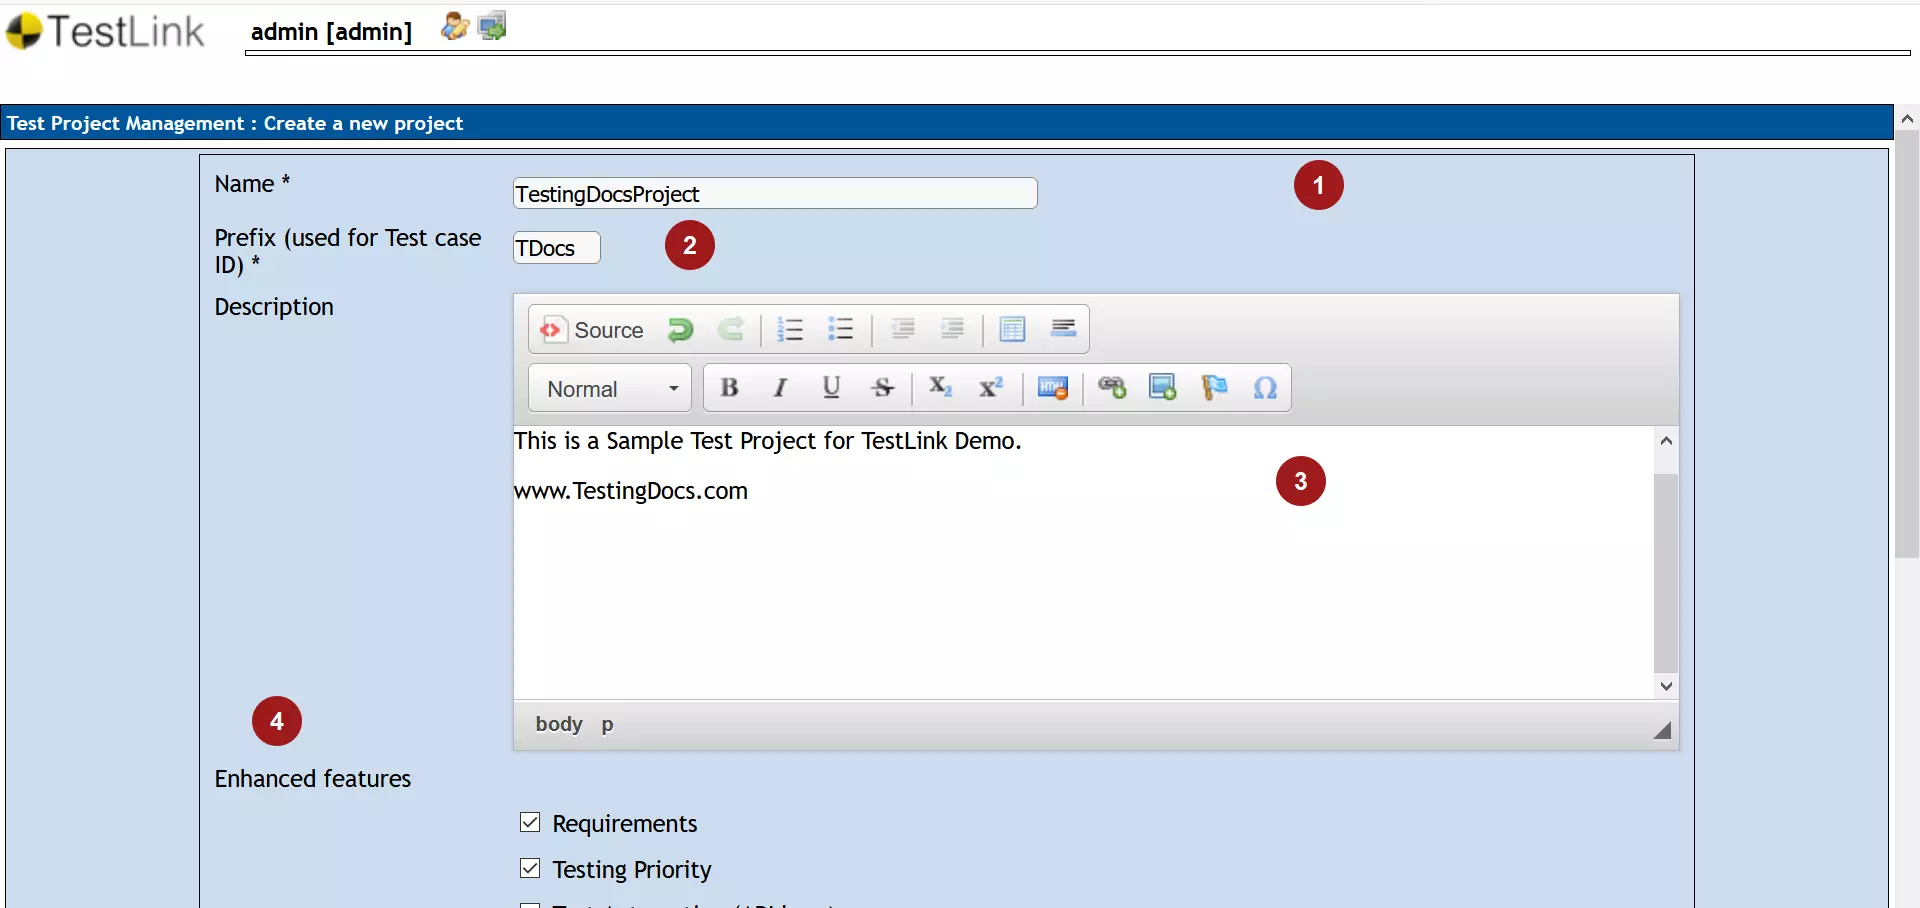

Enhanced Features
- Requirements
- Testing Priority
- Test Automation (API keys),
- Inventory
Test Project availability options
Active and Public.
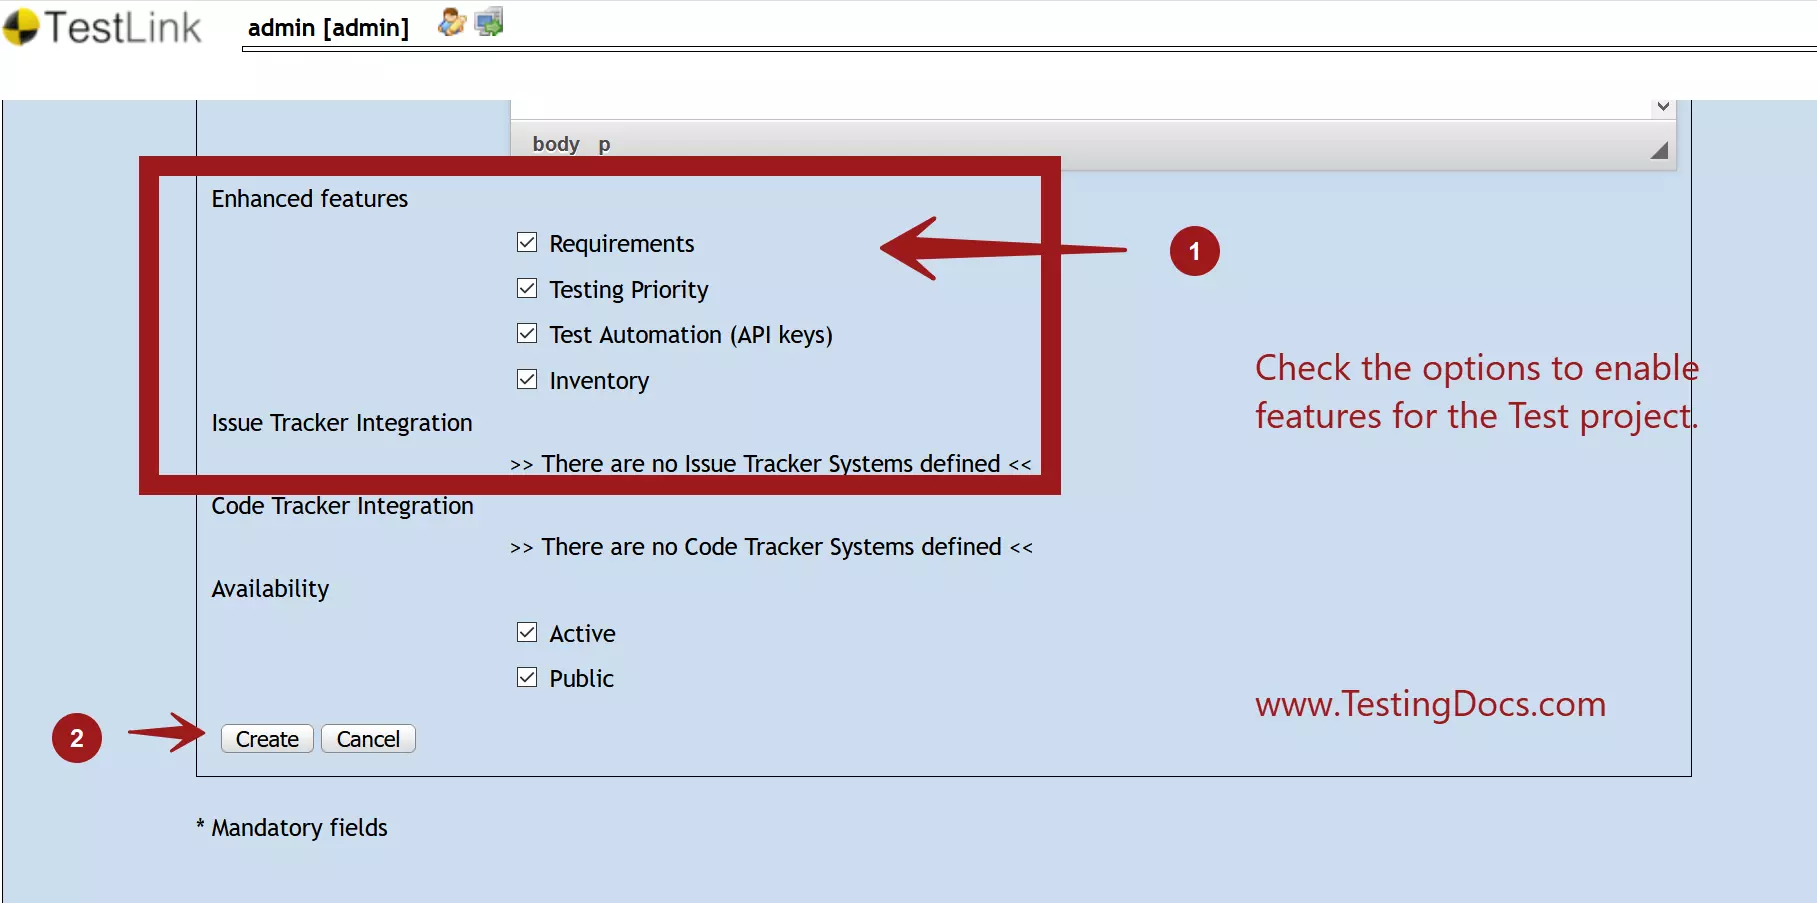

Once you’re done with entering the project information, click on the Create button to create a project in TestLink.
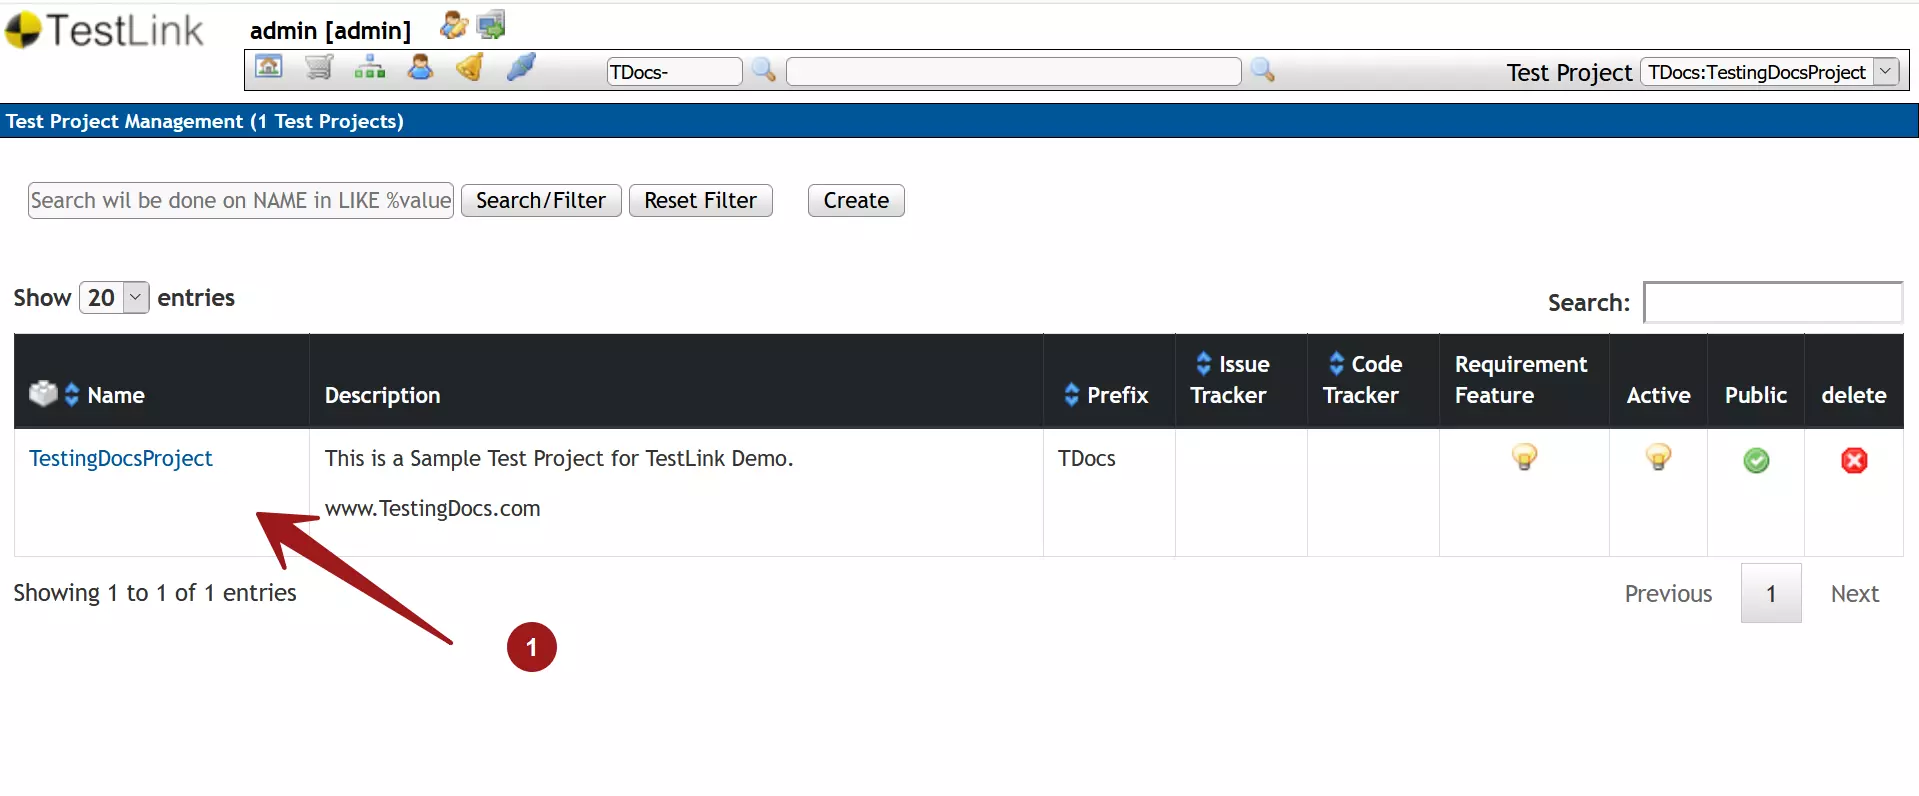

That’s it. We have successfully created a project in TestLink.
—
TestLink Tutorials
TestLink Tutorial on this website can be found at:
https://www.testingdocs.com/testlink-tutorials/