Overview
PuTTY is a free SSH(Secure SHell) and Telnet client for Windows operating system. PuTTY is used to access web and application servers securely. In this tutorial, we will learn the steps involved to download and install PuTTY on Windows. Let’s get started.
Download
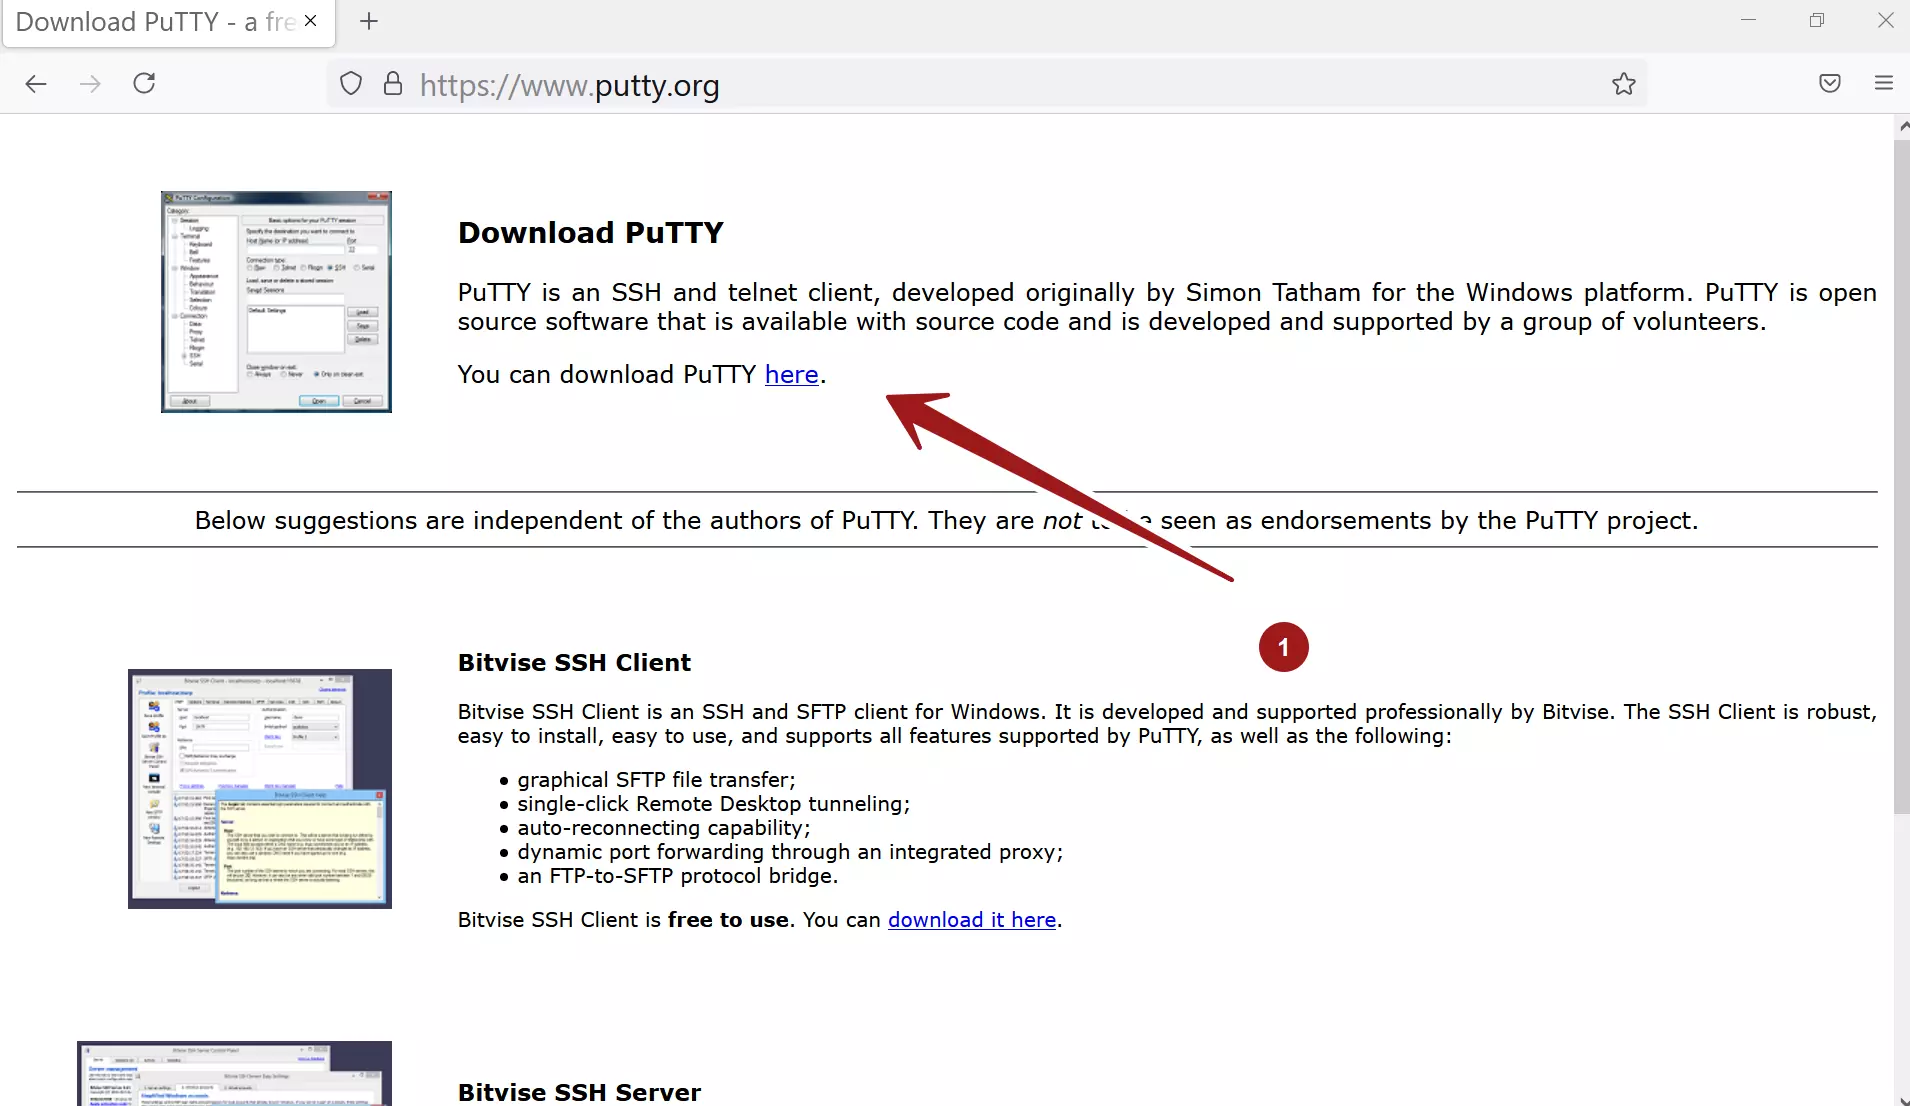
Browse https://www.putty.org/
and click on the download link.
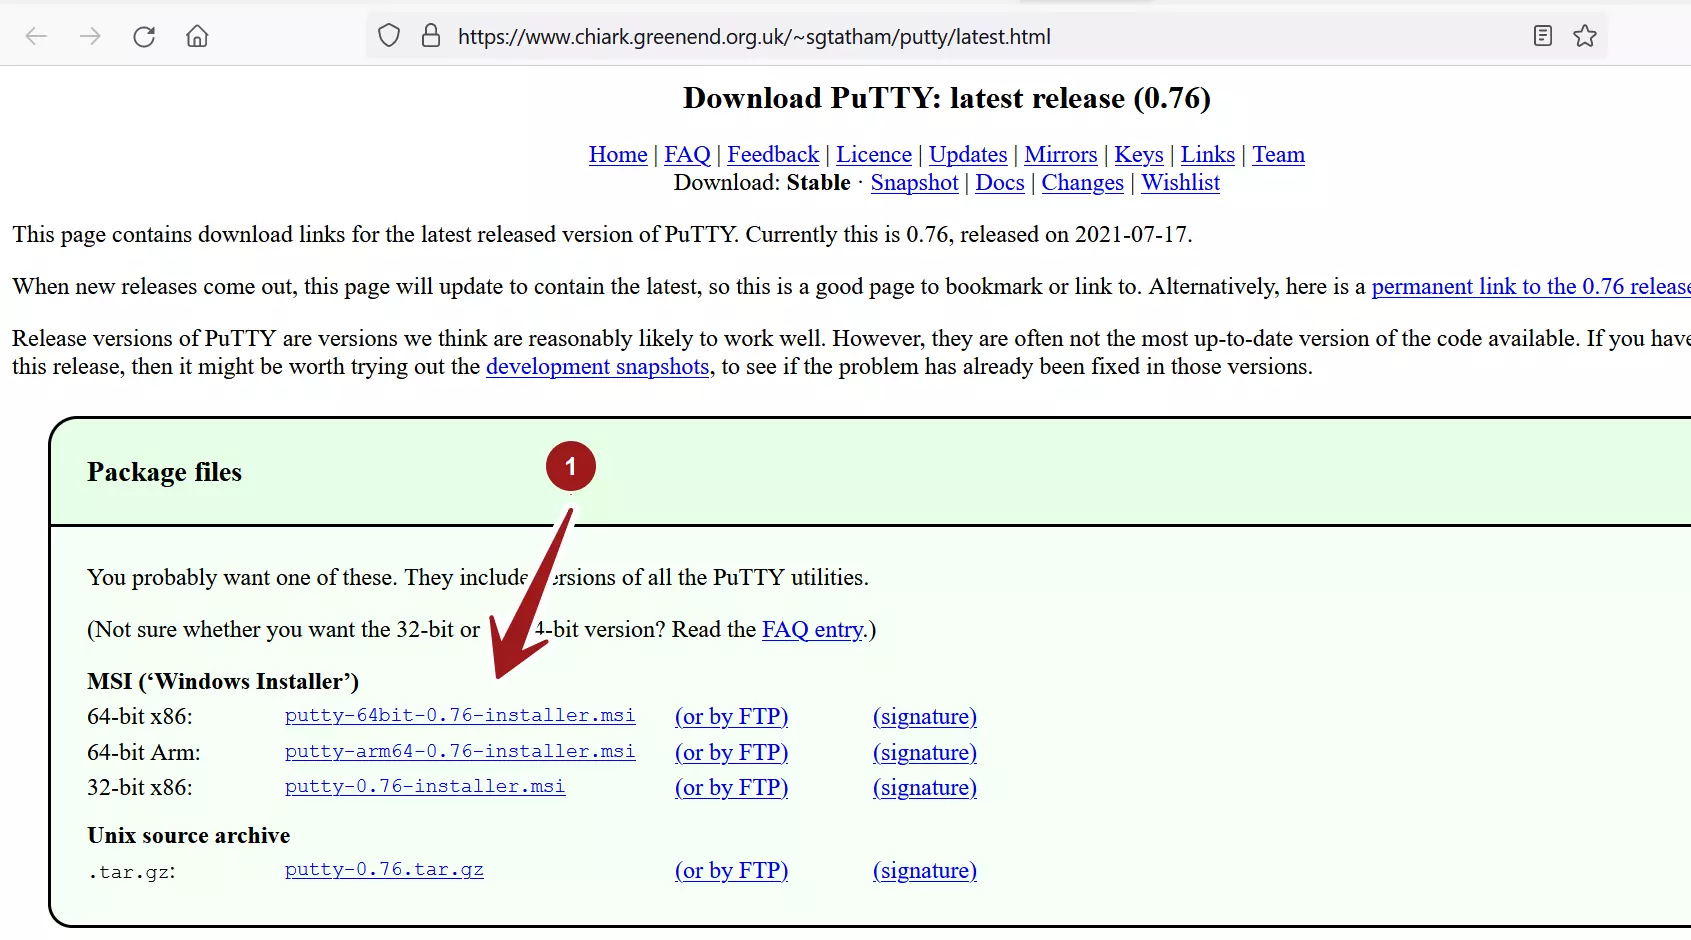
The PuTTY tool home web site is
https://www.chiark.greenend.org.uk/~sgtatham/putty/

Alternatively, navigate to the home website and pick the latest version to download. Download the Windows MSI installer. It is recommended that you download the latest 64-bit version of the installer.
Example Installer filename:
putty-64bit-<version>-installer.msi

Install
Locate the installer file on the computer and double click on the .msi to start the installer.
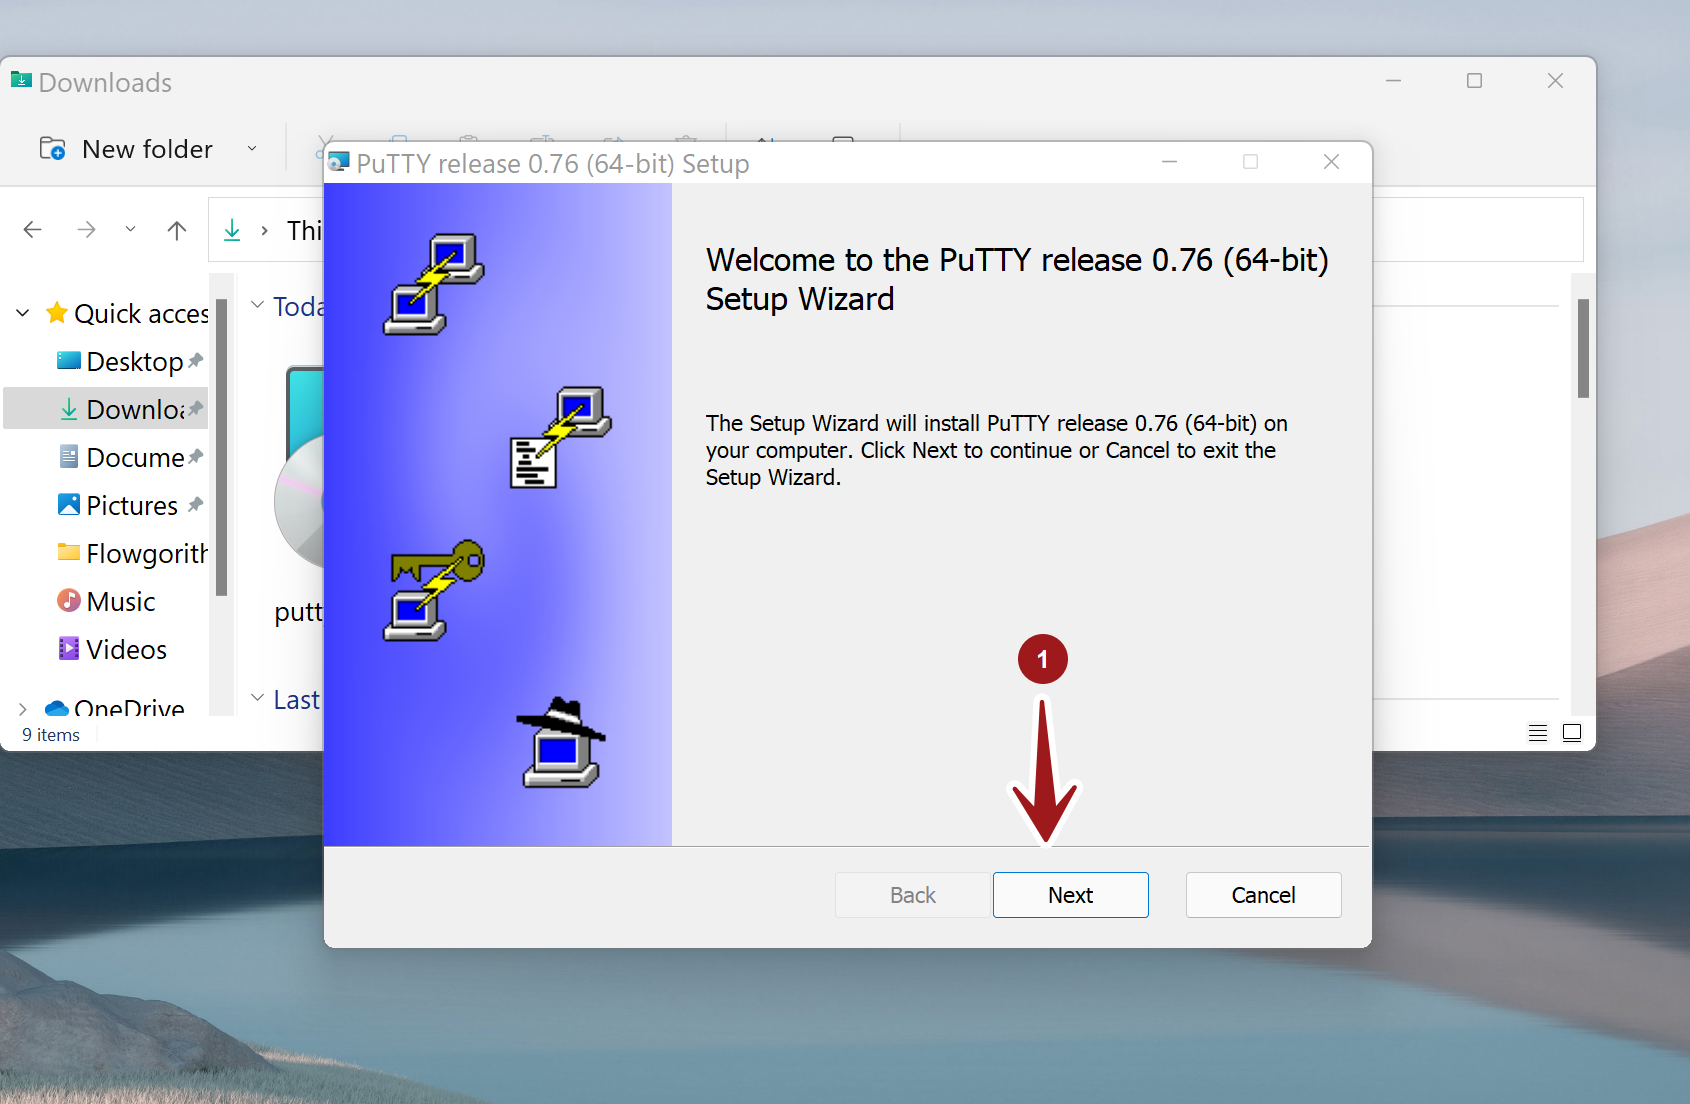

Click on the Next button on the Welcome screen.
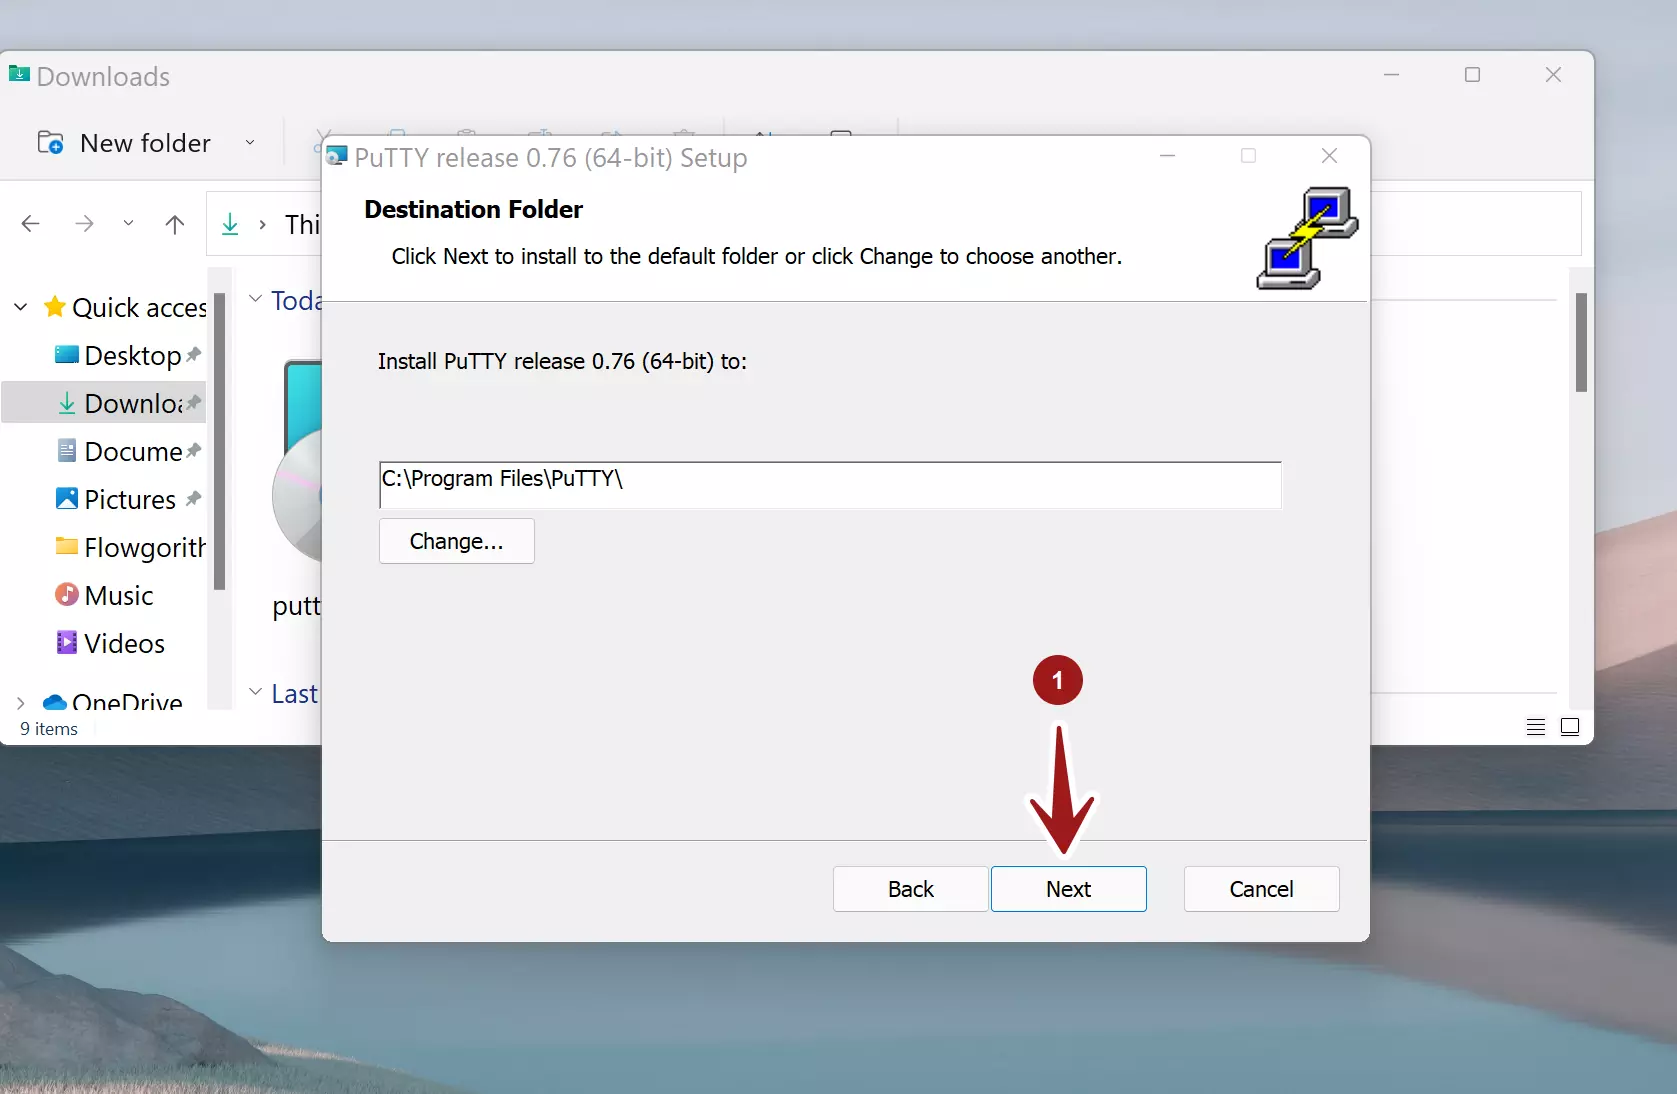
In the next screen the installer prompts for the Destination Folder for the tool. We can change the default location of the tool on this screen.
In most cases, use the default Destination Folder, and click on the Next button.

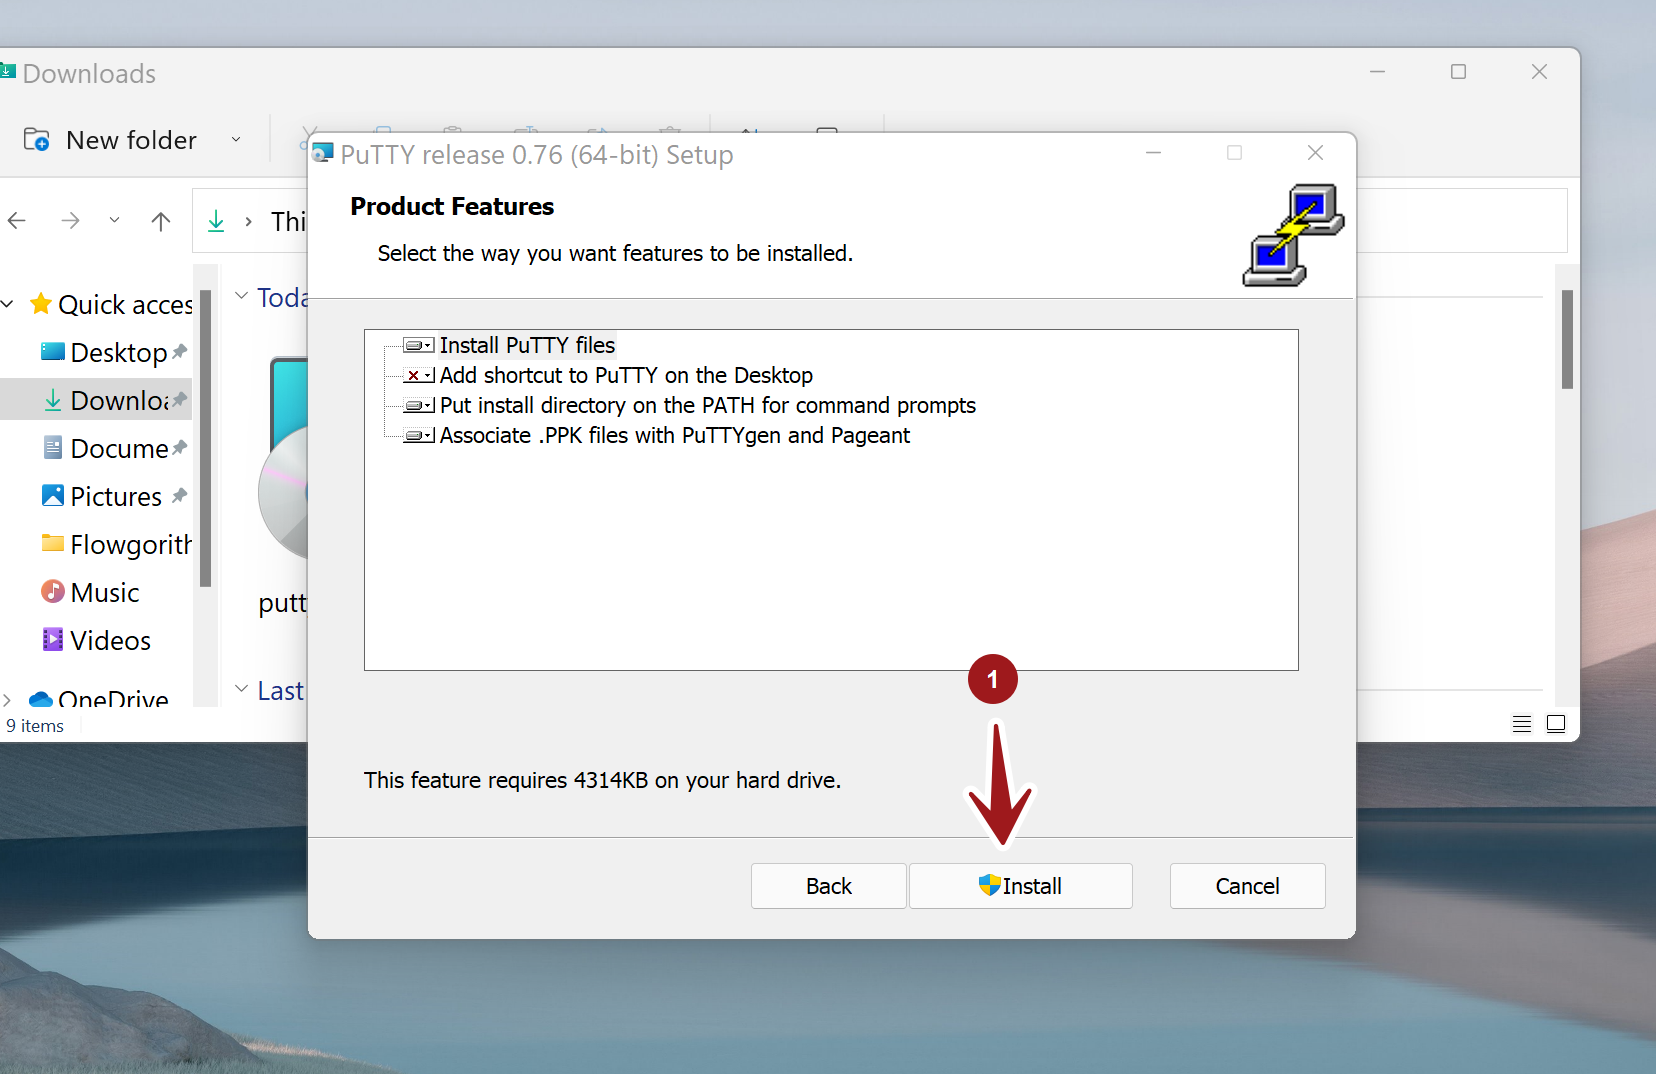
Enable all the Product Features and click on the Install button to install the tool. The install action would prompt for the UAC prompt. Click Yes on the UAC elevation prompt.

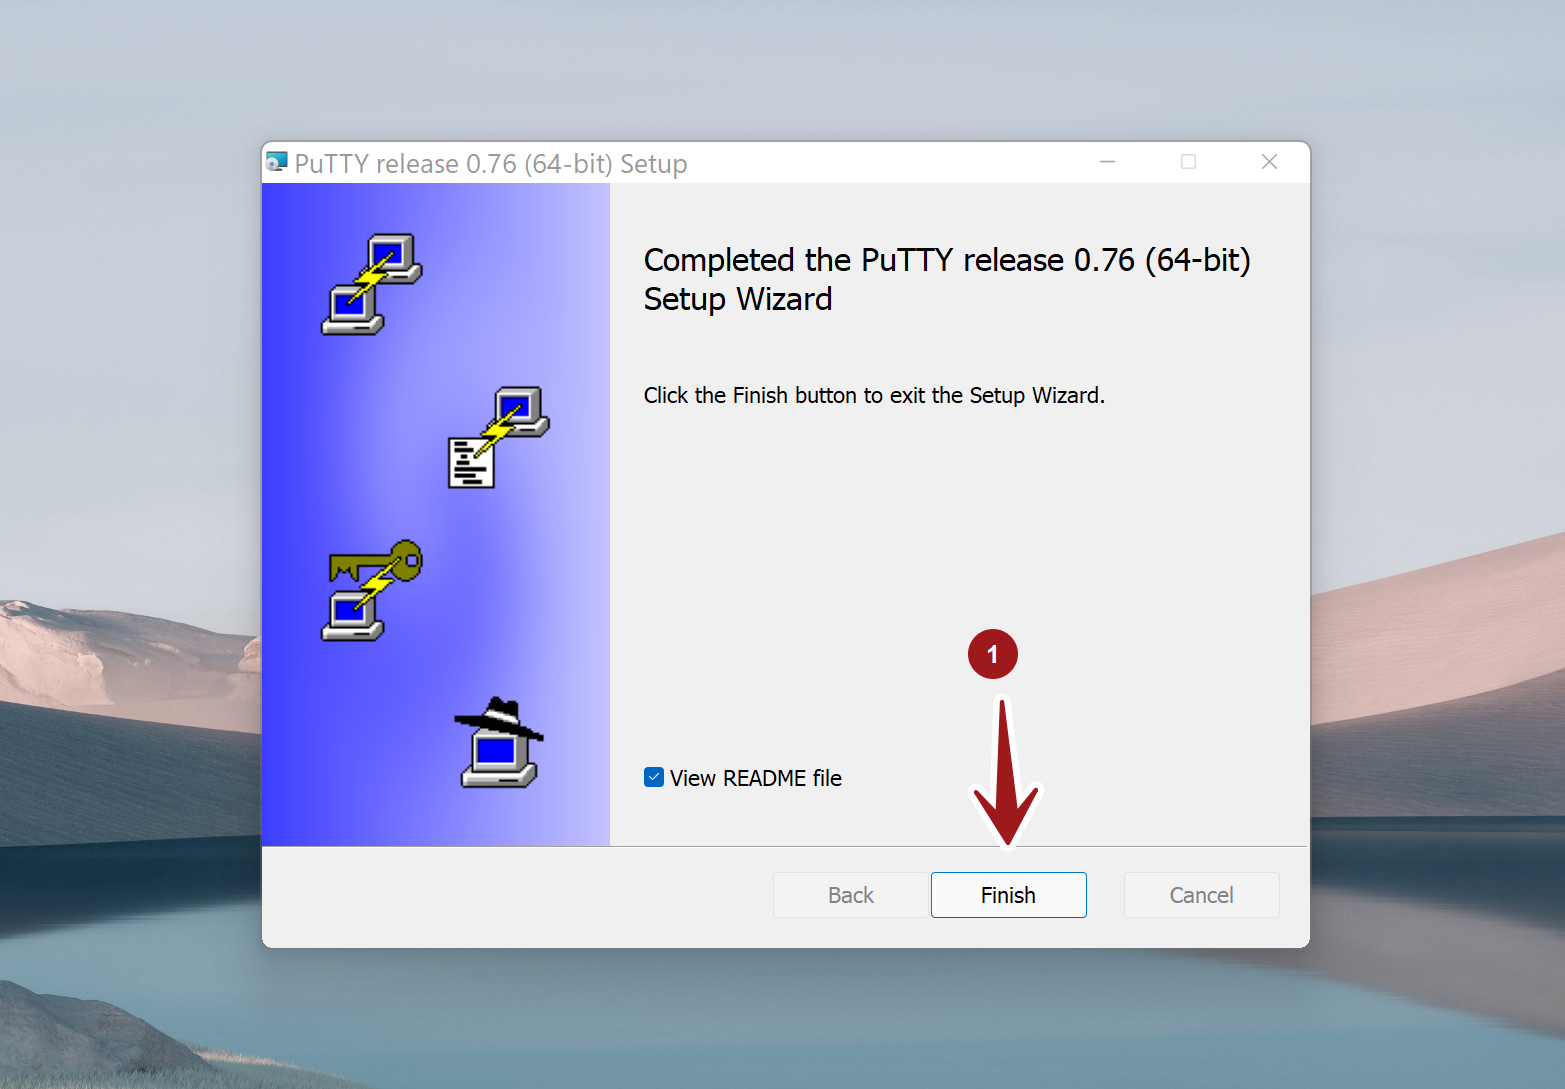
When the PuTTY installation has been completed successfully, it would display a Completed screen. Click on the Finish button to exit the installation wizard.
To view the Readme file check on the checkbox option:
View README file.