

Overview
This tutorial outlines the steps to download Git and install it on Windows 11 operating system. Windows 11 is the latest Windows operating system version from Microsoft Corporation.
Environment
Windows 11 Operating System
Web Browser like Chrome, Firefox, Edge etc.
Download Git
Open web browser and navigate tp the Git download URL.
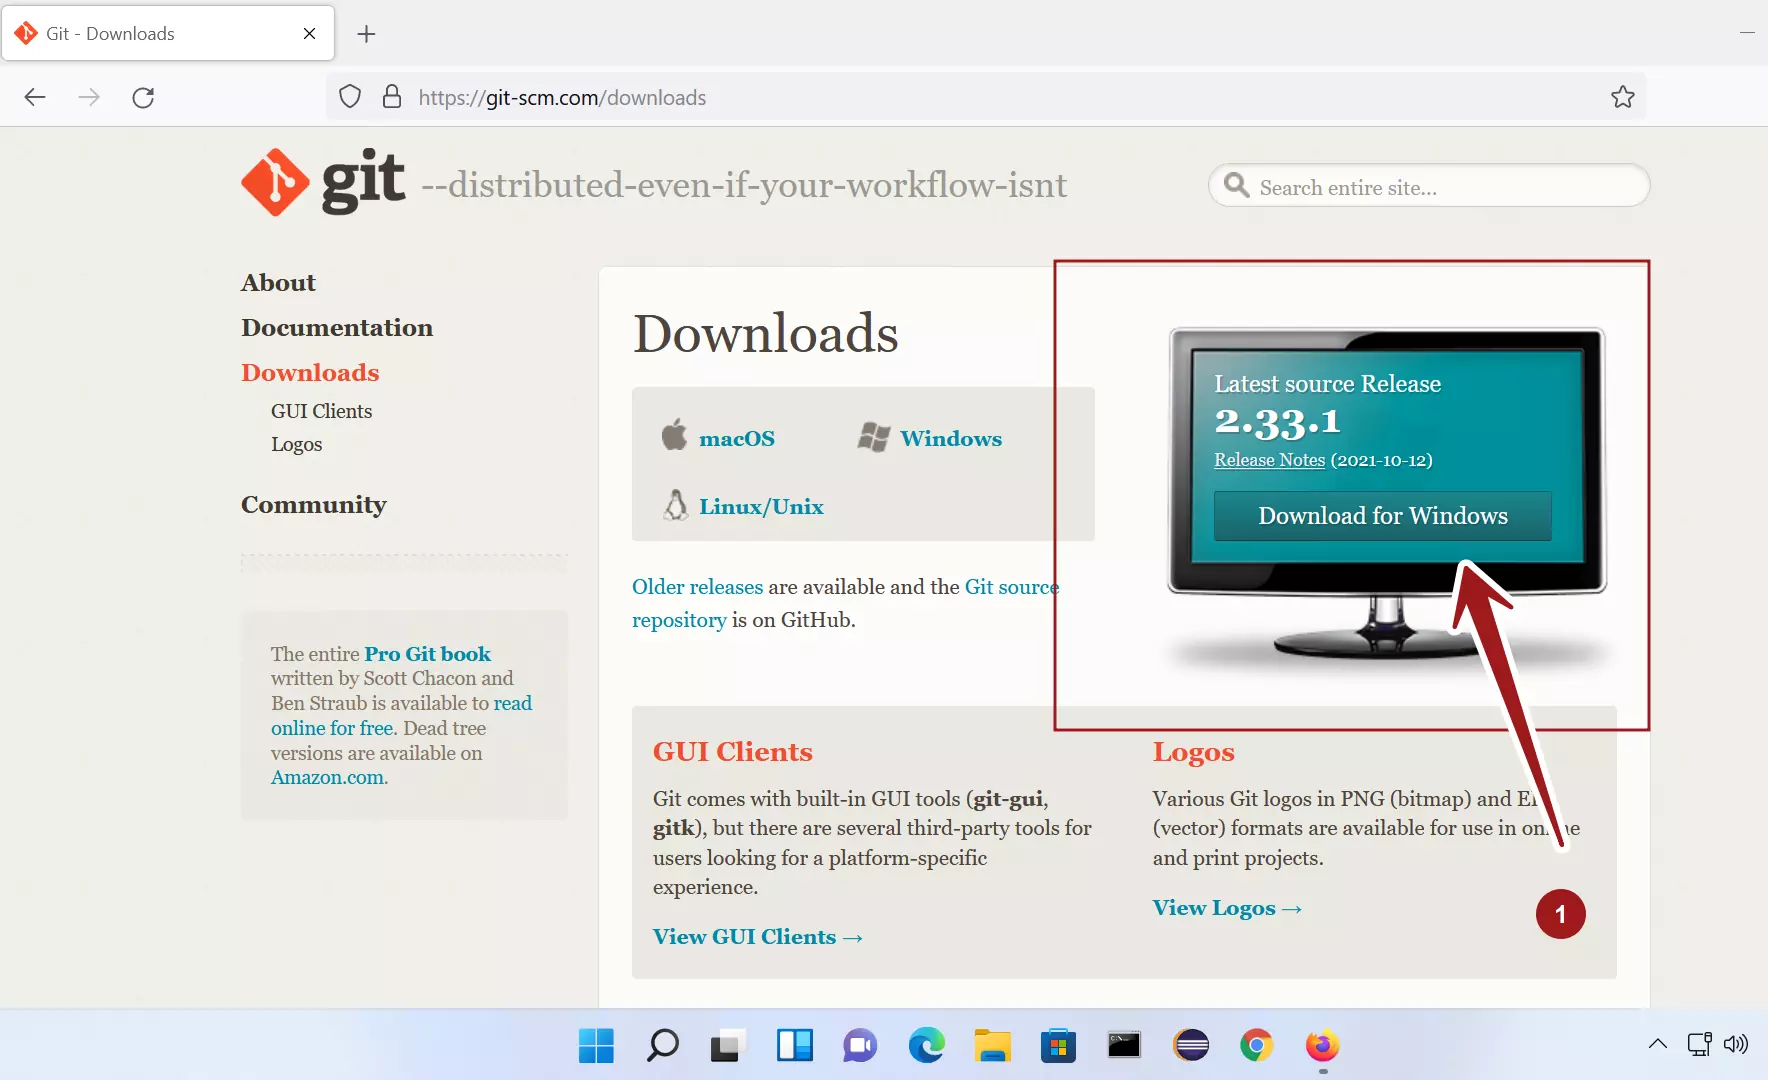

Choose Windows and click on the Download for Windows button.
Download the installer file on to the computer.
Install Git
Open File explorer and locate the Git installer. In most cases, it would be located in the Downloads folder.
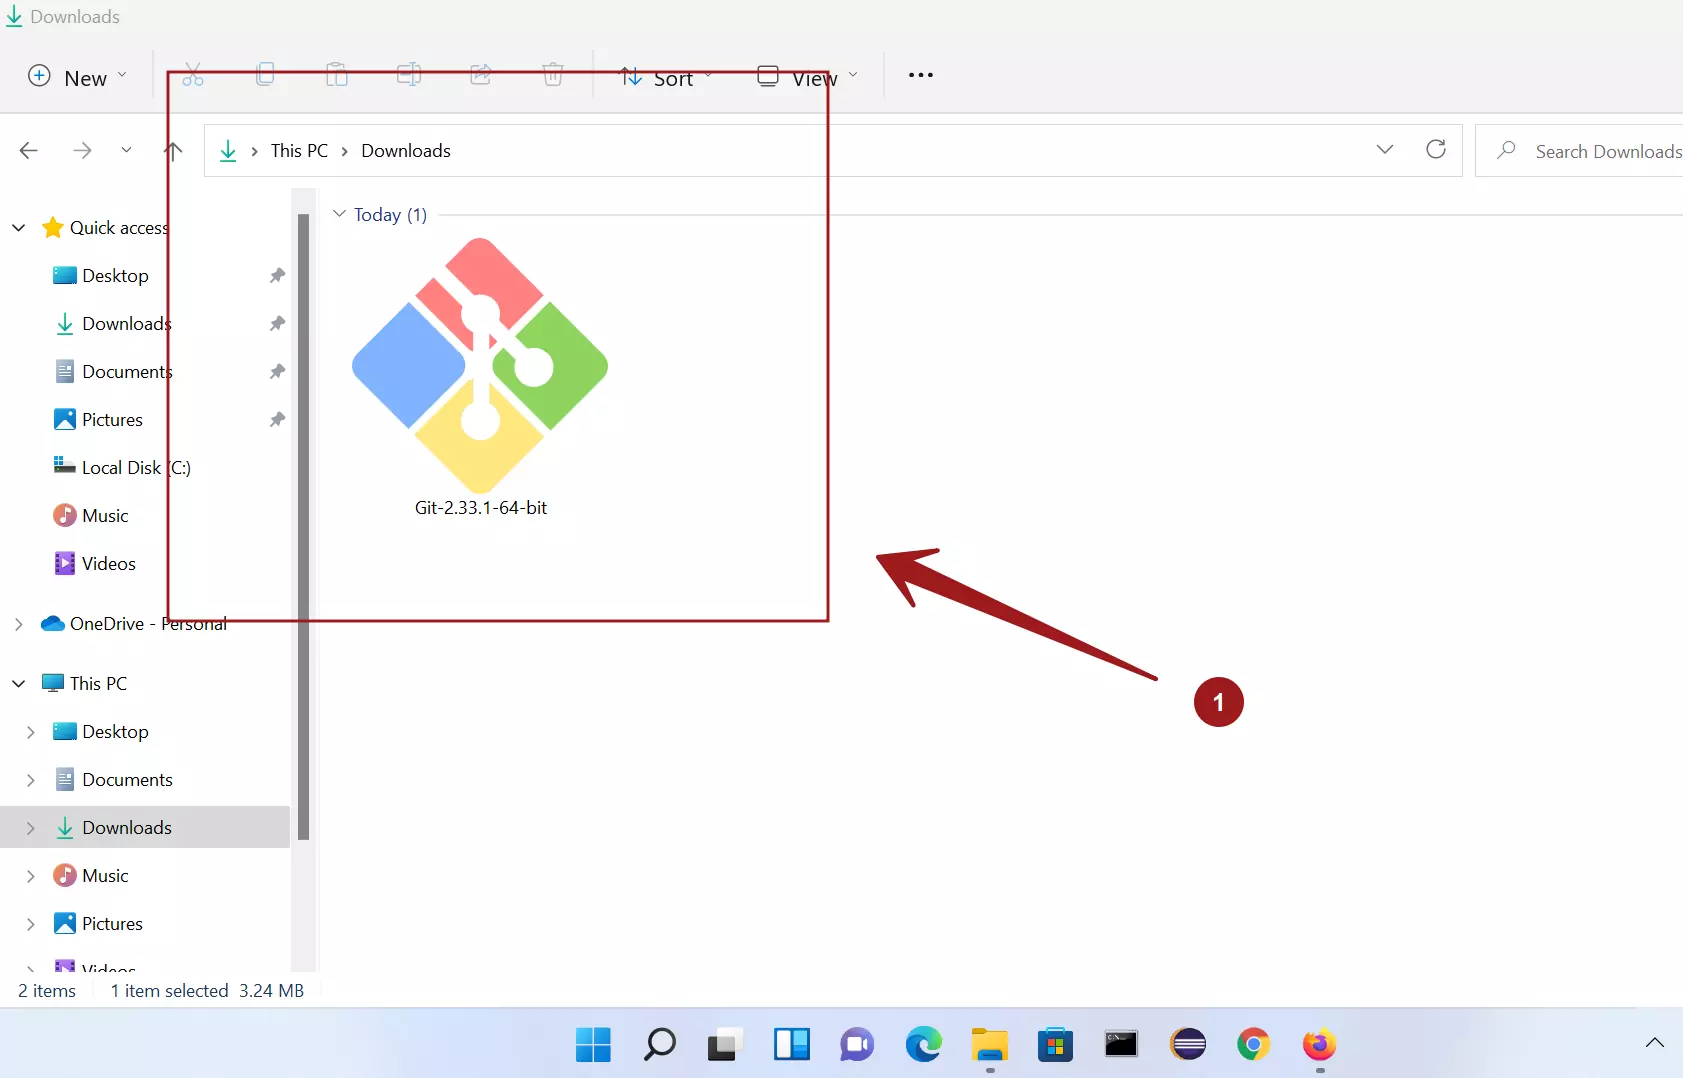

Run the installer, double click on the installer file.
Click Yes in the UAC prompt.
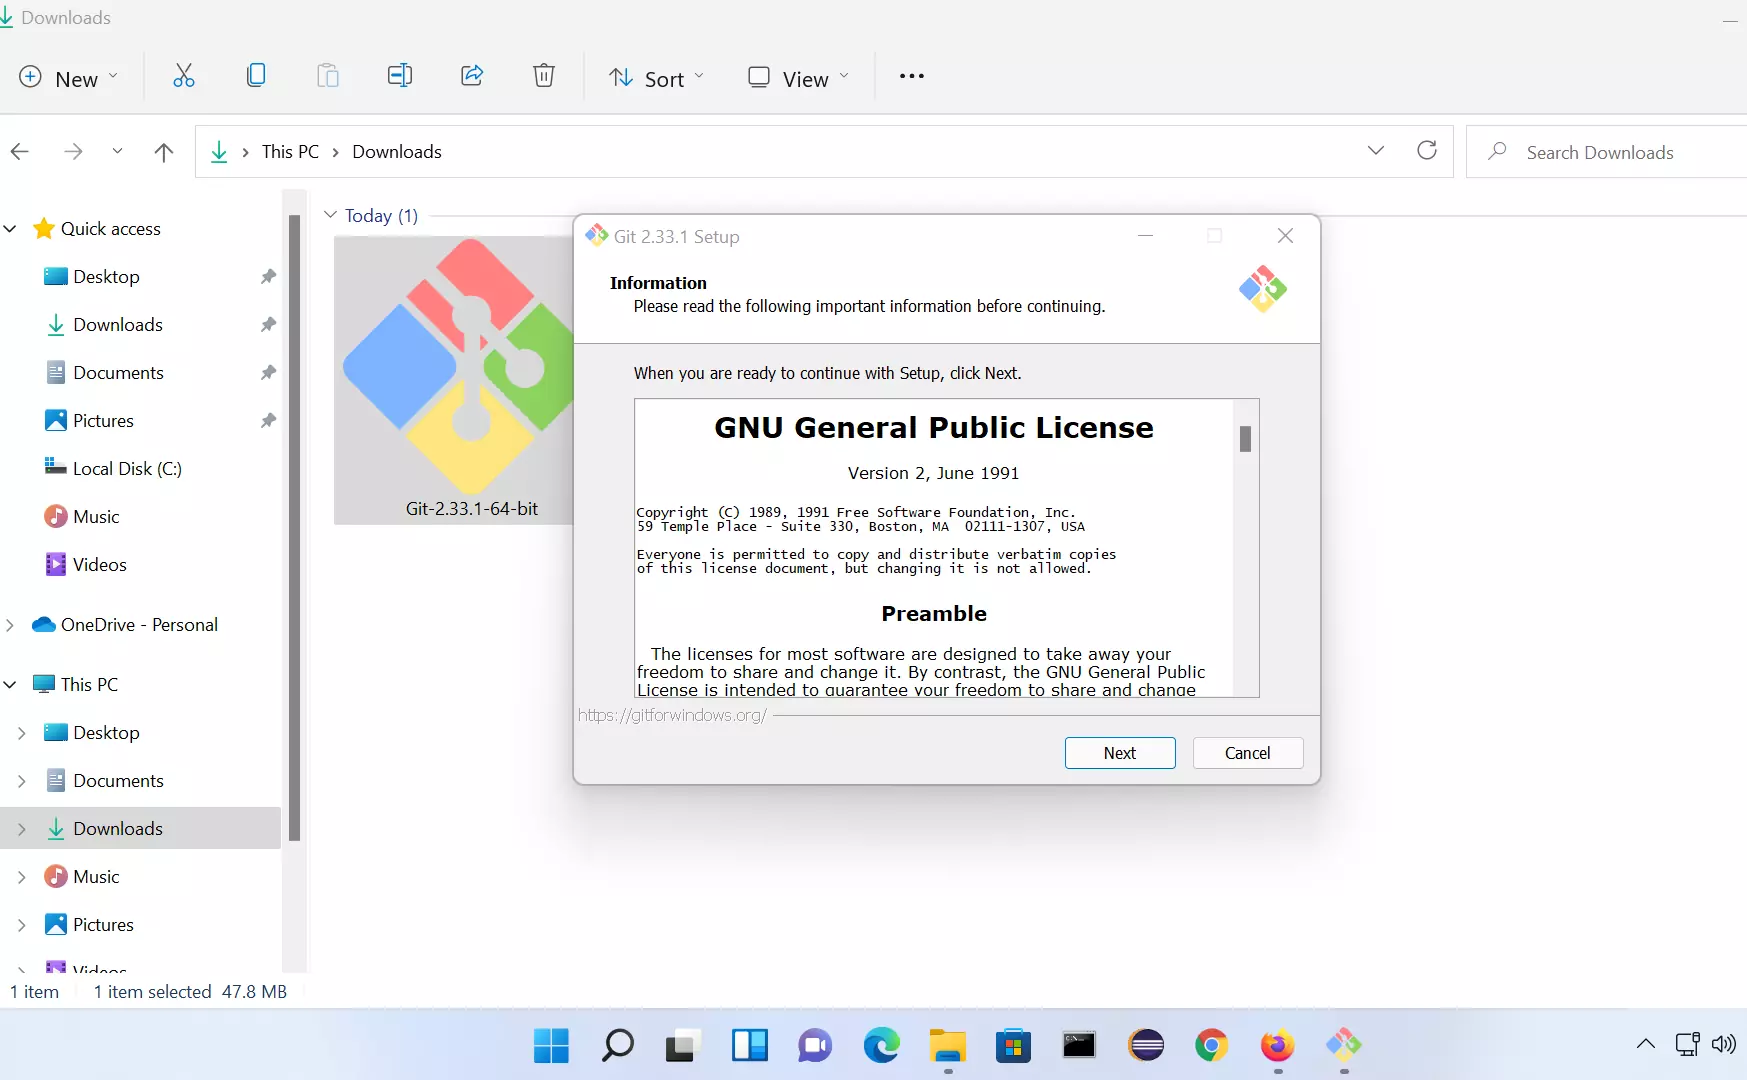

Click on the Next button. Installation is simple. Choose the options in the setup wizard screens and click on the Next button. Some important install screens are shown below:
Select components
In the select components screen, we can choose the components that can be installed on the machine.
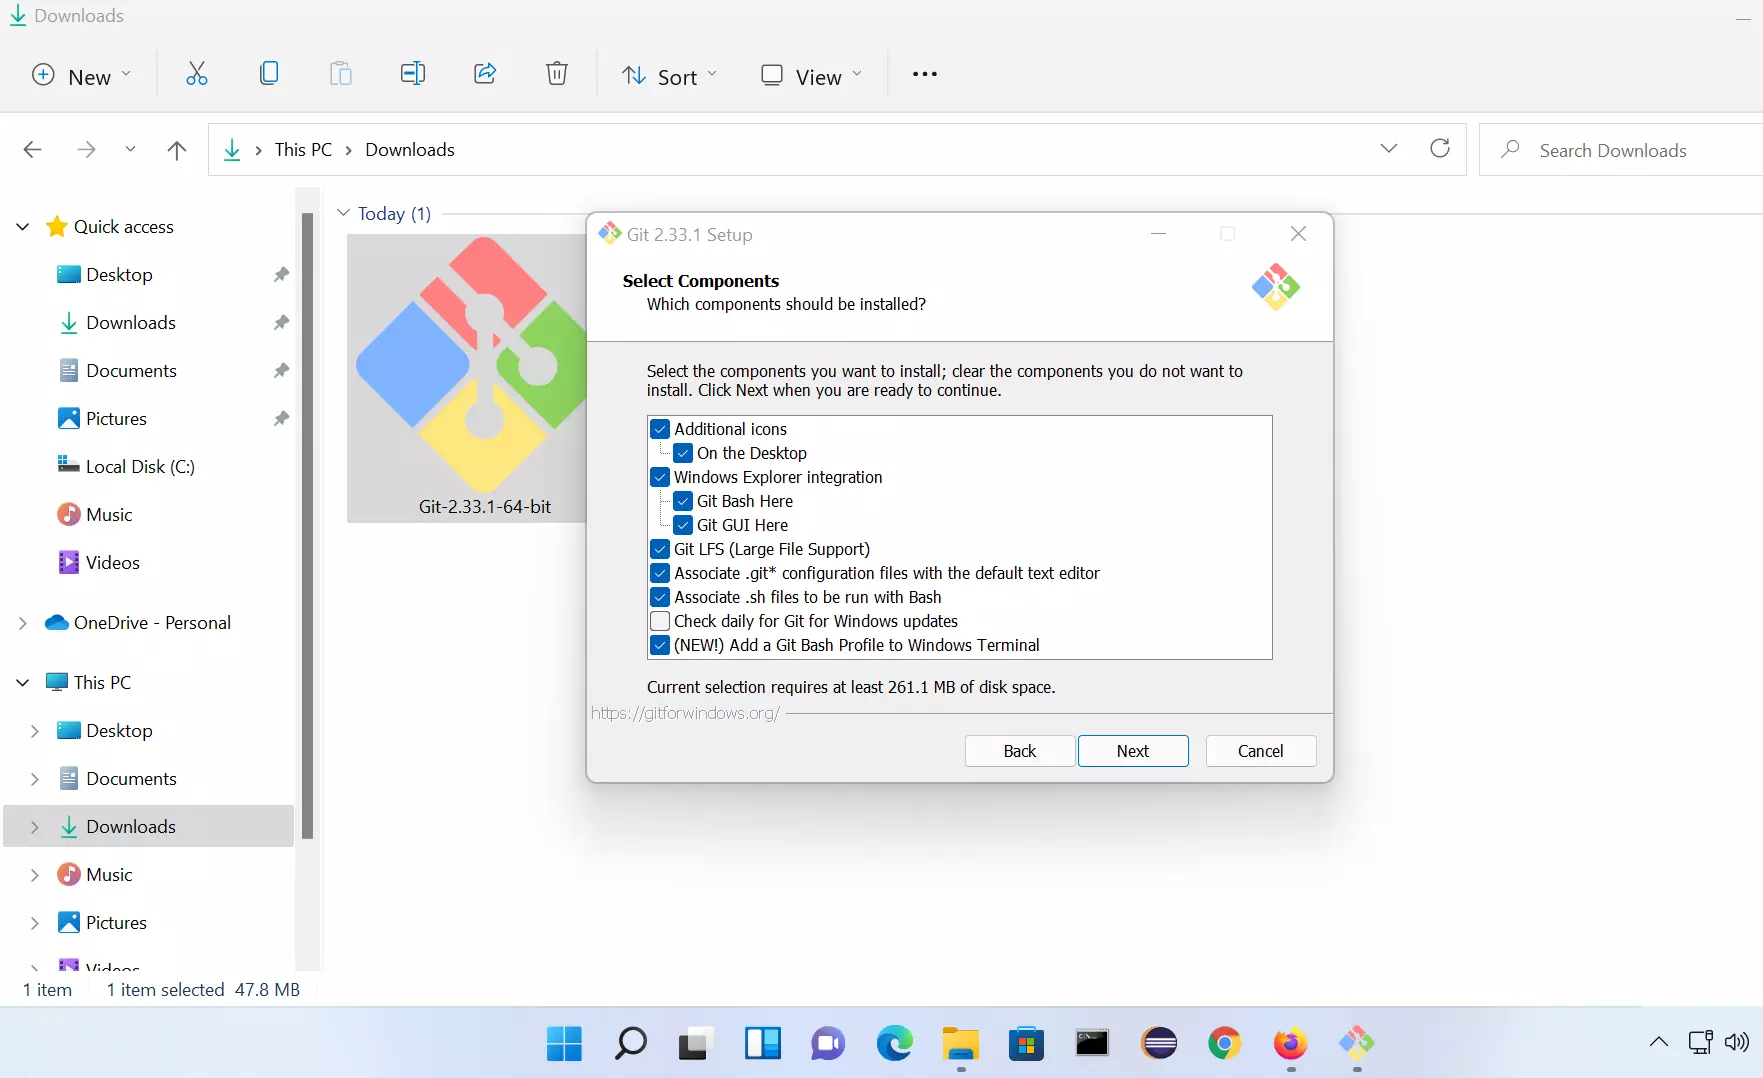

Choose the components and click on the Next button.
New repositories initial branch
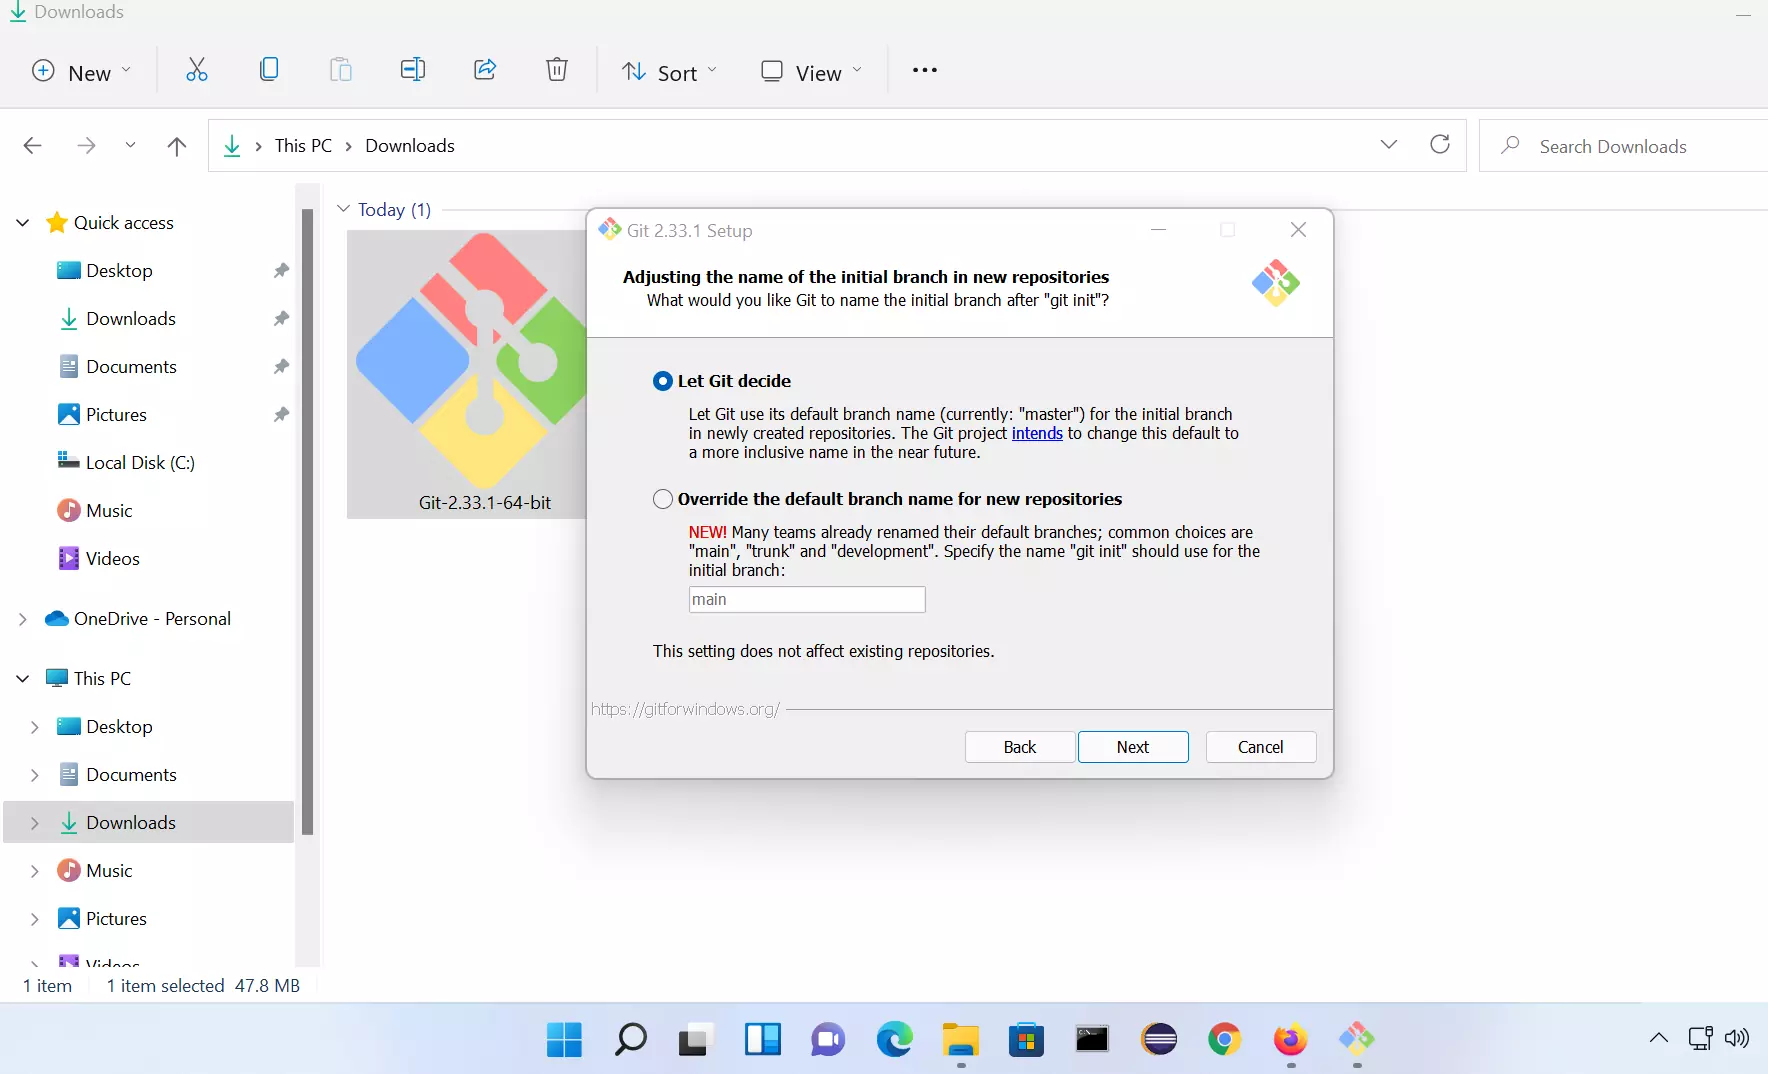

We can customize the initial branch for the new git repositories in this screen. Select Let Git decide for default naming convention.
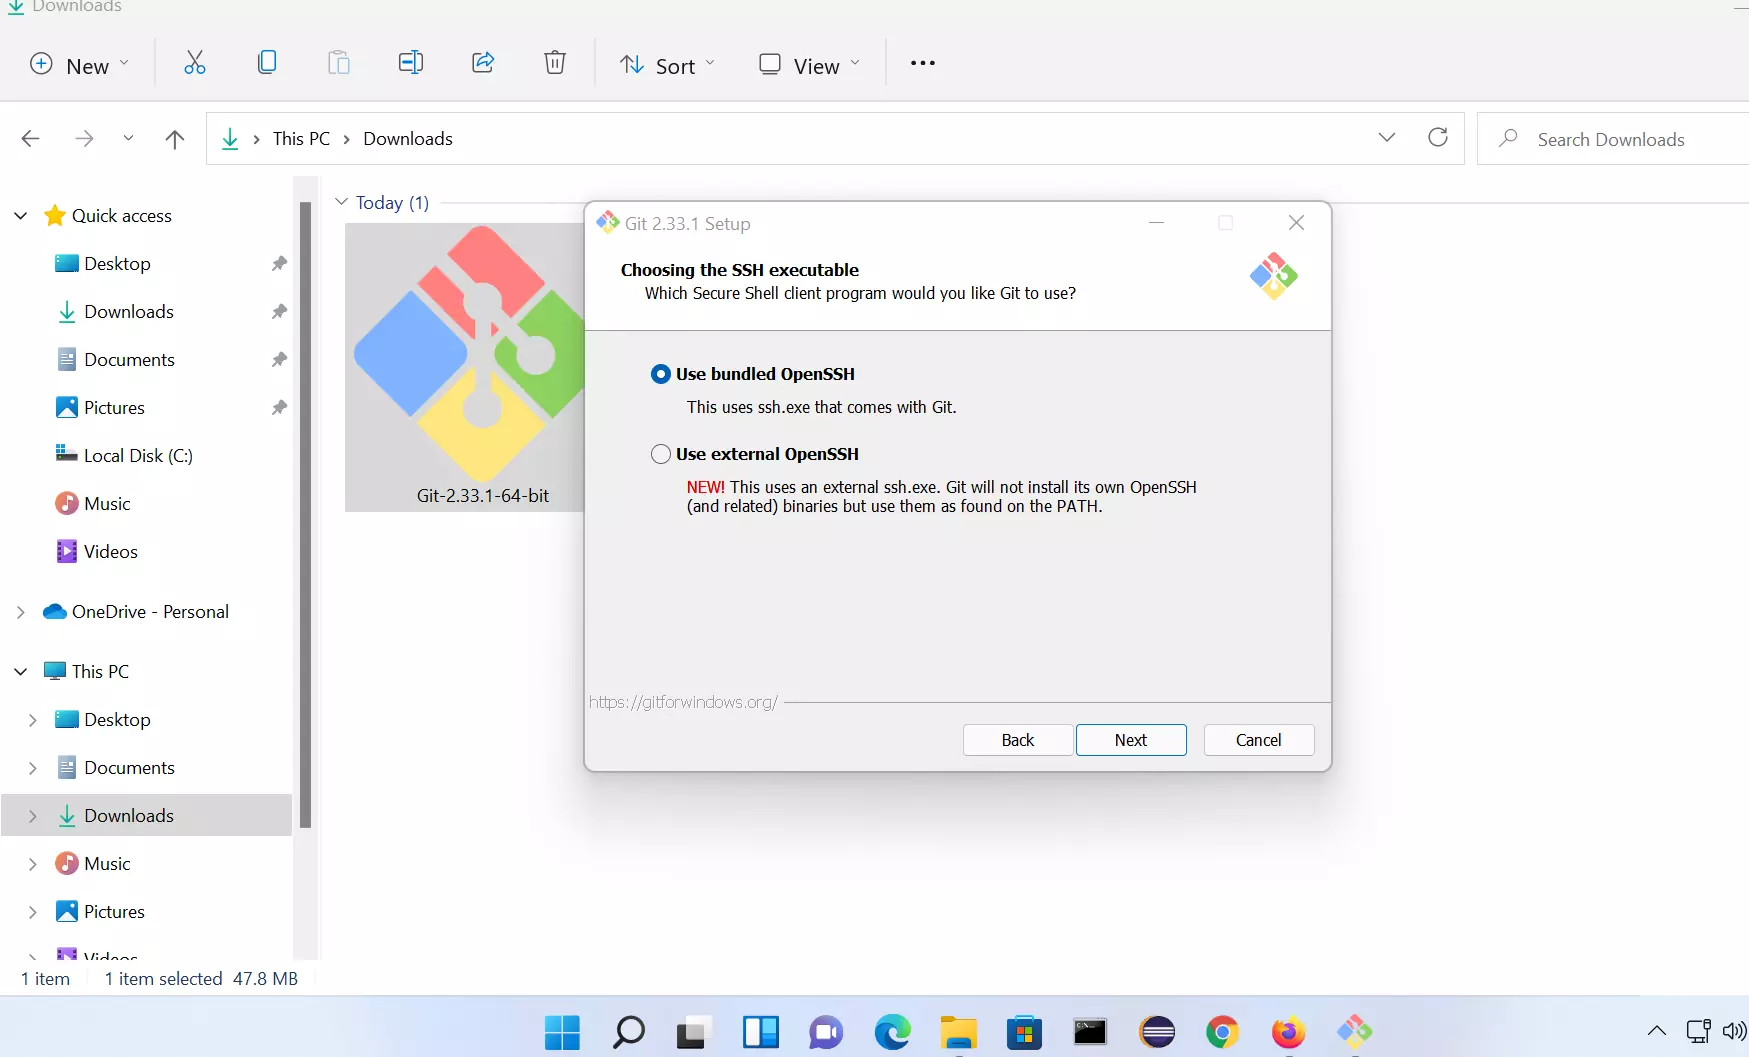
SSH & SSL settings
Git bundles SSH executable along with it. In this we can specify Git to use external SSH program or the bundled one.

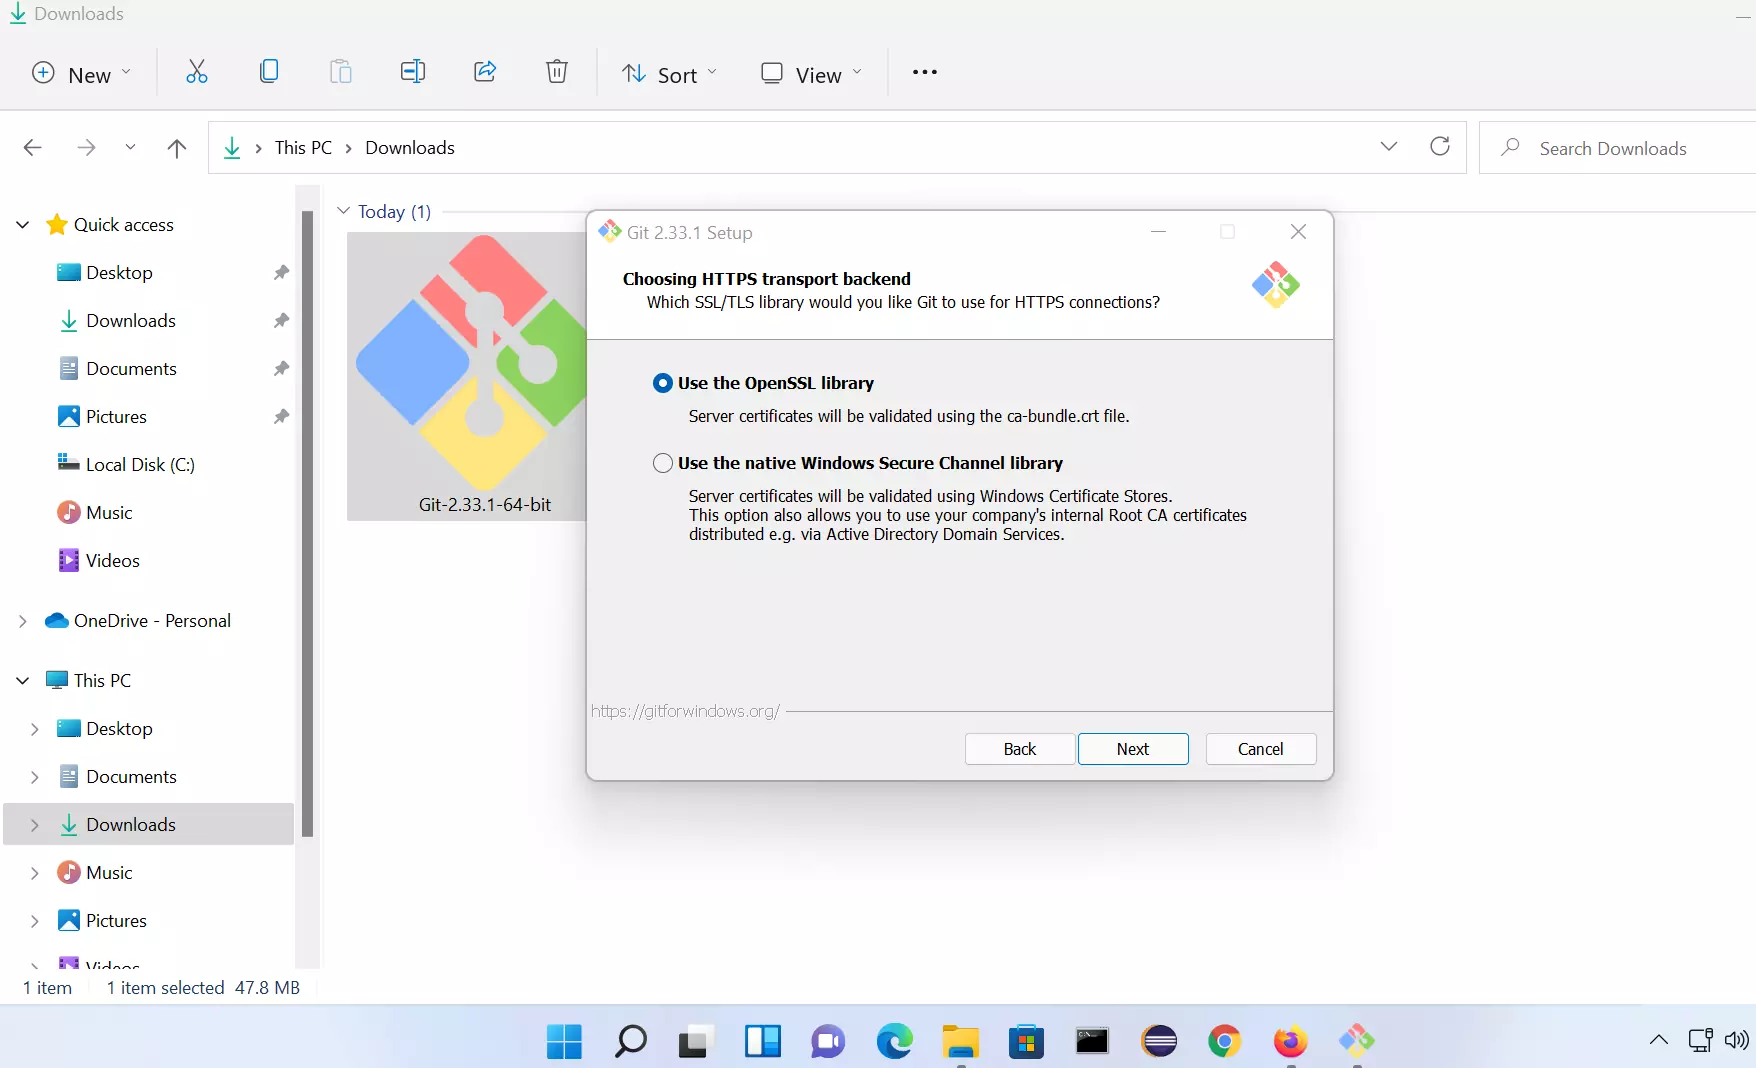
SSL certificates validation for HTTPS connections.

Click on Finish button to complete the Git installation.
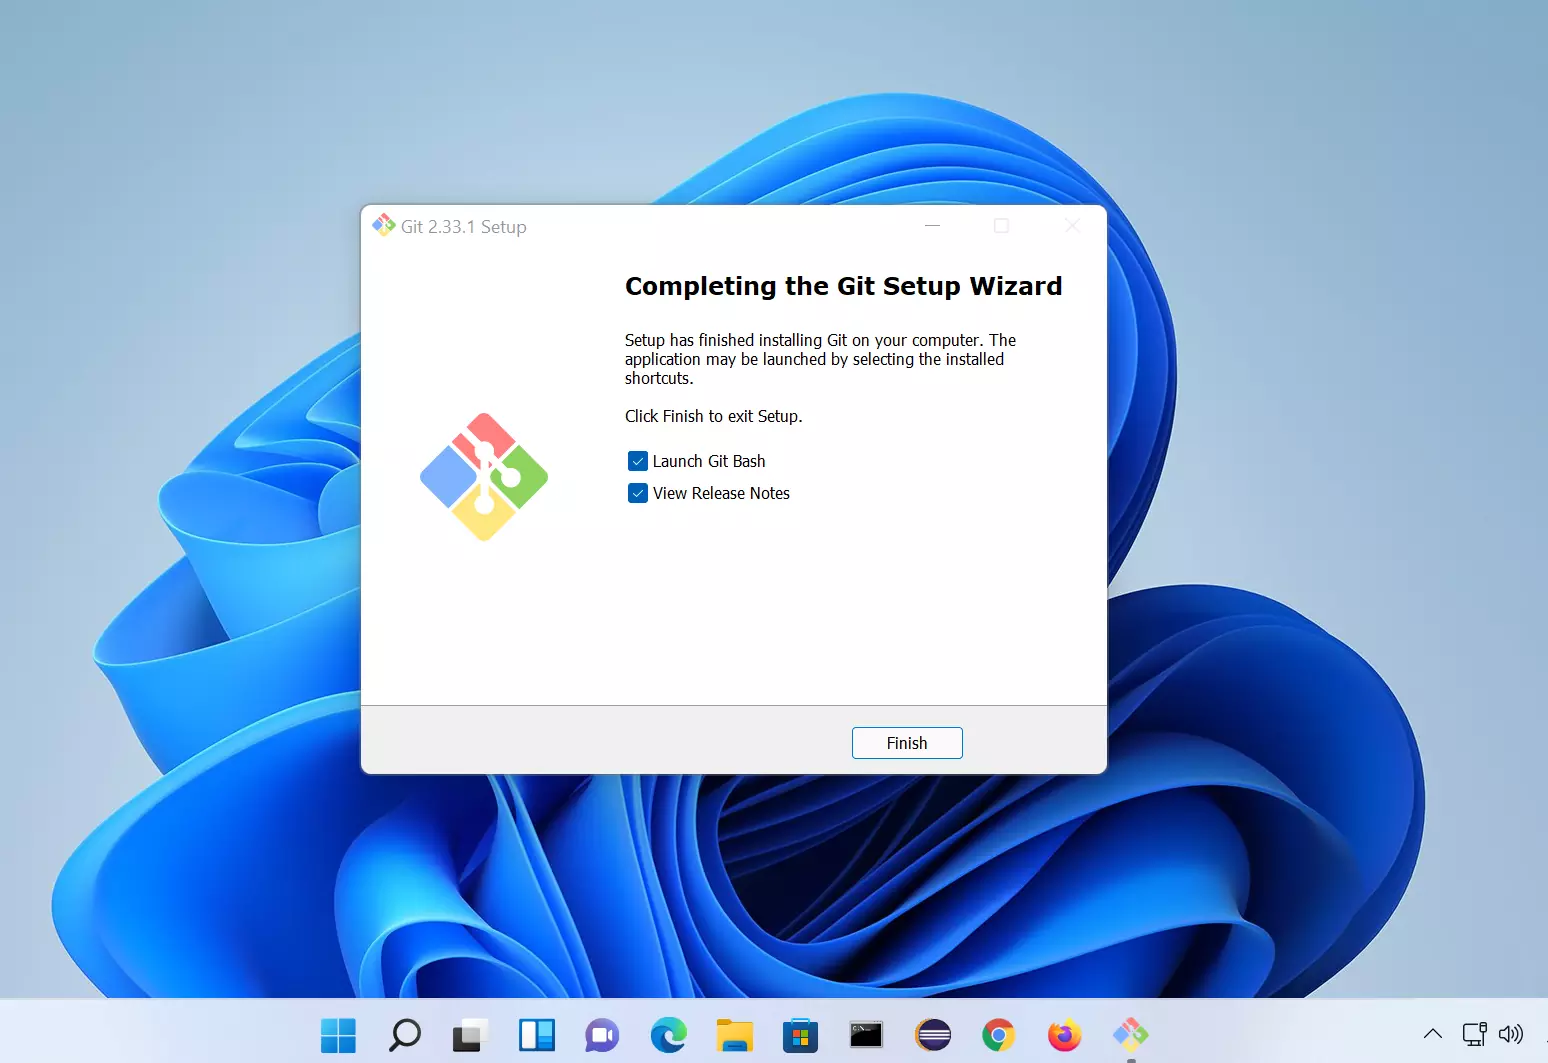

Check the Launch Git Bash option to launch the Git bash window.
That’s it we have successfully installed Git on Windows 11 Operating system.
—
Windows 11 Tutorials
https://www.testingdocs.com/windows-11-tutorials/
More Information on Windows 11
https://www.microsoft.com/en-us/windows