

Introduction
In this tutorial, we will learn the steps to install an Apache HTTP web server on Ubuntu Linux machine. Apache is an open-source web server to create your own websites.
Apache is the basic component in the LAMP stack. ( Linux, Apache, MySQL server and PHP) . Installing Apache Web Server is the basic step for developing or running web applications that depend on the LAMP stack. So, let’s get started.
Install Apache
Open a command shell (Terminal window).
Issue the following command to install Apache HTTP web server on the Linux machine.
$ sudo apt install apache2
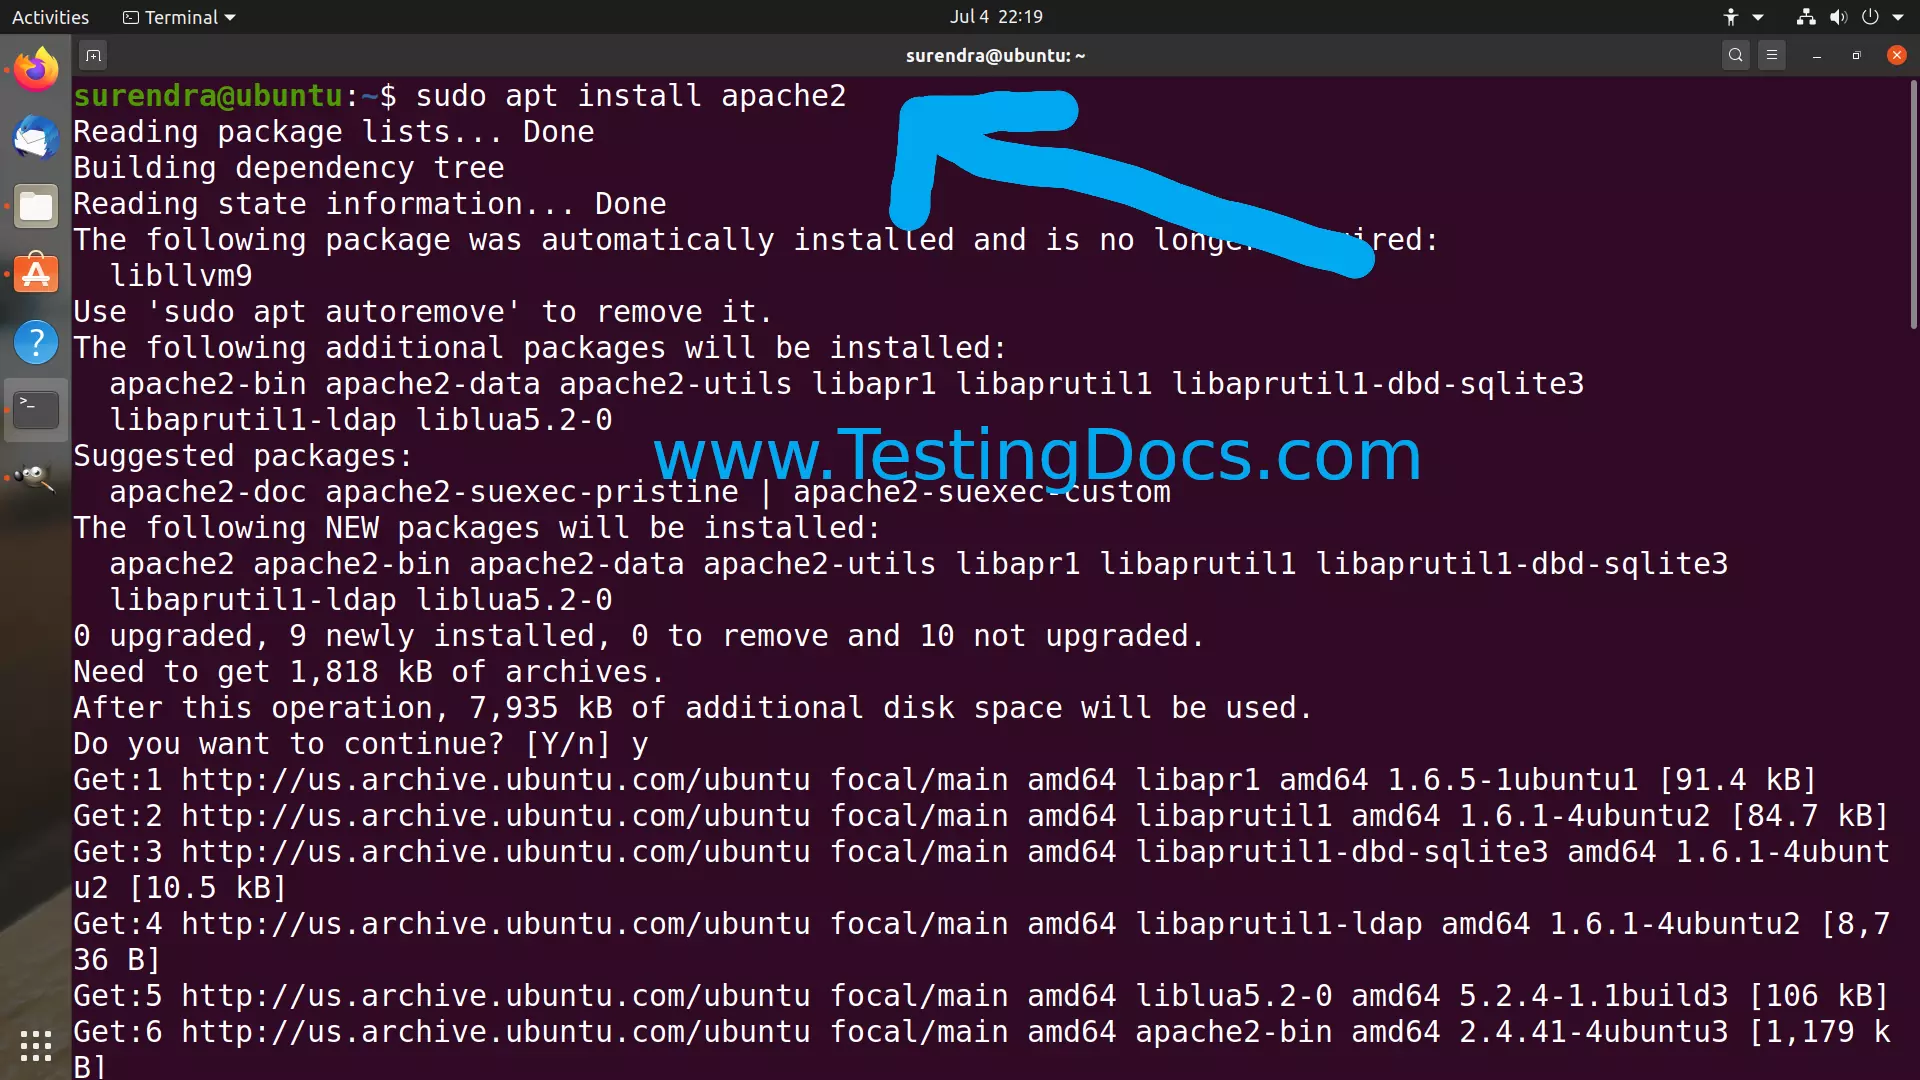

The command would automatically download and install the necessary packages to run the Apache webserver. This would also set up and enable the dependent modules.
For example:
Setting up apache2-utils (2.4.41-4ubuntu3) …
Setting up apache2-bin (2.4.41-4ubuntu3) …
Setting up apache2 (2.4.41-4ubuntu3) …
Enabling module mpm_event.
Enabling module authz_core.
Enabling module authz_host.
Enabling module authn_core.
Enabling module auth_basic.
Enabling module access_compat.
Enabling module authn_file.
Enabling module authz_user.
Enabling module alias.
Enabling module dir.
Verification
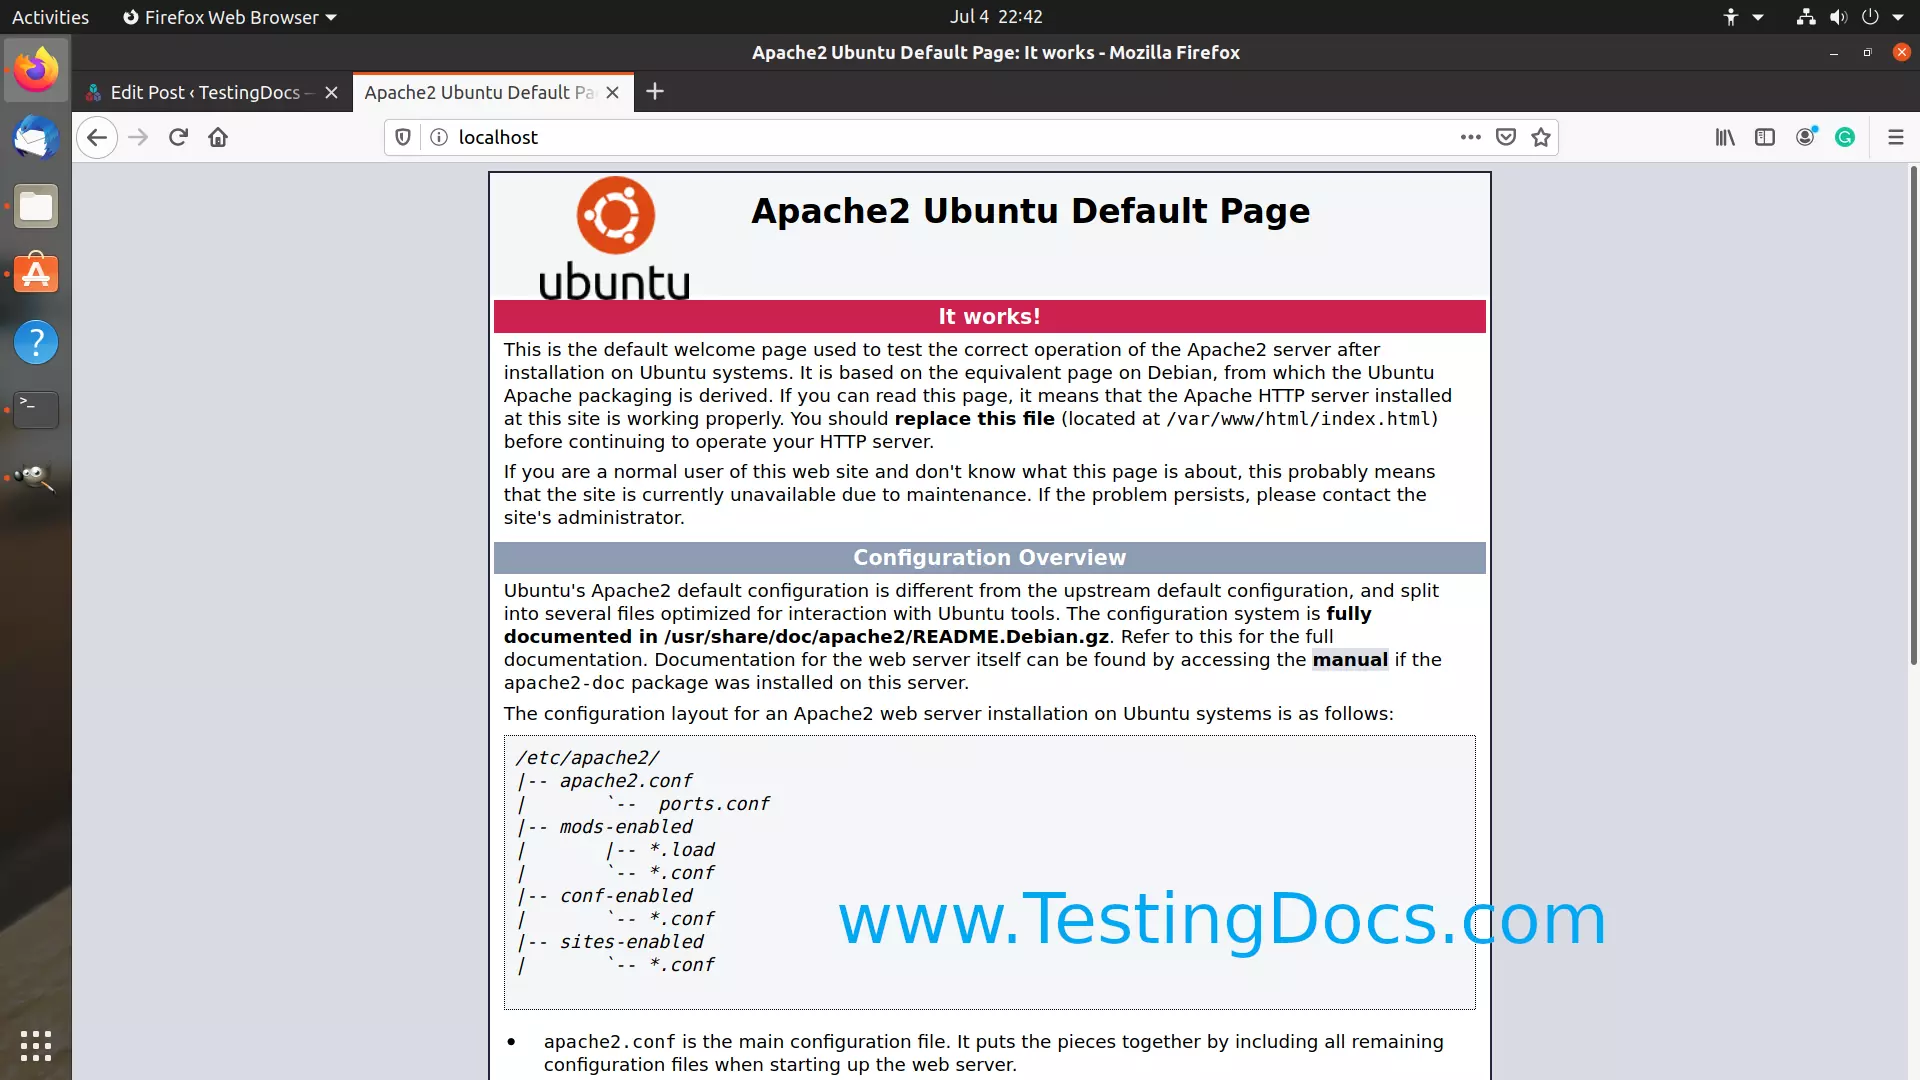
To verify the proper install of the Apache webserver, open your favorite web browser and open the default Apache URL.
http://localhost
The default Apache webpage should load on the browser successfully. This is the default welcome Apache webpage used to test the correct install of the Apache server on Ubuntu systems.
That’s it!. We are done with the Apache install on Linux. We can install other components in the LAMP stack like MySQL server and PHP.
MySQL Install
https://www.testingdocs.com/install-mysql-server-on-linux/
More information on Apache Web Server: