

Overview
In this tutorial, we will install the JetBrains Toolbox App on the Windows 11 operating system. The JetBrains Toolbox App is a software management and installation tool developed by JetBrains to simplify the process of managing and updating JetBrains IDEs and other related tools. We can manage and install JetBrains IDE tools easily using the app hassle-free.
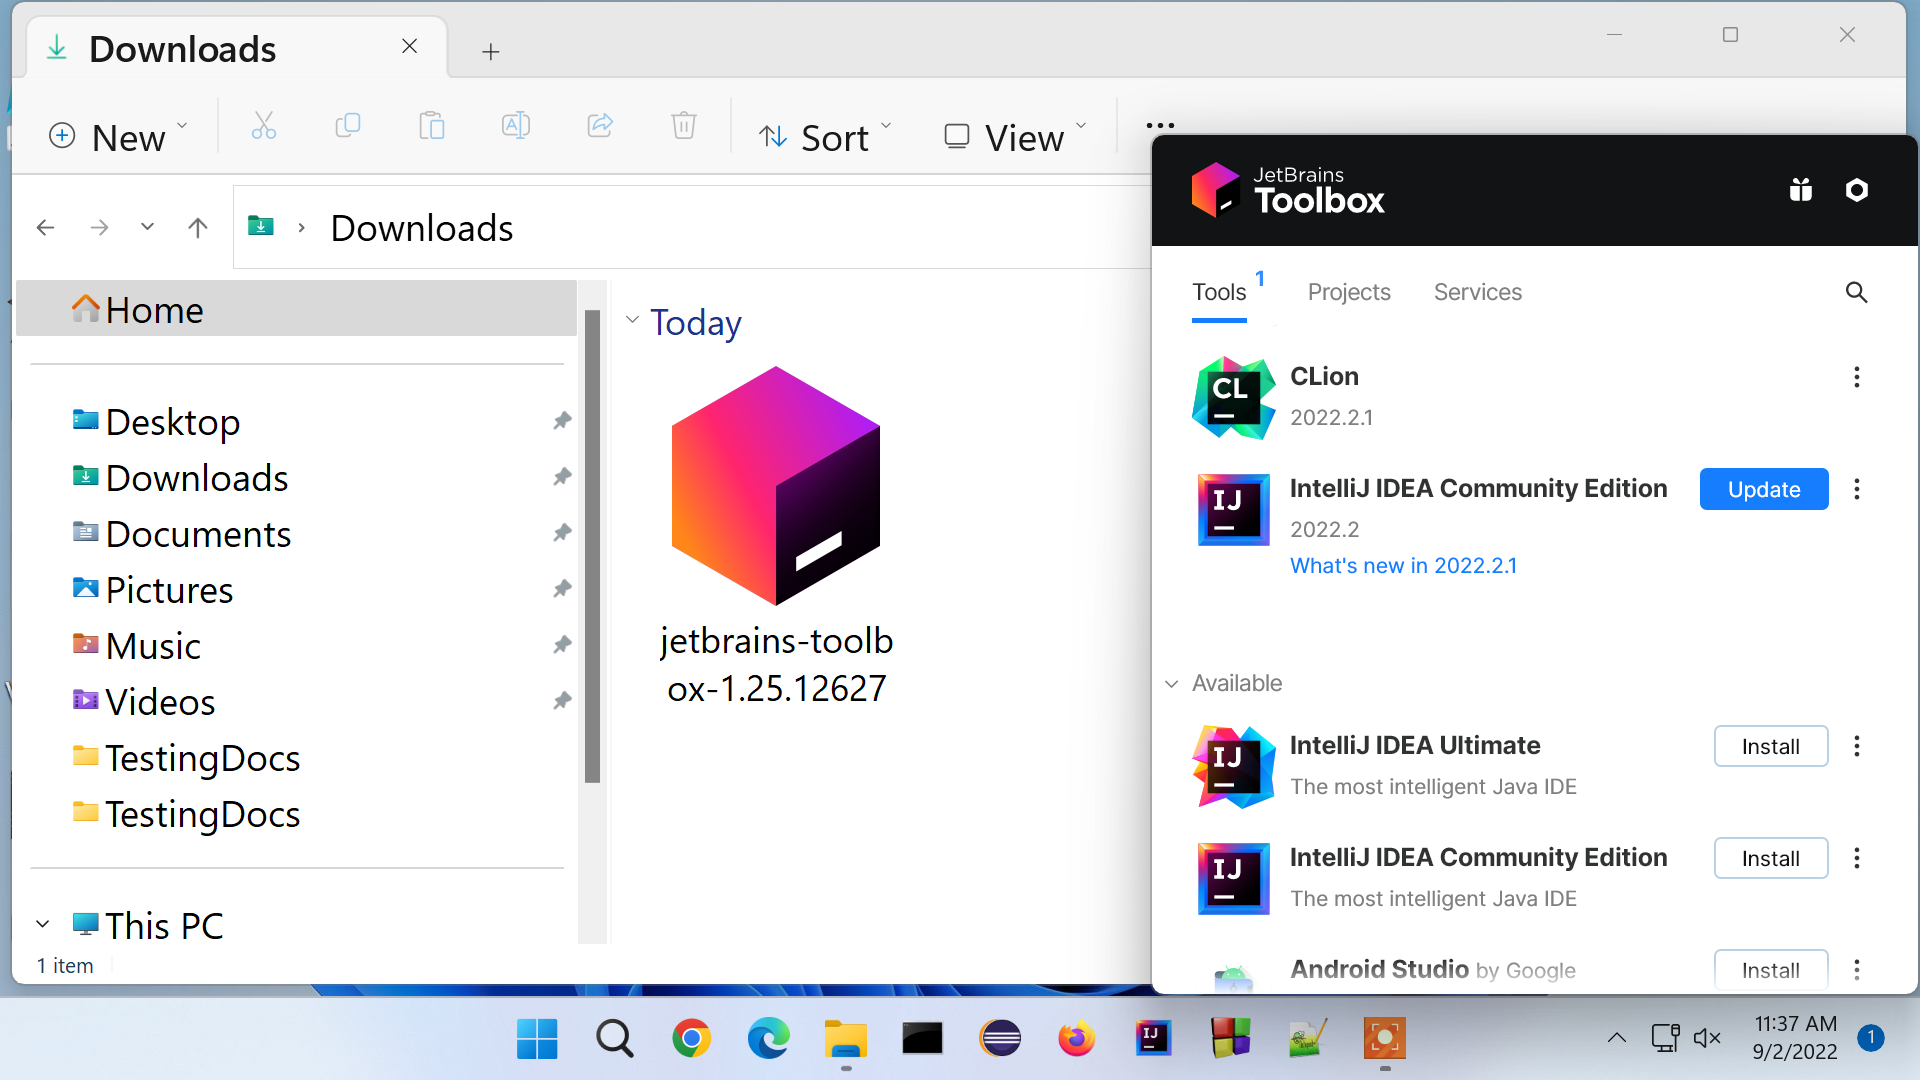
JetBrains Toolbox App
JetBrains Toolbox App is a cross-platform application to manage JetBrains IDE tools easily. The tool can be installed on
- Windows
- Linux
- macOS
Key features
Some of the key features are as follows:
- The Toolbox App provides a centralized location to manage all your JetBrains IDEs and tools. It offers an easy way to install, update, and uninstall different JetBrains products.
- You can receive automatic updates for your installed JetBrains tools. This ensures that you always have the latest features, bug fixes, and improvements.
- It simplifies license activation and management for JetBrains products. You can enter your license details once, and the app will take care of the activation for all supported tools.
- It offers a user-friendly interface where you can see all your installed JetBrains products, their versions, and available updates.
- You can customize the installation paths for each tool and manage disk space usage efficiently.

Download
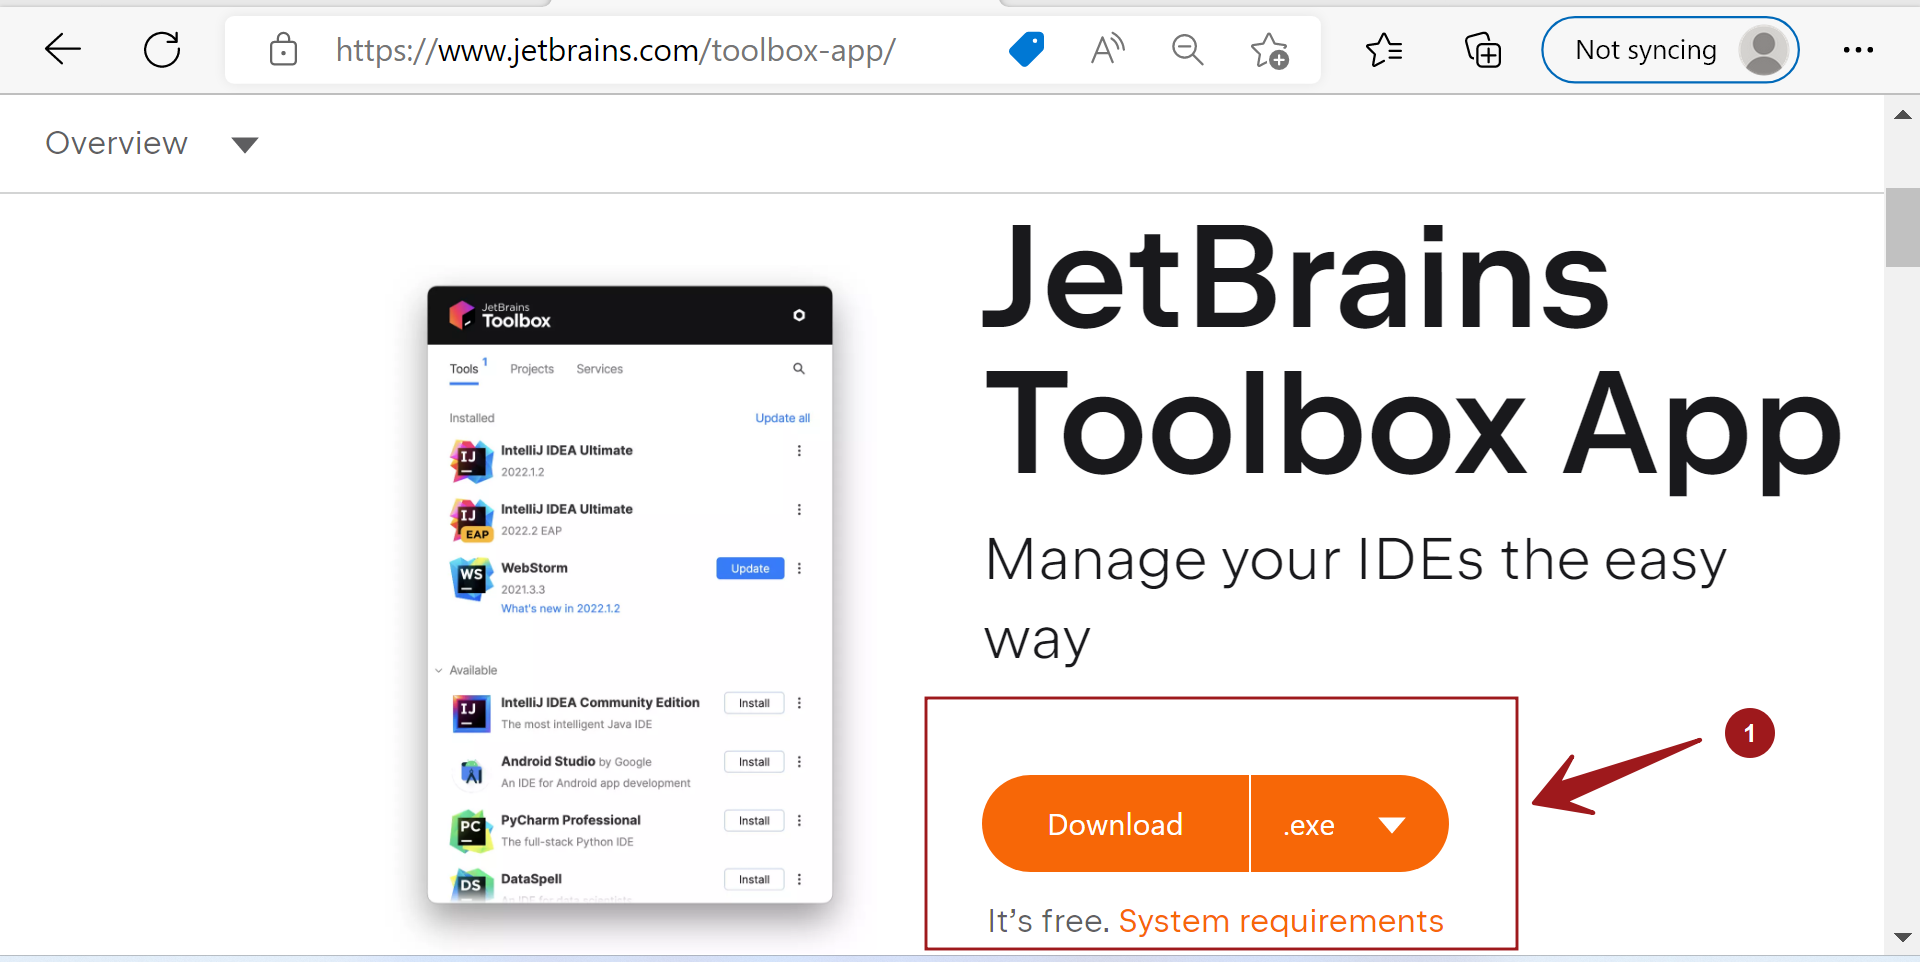
To get started with the app, you need to download and install it from the JetBrains website.
Open a web browser and navigate to the following download URL:
https://www.jetbrains.com/toolbox-app/
On Windows, choose the .exe install format and click on the Download button.

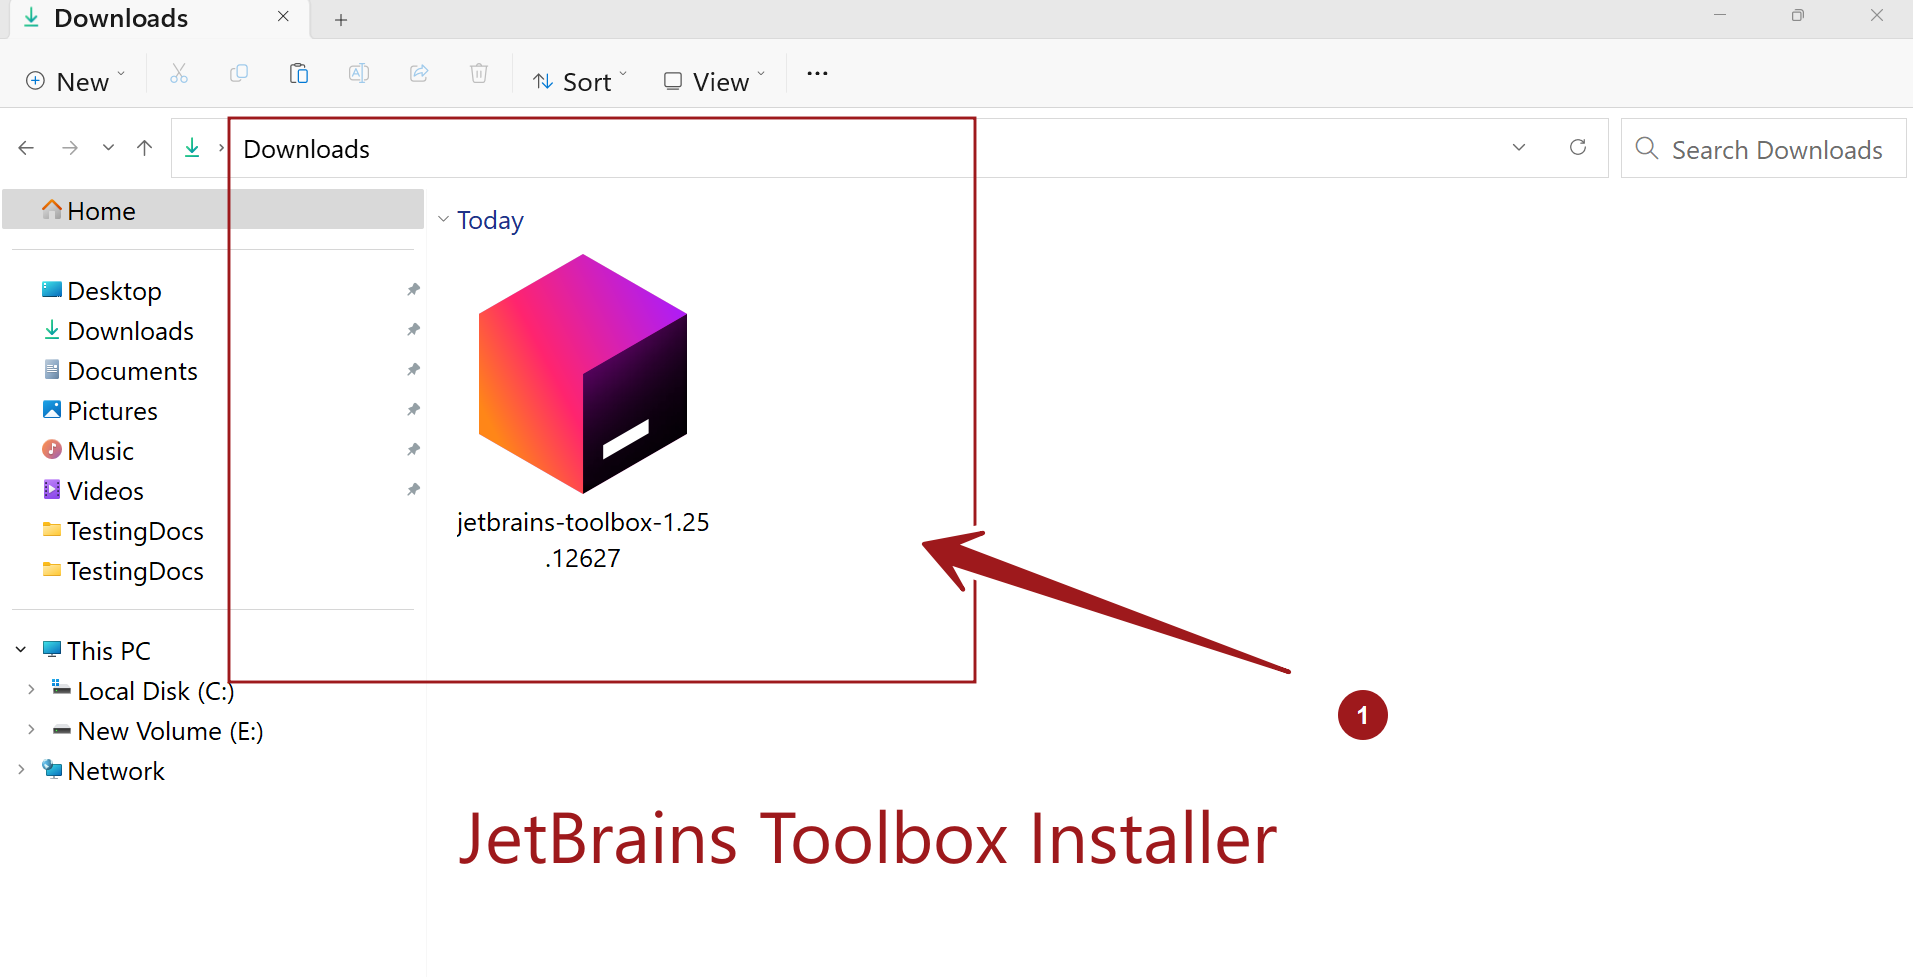
Download the installer onto the computer’s hard disk. The installer file format would be:
jetbrains-toolbox-<version>.exe

Install
Locate the installer file, usually in the Downloads folder.
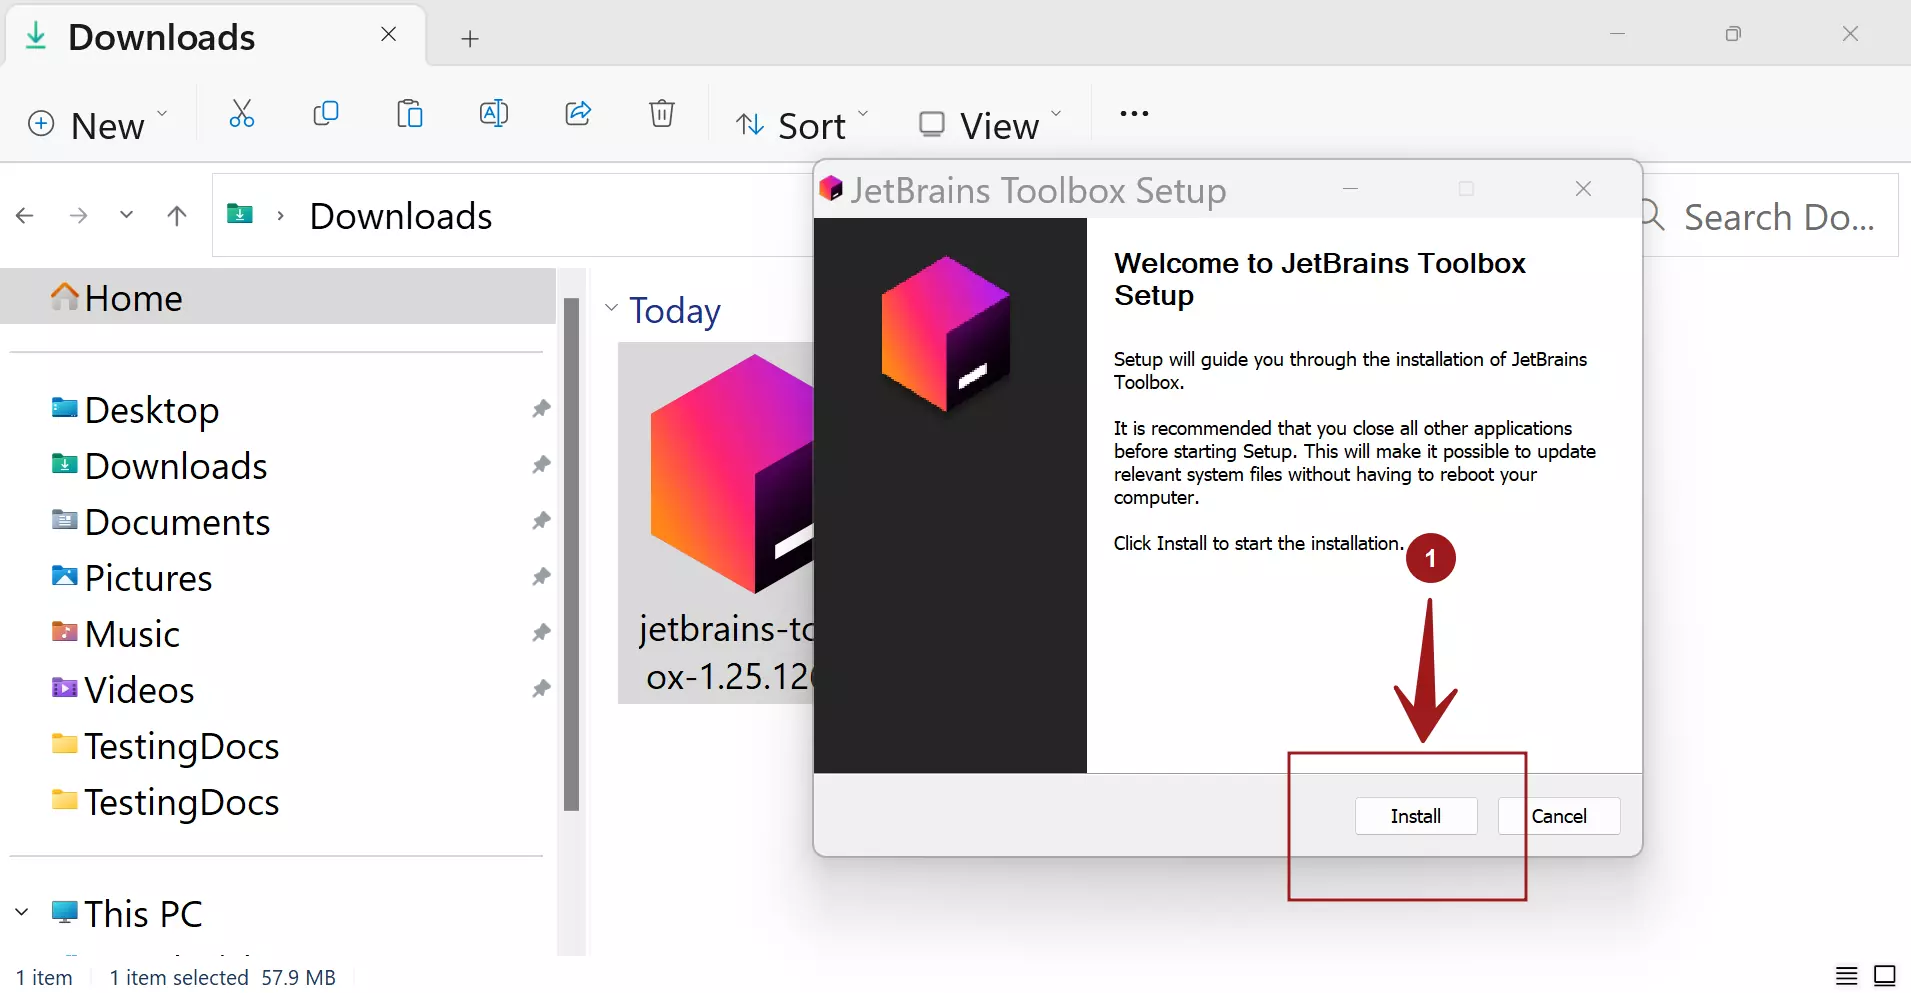
Double-click on the .exe file to launch the installation.
Click on the Install button on the Install wizard screen. The installer will copy all the necessary files and the tool will be installed on the computer.

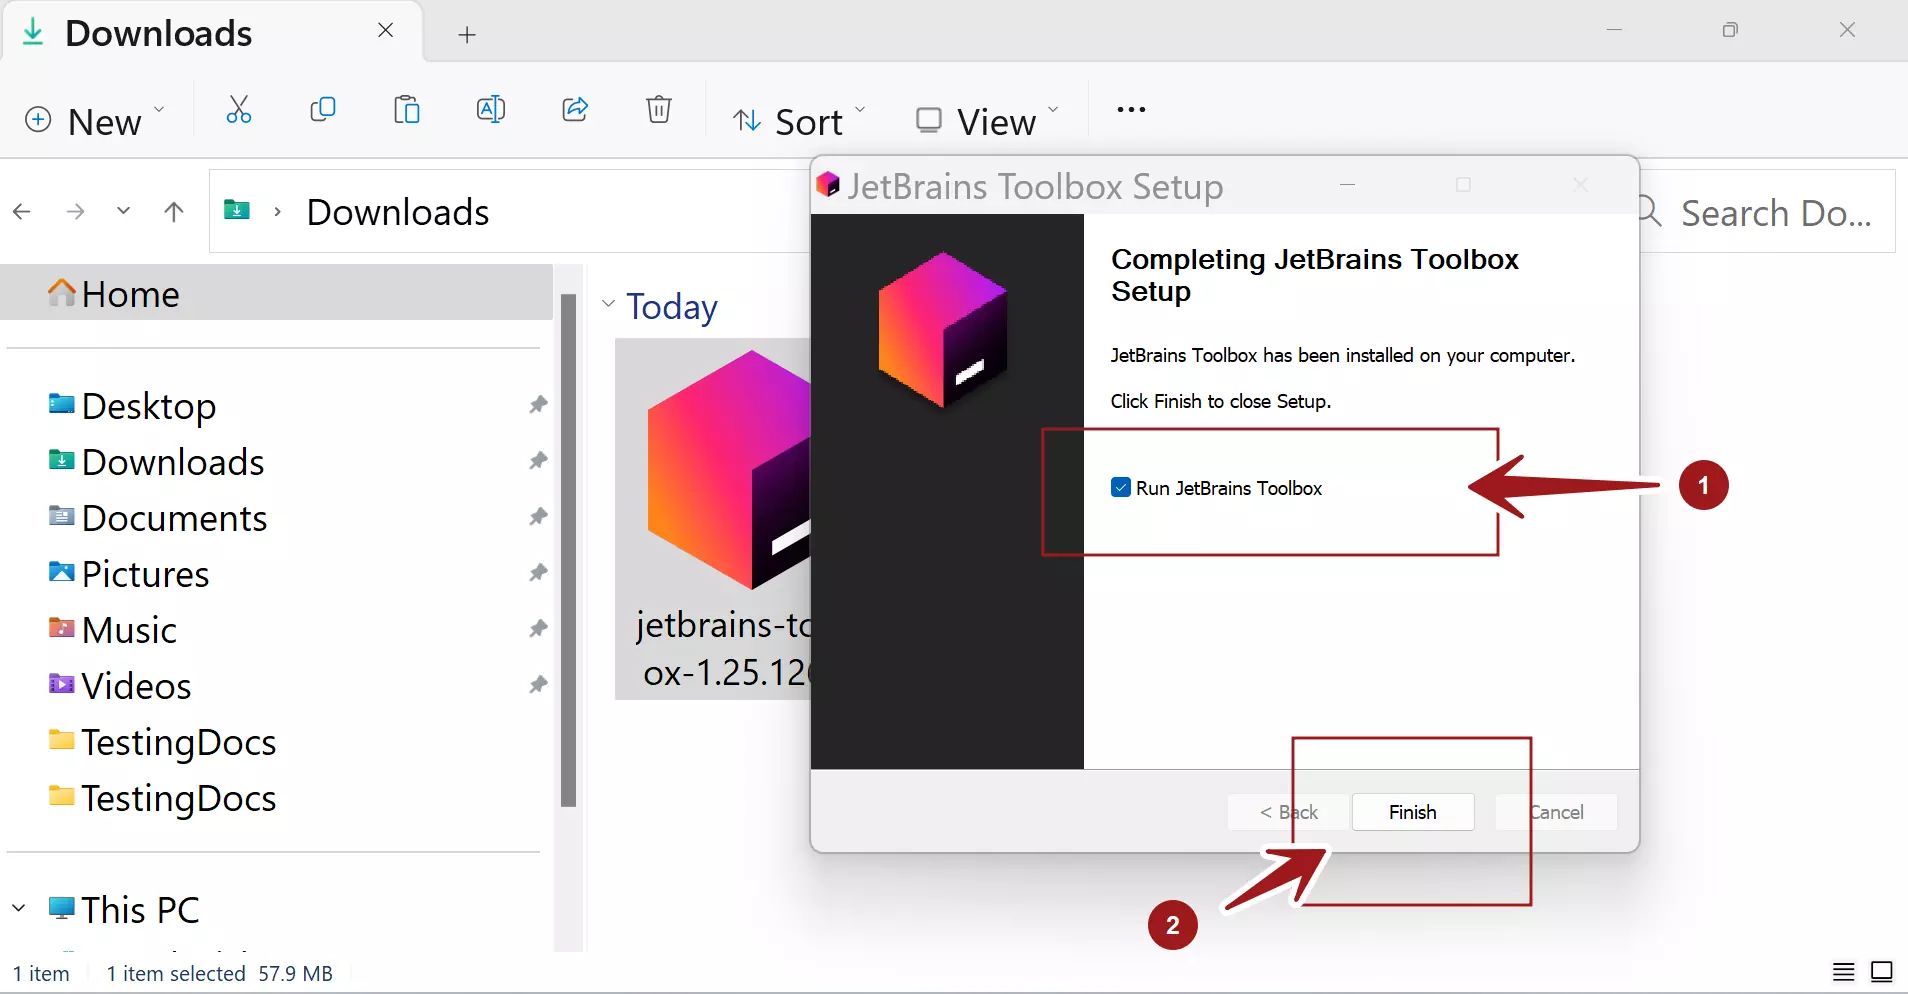
Click on the Finish button to complete the installation.
Optionally, check the option Run JetBrains Toolbox to launch the tool.

Once installed, you can log in with your JetBrains account, which allows you to access your licenses and synchronize settings. From there, you can install your preferred JetBrains IDEs and manage them easily using the tool’s interface.
That’s it. We have successfully installed the application on the Windows system.
—
IntelliJ Tutorials on this website can be found at:
https://www.testingdocs.com/intellij-ide-tutorials
More information on IntelliJ on JetBrains website:
https://www.jetbrains.com/idea