

Overview
In the previous post, we have downloaded Jira core server. In this tutorial, we will install Jira core server on Windows. We have two options to install Jira.
- Using Installer file
- Using ZIP archive file
Steps to download Jira:
https://www.testingdocs.com/jira-core-server-download/
Installation is simple with the installer file.
Prerequisites
- Install compatible Java JDK or JRE on the machine.
- Set JAVA_HOME environment variable on the machine.
- Install suitable database and database drivers for example MySQL on the machine.
Install Jira Core Server
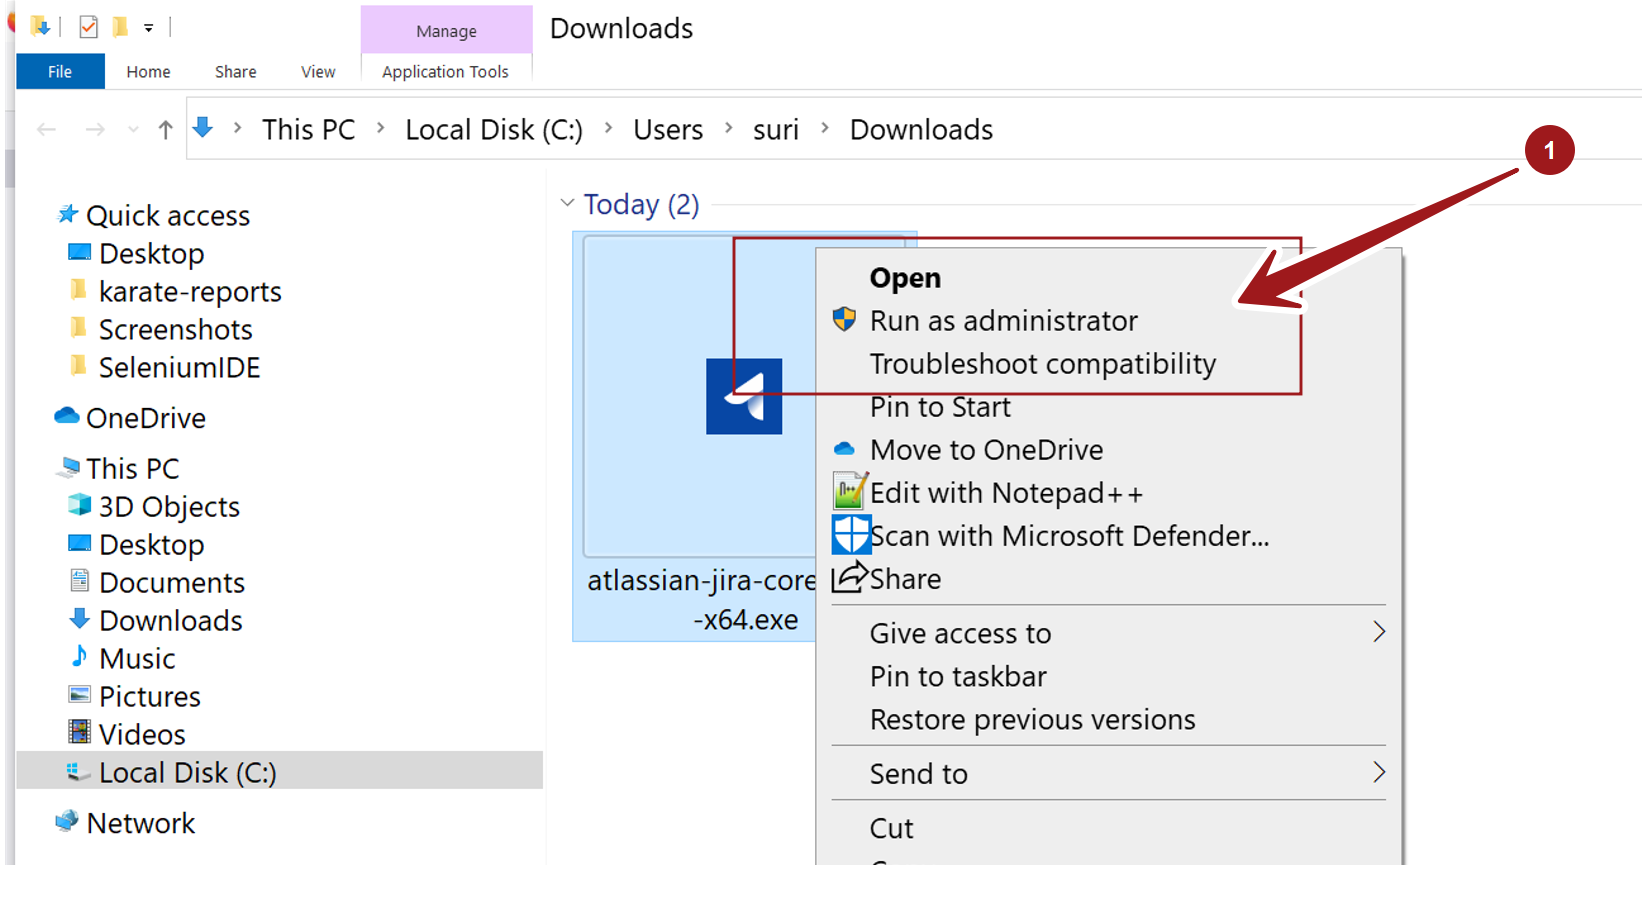
Open File explorer and locate the Jira installer file.
Right click on the installer file and choose Run as administrator context-sensitive menu option to run it. Click Yes on the UAC prompt dialog.

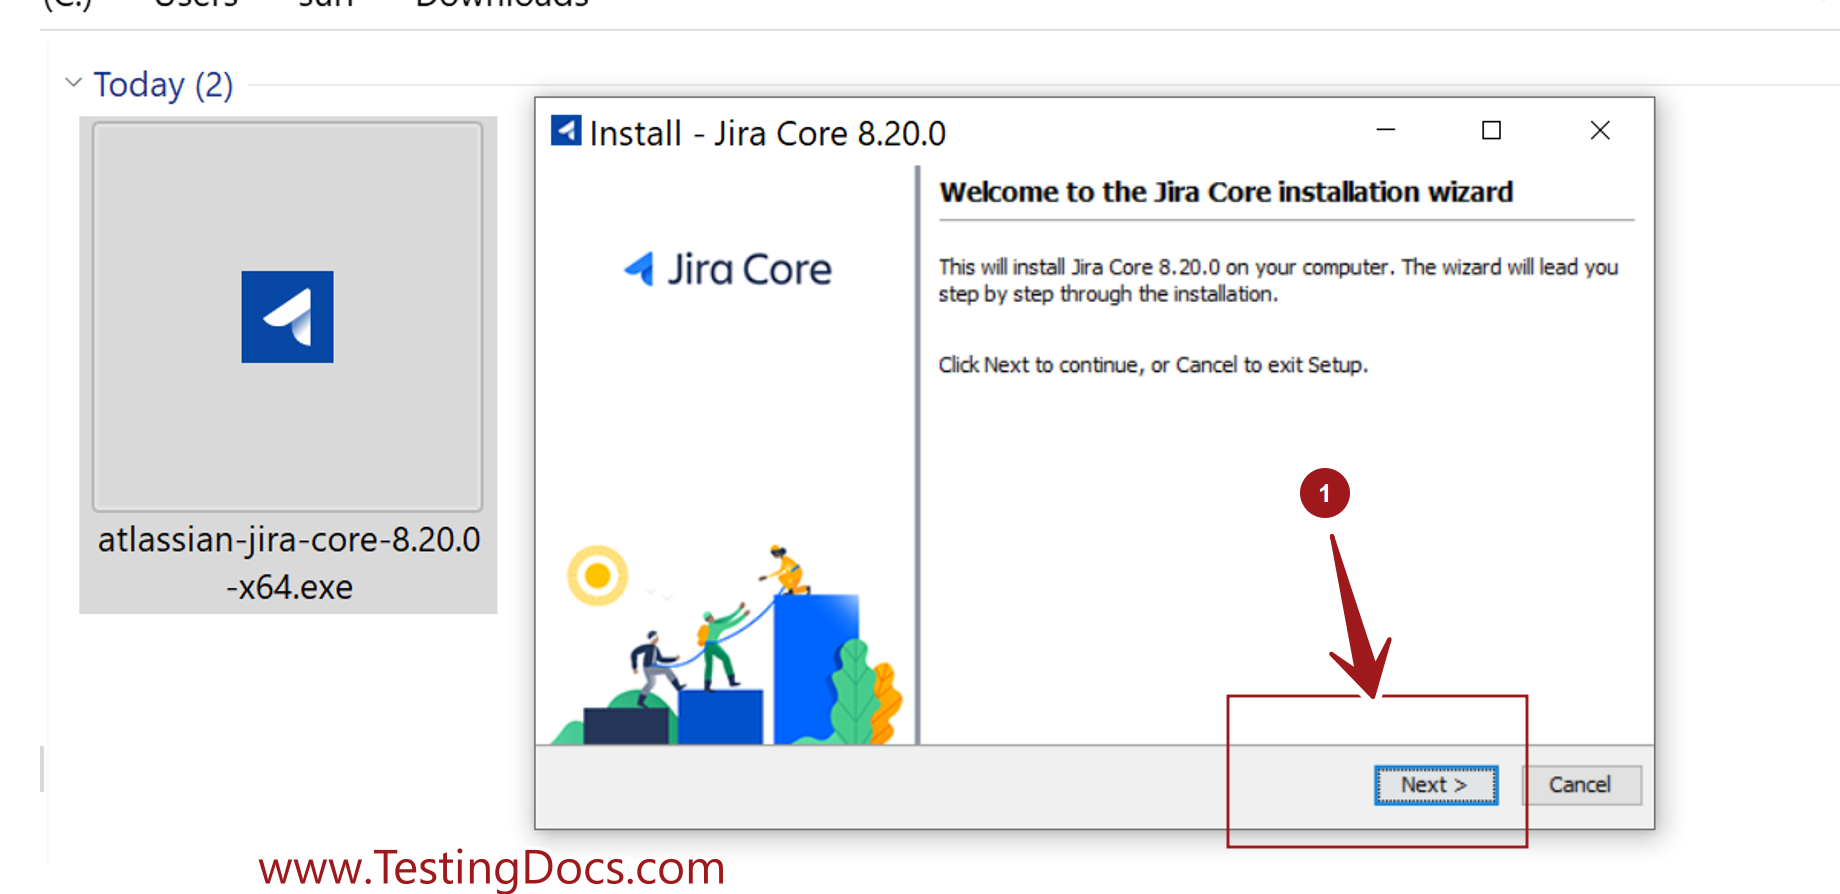
This will launch the Jira Core Installation wizard screen. Click on the Next > button to proceed with the install.

Choose Install or Upgrade option. For the first time choose Install option.
- Express Install
- Custom Install
Express install is installation with default options. If you are ok with the default options choose the Express Install.
Custom Install
We can customize the Jira install with Custom install option. We can change the below install options.
- Jira install directory and Home directory
- HTTP port and RMI port numbers
- Jira as a service setting
Click on the Next > button to install the server. Jira core would install on the machine.
In the last install screen, we can launch the application in browser. Check the option and click on Finish button.
Install from ZIP File
Alternatively, we can also install Jira core using the ZIP archive file. Extract the contents of the file. Move the contents to a suitable directory on the machine.
That’s it. We are done with the install steps of Jira server on Windows 10 operating system
—
Jira Tutorials
Jira Software Tutorials link on this website:
https://www.testingdocs.com/jira-software-tutorial/
Jira Official Website
For more information on Jira Software: