Launch CLion IDE on Windows
Launch CLion IDE on Windows
In this tutorial, we will learn different ways to launch CLion IDE on Windows 11 operating system. There are many ways to launch the IDE. Follow the steps outlined in this tutorial.
Desktop Icon
During the installation, we can select the option to create a Desktop shortcut for the IDE.
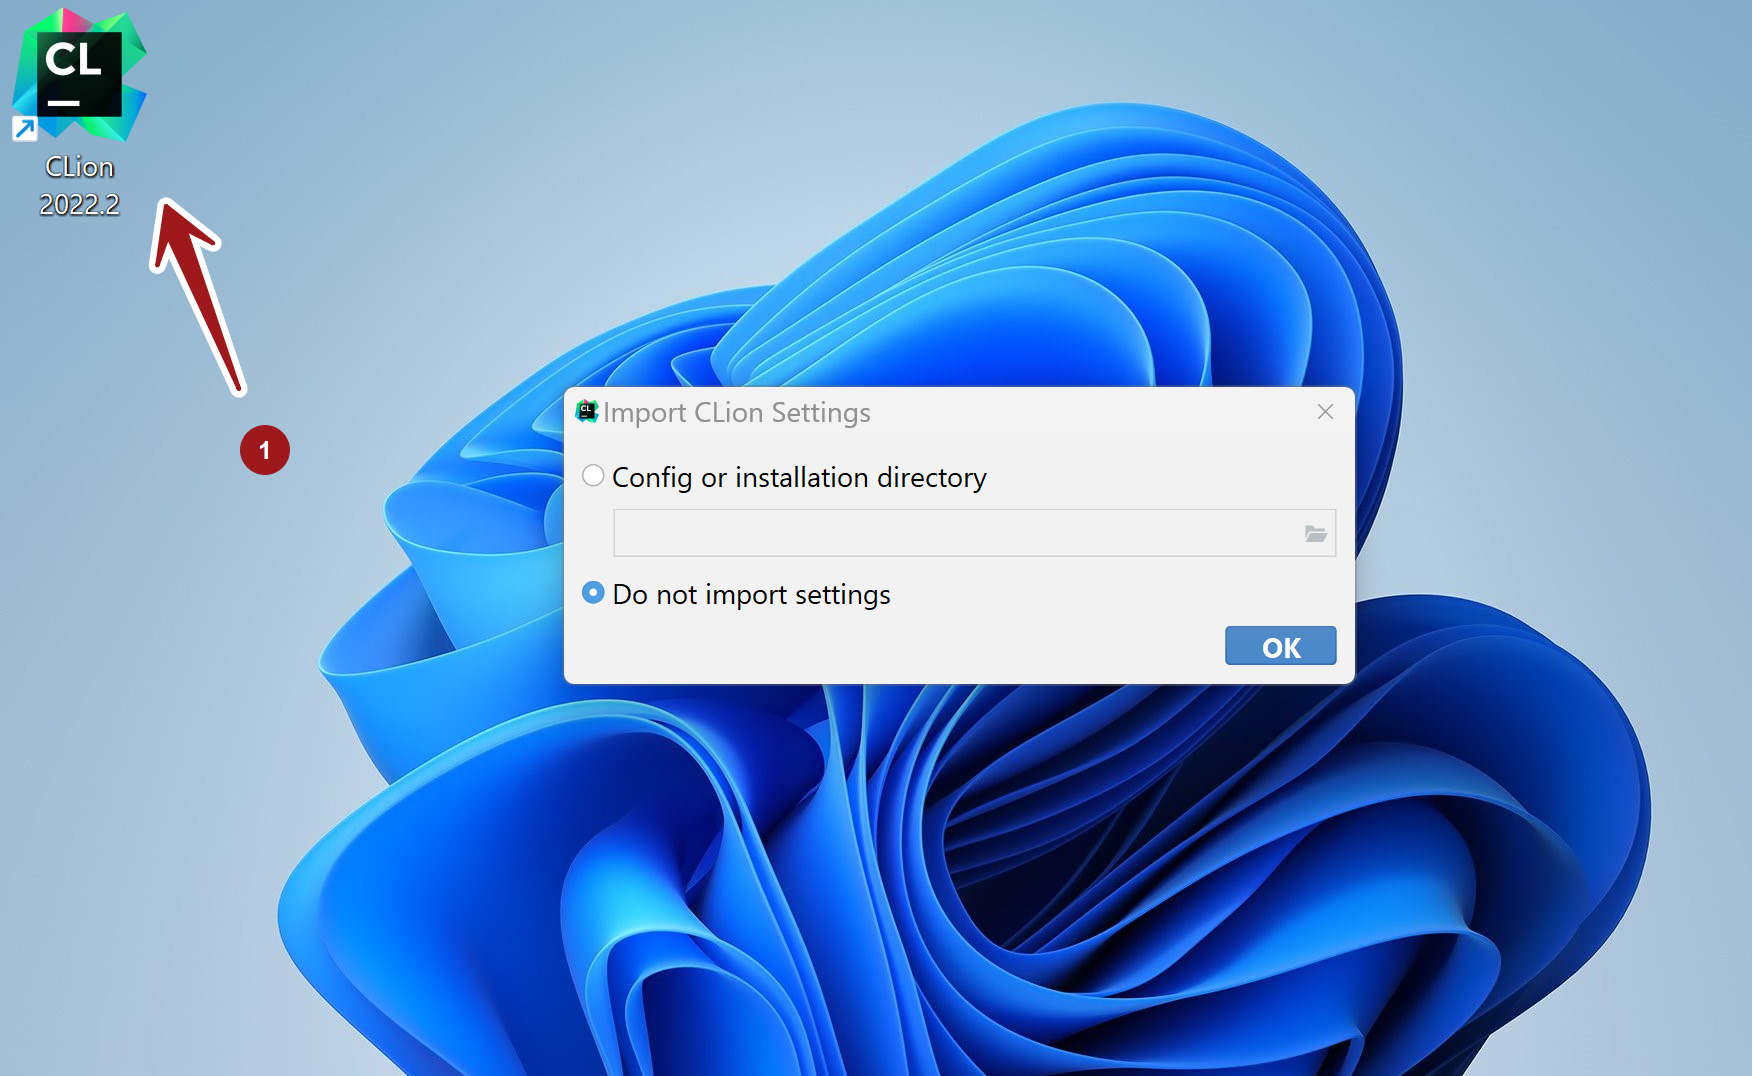
Double-click on the CLion IDE desktop shortcut to start the IDE.
File Associations
We can create file associations with *.c, *.cpp, *.h, etc files on the machine. So that, we can open the C/C++ files with the CLion IDE tool. During the installation, we can select the option to create a file association with the C/C++ files. Double-click on the C/C++ source files will launch the IDE tool.
Search bar
Click on the Search icon in the Taskbar. Search for CLion in the search bar. This will display the App link in the search result. Click on the CLion App search result to launch the tool.
Taskbar
Click on the Taskbar pinned IntelliJ icon to start the tool. For easy access, we can pin the CLion shortcut to the Windows Taskbar.
Choose Pin to taskbar link in the Search result for the IntelliJ App.
Install Folder
Browse the CLion installation folder path. Run the clion64.exe from the installation bin folder. The default install destination folder path would be:
C:\Program Files\JetBrains\CLion <version>\bin
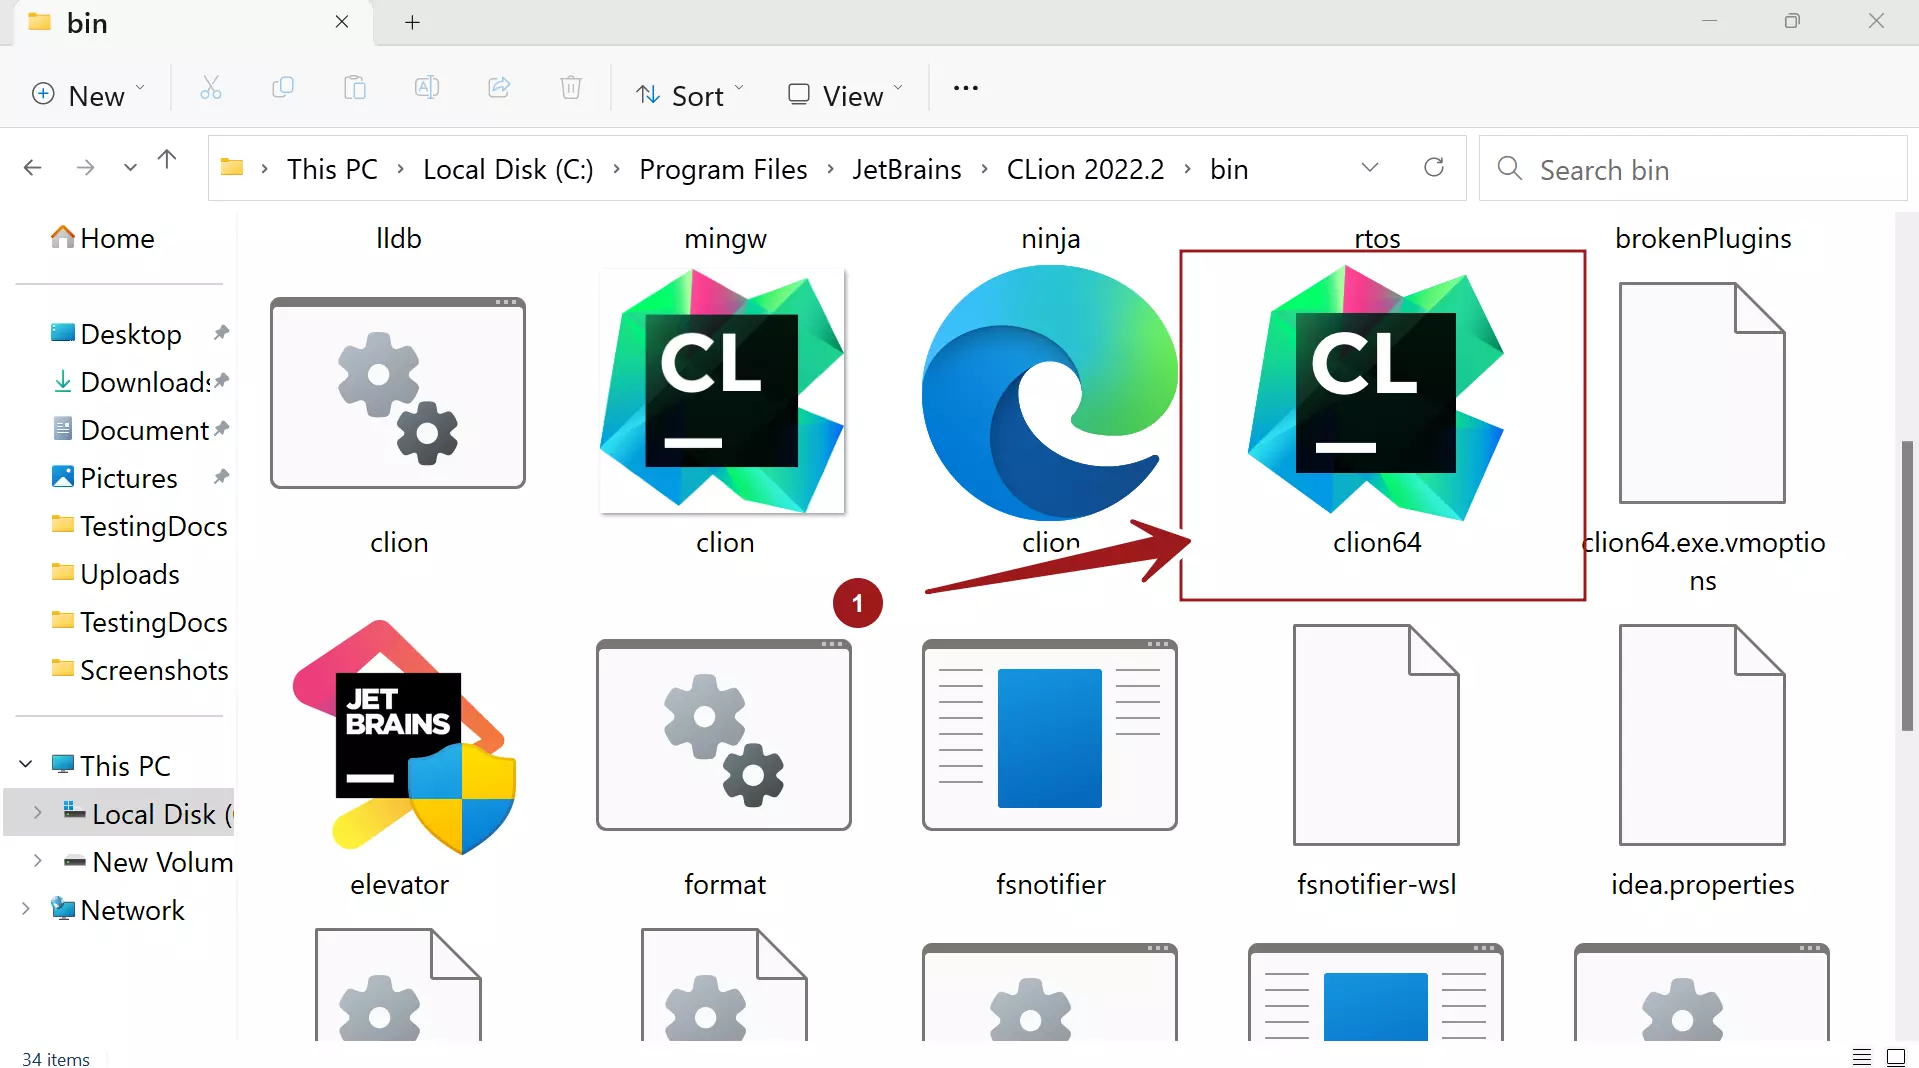
This will launch the tool. This approach will be useful when the desktop icon or the taskbar icon is not present. We can also create a shortcut on the Desktop.
CLion Tutorials
CLion Tutorials on this website can be found at:
For more information on CLion IDE, visit the official website:
- https://www.jetbrains.com/clion/


