

Overview
In this tutorial, we will learn to access and Launch the RAPTOR Flowchart tool on Windows. You will first need to install the RAPTOR tool.
Steps to install RAPTOR on Windows:
https://www.testingdocs.com/installing-raptor-on-windows/
Launch RAPTOR
There are multiple ways to launch the RAPTOR tool. Some of the following ways are as follows:
- Start Menu
- Search
- Install folder
- Desktop shortcut
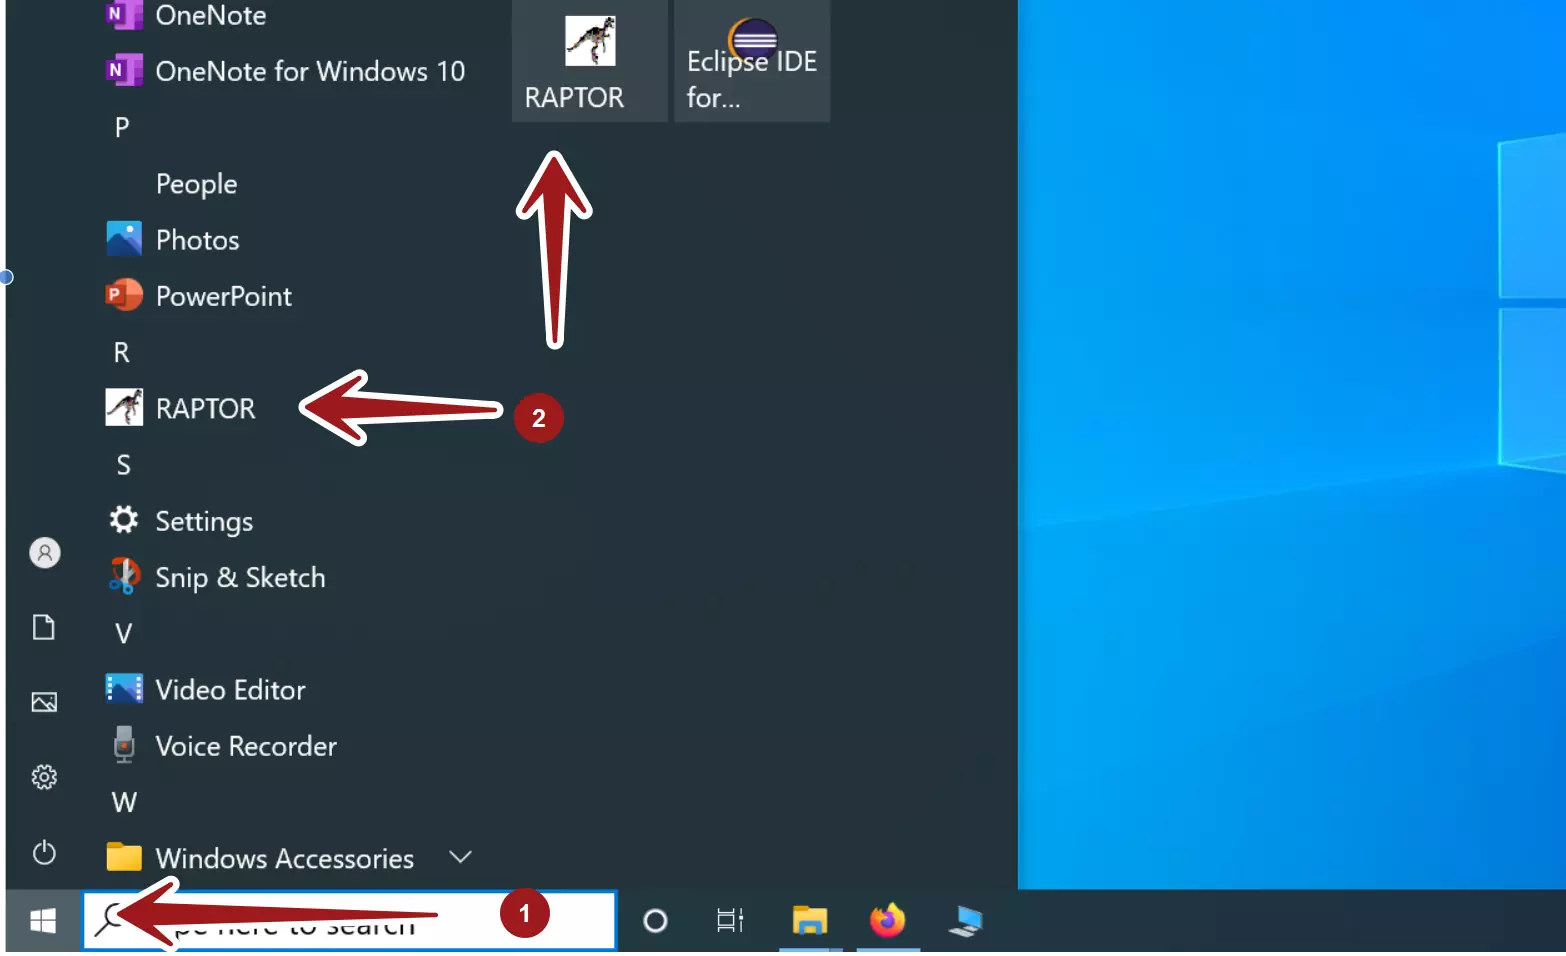
Start Menu
We can access the RAPTOR tool from the Windows Start Menu.
Open the Start Menu and click on the Windows icon in the bottom left corner.
Select the RAPTOR entry to launch it.

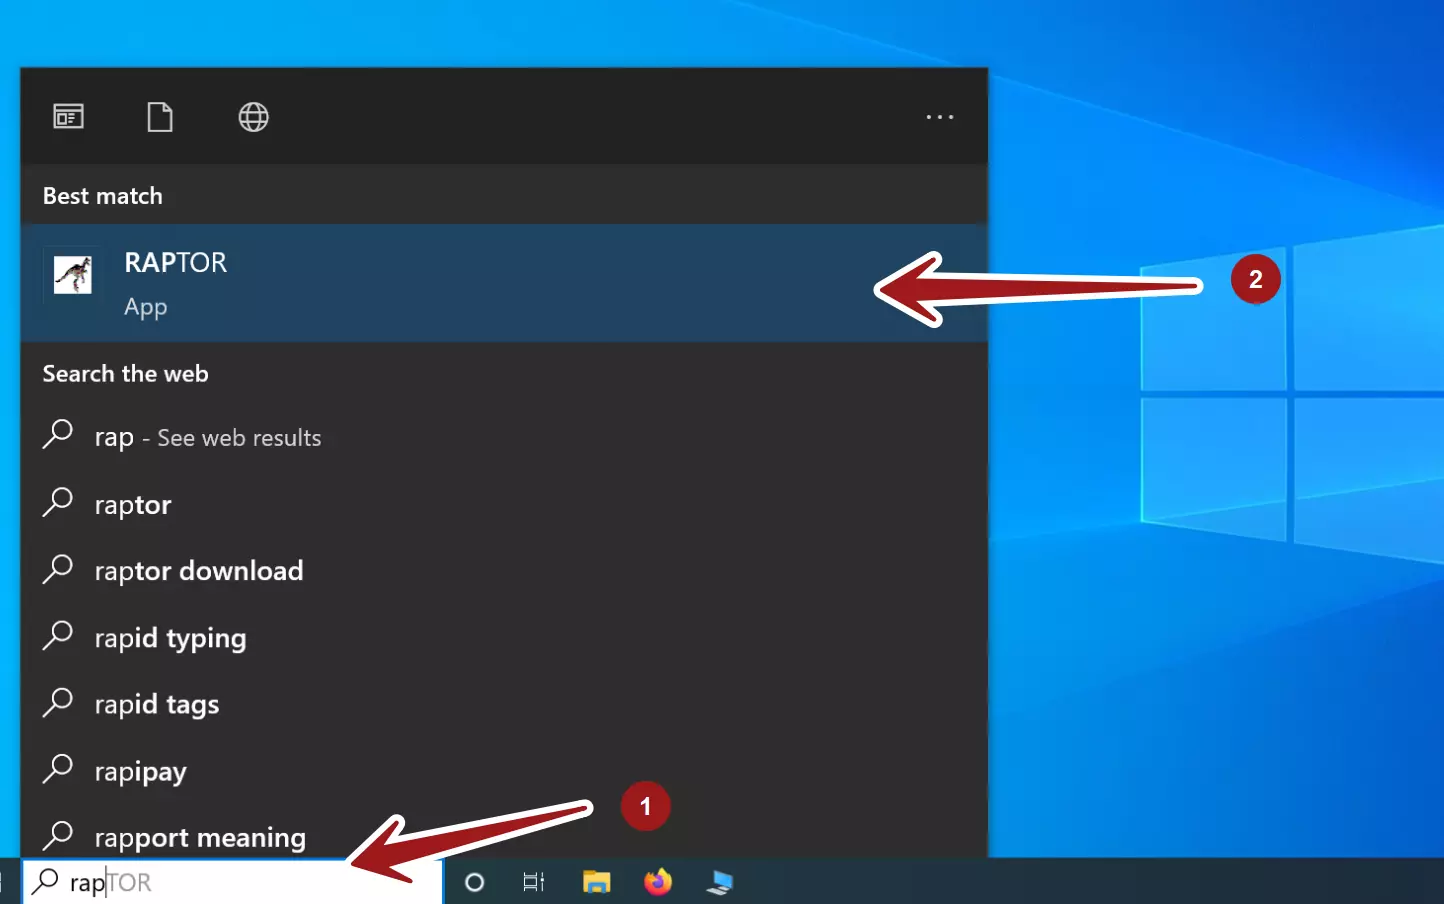
Search
Alternatively, search for RAPTOR in the Search text box. Click on the RAPTOR App to open it.
Double-click on the desktop shortcut to launch the tool.

Install Folder
Navigate to the installation folder using File Explorer and double-click on raptor.exe to start the flowchart tool.
The default install folder on a 64-bit machine:
C:\Program Files (x86)\RAPTOR\raptor.exe
or
C:\Program Files\RAPTOR\raptor.exe
Desktop shortcut
We can opt to create a desktop shortcut for easy access. This option will create a desktop shortcut for the flowchart tool.
Navigate to the install folder and right-click on the raptor.exe
Choose Send to >> Desktop (create shortcut ) context menu option.
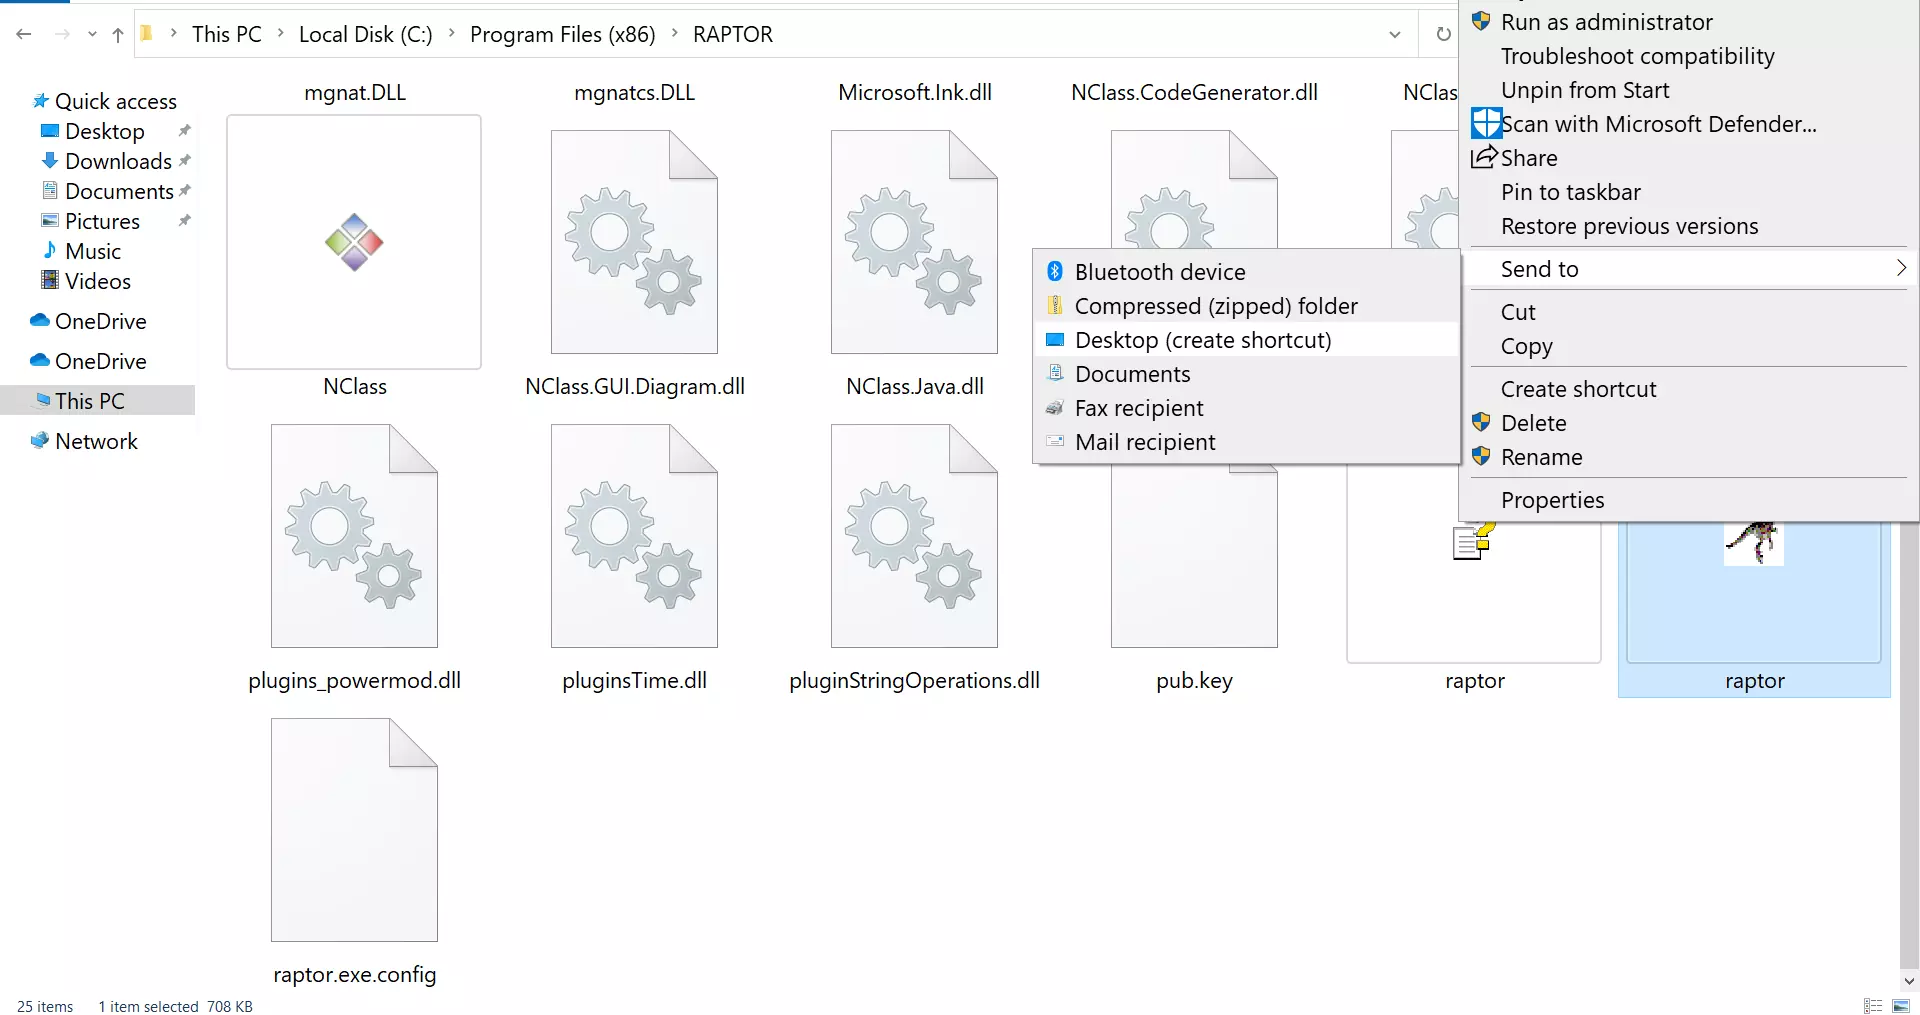

This will create a desktop shortcut for the RAPTOR tool. Double-click on the desktop shortcut to launch the RAPTOR tool.
That’s it. We can also pin the RAPTOR to the Taskbar for easy access.
—
RAPTOR Tutorials
RAPTOR tutorial page: