

Overview
In this post, we will learn how to use raptor class editor. To create a class in raptor, you need to enable object oriented mode. The class editor allows you to add/edit/delete the fields, methods, and constructors of a class.
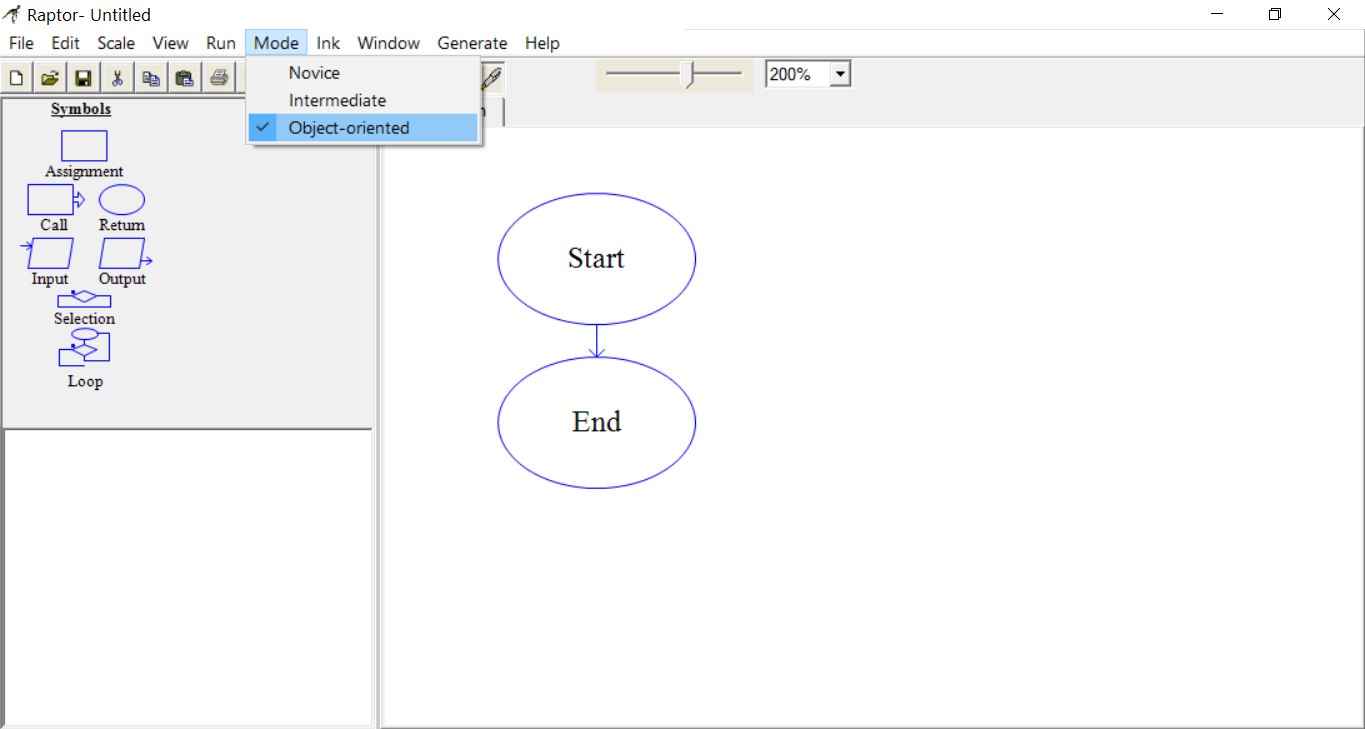
Enable OO mode
To enable the OO mode,
Launch Raptor >> Mode >> Select Object-oriented.
Object-oriented mode enables you to create classes, instantiate objects of the classes etc.

Once you select object oriented mode, you will get tab called ‘UML’ beside the main tab.
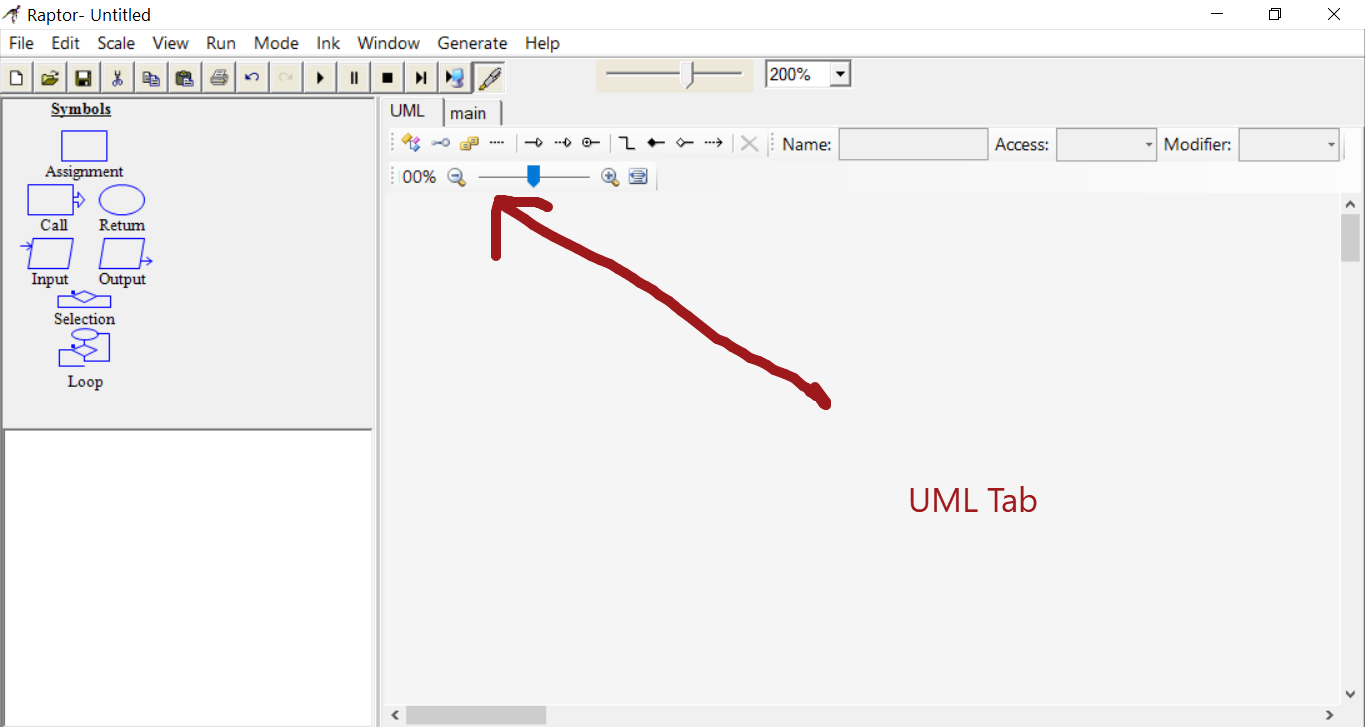

In this tab, you can create new class, draw UML class diagrams etc.
Create a new class
Click on the ‘Add New Class’ button to add a new class. Specify a name for the class in the name box.
To launch class editor, double click on the class in the UML tab. The class editor is the place where you design the class in raptor.
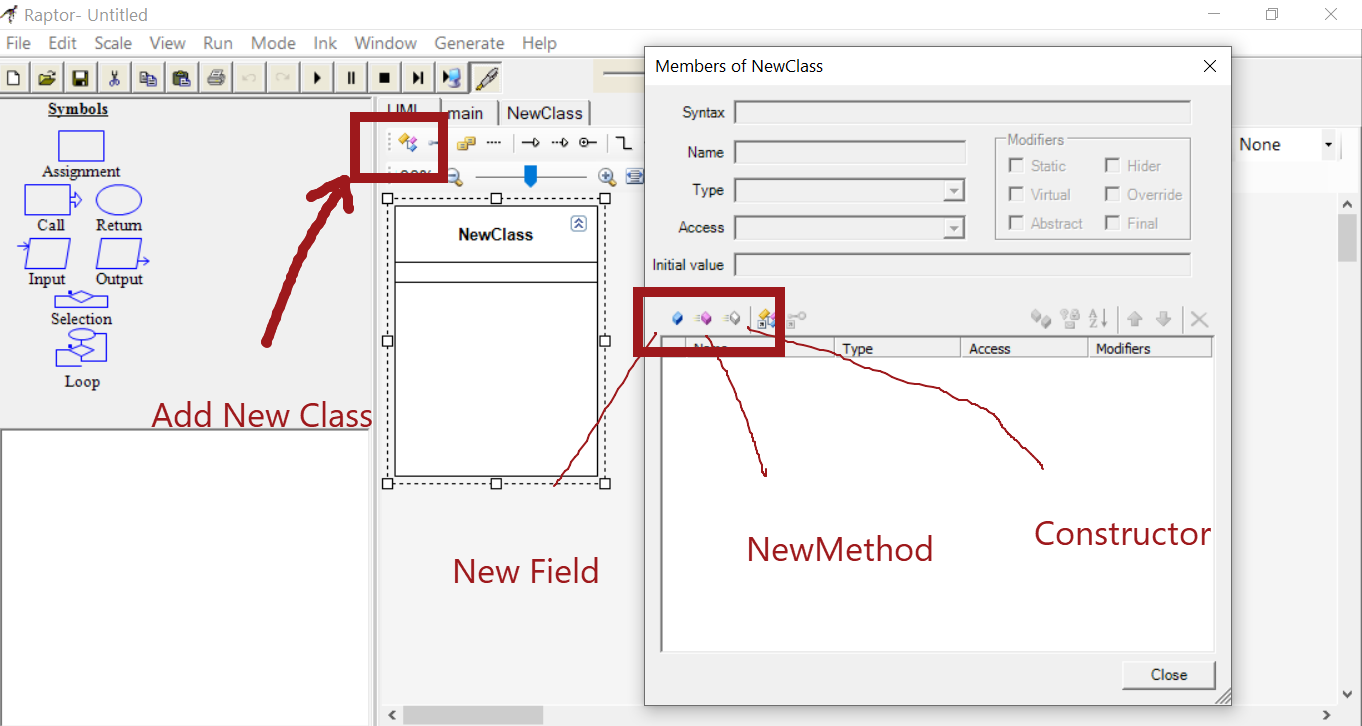

Class Editor
In class editor, you can add
Fields or variables for the class. Specify the access specifiers, default values etc.
New methods, return types , parameters etc.
Create Constructors for the class, override members etc.
Note that once you create the above, you can edit and modify , delete unwanted members etc.
Raptor Tutorials on this website can be found at:
https://www.testingdocs.com/raptor-a-flowchart-tool/
RAPTOR official website: https://raptor.martincarlisle.com/