

Introduction
Steps to configure JDK 8 in Eclipse: In this post, we will look at steps of how to configure JDK in Eclipse. If you have JDK 8 installed on your machine, we can configure it in Eclipse with the below steps. Furthermore, if there is no JDK installed then you may need to download JDK and install it on your machine.
How to configure?
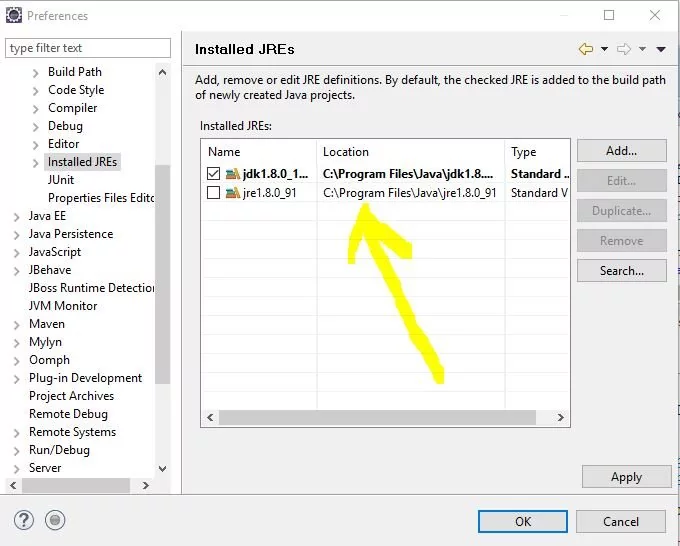
Check if you have JDK 8 configured in Eclipse, you can do so by going to Window >> Preferences >> Java >> Installed JRE.
Below is the screenshot of the window in Eclipse:

Sample error is shown below due to the miss-configuration of JDK in the Maven project. If we don’t configure the proper JDK we will get errors while building the Project. Below is an example of an error while building a project with Maven.
[INFO] ————————————————————-
[ERROR] COMPILATION ERROR :
[INFO] ————————————————————-
[ERROR] No compiler is provided in this environment. Perhaps you are running on a JRE rather than a JDK?
[INFO] 1 error
[INFO] ————————————————————-
[INFO] ————————————————————————
[INFO] BUILD FAILURE
[INFO] ————————————————————————
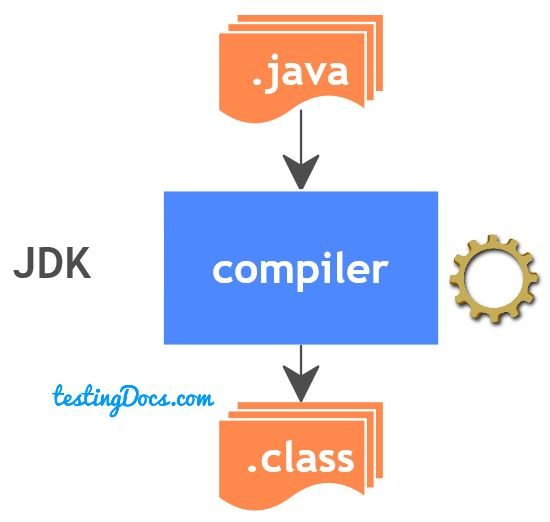
Maven compiler plugin is unable to compile the classes. To solve the above error, switch to JDK as shown above.

Eclipse Tutorials on this website can be found at:
https://www.testingdocs.com/eclipse-tutorials
For more details on the Eclipse IDE, visit the official website at:
https://www.eclipse.org