

Overview
In this tutorial, we will learn the steps to change the Windows desktop background.
Windows XP
Let’s see how to configure the desktop background image on the Windows XP operating system.
Click with the right mouse button somewhere with no icons on the desktop and select the option Properties context shortcut menu. The Display properties window will appear on the desktop where we can change the Desktop.
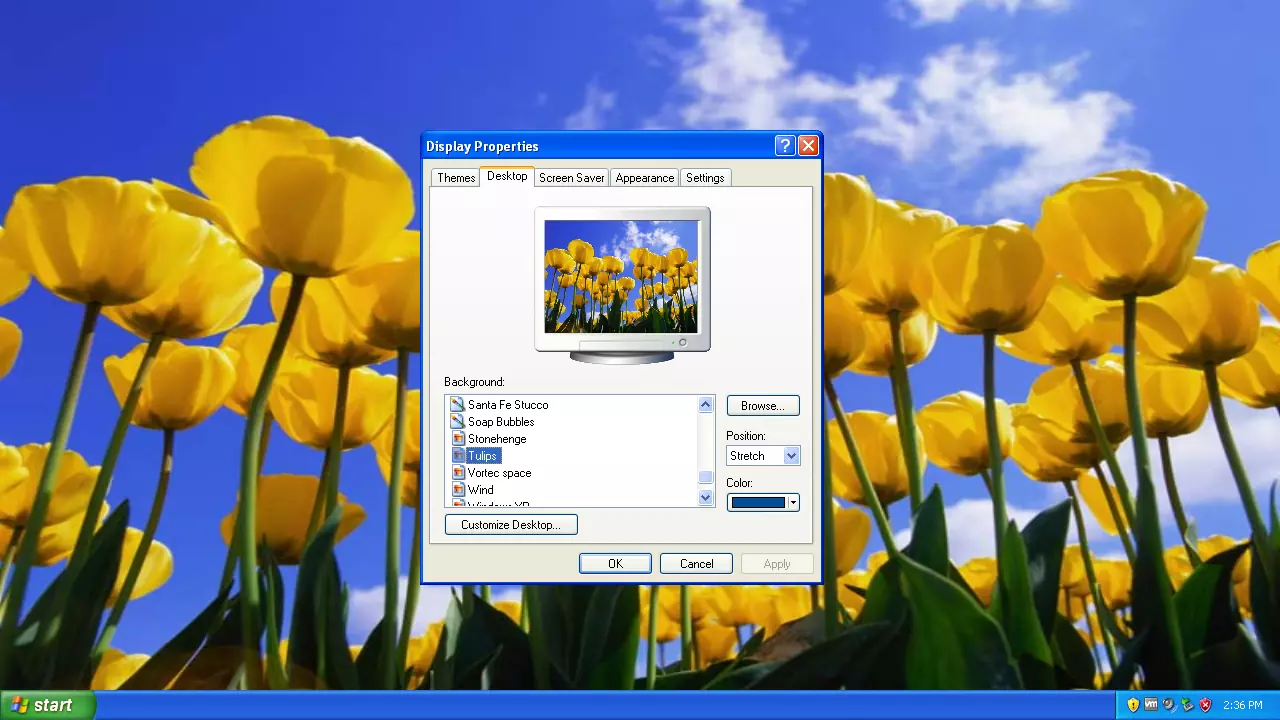
Choose the predefined image from the Background text area.
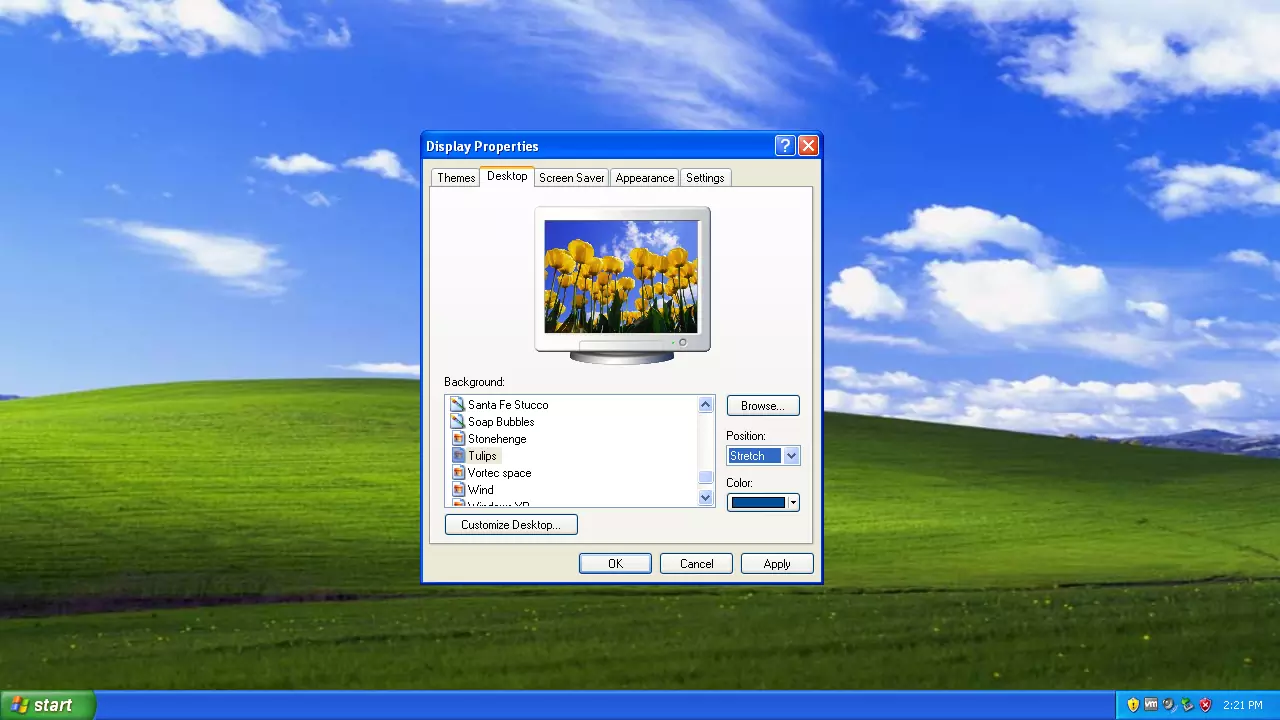

Position
Choose the picture position from the drop-down list. The list of options are:
- Stretch
- Tile
- Center
Center
The image will appear in the center of the screen with its real size.
Tile
The desktop image will appear with as many images as necessary to fill the screen like the tiles on the floor. The tile effect would be nice if the image is a considerably smaller size than the desktop size.
Stretch
The image will appear once taking up the entire desktop screen.
It is also possible to have some other image that does not appear on the list as a background. Click on the Browse… button and choose the image you want. For example, we can have the following image file extensions:
- *.bmp
- *.jpg
- *.gif
Once the image and type of view have been selected Click the OK button. Click on the Apply button to select the background.
Finally, click on the OK button to exit the Display properties screen.
Windows 7
Click with the right mouse button somewhere with no icons on the desktop and select the option Personalize from the context shortcut menu.
To change the background or wallpaper, click on the tab labeled Desktop Background and choose a new background or wallpaper from the list that appears at the bottom left corner.