

Introduction
If you’re new to Eclipse, then you might be wondering how to import an existing project into eclipse. In this tutorial, we will go through step-by-step screens on how to import Maven project in Eclipse IDE.
Import Project
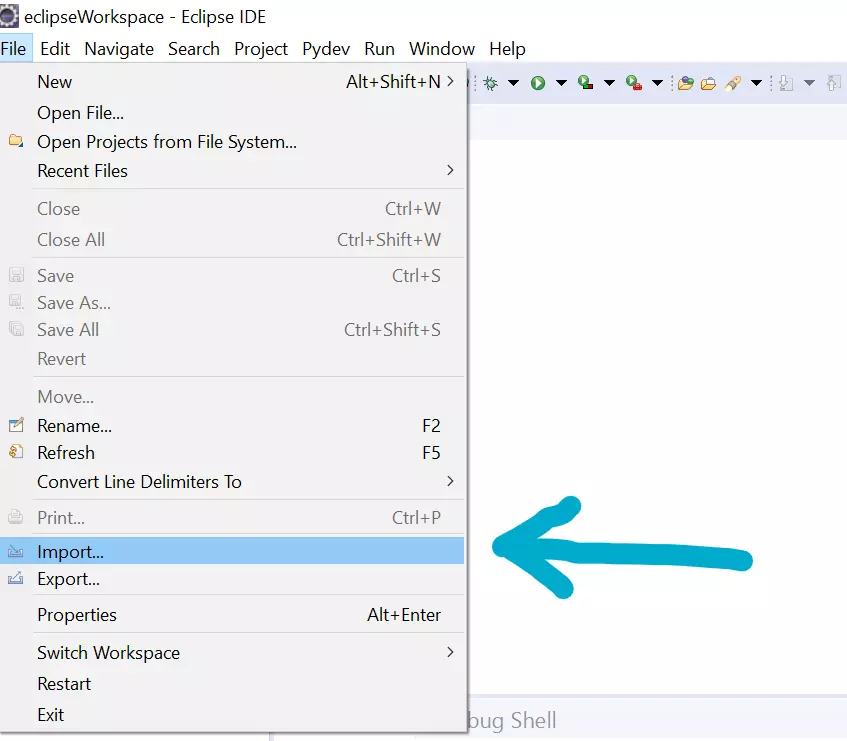
First things first, identify the folder of the existing project on your hard drive. Now go to Eclipse File -> Import
menu as shown in the figure.

pom.xml
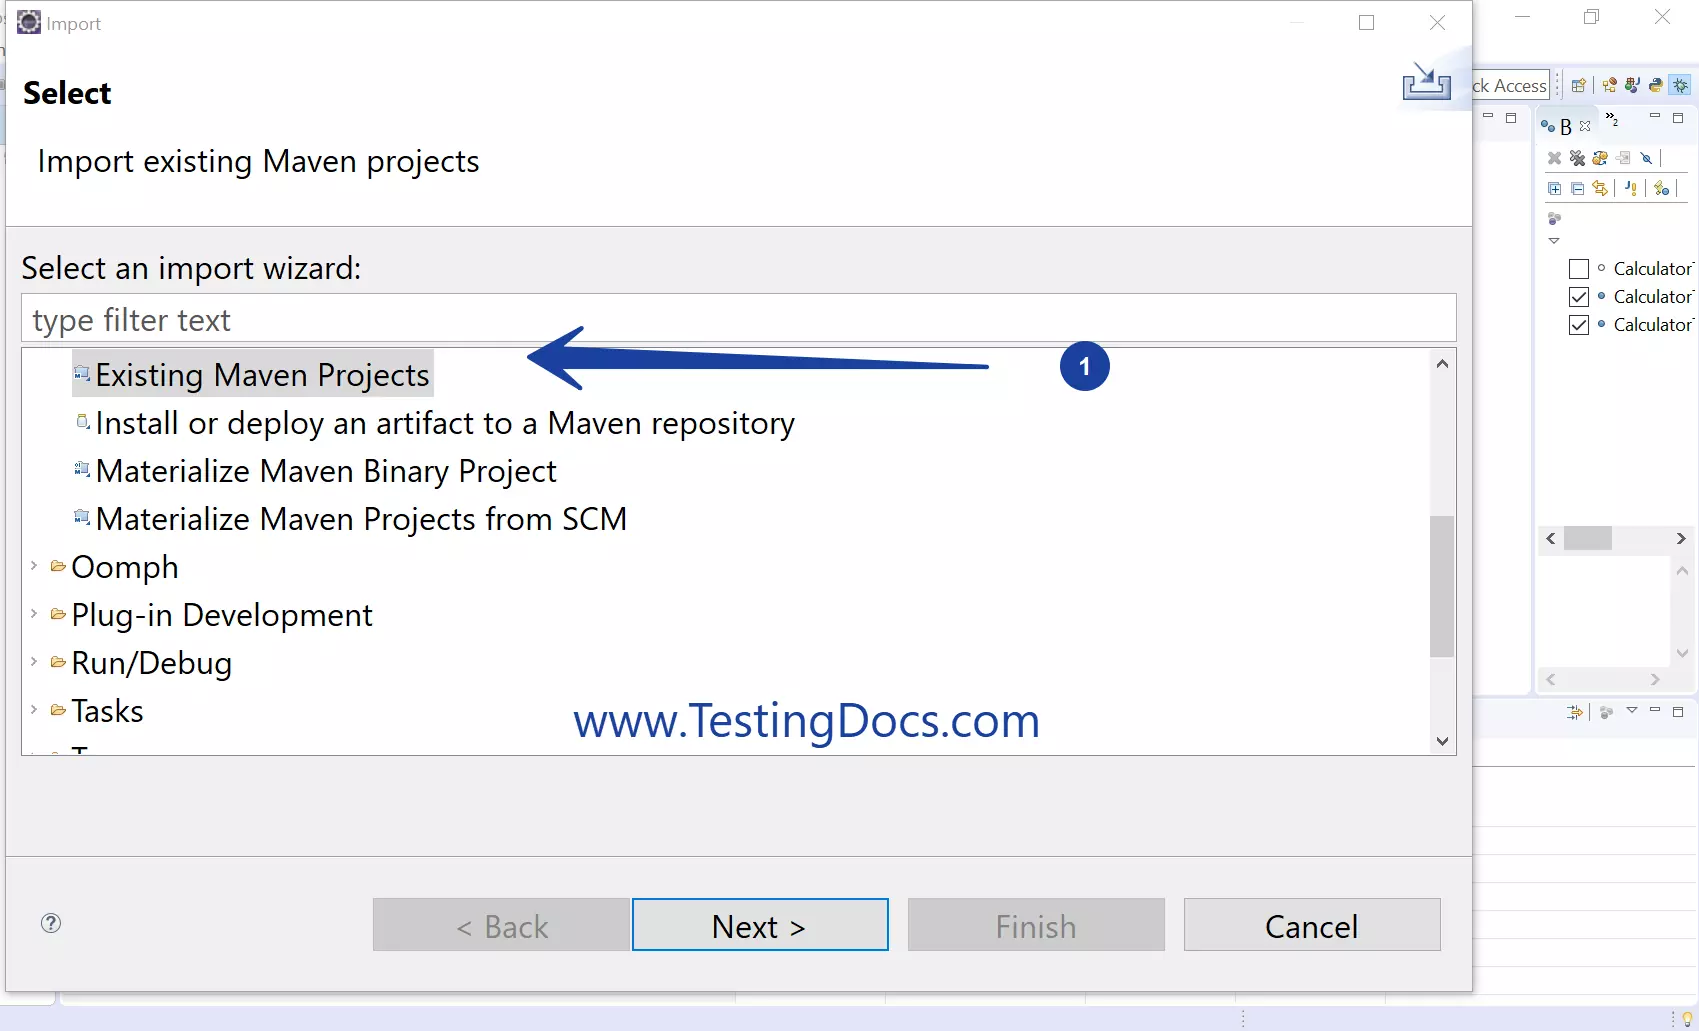
In the next screen Choose Maven -> Existing Maven Projects

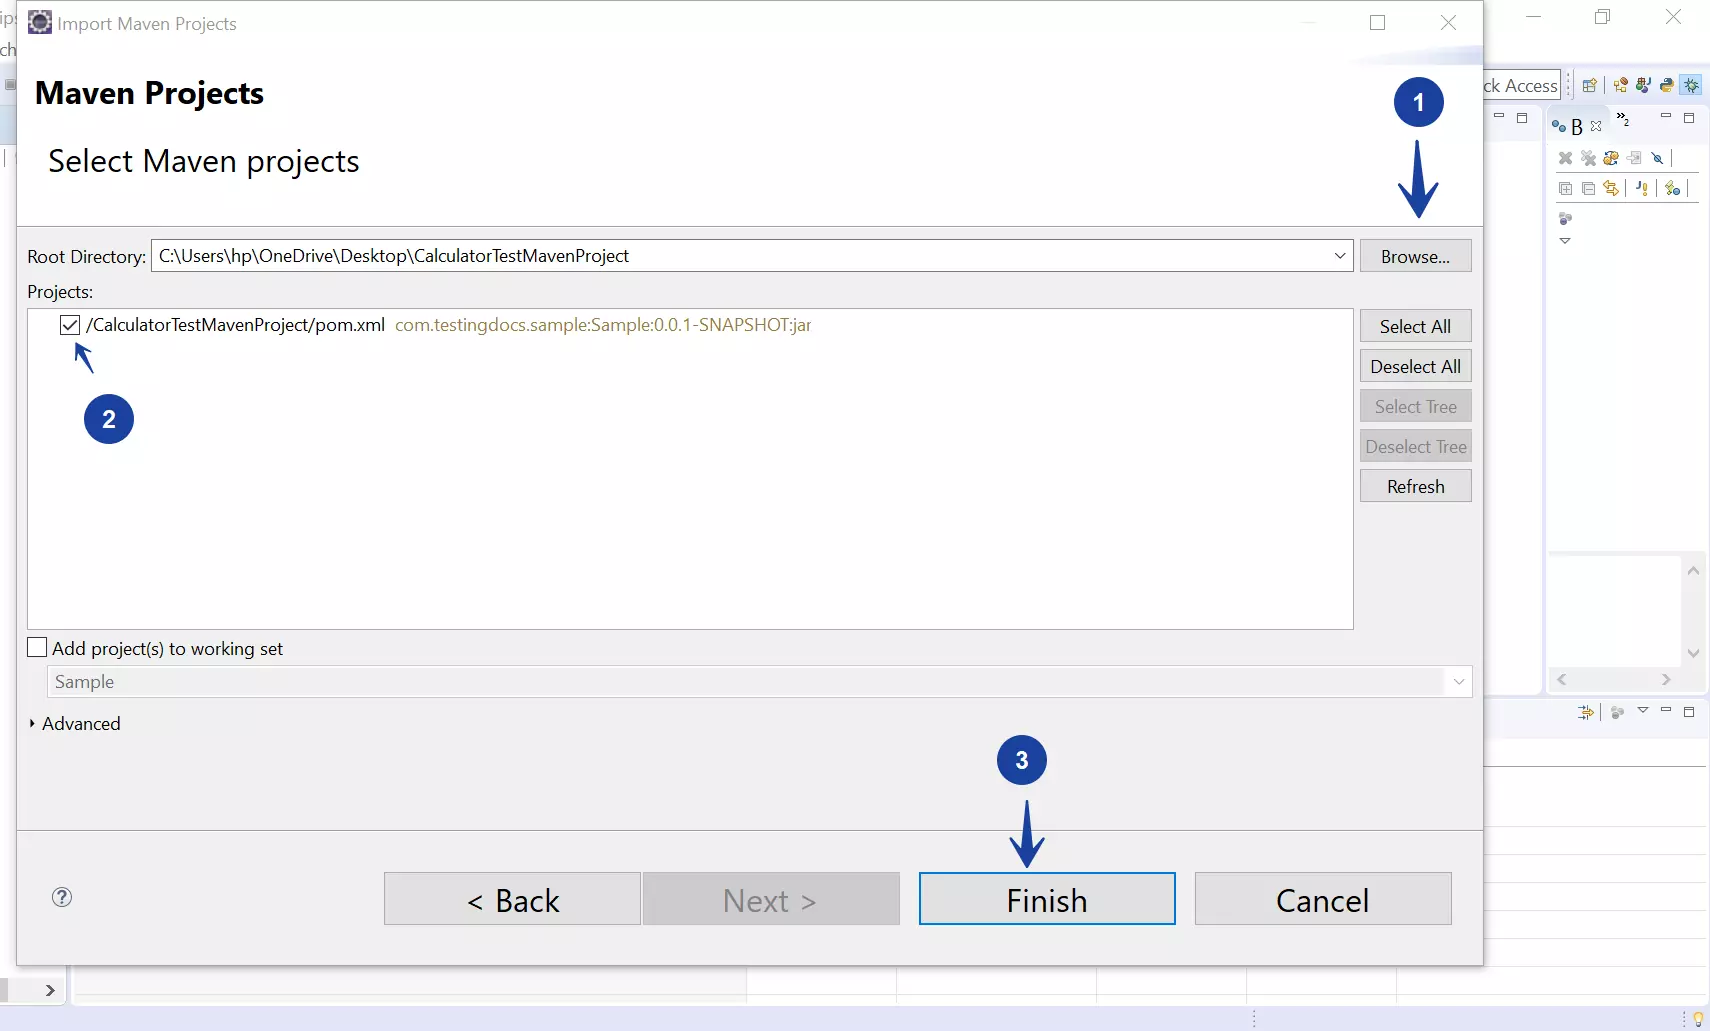
Browse to the existing folder and check the pom.xml file under the project folder and click on Finish as shown on the screen.

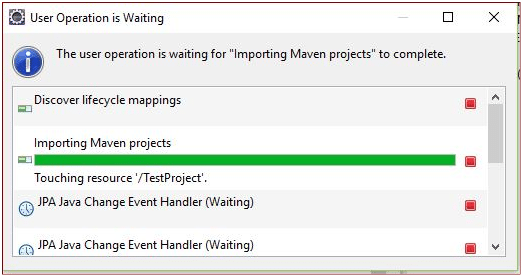
Sometimes if your project has a lot of files it may take some time. Please be patient.

That’s it you are almost done importing the maven project. Sometimes the imported project might show a red cross mark in the Project Explorer. This means you have errors in your imported project or eclipse is still running background tasks of downloading and building your workspace.
Go to the problems tab and check for any project errors and resolve them. The problems tab states all the errors in the project.
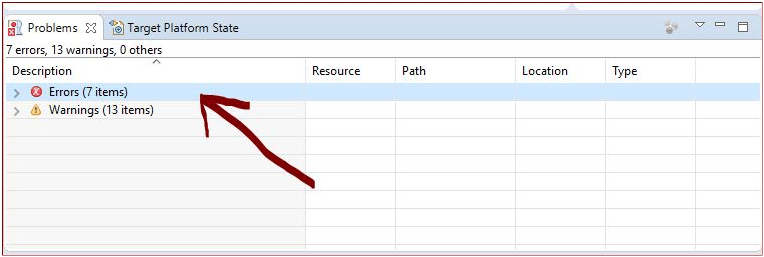

Errors Tab
Resolve the errors in the project and the red cross mark would go away for the project in the Project explorer. It is very important to resolve the errors in the project.
In conclusion, once you are done with resolving the errors you are done with the importing process of the existing maven project. You can continue working to add more features to the project.
Eclipse Tutorials on this website can be found at:
https://www.testingdocs.com/eclipse-tutorials
For more details on the Eclipse IDE, visit the official website at:
https://www.eclipse.org