

Introduction
In this article, we will install the TestNG plugin in Eclipse. Please follow the step-by-step instructions in this tutorial.
To add TestNG to a project :
https://www.testingdocs.com/add-the-testng-library-to-the-project/
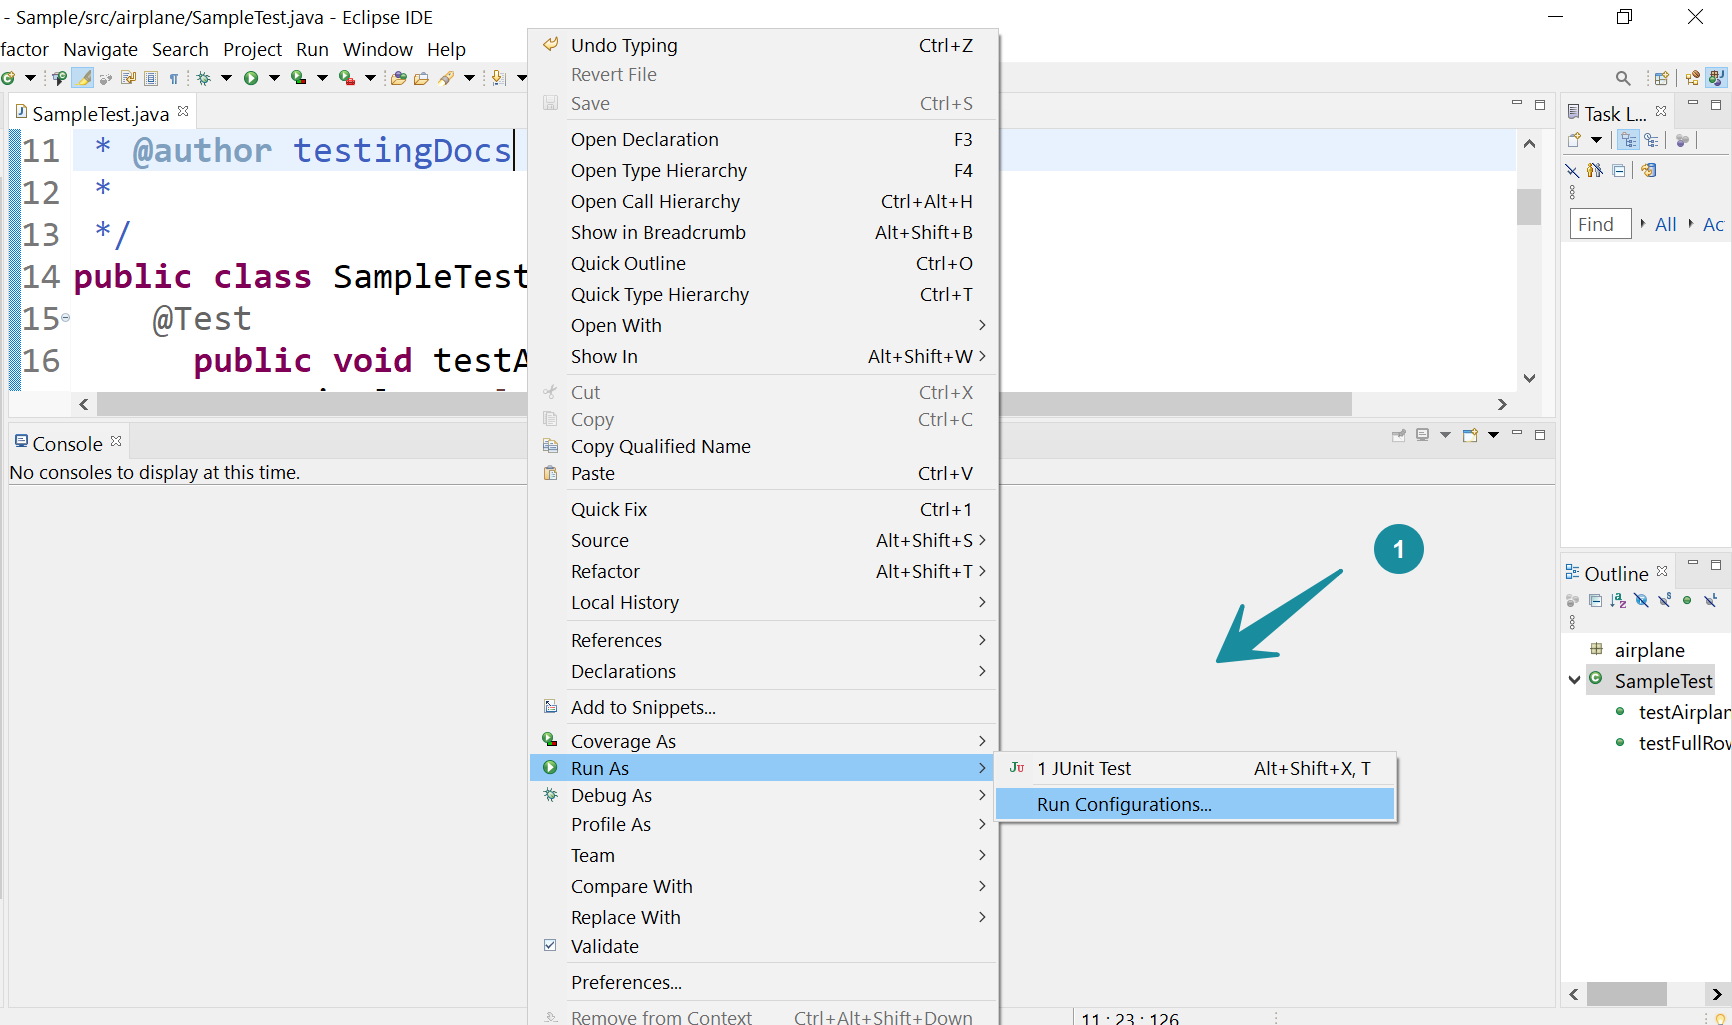
If you don’t have TestNG installed, you won’t get the option to run the tests with the TestNG option in Eclipse IDE.

Eclipse MarketPlace
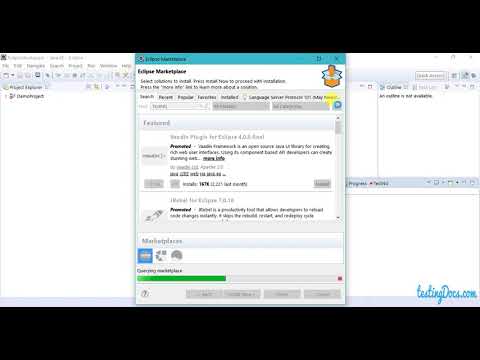
We can install the TestNG plugin via Eclipse Marketplace. Go to Help > Eclipse Marketplace…
In the Eclipse marketplace search for TestNG and click on the Go button.
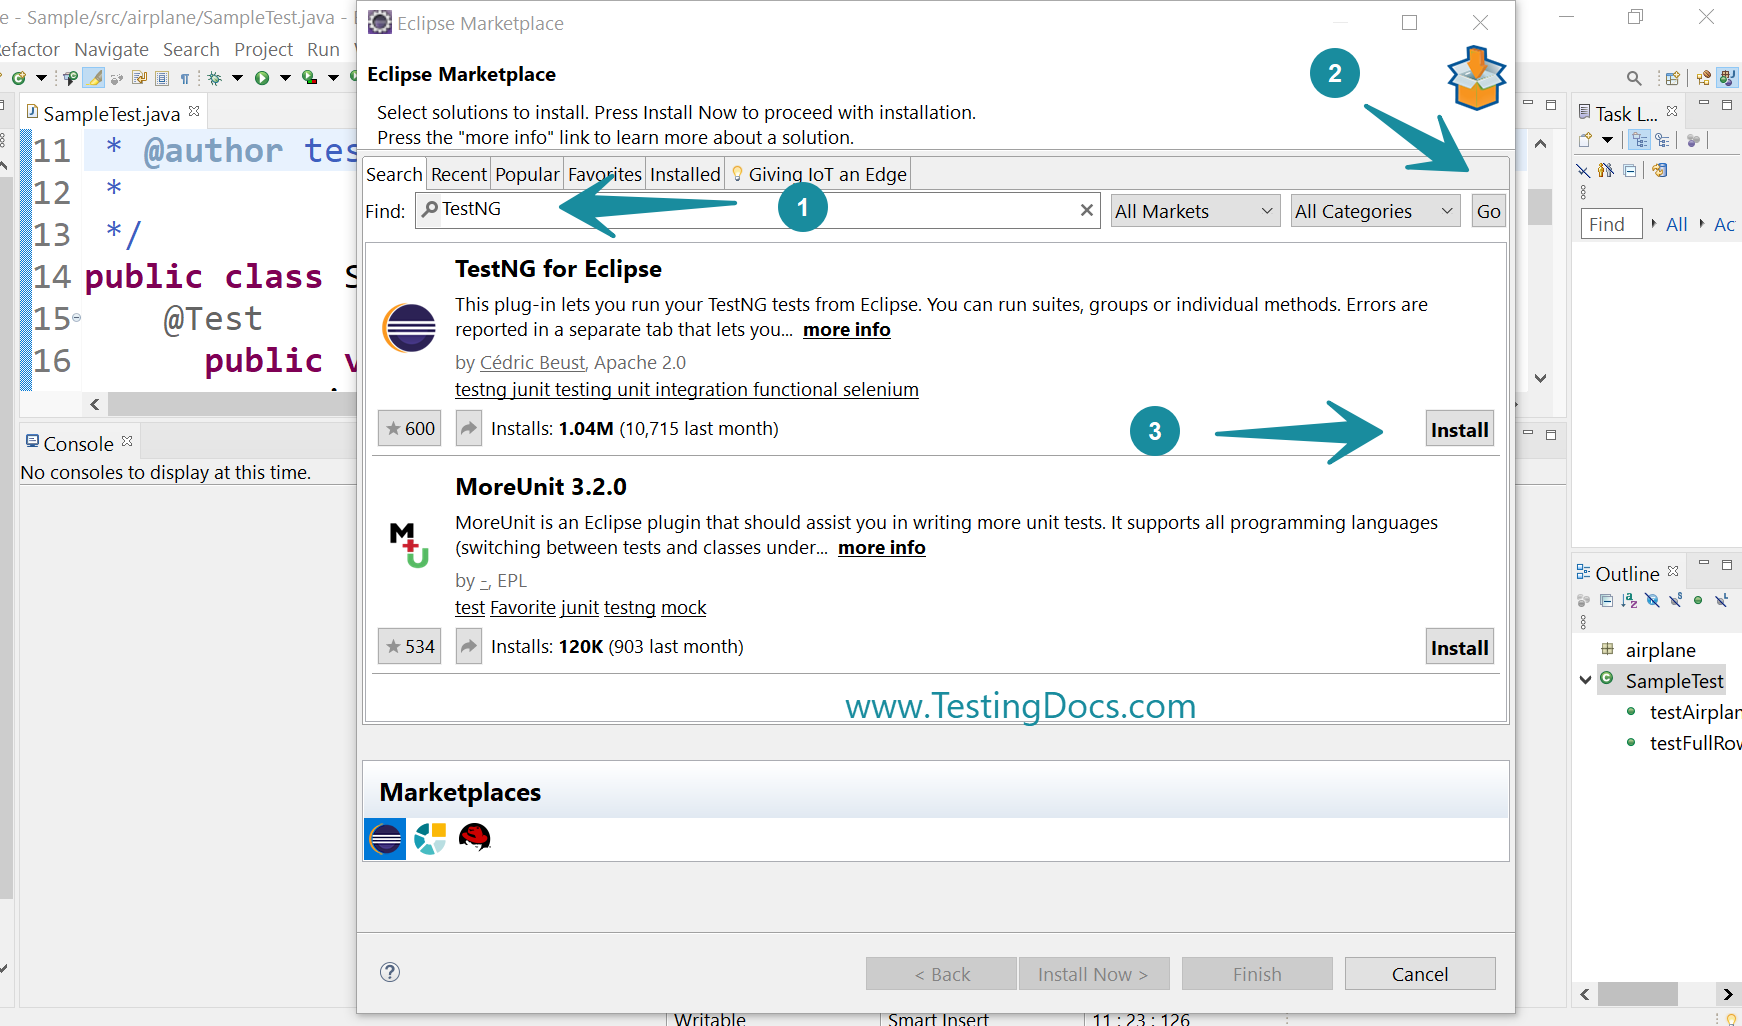

Click the Install button for TestNG for Eclipse plug-in.
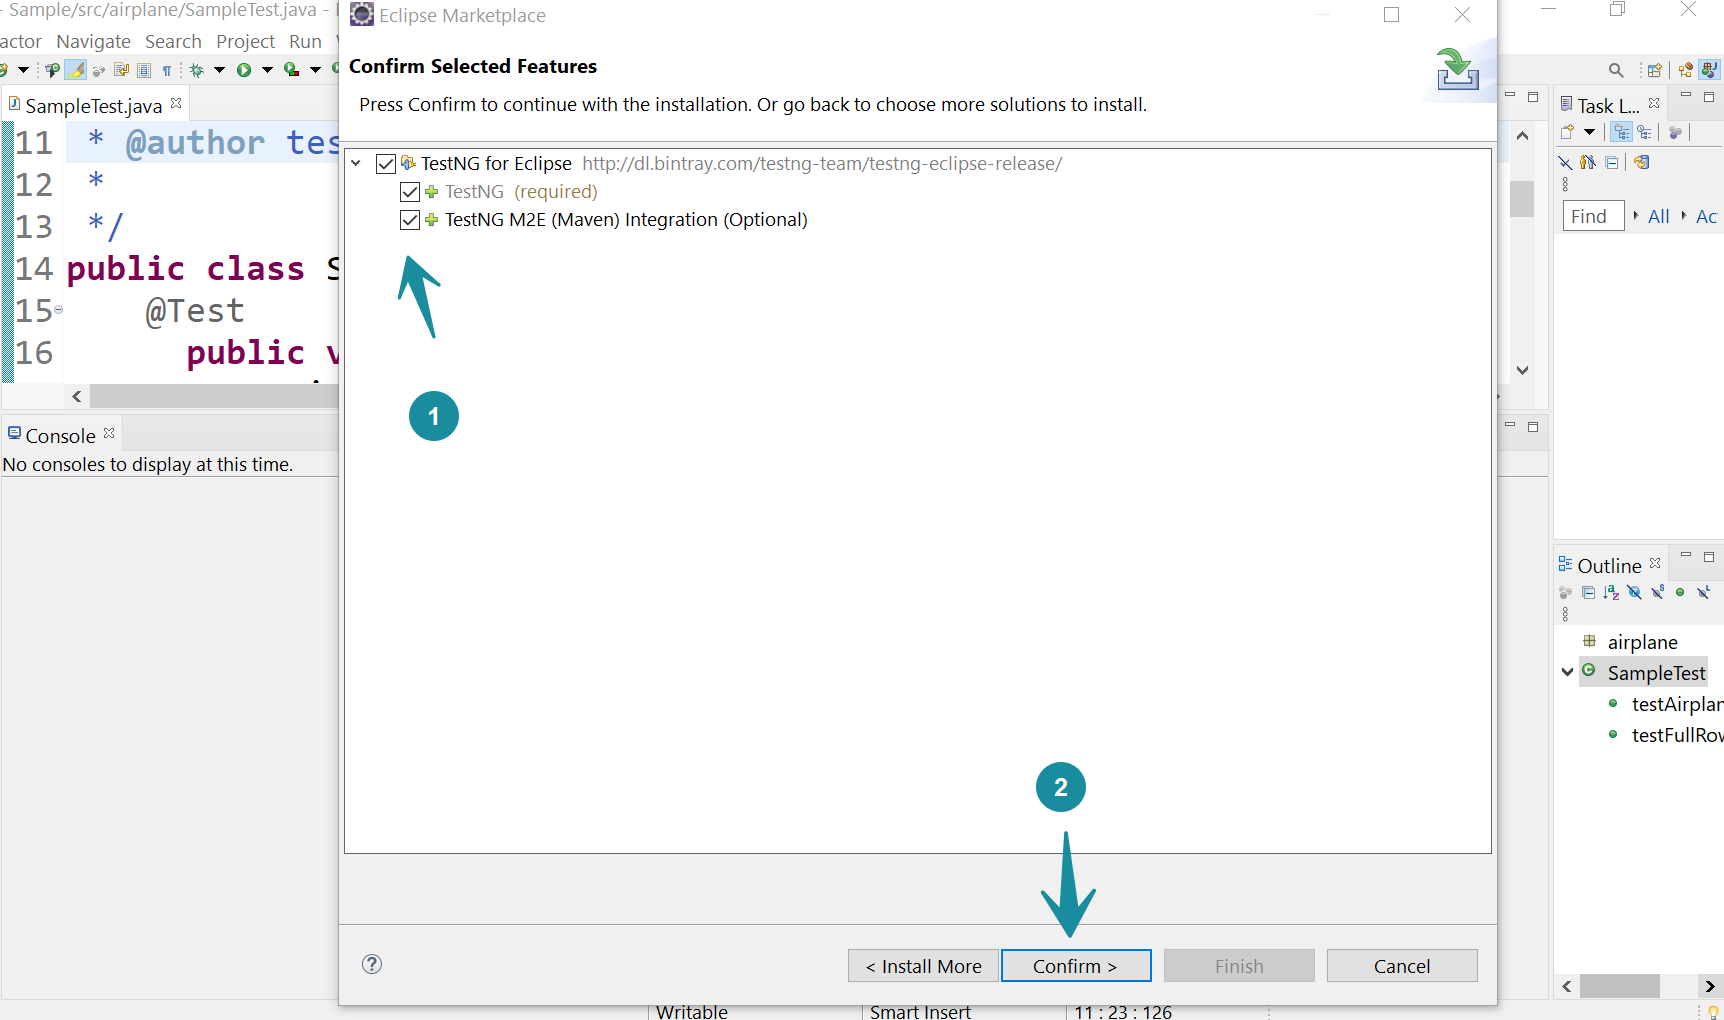
Check all the features and click the Confirm> button.

Read and Accept the license for the TestNG Eclipse plugin.
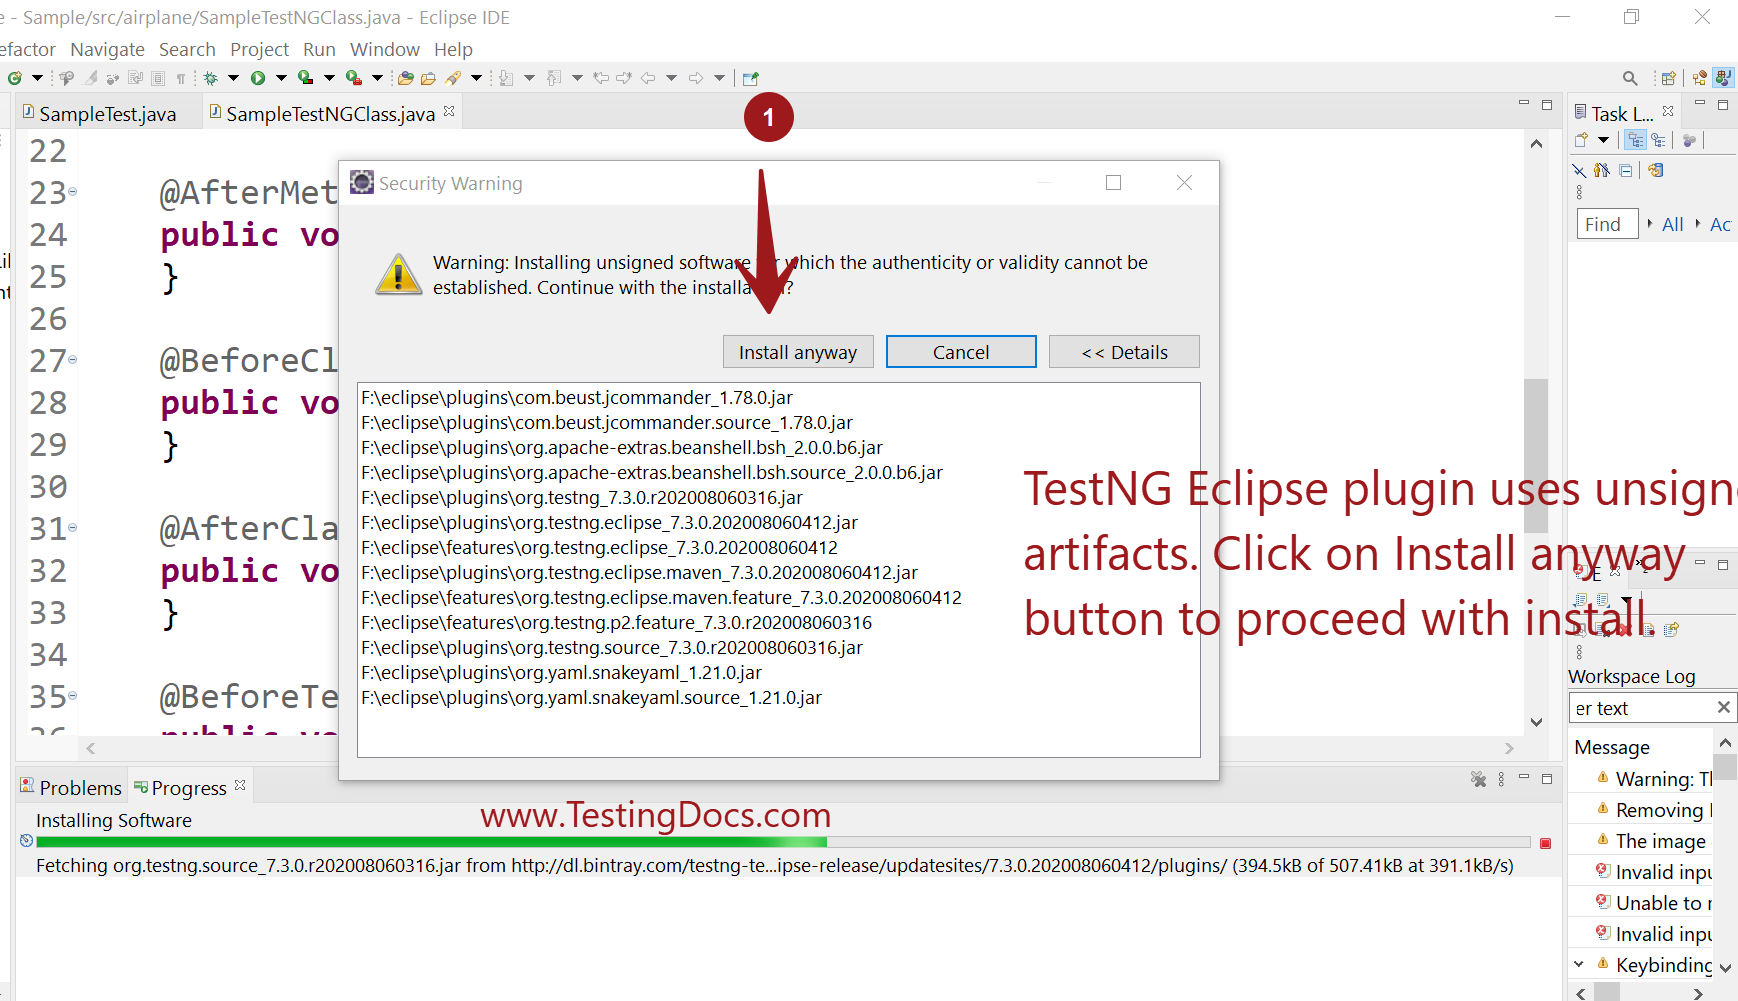
The Eclipse will install the plugin when you click the Finish button.

After installation, you need to restart Eclipse. At the end of the installation, you will receive an alert to do so. Click OK and restart your Eclipse.
Verify Install
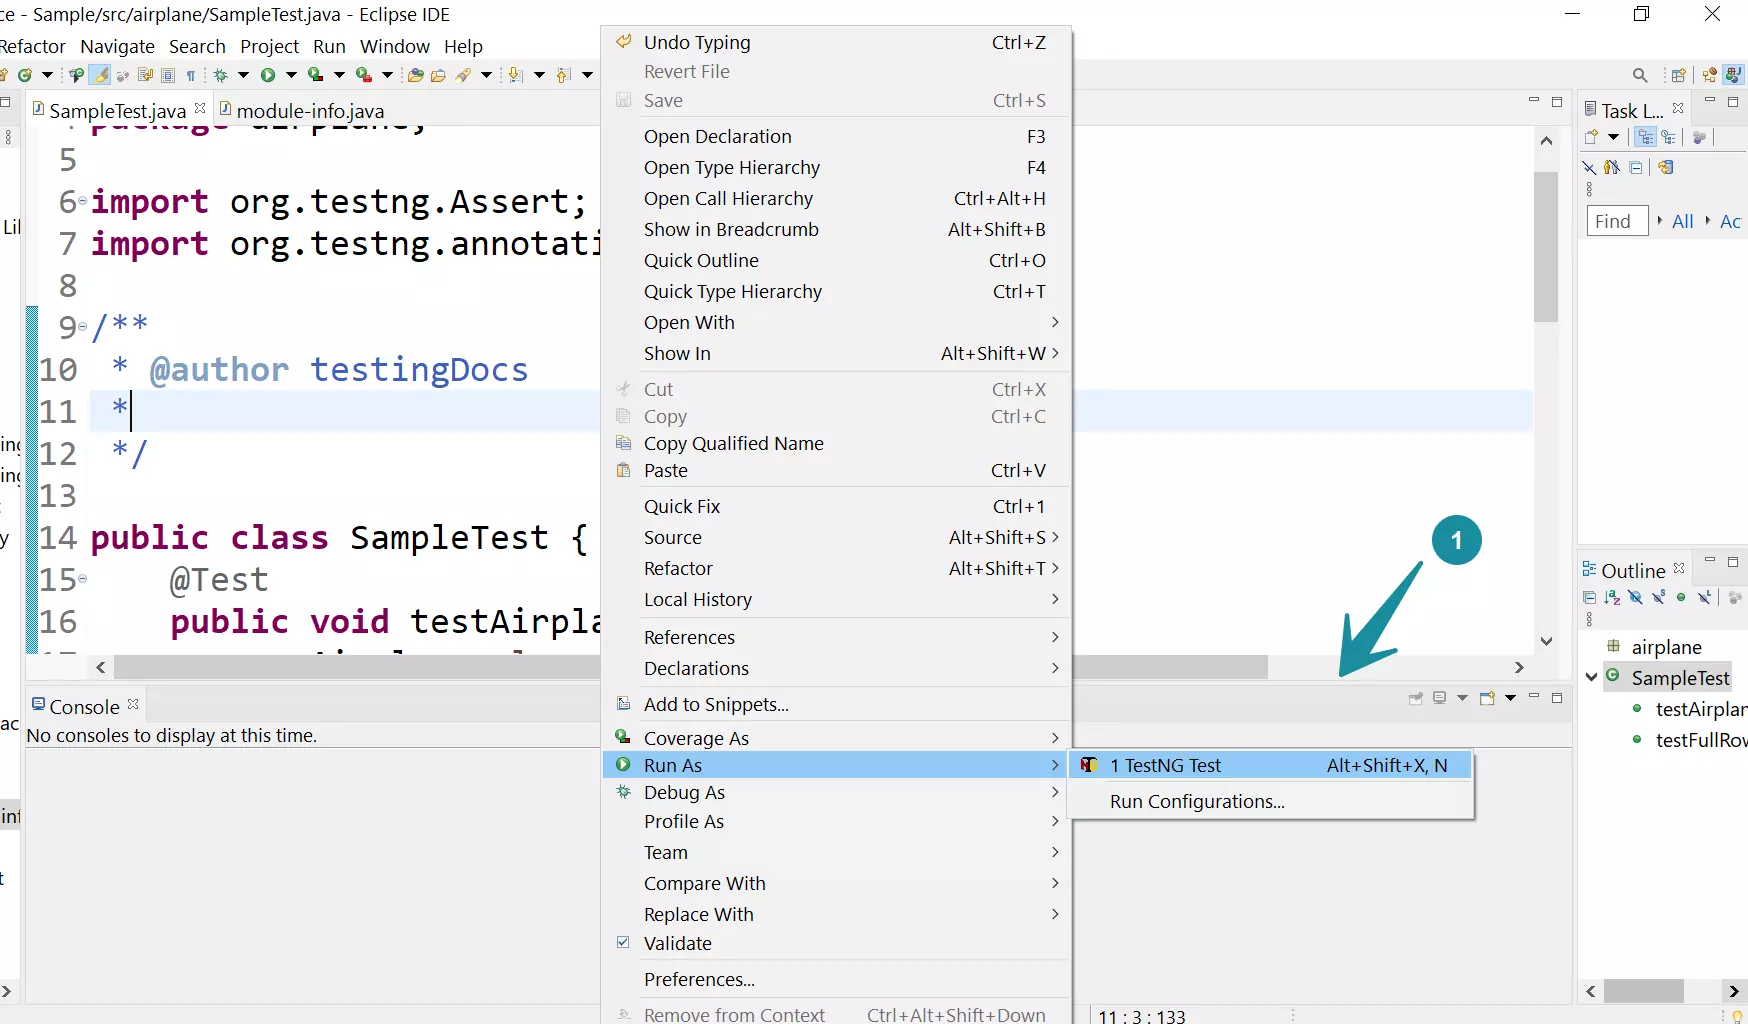
We have completed the installation of the TestNG plug-in in Eclipse. We may right-click any @Test method class or the TestNG suite file to check the run with the TestNG option. We will see the option to run as a TestNG test.

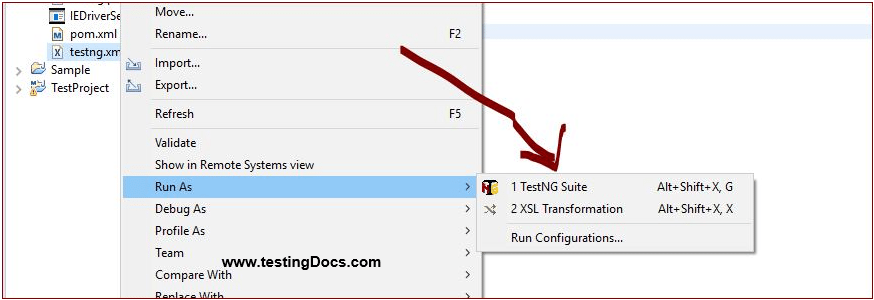
Alternatively, right-click the suite file to get the option to run it as a TestNG Suite file, as shown in the screenshot below.

Install from the Update site:
Alternatively, we can install TestNG from the update site. Steps to install from the update site are at:
https://www.testingdocs.com/installing-testng-latest-version-from-the-update-site/
Update TestNG Plugin
https://www.testingdocs.com/how-to-update-eclipse-testng-plug-in/
TestNG Tutorials
TestNG Tutorials on this website can be found at:
https://www.testingdocs.com/testng-framework-tutorial/