Introduction
In this post, we will discuss working with JUnit in Eclipse IDE. Eclipse has a lot of support for JUnit that makes creating and working with JUnit tests easy.
Create a Test Class
To create a test class, right-click on your new class, select the package where you want to create it in Project Explorer.
New -> Other… remove type filter text and type JUnit to search as shown in the picture:
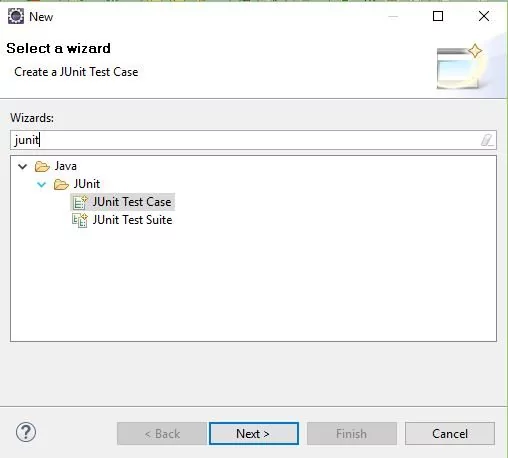

Choose > JUnit Test Case. Make sure you pick the JUnit 4 test.
Optionally you can choose the setup/teardown methods with @Before/@After, @BeforeClass/@AfterClass annotations methods as shown in the picture.
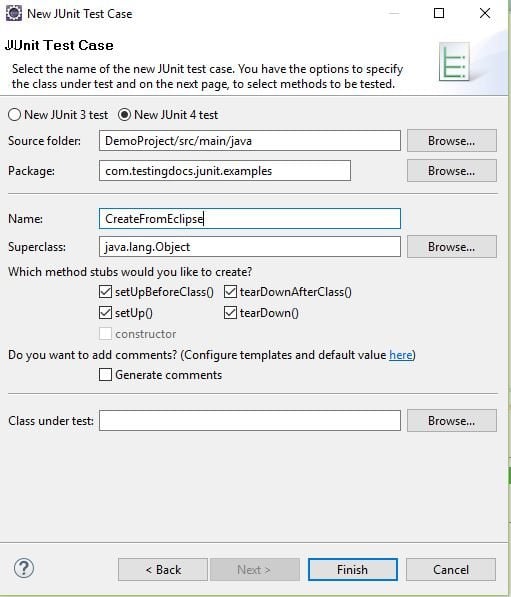

Once you hit on the Finish button, Eclipse you populate the selected methods and sample skeleton on the Junit test class. We can just work on the test method logic. Alternatively, you can also use the wizard available under File -> New -> Other…to create the test class.
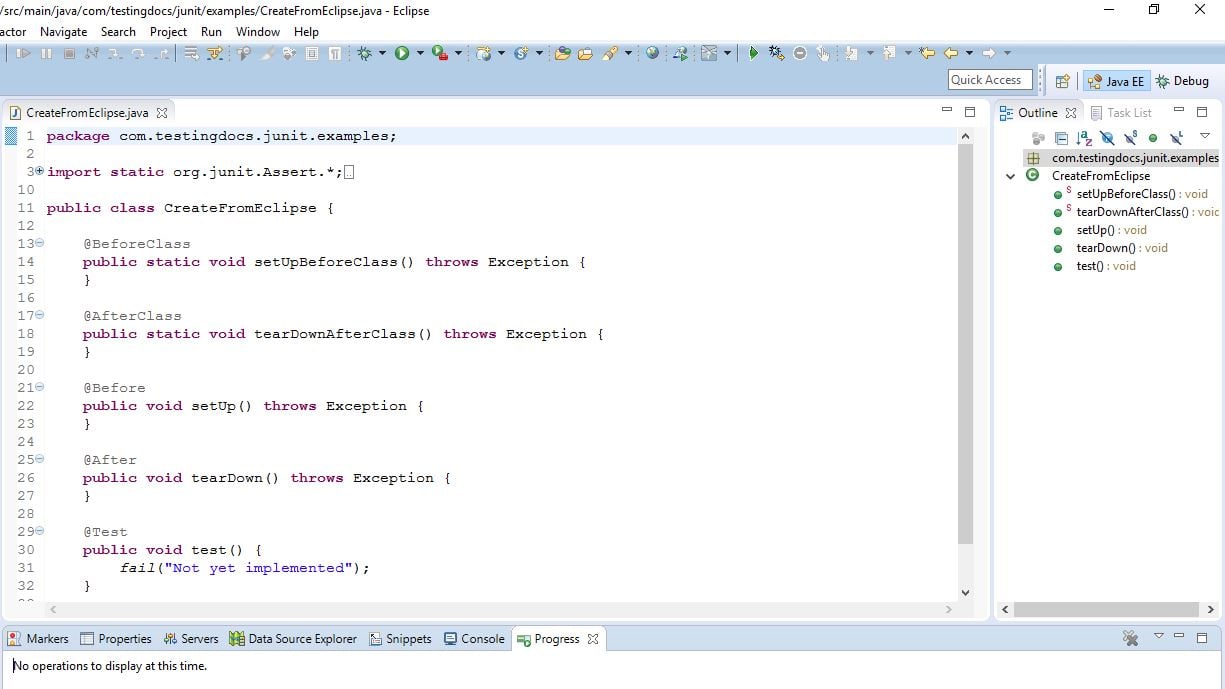
Creating a test class in this manner saves a lot of time and typing effort while writing unit tests. See below how eclipse creates the test class with all the essential annotated methods.
Sample Test Class
public class CreateFromEclipse {

    @BeforeClass
    public static void setUpBeforeClass() throws Exception {
    }

    @AfterClass
    public static void tearDownAfterClass() throws Exception {
    }

    @Before
    public void setUp() throws Exception {
    }

    @After
    public void tearDown() throws Exception {
    }

    @Test
    public void test() {
        fail("Not yet implemented");
    }

}