Introduction
Once you have successfully downloaded and installed PyCharm IDE you can start working with it. In this tutorial, we will learn how to configure the IDE and create projects.


Create a New Project
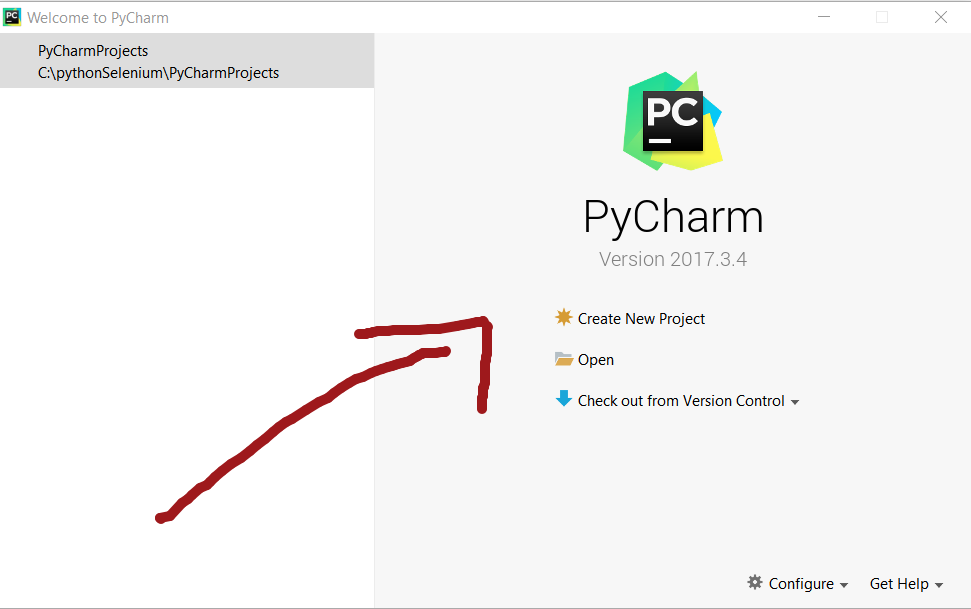
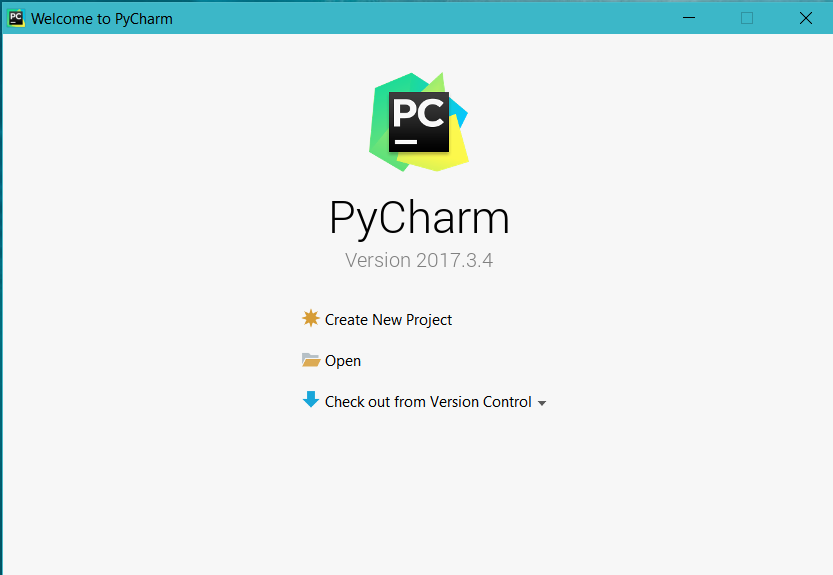
Launch the PyCharm IDE. Click on the Create New Project option on the welcome screen as shown below.

Specify the location of your project in the Location field.
Click on Create button to create the Project.

In Interpreter settings, you can choose a New environment or choose an existing interpreter for the project.
Create New Python script
To create a new Python script, Right-click in the Project Explorer, and navigate to New -> Python File.
Enter the name of your script file in the Name text box.
Click on the OK button.
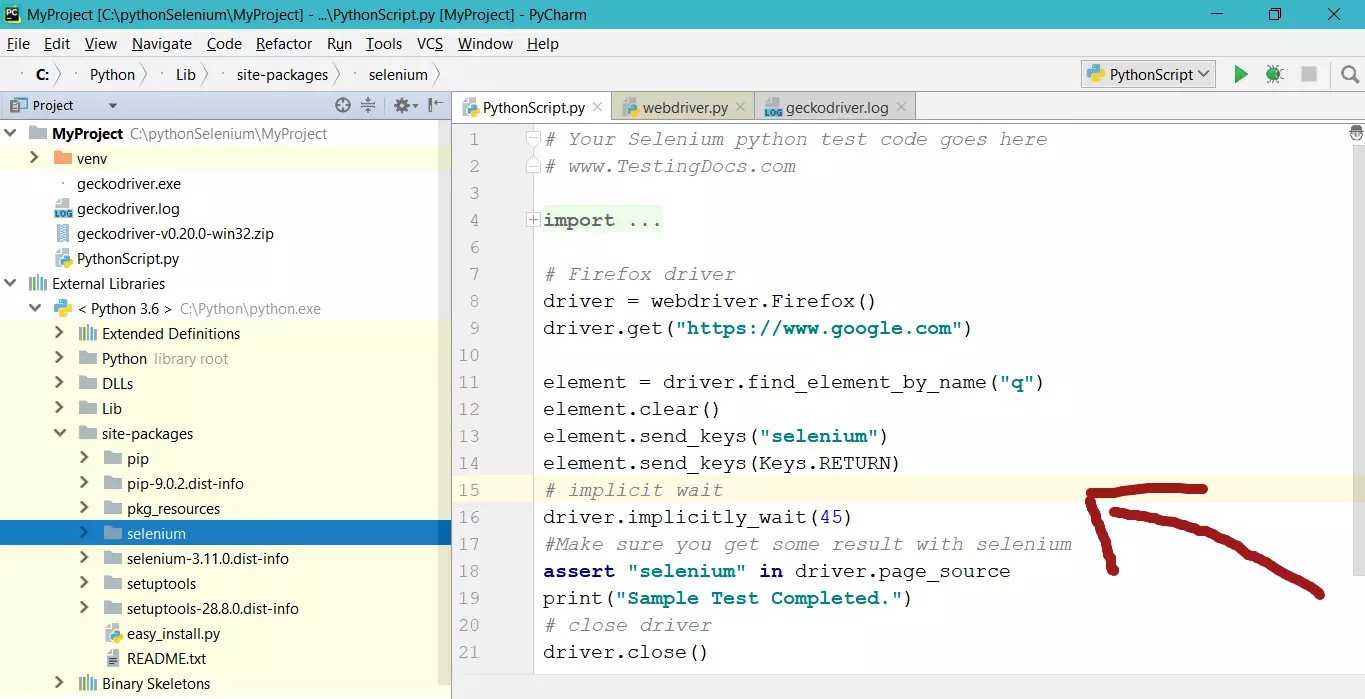
Once you have created the script file you can add Python code to it.

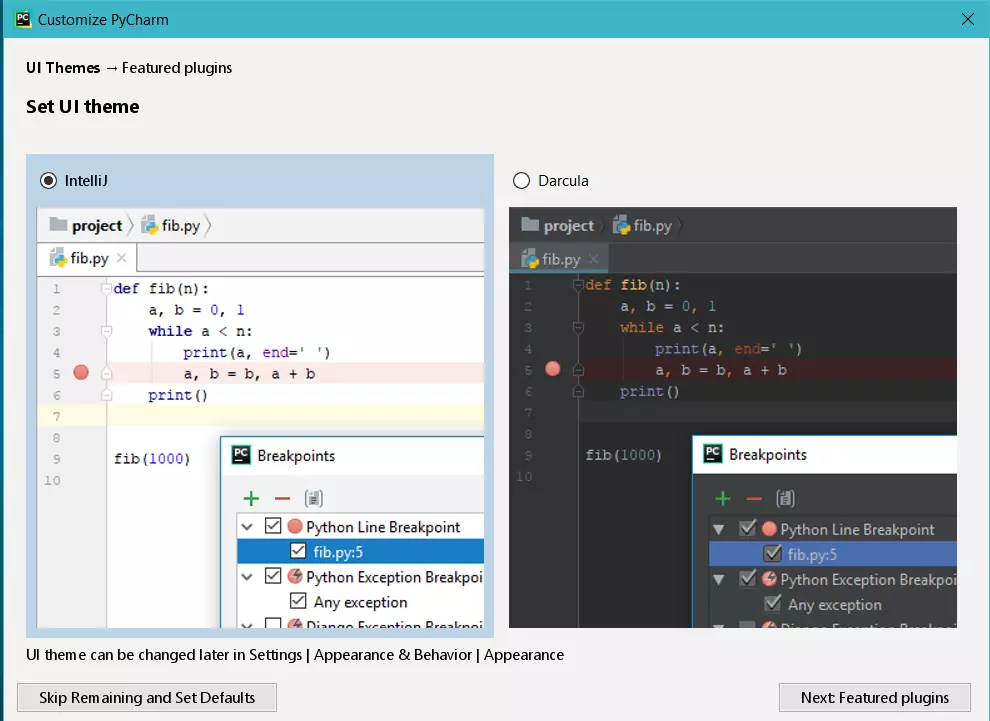
You can configure various settings of the IDE by clicking on the Configure link in the bottom of the welcome screen. Several settings like Appearance, Version Control, Project Interpreter, Plugins, Tools, Build Execution environment etc can be set.