

Overview
In this tutorial, we will learn how to add new stories to the JBehave project. The task looks simple, but there are several steps involved in adding a story to the project. We will learn some guidelines to follow while adding stories to the project.
Managing stories
During the long run of the project, the stories become numerous in number. It is advisable to group your stories into features and sub-features. Follow the set criteria and standards when adding a new story. Use meta information to categorize the story adequately.
Example:
Meta:
@login
@P1
@Regression
Steps involved in adding a story
Pull the latest code base from git. This reduces the changes of merge conflicts and git rebase nightmare.
Create a new file with .story extension.
Note that you need to create the story file in the class path or from where the project picks the stories files.
Add story and gherkin.
Create or modify story data.
Make sure you write step definitions in the step classes. Modify or add Steps and step definitions.
Test your stories locally on your machine. Run the story to verify the result.
( To perform a dry automation run with a filter)
In-case the story fails or skips debug the story and fix the errors and steps.
Confirm positive story test result. Test negative -> debug your story,steps and step definitions, data etc.
Submit a change request. Push your changes to Git repository.
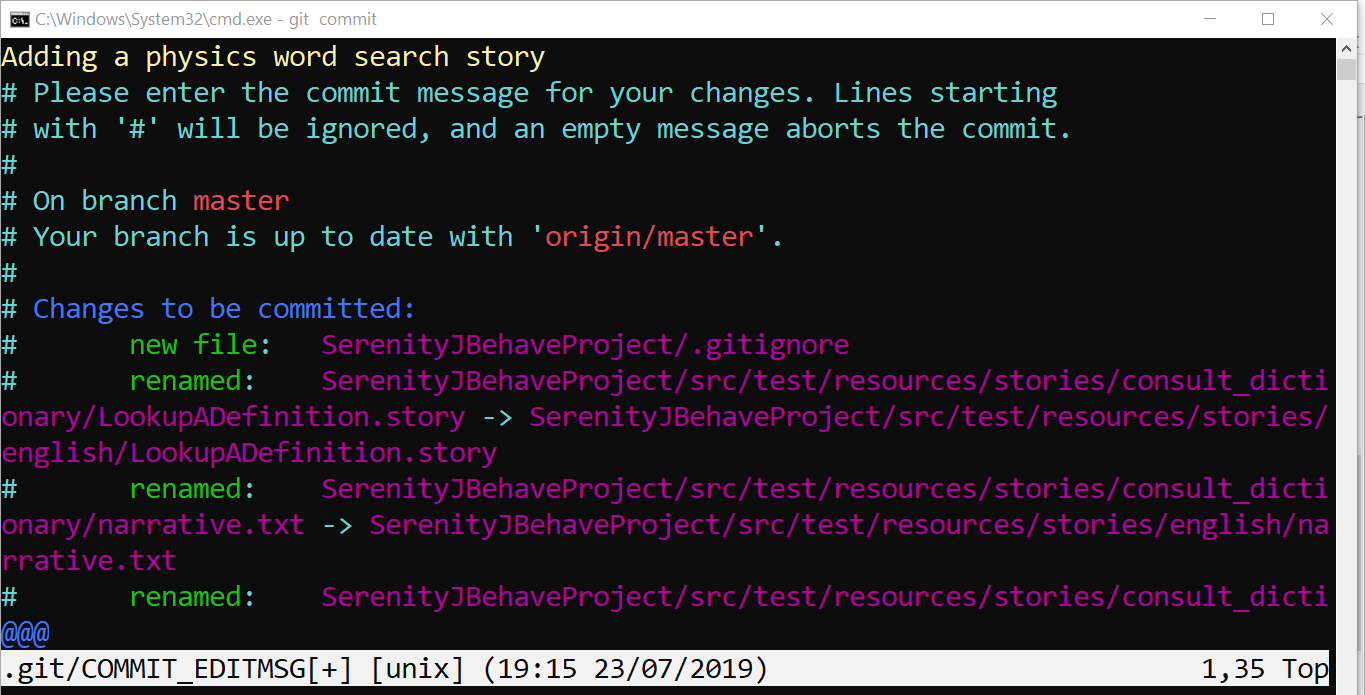
Sample Git Workflow
Sample workflow of adding one story file to the project.The story reuses the defined steps.
/> git pull –rebase
/> git status


/> git add .
/> git commit
Generally, you should provide a meaningful commit message that describes the work/or change done.

/> git push
JBehave Tutorials on this website can be found at:
https://www.testingdocs.com/jbehave-framework-tutorial/
For more details on the JBehave framework, visit the official JBehave website at:
http://jbehave.org