How to connect to Pluggable Database (PDB) using SQL*Plus?
Overview
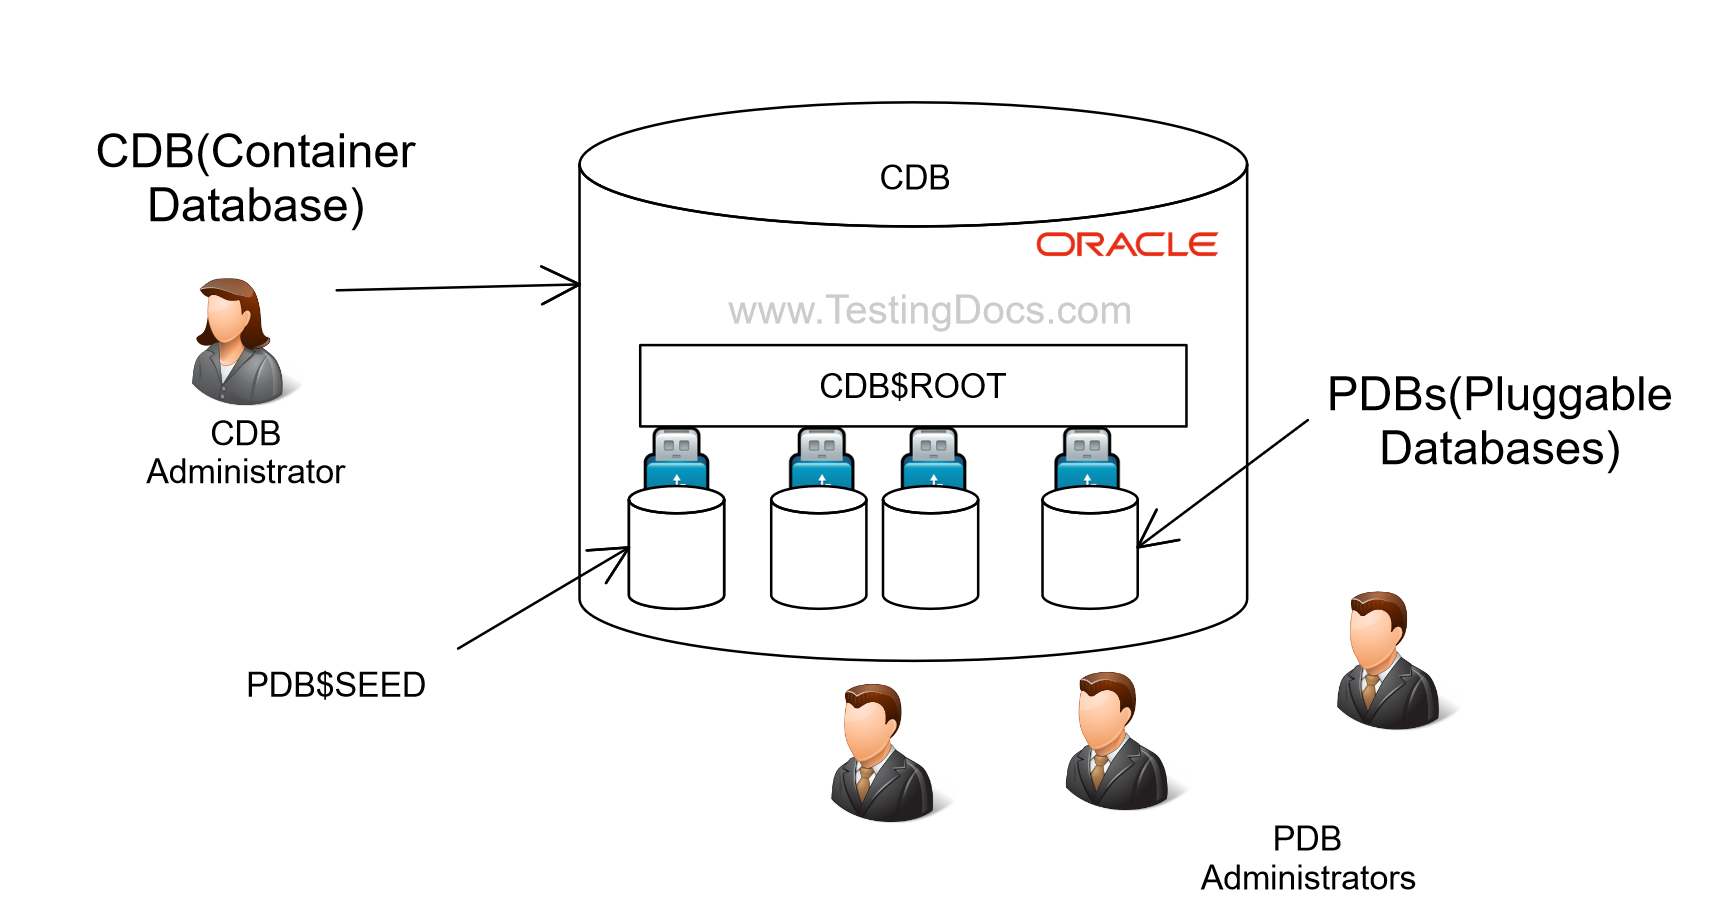
In this tutorial, we will learn the steps involved to connect to pluggable database (PDB) using SQL*Plus command line tool.
General steps are:
- Launch SQL*Plus command line.
- Issue SQL commands.

Commands
Open the PDB if the database is not open. The name of the PDB in this example is: orclpdb
Error indication:
ERROR:
ORA-01109: database not open
Warning: You are no longer connected to ORACLE.
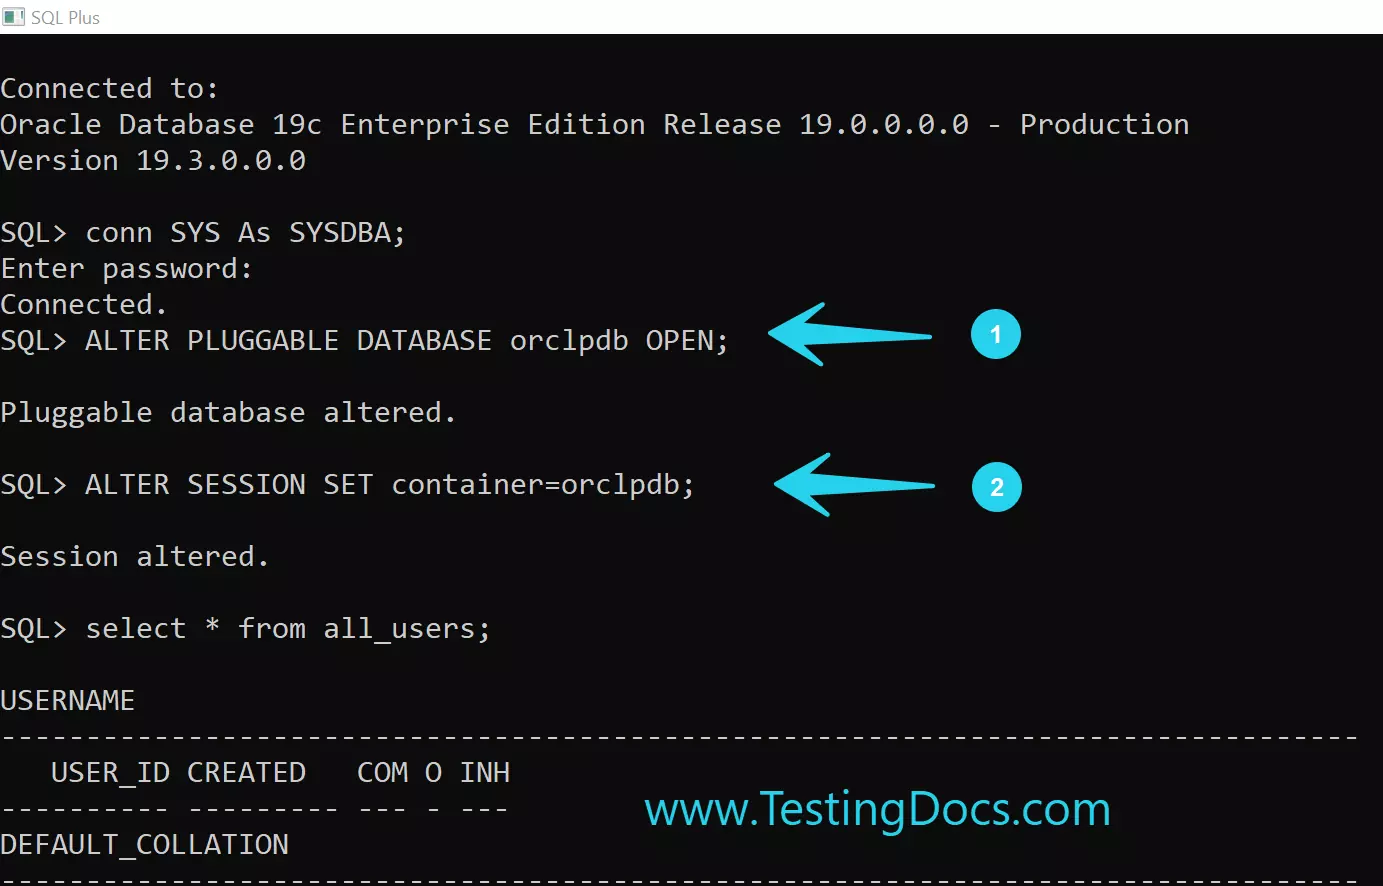
Connect as SYS
\>sqlplus / as SYSDBA
List the pluggable database instances:
SQL> SHOW pdbs;
On Single Instance database:
Issue the following command to open the database:
SQL> ALTER PLUGGABLE DATABASE orclpdb OPEN;

On multi-tenancy RAC environment:
We need to open on all instances:
SQL> ALTER PLUGGABLE DATABASE orclpdb OPEN instances=all;
Common Error
We need to have sufficient privileges to execute this command. Error when we execute this command with insufficient privileges. For example, connect as SYSDBA role to rectify this error.
SQL> ALTER PLUGGABLE DATABASE orclpdb OPEN;
ALTER PLUGGABLE DATABASE orclpdb OPEN
*
ERROR at line 1:
ORA-01031: insufficient privileges

Connect to the database:
SQL> ALTER SESSION SET container=orclpdb;

Session altered.
Now we can work with the database like creating local user, database objects etc. Add the information of the PDB to the tnsnames.ora file.
Locate the tnsnames.ora file. Path to the file
ORACLE_HOME\network\admin
Add the host string to the file.
Save the file.
ORCLPDB =
 (DESCRIPTION =
 (ADDRESS = (PROTOCOL = TCP)(HOST = localhost)(PORT = 1521))
 (CONNECT_DATA =
 (SERVER = DEDICATED)
 (SERVICE_NAME = orclpdb)
 )
 )
Create User to connect
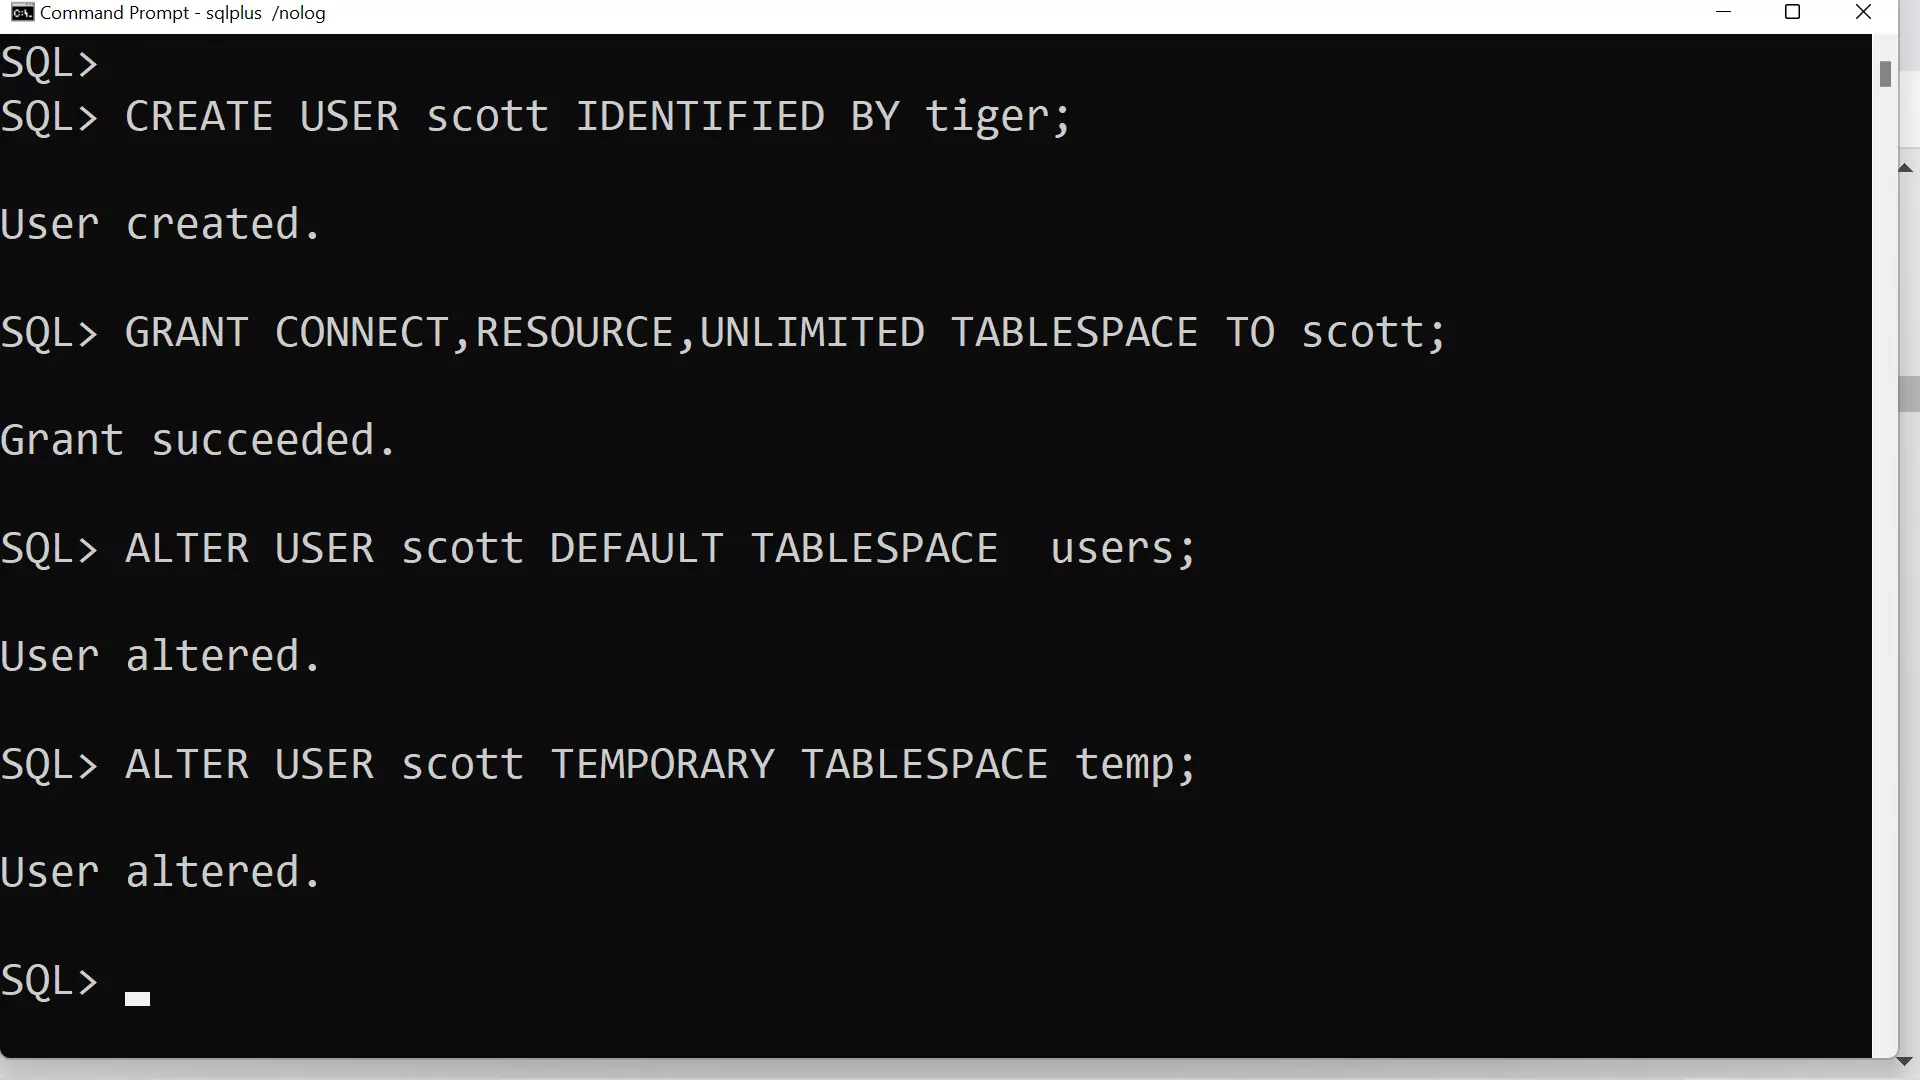
Create a user in the pluggable database:
SQL> CREATE USER scott IDENTIFIED BY tiger;
Grant privileges to the user.
SQL> GRANT CONNECT,RESOURCE,UNLIMITED TABLESPACE TO scott;

Connect to database
We can connect to the database using the CONNECT command. For example to connect as scott database user:
CONNECT username/password@pdbdatabase
SQL> CONNECT scott/tiger@orclpdb;
Connected.
SQL>
—
Database Tutorials on this website:
https://www.testingdocs.com/oracle-database-tutorials-for-beginners/
More information about Oracle Database: