RAPTOR Tutorial
This RAPTOR tutorial is a beginner’s guide to learning the flowchart tool to build and execute flowcharts.
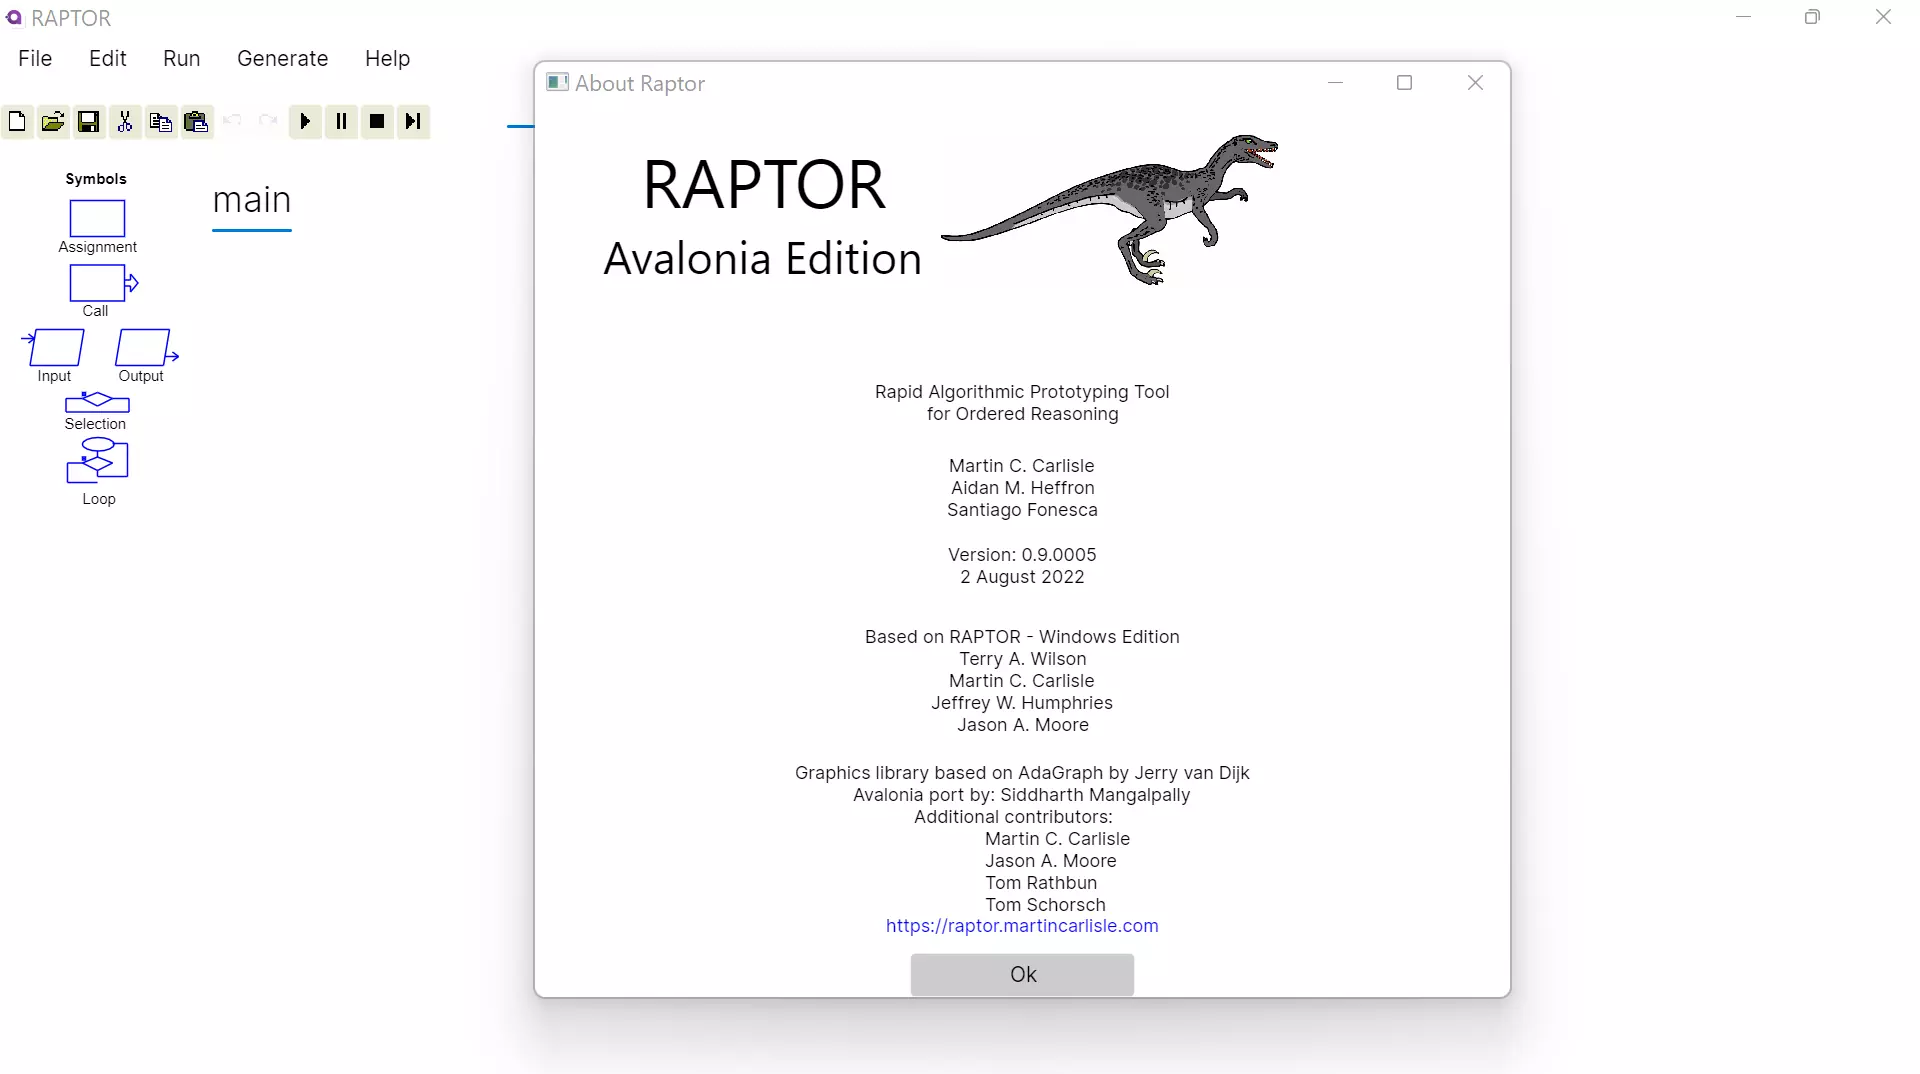
RAPTOR is a problem-solving flowchart tool. It is a visual interpreter tool that enables us to generate executable flowcharts. RAPTOR is an acronym for Rapid Algorithmic Prototyping Tool for Ordered Reasoning. The flowchart tool is developed using C# and A# programming languages.
Technically, a RAPTOR flowchart is a connected, directed graph of RAPTOR symbols that visually shows the program’s flow of control.
RAPTOR Editions
RAPTOR supports multiple editions. To know more:

Install RAPTOR
To install Raptor Windows edition, follow the instructions and the system requirements on this page:

Steps to install RAPTOR Avalonia Edition on Windows:
Launch RAPTOR
There are multiple ways we can launch the RAPTOR tool on Windows.
RAPTOR Features
RAPTOR flowchart tool requires minimum syntax and is simple to use. Students prefer using flowcharts to express their algorithms and are more successful in creating algorithms using RAPTOR than using a traditional language or writing/drawing flowcharts without RAPTOR.
RAPTOR Components
Learn about Raptor Components:
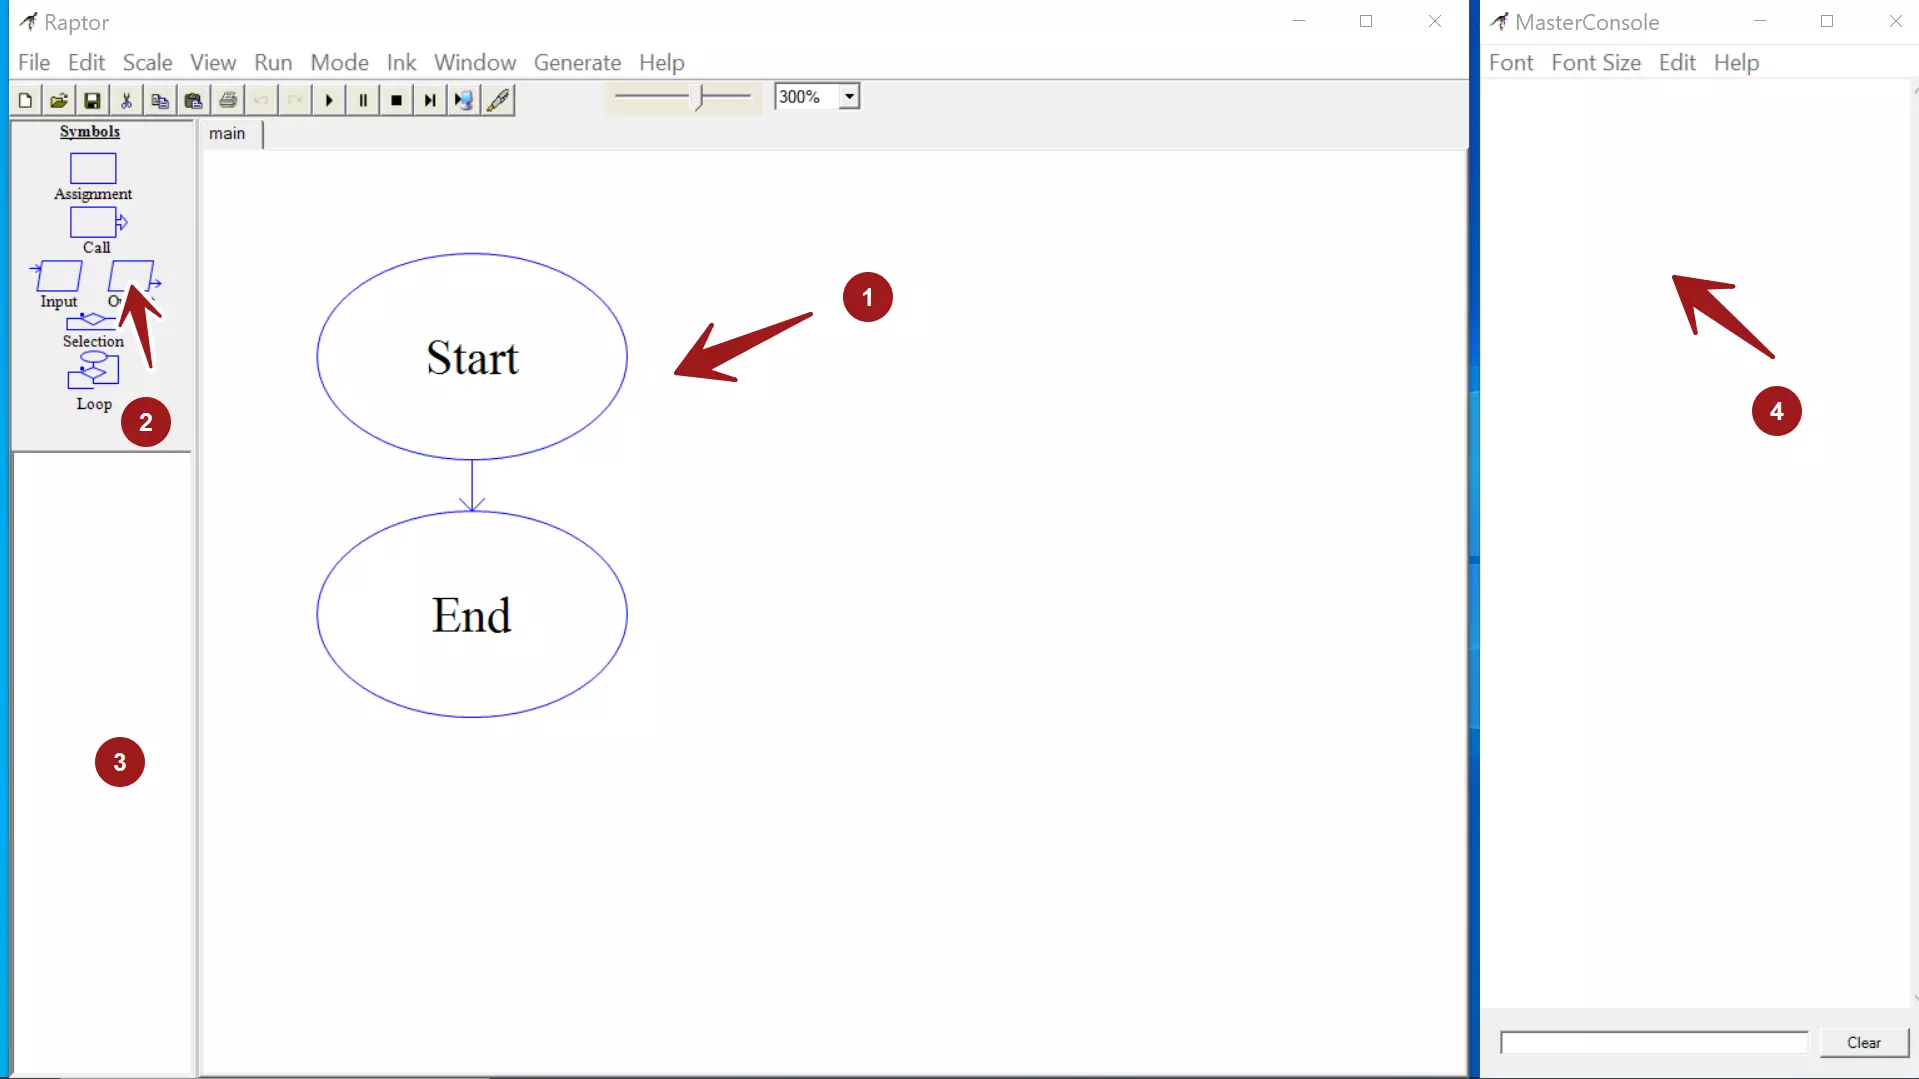
RAPTOR offers simple drag-and-drop support for flowchart symbols. Learn about the different flowchart symbols:
Modes
There are different modes in the RAPTOR flowchart. Learn more about RAPTOR modes:
Variables
A Variable is the name of the storage location used to store a value. It is called a variable because we can change the value in the flowchart. Learn how to use variables in a RAPTOR flowchart:
Input/Output
Basic Flowchart Symbols Input and Output Symbols
Build & Execute
Building your first simple flow chart using the RAPTOR flowchart tool:
Flowchart execution is the process of running the flowchart. During the run, the flowchart takes the input data, reads the files, etc. Processes the input data and provides meaningful information as the flowchart output.
Learn how to execute a RAPTOR flow chart
Readability
Comments add more value to your flowcharts. They make them readable and understandable to others. They can be your friends, colleagues, instructors, etc.
Generate Code
Raptor flowcharts can also generate source code in programming languages like C++, Java, VB, etc.
Subcharts & Procedures
Subcharts make the flow charts modular. They help to break down large flowcharts into small, manageable charts. Subcharts the basics of modular programming techniques.
Abstract and break large complex flowcharts into modules using procedures. Procedure and Functions provide an abstraction to the caller. They hide the inner details, logic, and working details from the caller.
Read/Write Files
- Read a File in the Raptor Flowchart Read a File
- Write a file using the Raptor flowchart Write a File
Arrays & Graphics
An array is a named collection of variables of the same data type.
Graphics using Raptor flowchart
Object-oriented Flowcharts