RAPTOR Input and Output
RAPTOR Input and Output
In the RAPTOR flowchart, we can use the Input/Output symbols to provide standard input and get standard output(to the Master Console window) from the flowchart. In this post, you will learn the standard input and output symbols.
Input Symbol
Let’s see how to input and output data in a RAPTOR flowchart. You can drag an Input symbol onto the flowchart and double-click on the input symbol.
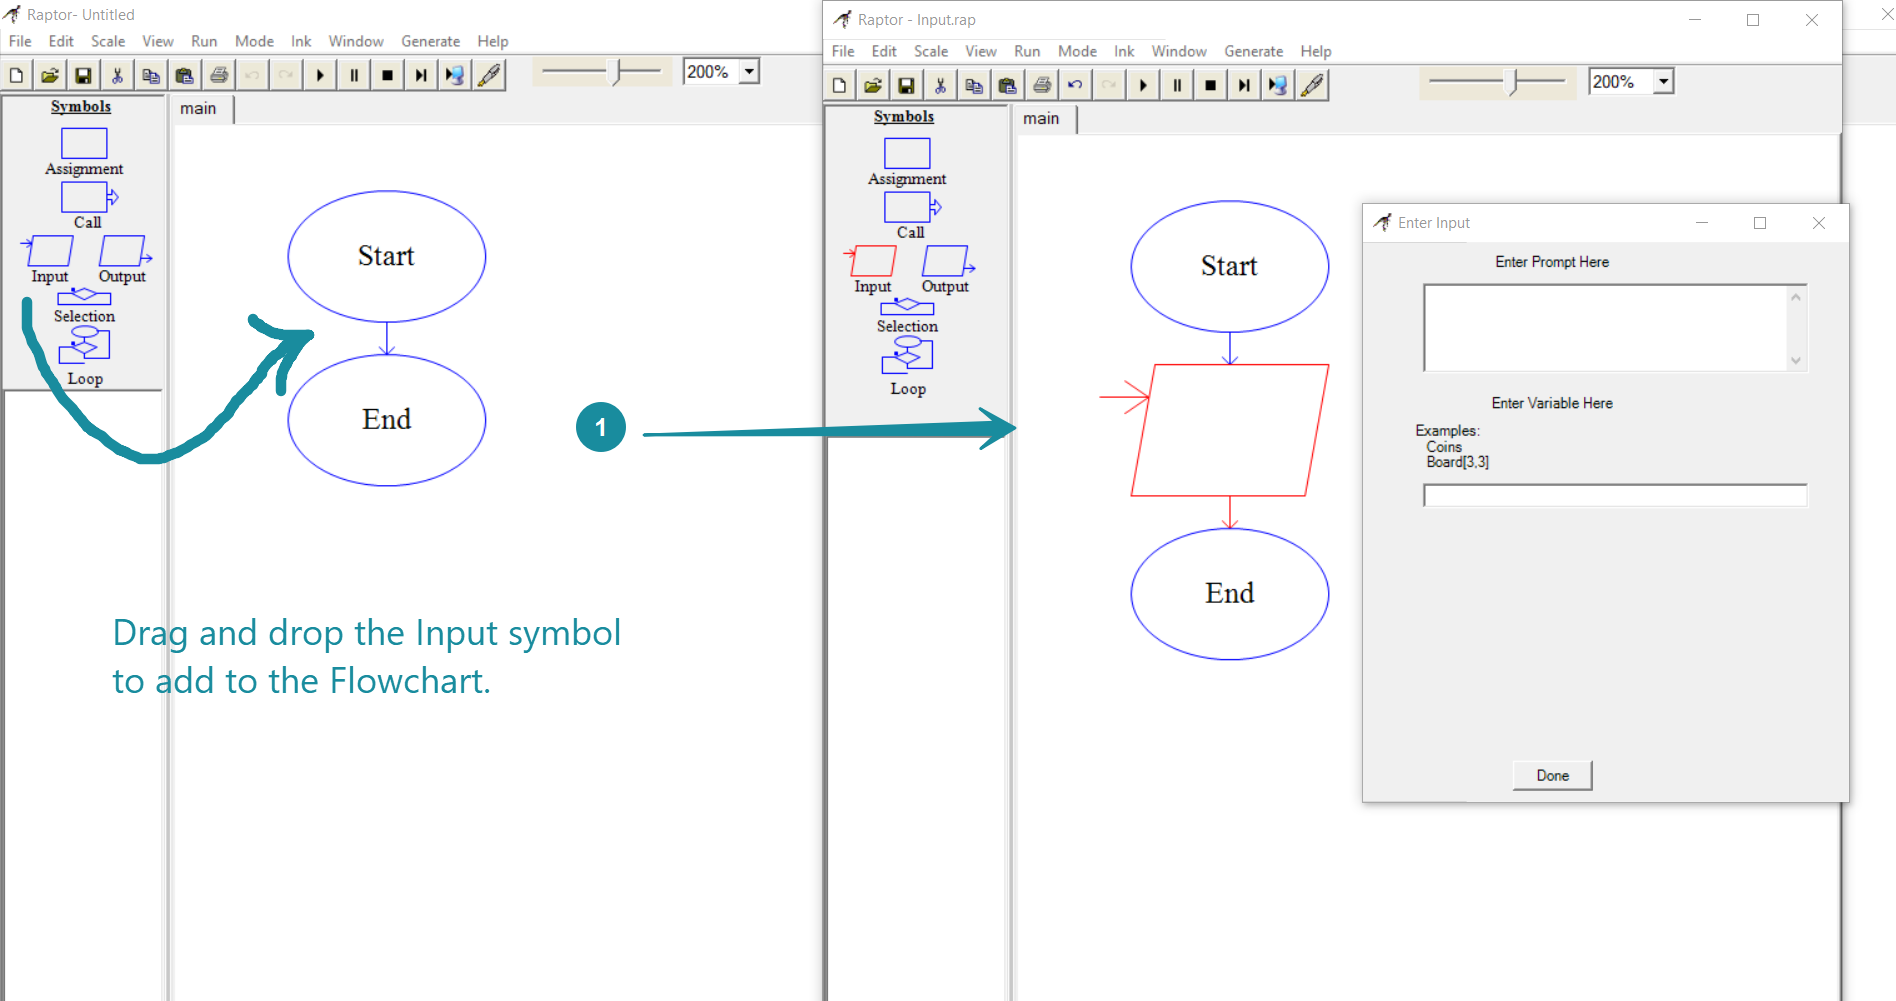
When an Input symbol is executed in the flowchart, a prompt dialog is displayed prompting the user to enter the input value. The Enter Input dialog box shows a prompt and variable name.
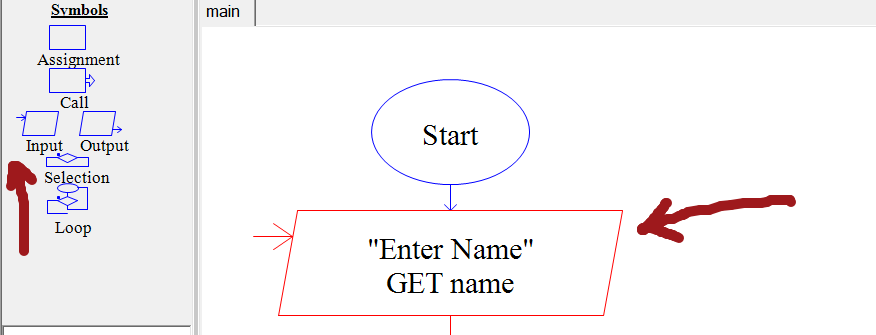
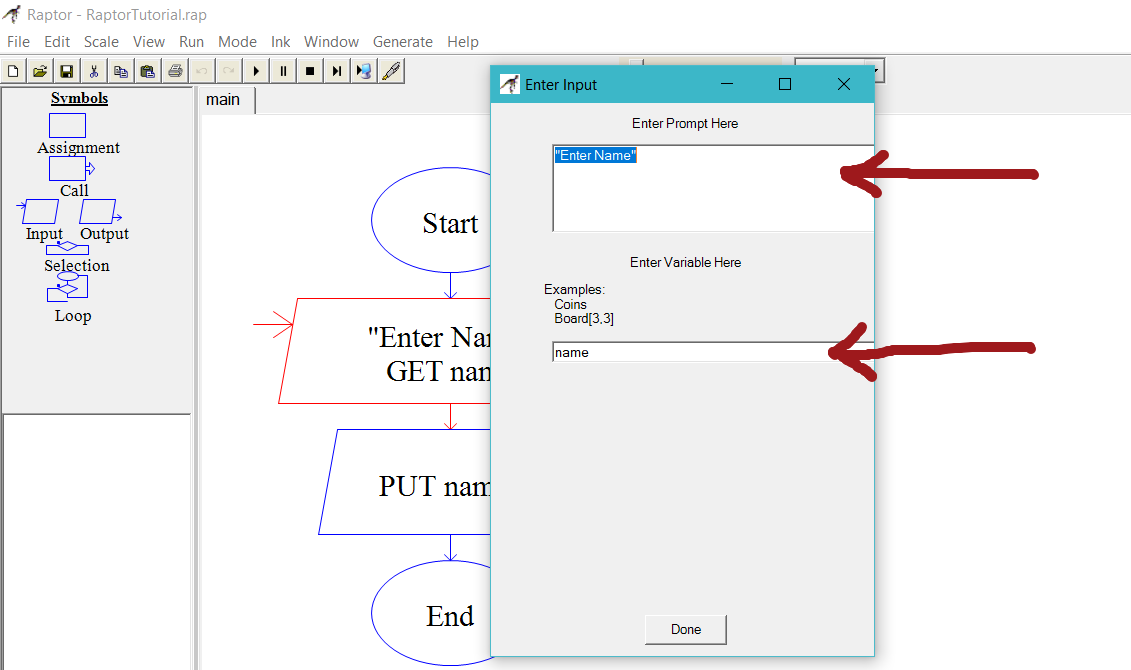
In the Enter Prompt Here enter the text you want to be displayed. This text should be enclosed within quotes. The text typed in this box will be displayed to the user when the flowchart is run.
The Enter Variable Here area holds the name of the variable where the data entered will be stored. The information entered will be stored in a variable and used later in the flowchart.
Output Symbol
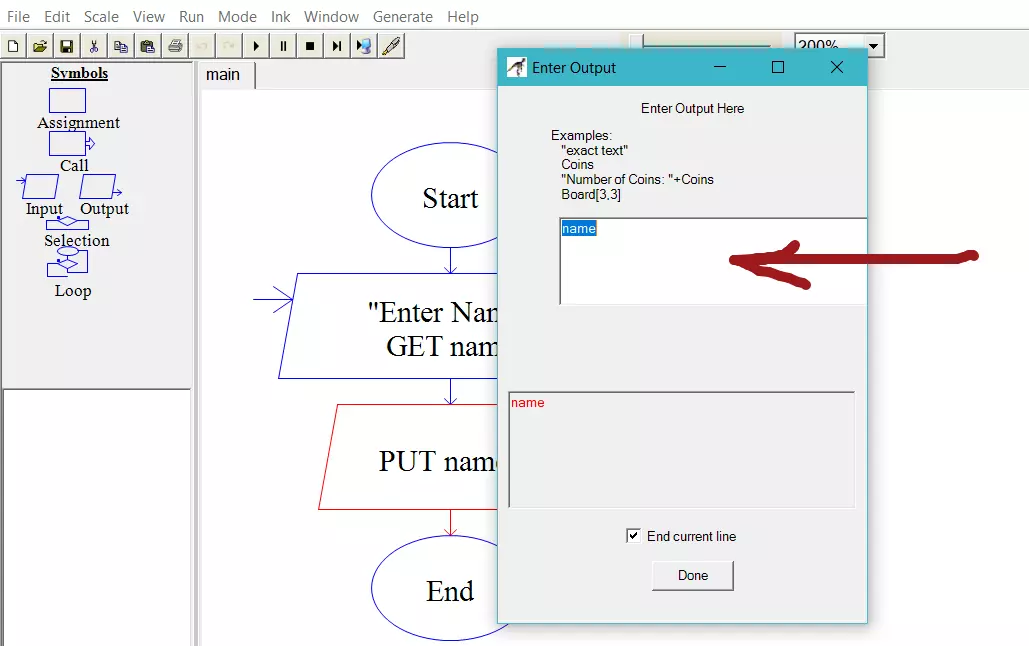
An Output symbol displays a variable value to the MasterConsole window when the flowchart is executed. We can output text, variables, etc using the output symbol.
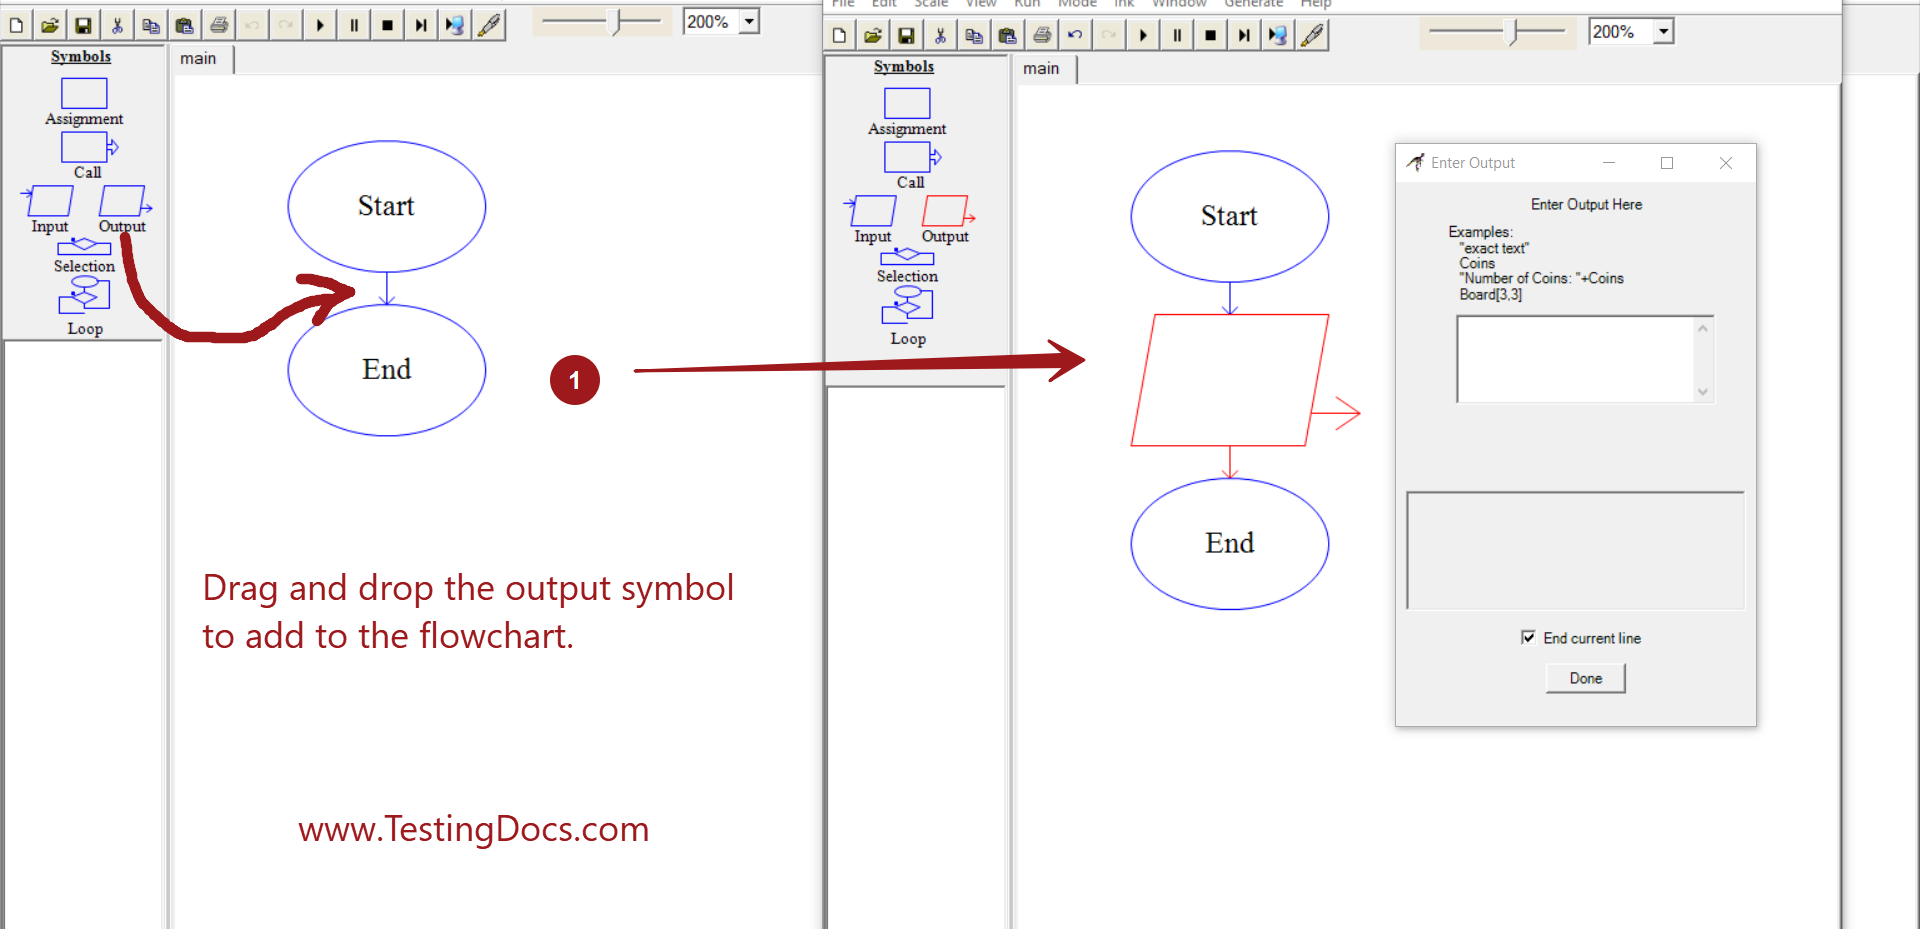
We can specify the variable name to output in the prompt dialog.
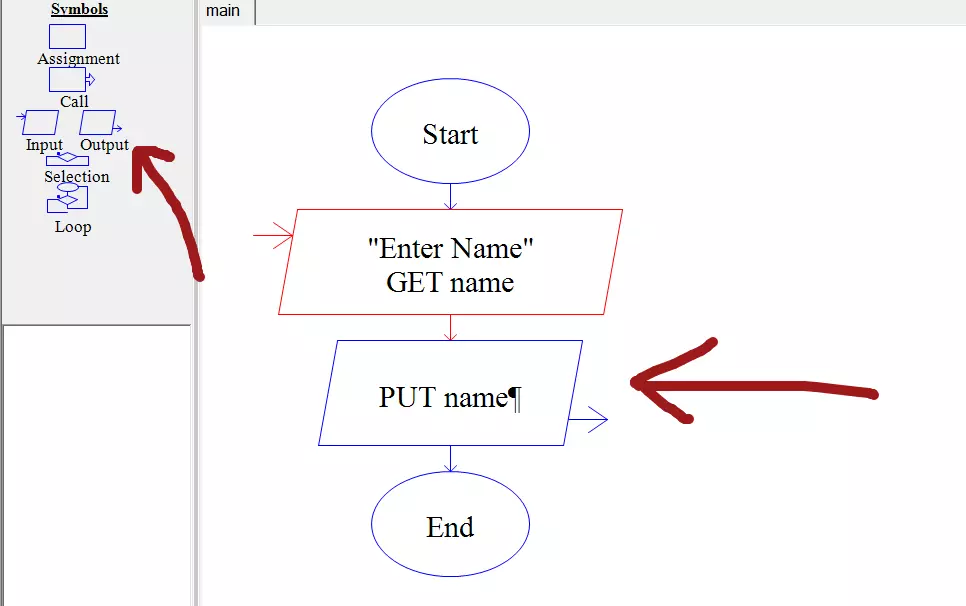
The Enter Output dialog prompt specifies the information and variables to output.
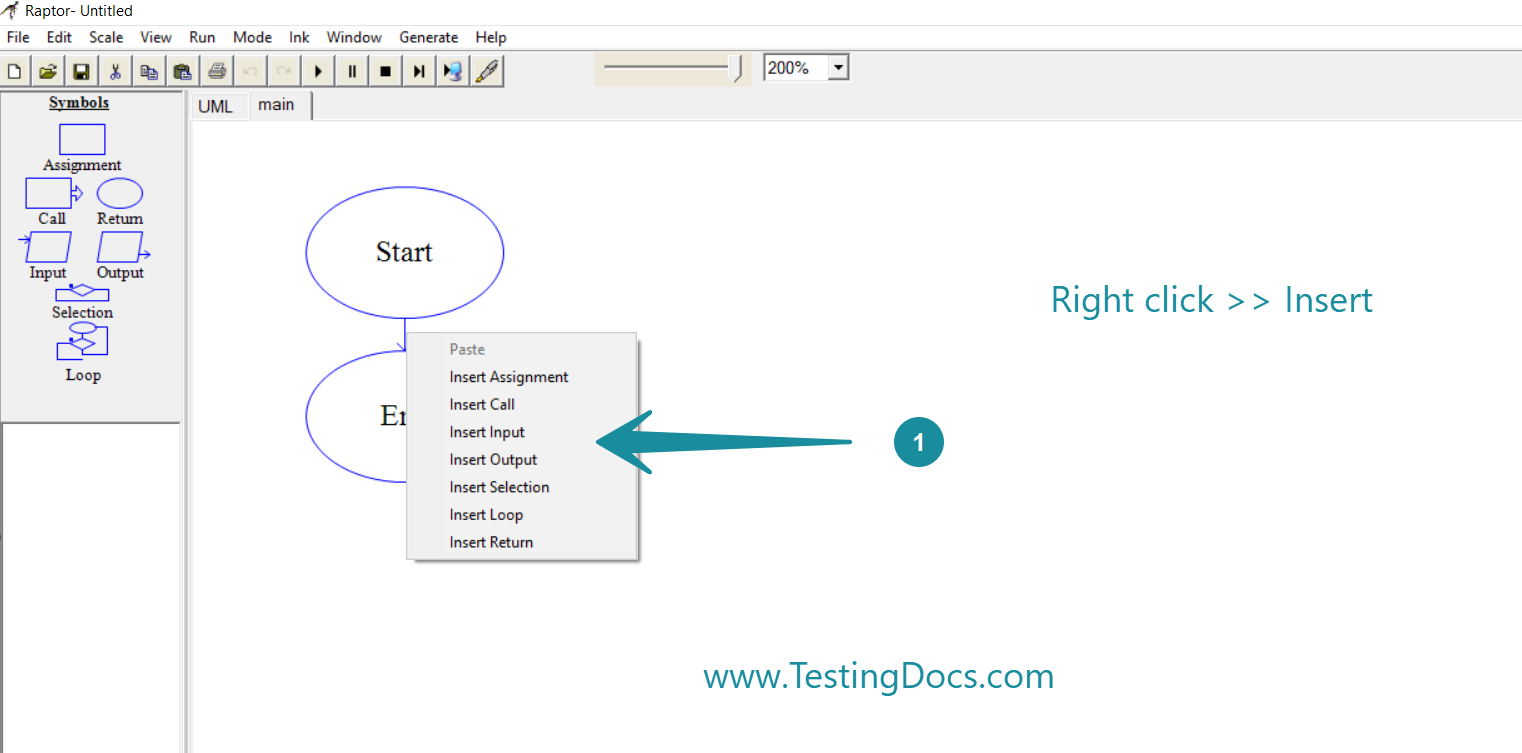
Alternatively, we can insert the input and output symbols by right click on the Raptor Workspace area and choosing the insert menu items.
Comments in a Flowchart
Tutorial on how to add comments to a RAPTOR flowchart.
File I/O
The other way to input and get output from the flowchart is by using files.
Raptor Tutorials
RAPTOR tutorials on this website:


