Install RAPTOR on Windows 10
Install RAPTOR on Windows 10
RAPTOR is a flowchart-based programming environment designed to help you visualize your algorithms. RAPTOR programs are created and executed visually by tracing the execution through the flowchart. Let’s install Raptor on the Windows 10 platform.
Space Requirement
Space requirements: RAPTOR files occupy around 10 MB of space on the hard disk.
The default path of RAPTOR is:
C:\Program Files (x86)\RAPTOR
or
C:\Program Files\RAPTOR
.NET Framework
The application depends on the .NET framework. You can run Windows Update to check for critical updates of the .NET framework.
Download Raptor
You can download the application from the RAPTOR official website URL:
- http://raptor.martincarlisle.com/
The installer is a .msi file. Click on the Download latest version button to download the tool.
Download the installer onto your computer’s hard disk.
Latest Website UI:
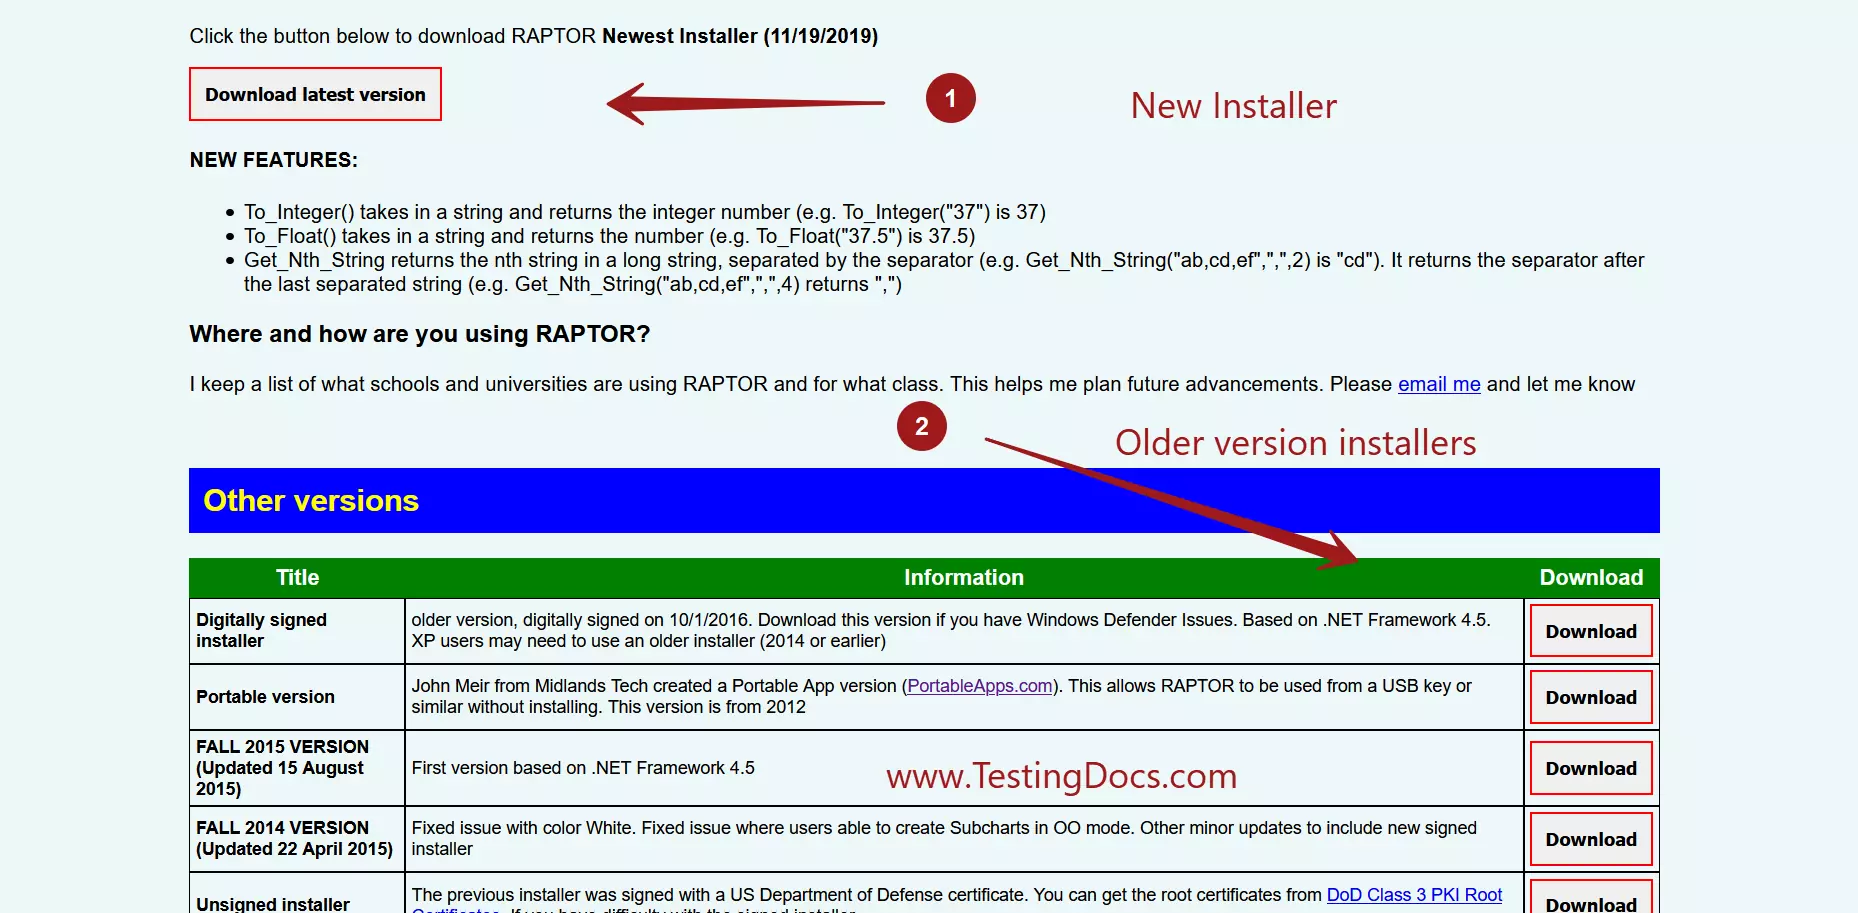
*** The Raptor website UI has changed. ***
Old website GUI:

Norton Rating
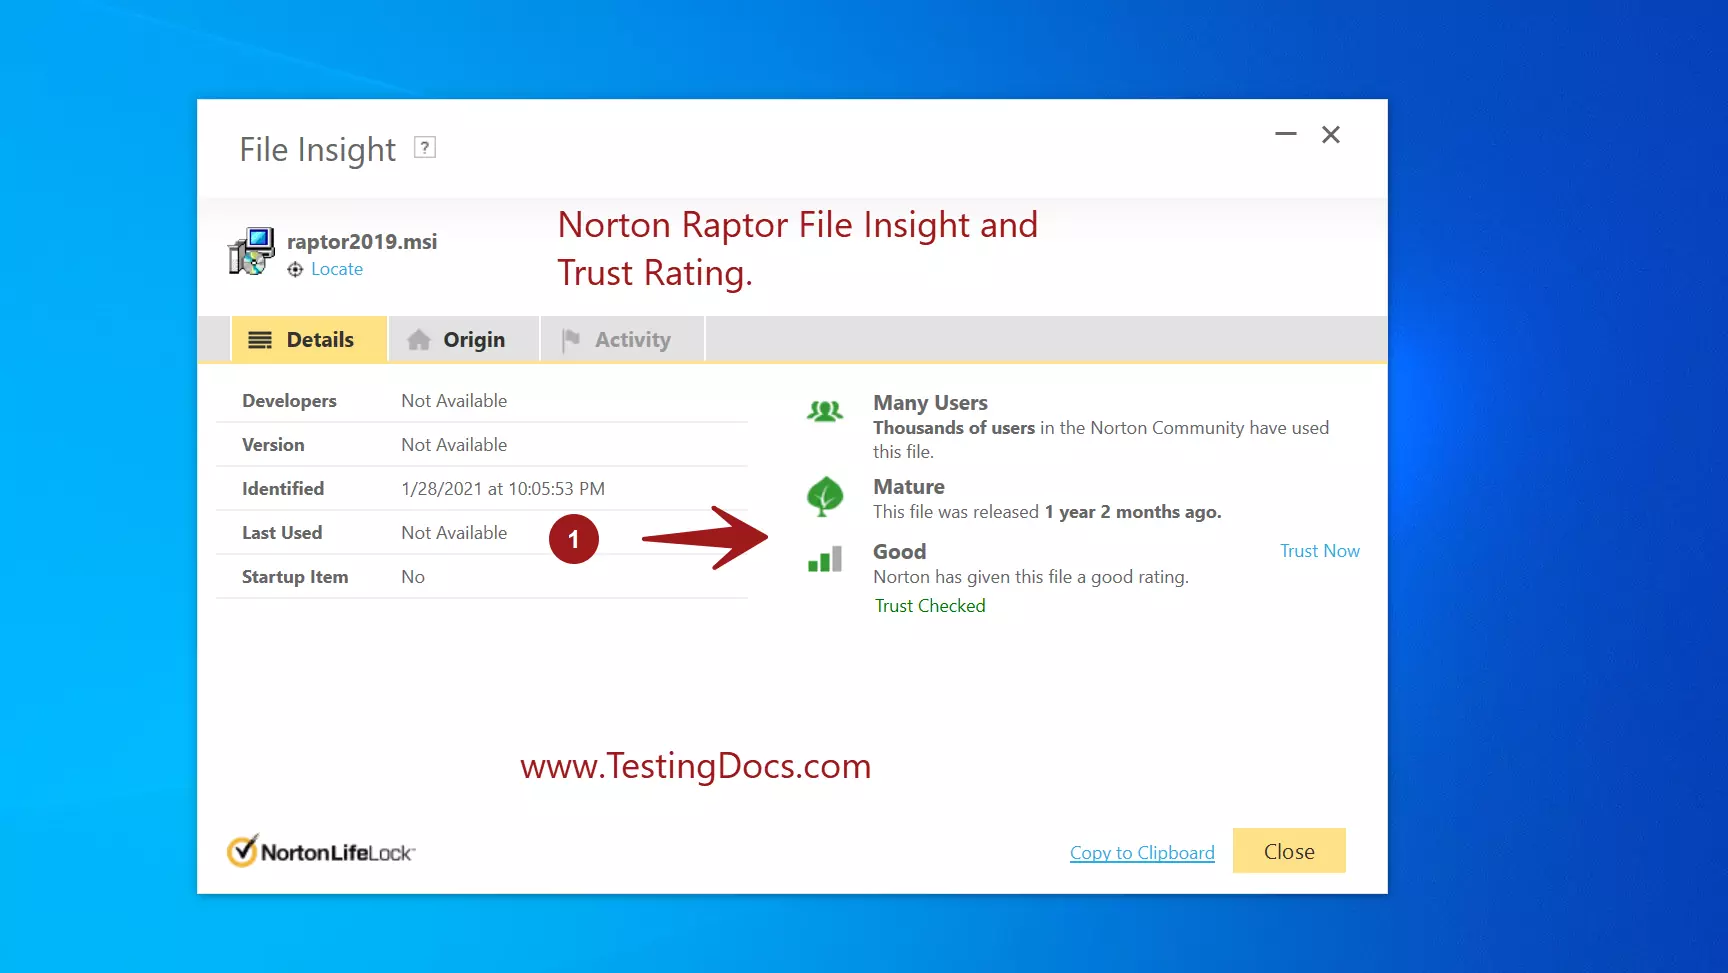
Scan the download. A good antivirus product automatically scans the download file.
The Trust rating of the Raptor .msi installer is Good.
It’s recommended to check with Antivirus File Insight before running any .exe/.msi installers on the computer. It’s good practice to cross-check and make sure that we are not installing a malicious installer from the web.
Install Raptor
Locate and double-click the downloaded .msi installer file. You should pick the latest installer for Windows 10 operating system.
Double-click on the installer file to run it. The installer wizard will guide you through the steps required to install RAPTOR on the computer.
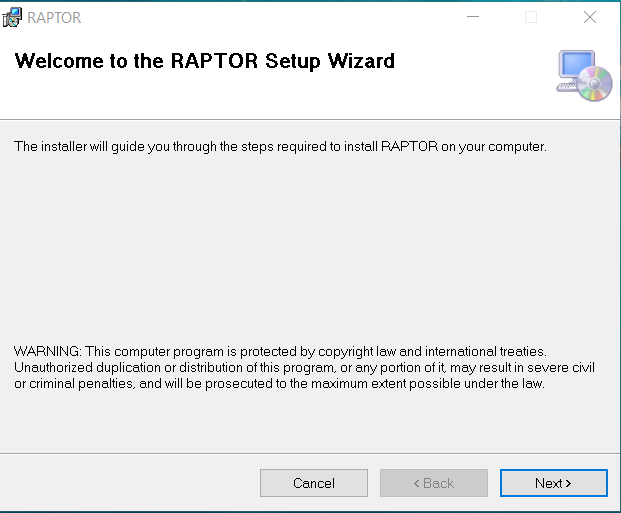
Click on the Next> button to proceed with the installation.
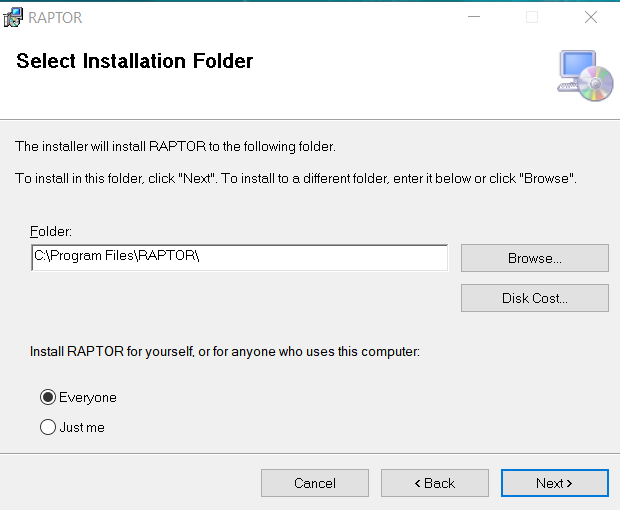
Choose the folder to install and click on the Next> button.
To go to the previous install screen, we can click on the <Back button.
Click on the Next> button and confirm the installation.
Raptor installation would start. Click on the Yes on the User Access Control elevation prompt.
After the installation, click the Close button to close the wizard screen.
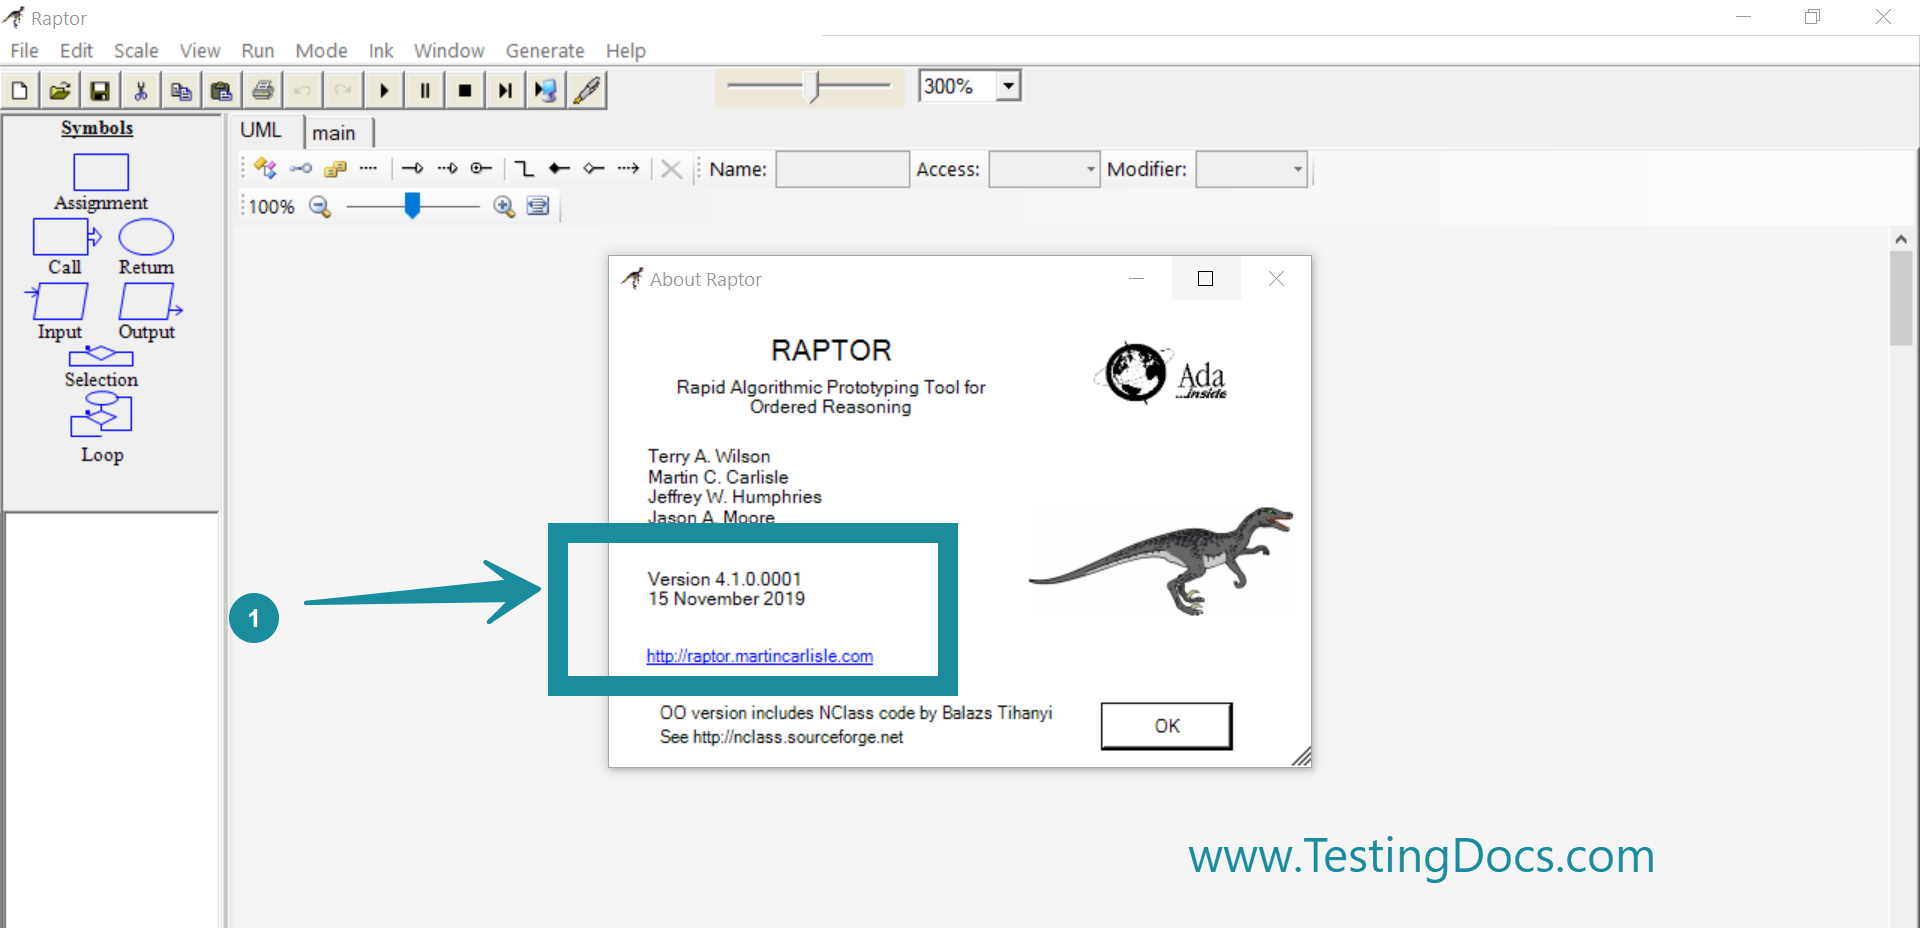
Releases
The latest current stable release of the RAPTOR flowchart tool is 4.1.x
Windows 11
Steps to download and install Raptor on Windows 11 operating system:
https://www.testingdocs.com/download-raptor-on-windows-11/
Video Tutorial
Next: Launch Raptor
https://www.testingdocs.com/launch-raptor-on-windows/
Raptor Tutorials
Raptor Tutorials on this website:
More information on the RAPTOR tool:
- https://www.raptor.martincarlisle.com/


