Build Raptor Flowchart
Build Raptor Flowchart
In this tutorial, we will learn how to create a basic Raptor flowchart. This guide explains how to create a flowchart using the RAPTOR tool.
Prerequisites
Raptor flowchart tool should be installed on the machine. For instructions on installing the tool on Windows:
Get familiar with Raptor Flowchart Symbols:
Steps to Build a Flowchart
Let’s construct a RAPTOR flowchart that repeats itself a certain number of times and prints the number. The flowchart will prompt the user to enter a number and then use a Loop symbol to count down to zero. Each number in the countdown will be printed to the master console window.
Here’s a step-by-step guide you could follow to build a flowchart using RAPTOR flowchart tool:
- Start the Raptor flowchart tool.
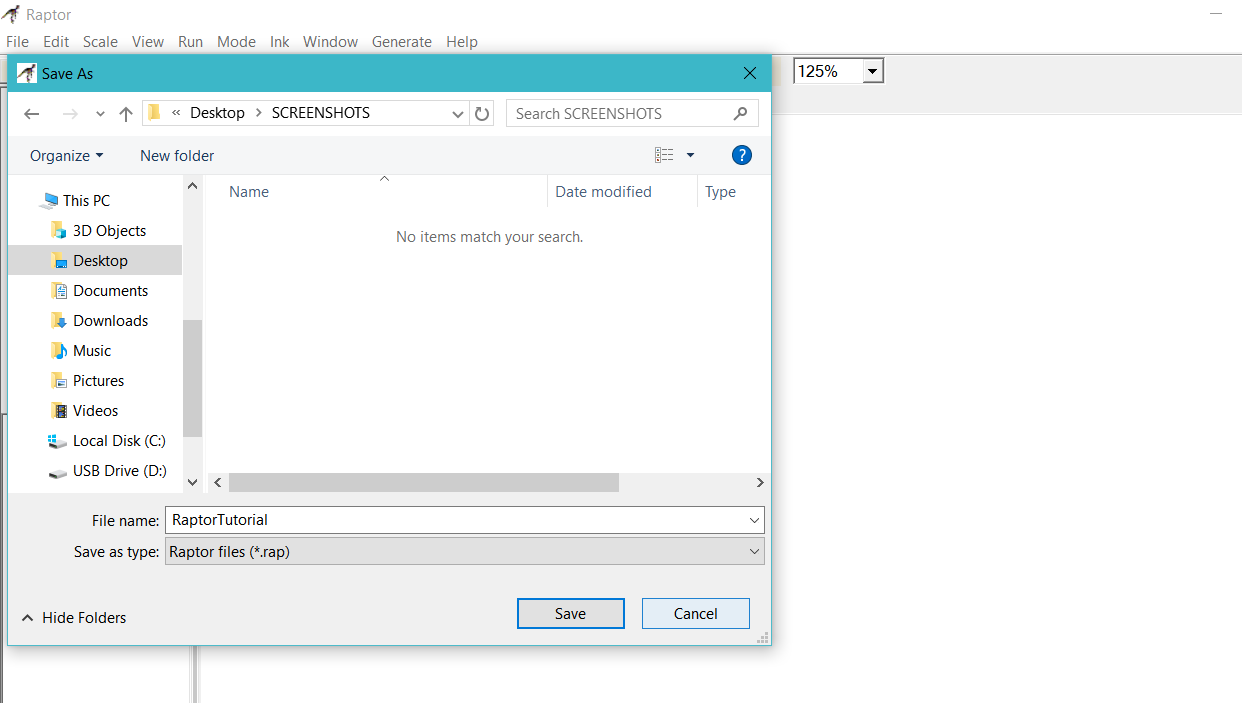
- Save the file and give a meaningful name for your flowchart that describes the purpose of the flowchart.
- Raptor flowcharts are stored with the .rap file extension, as shown below.
Add Flowchart Symbols
In the RAPTOR tool, you would create the flowchart by dragging and dropping the appropriate flowchart symbols from the Symbols toolbox onto the canvas and connecting them with arrows.
Add an Input symbol to the flowchart by left-clicking once on the Input symbol from the left side and then adding it between the Start and End symbols.
Double-click on the symbol to enter the specific details. Double-click to add the prompt “Enter a number:” and use the variable name Count.

Add Loop Symbol
Next, add a Loop structure and edit its expression to
Count < 0

Add Output Symbol
Inside the loop structure, add an Output symbol to output the variable Count to the MasterConsole window.
Add Assignment Symbol
Inside the loop structure, add an Assignment symbol to decrement the value of Count. Edit the statement to
Count = Count – 1

Save the flowchart.
Run the Flowchart
To execute the flowchart, click on the forward arrow play button.
Flowchart Output
The output of the Flowchart:
Count is: 5
Count is: 4
Count is: 3
Count is: 2
Count is: 1
Count is: 0
—-Run complete. 29 symbols evaluated.—-
That’s it. This should give you a basic understanding of how to construct a flowchart using the RAPTOR flowchart tool.
—
RAPTOR tutorial page:
https://www.testingdocs.com/raptor-a-flowchart-tool/
Flowchart examples:
https://www.testingdocs.com/raptor-flowchart-examples/


