Install Ant on Windows
Install Ant on Windows
In this tutorial, you will learn the steps to Download and Install Ant on the Windows 10 operating system. The steps are the same for older versions, like Windows 7.
Before installing ANT, make sure you have a Java JDK installed on the machine. Check from command prompt if java is installed already in your machine.
Type the following command to check if the Java is installed or not.
/> java -version
Download Ant
Navigate to the Ant Download page. Pick a suitable distribution based on the Java version.
- https://ant.apache.org/bindownload.cgi
The Ant tool is distributed as .zip and tar.gz archives. The .zip archive file is for the Windows operating system. Download the .zip archive file to your computer.
Make sure you download the appropriate formats. As .zip format is recommended format for Windows Operating system. It looks like apache-ant-<version>-bin.zip.
Install Ant
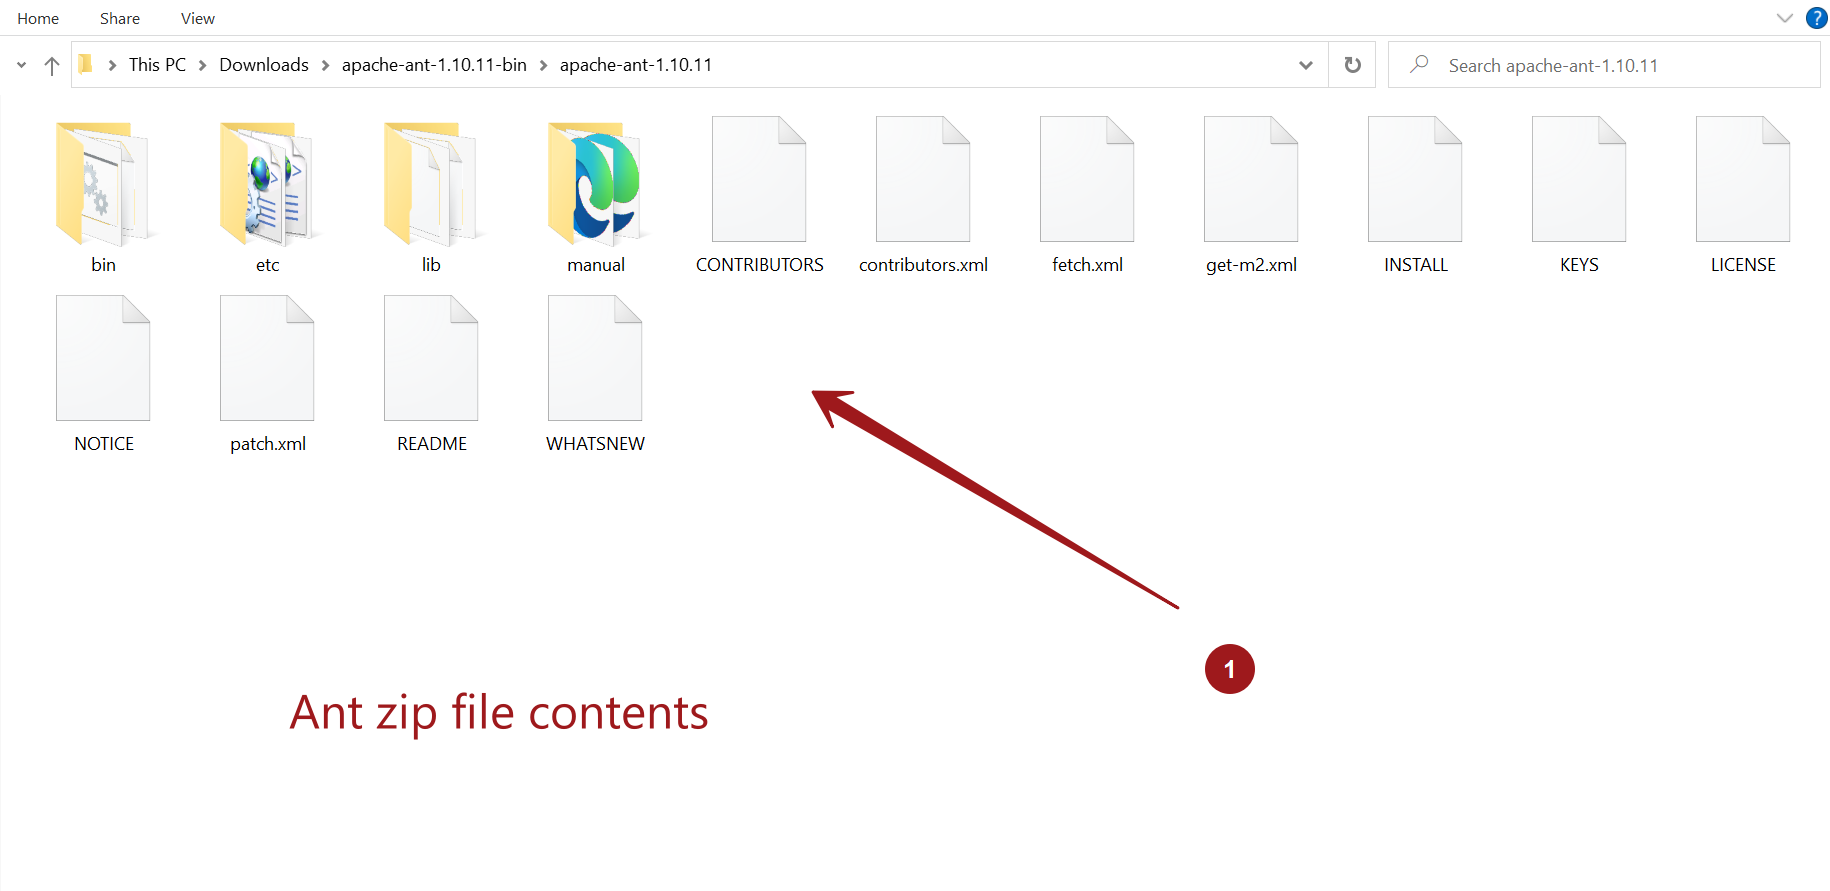
Locate the .zip archive file. Extract the contents of the zip file.
Right-click on the file and choose Extract All… menu option.

Optionally, we can rename and copy the folder to standard location like C:, so that the tool can be accessed at ‘C:\ant’.
Create ANT_HOME variable
Create an environment variable and set the Ant folder path location to the variable. For example, set the ANT_HOME environment variable to:
ANT_HOME to C:\ant
Steps to set the environment variable on Windows:
Append the bin folder to the PATH variable.
Append the ANT_HOME\bin folder to the PATH environment variable. For example, C:\ant\bin
The batch scripts in the Ant bin directory use this environment variable to know where the Ant is installed on the machine.
Verification
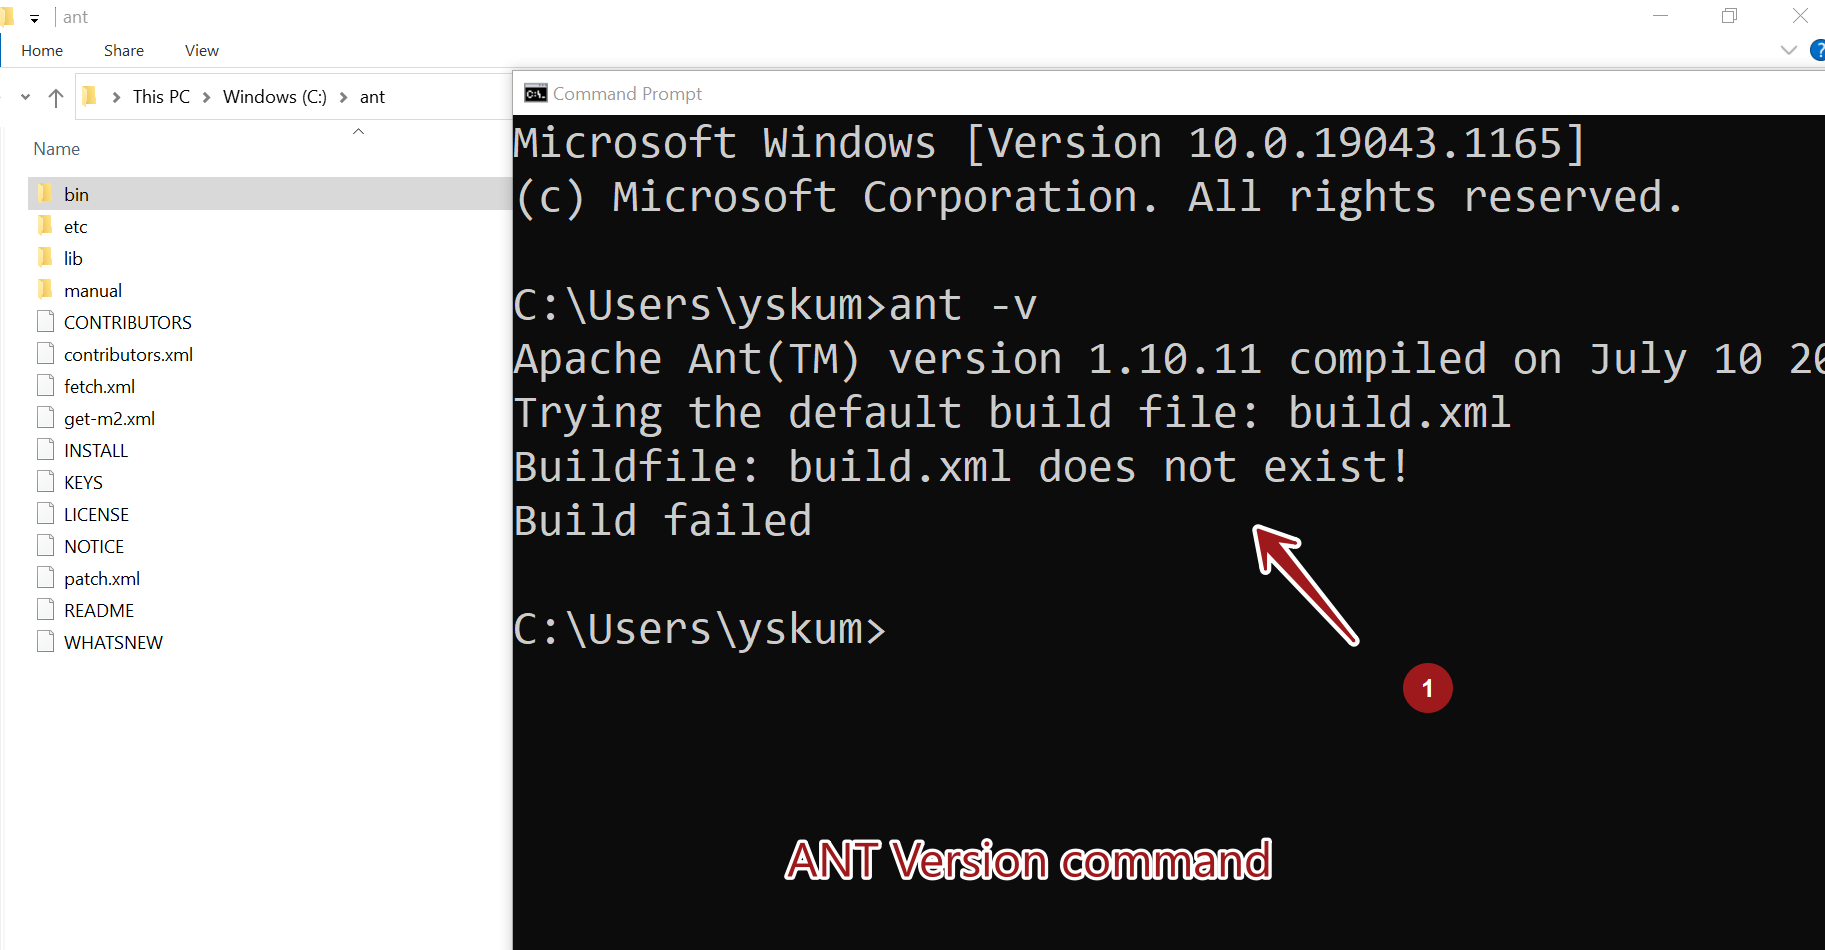
Lunch the command prompt and issue the following command. A successful install would display the ant version information on the console window. If we add the Ant bin directory to the PATH variable, we can run this command from anywhere in the command prompt. There is no need to change the directory path to that of the Ant bin folder!
\> ant -v

The default Ant build file name is build.xml
That’s it. We are done with Ant installation on Windows.
