Install Windows 11 Insider Preview on Virtual Machine
Introduction
In this tutorial, we will learn how to install and get the official Windows 11 Insider Preview build on a Virtual machine using VMware Workstation.
Update Windows 10 PC
Steps to update existing Windows 10 PC can be found here:
https://www.testingdocs.com/download-and-install-windows-11-os/
Environment
- VMware Workstation 16.x
- Windows 10 Virtual Machine.
- Windows 11 Preview Build.
Steps to install VMWare:
https://www.testingdocs.com/download-and-install-vmware-workstation/
Steps to create Windows 10 Virtual Machine from .iso file:
https://www.testingdocs.com/create-windows-10-virtual-machine-using-iso-file/
Take Snapshot of Windows 10
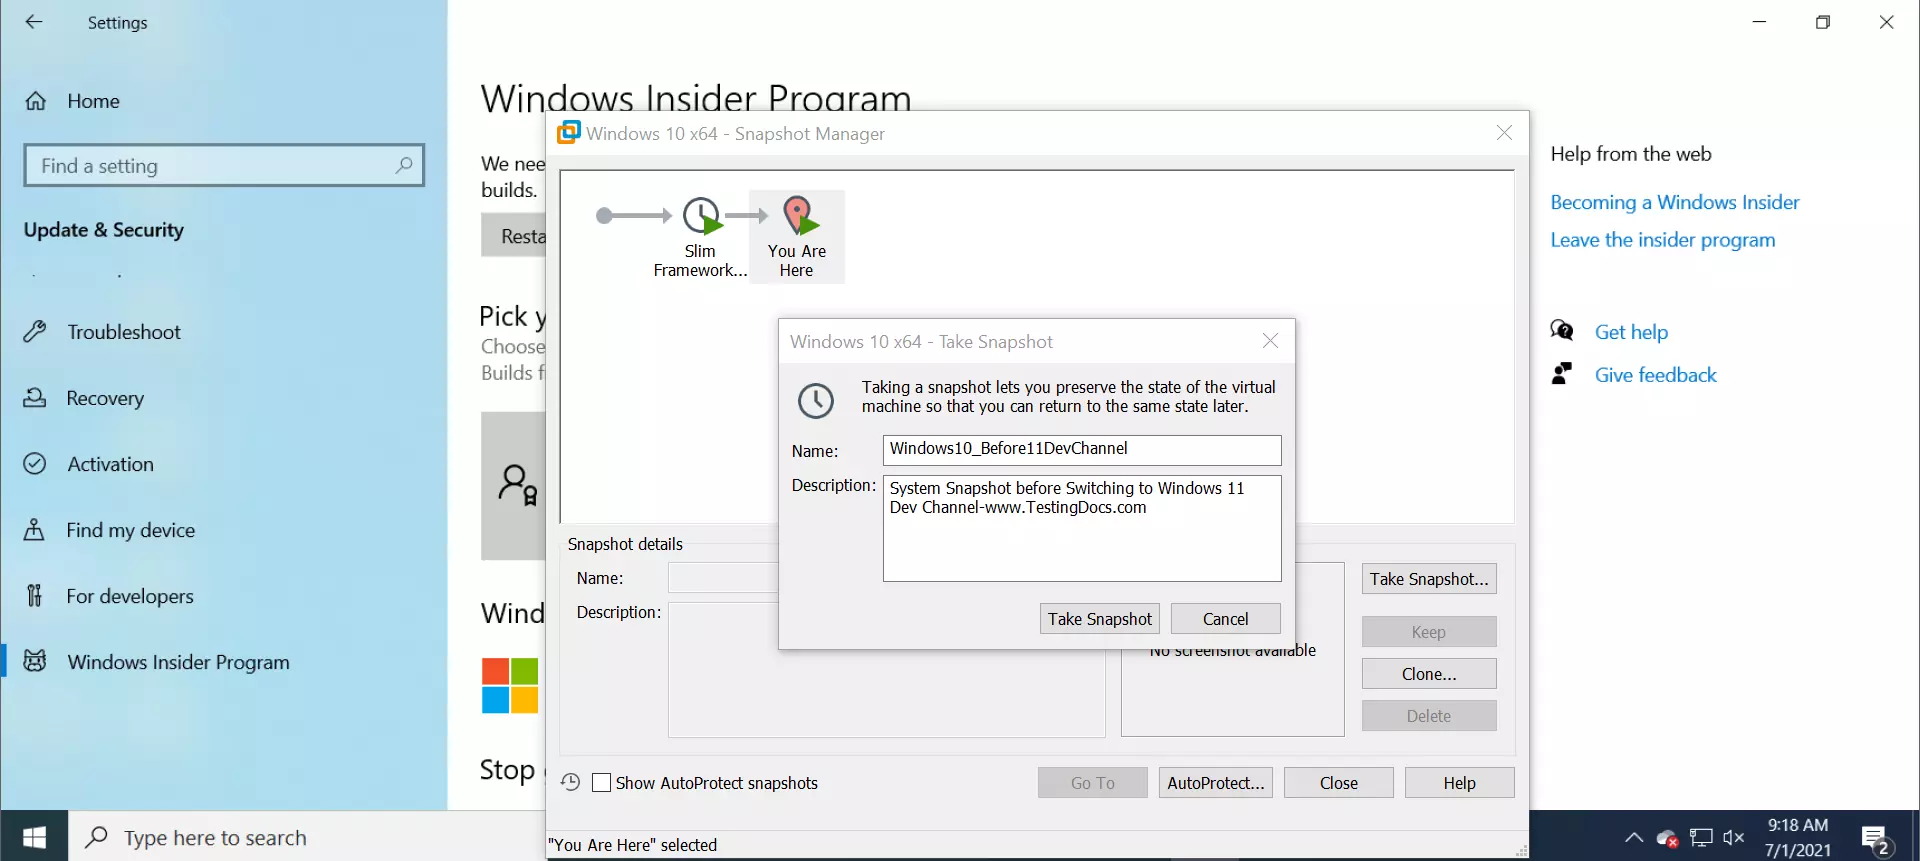
First things first, Take backup of the existing Windows 10 VM. This is a basic backup step. Take a snapshot of the existing Windows 10 virtual machine before installing the Windows 11 build. Snapshot is backing up the OS state, files, folders and applications.
We can revert to this snapshot at later point of time to work on Windows 10. To take a snapshot, on the VMware workstation menu choose:
VM >> Snapshot >> Take snapshot…
Snapshot of Windows 10 taken before upgrading to Windows 11 preview builds.
Clean VM Image
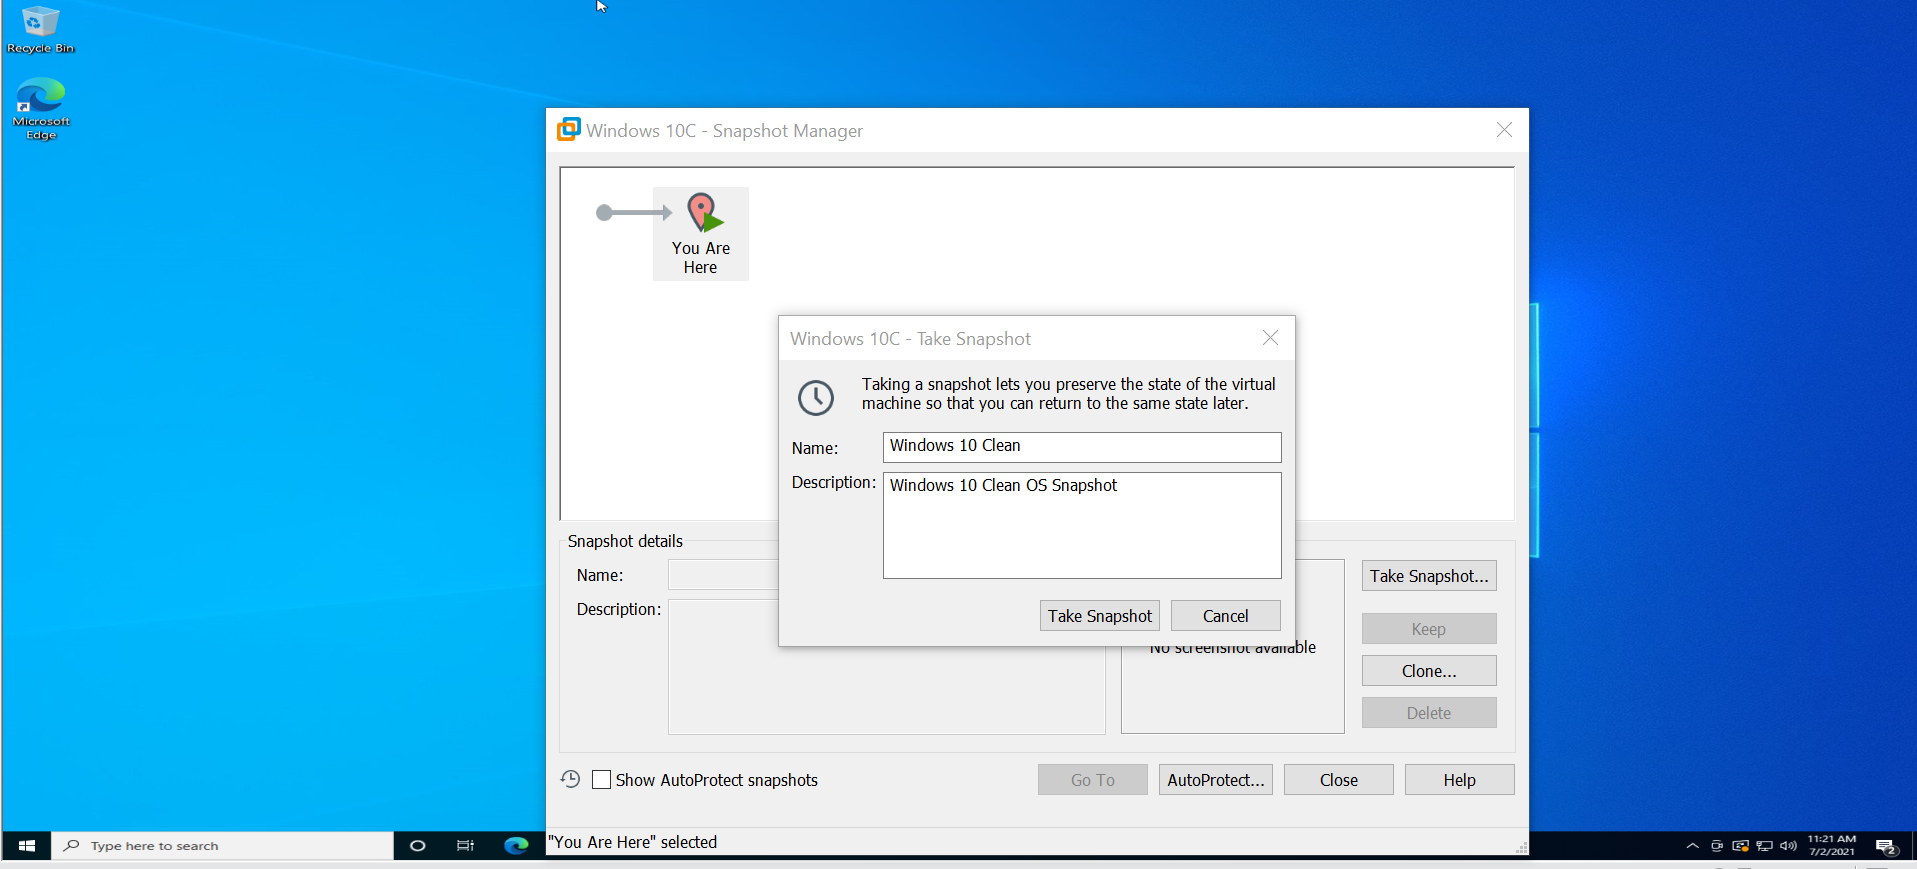
When working with Virtual machines it is a good idea to take snapshot of the VM as soon as you install the operating system on the VM. This initial snapshot is called the clean VM image. The clean image is the ‘known state‘ of the VM and without any possible side effects.
This approach helps during disruptive testing or testing negative scenarios. We can later revert back to the known clean state after testing disruptive scenarios or test cases.
For example, a clean Windows 10 image snapshot taken right after the OS install:
Join Windows Insider Program.
You need to join the Windows Insider Program to get the preview builds of Windows 11. This program is for developers, beta testers, and the eager fan community to get the hands on early on Windows new builds for beta testing, provide feedback, and to make Windows operating system better.
Build Channels
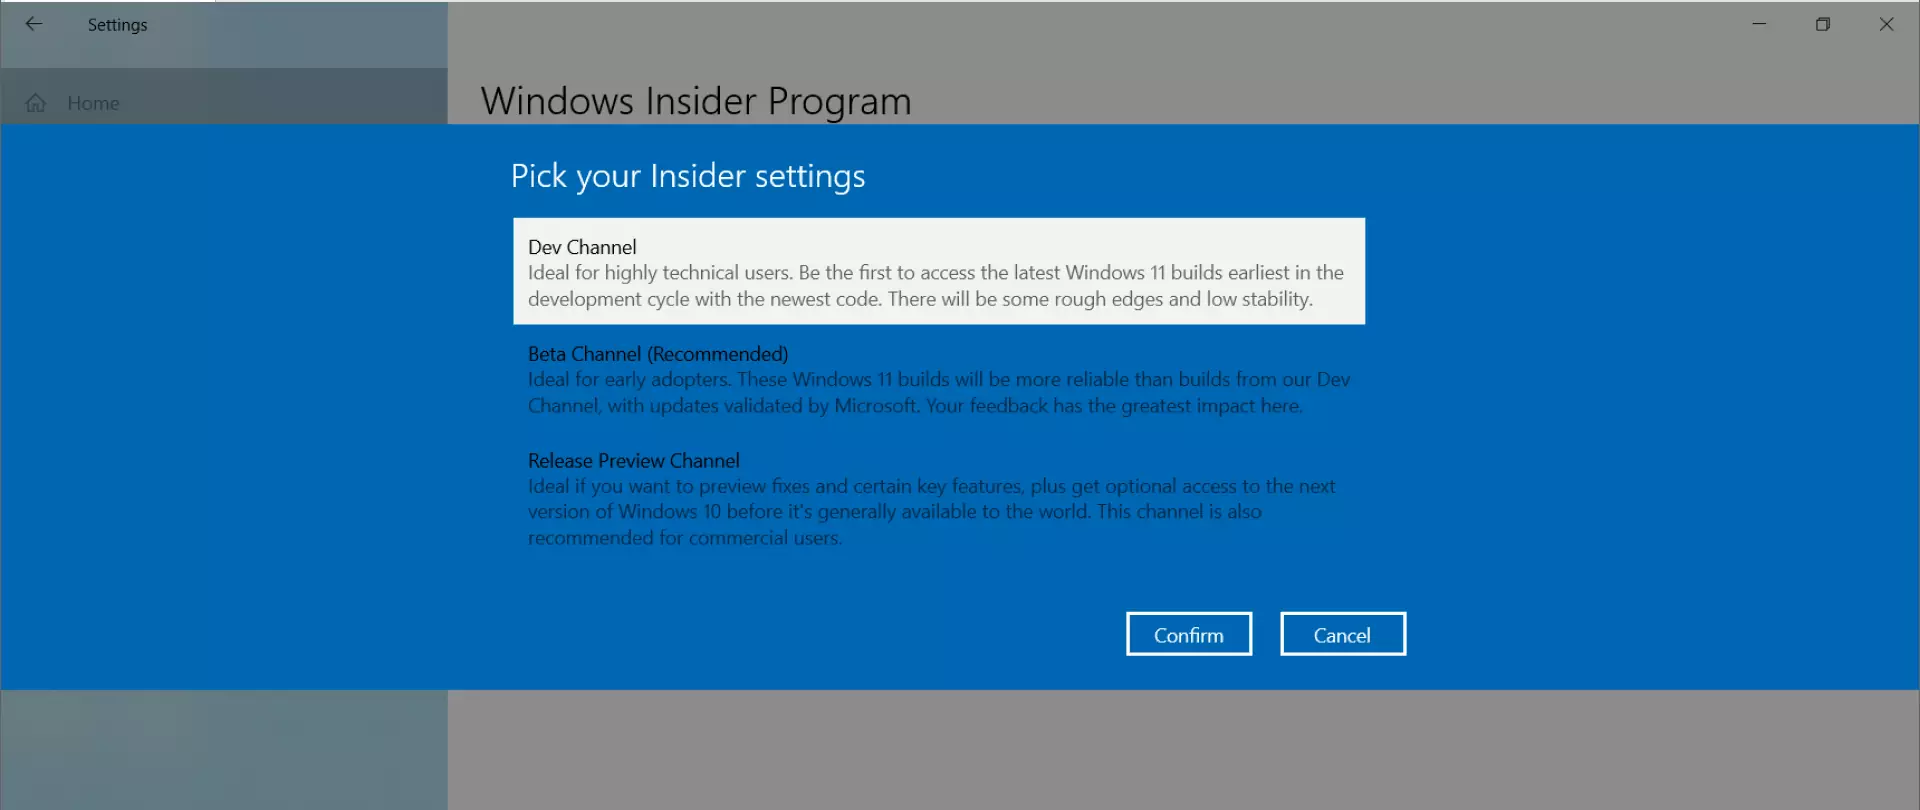
Windows Insider Program has three channels:
- Dev Channel.(Fast Ring )
- Beta Channel.(Slow Ring)
- Release Preview Channel.
Dev channel:
Dev channels builds are low stable and less reliable builds. These builds come out fast and early when compared to other channels. The intended audience for the builds are developers, technical users.
Beta Channel:
This channel is for Beta testers. These builds are more stable and reliable than Dev channel builds. The frequency of releases is slow compared to the Dev channel.
Release Review Channel:
This channel is for commercial users. These release builds are more stable than Dev and Beta builds.
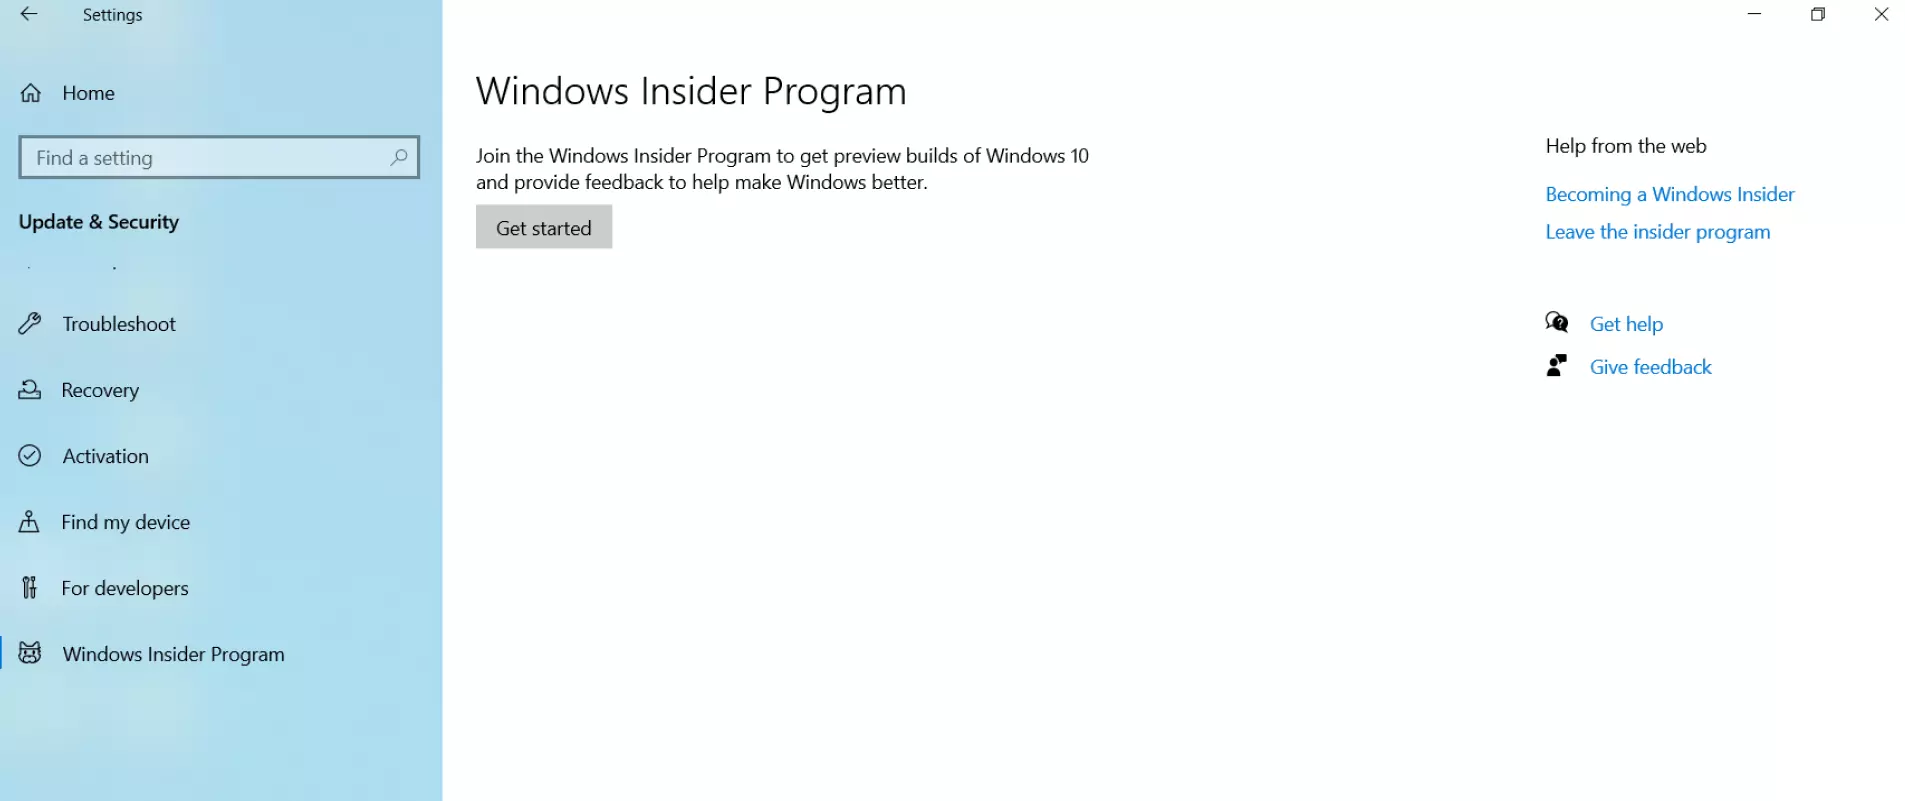
To get started and join the program, go to Settings >> Windows Insider Program on Windows 10 VM.
Follow the join wizard steps.
Choose the channel that best suits the needs to get the Windows 11 builds.
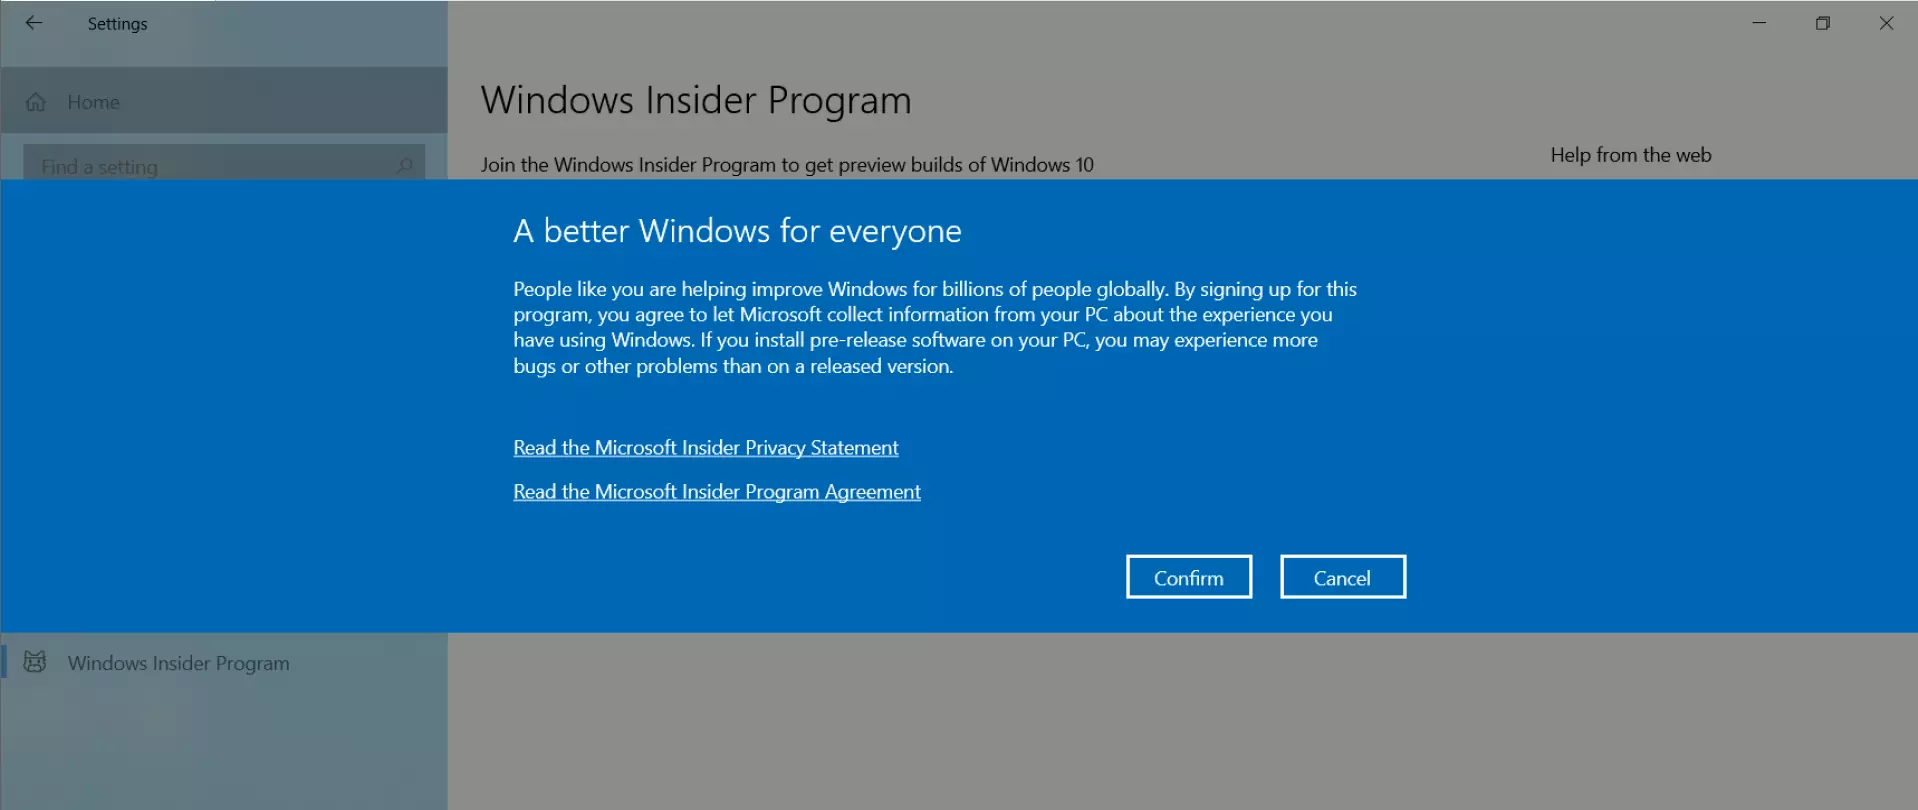
Read and understand the Windows Insider privacy terms and Program License Agreement.
Restart the Virtual Machine.
Run the Windows Update. If you don’t see an update, probe the Windows Update multiple times.
Settings >> Windows Update
Windows 11 build would automatically download and install based on your machine update settings. Restart the machine, once Windows update is done with download and install of the build.
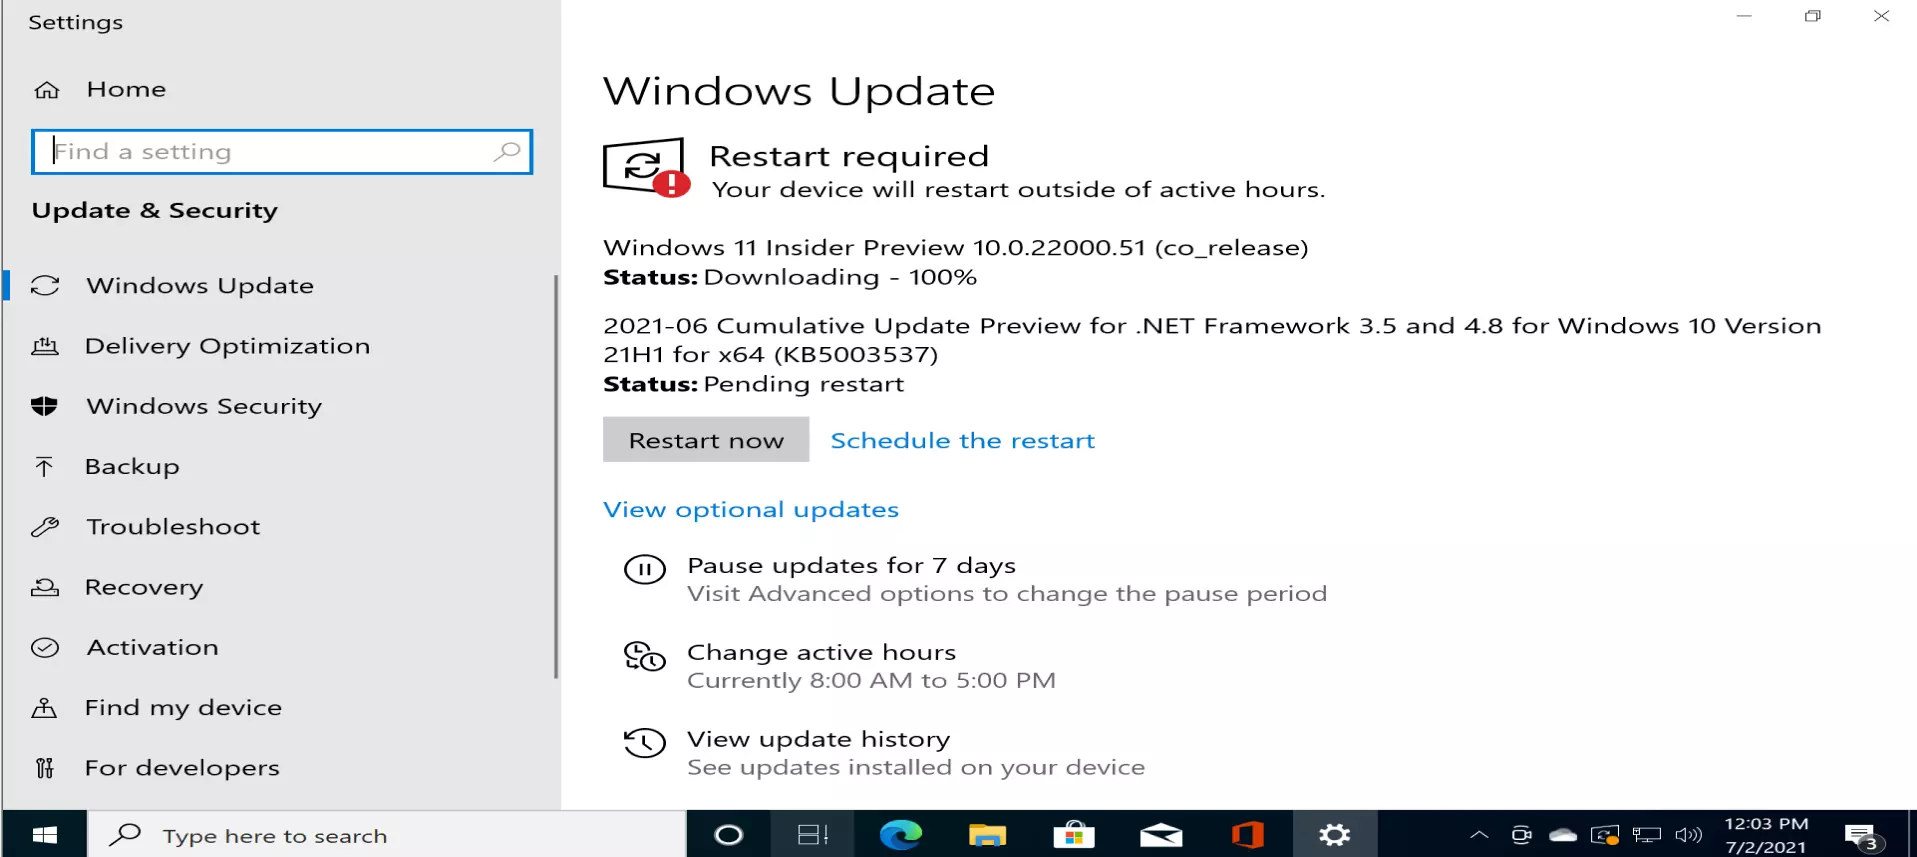
Based on the network speed and the environment the download and install of the build will take time.
We need to restart the VM when it prompts, to complete the Windows 11 preview build setup.
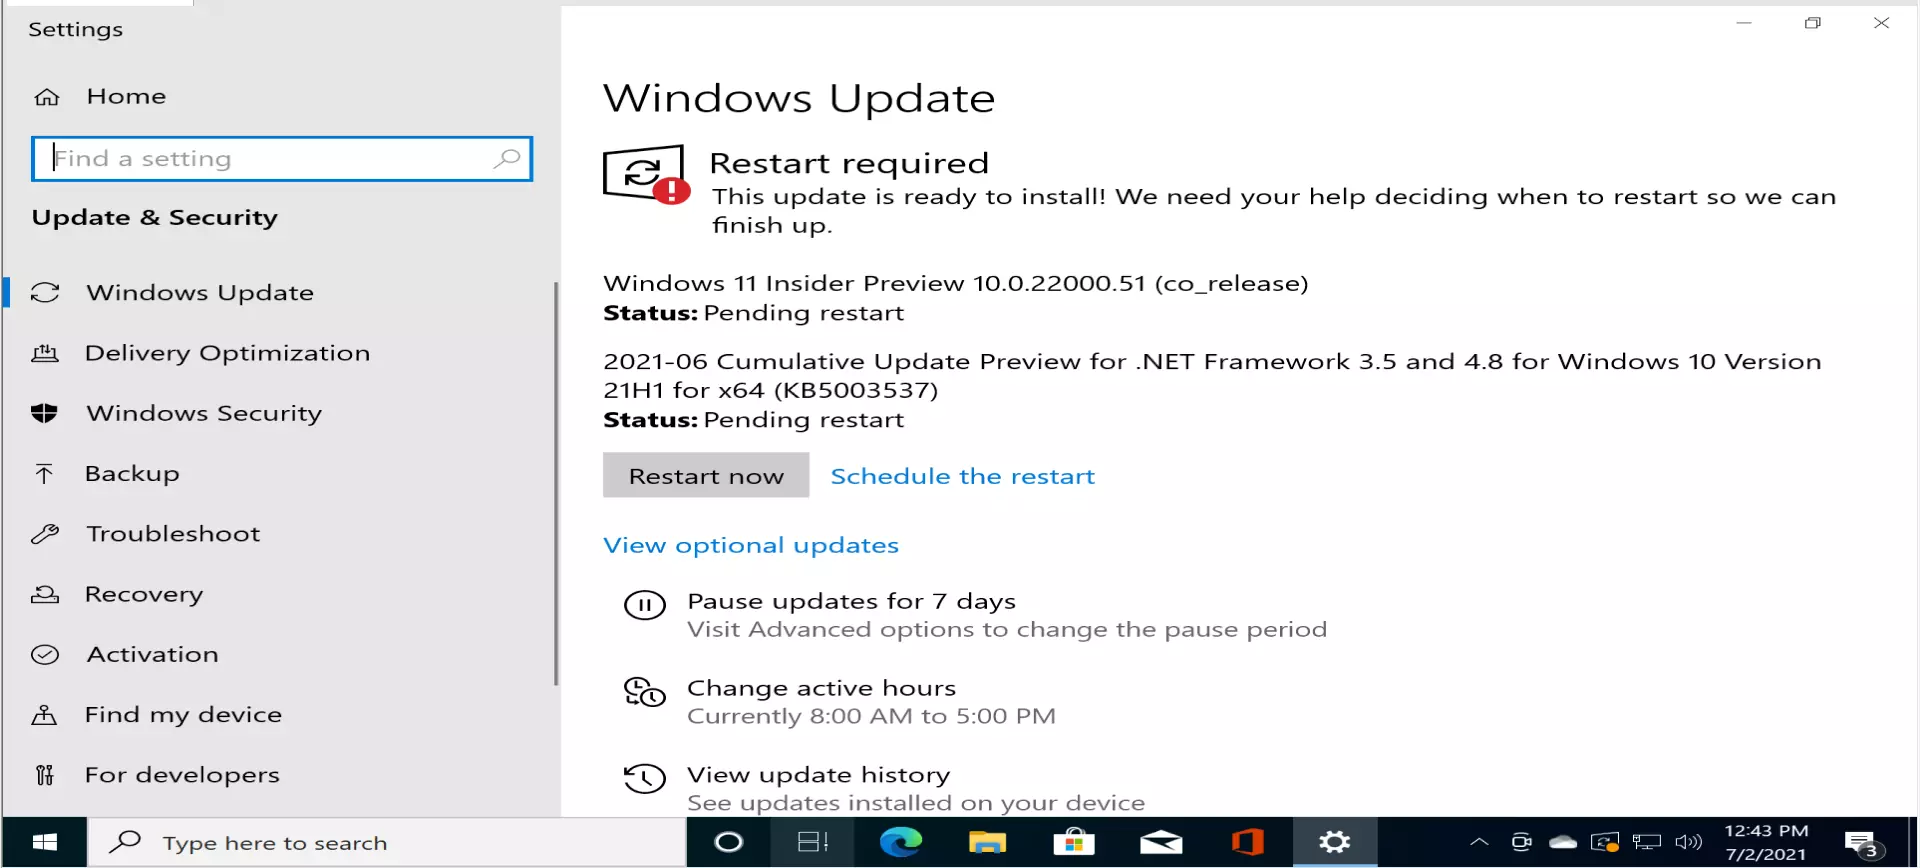
Click Restart Now button.
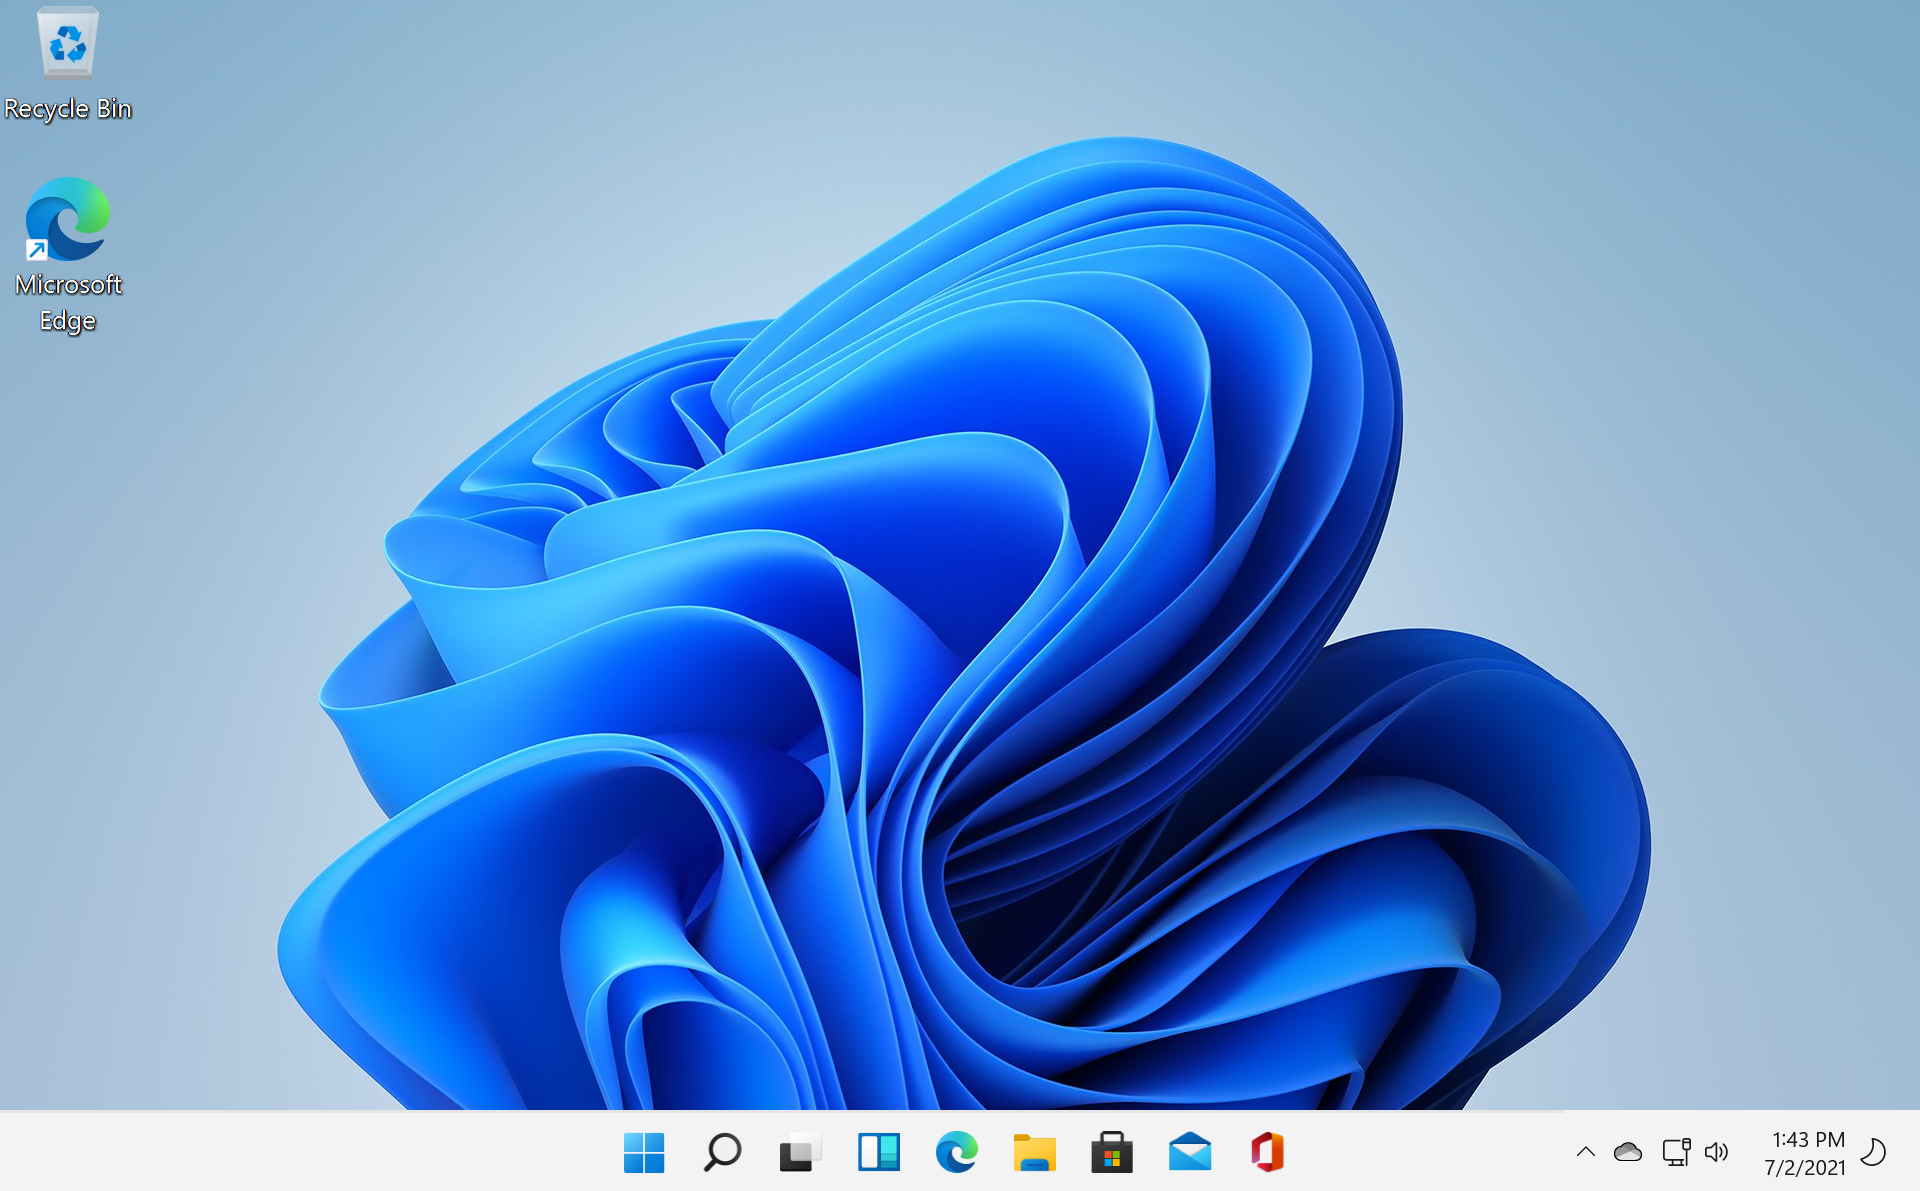
Windows 10 would be updated to Windows 11 build.
VM Tools
Install VM Tools for better experience on the Windows 11 virtual machine.
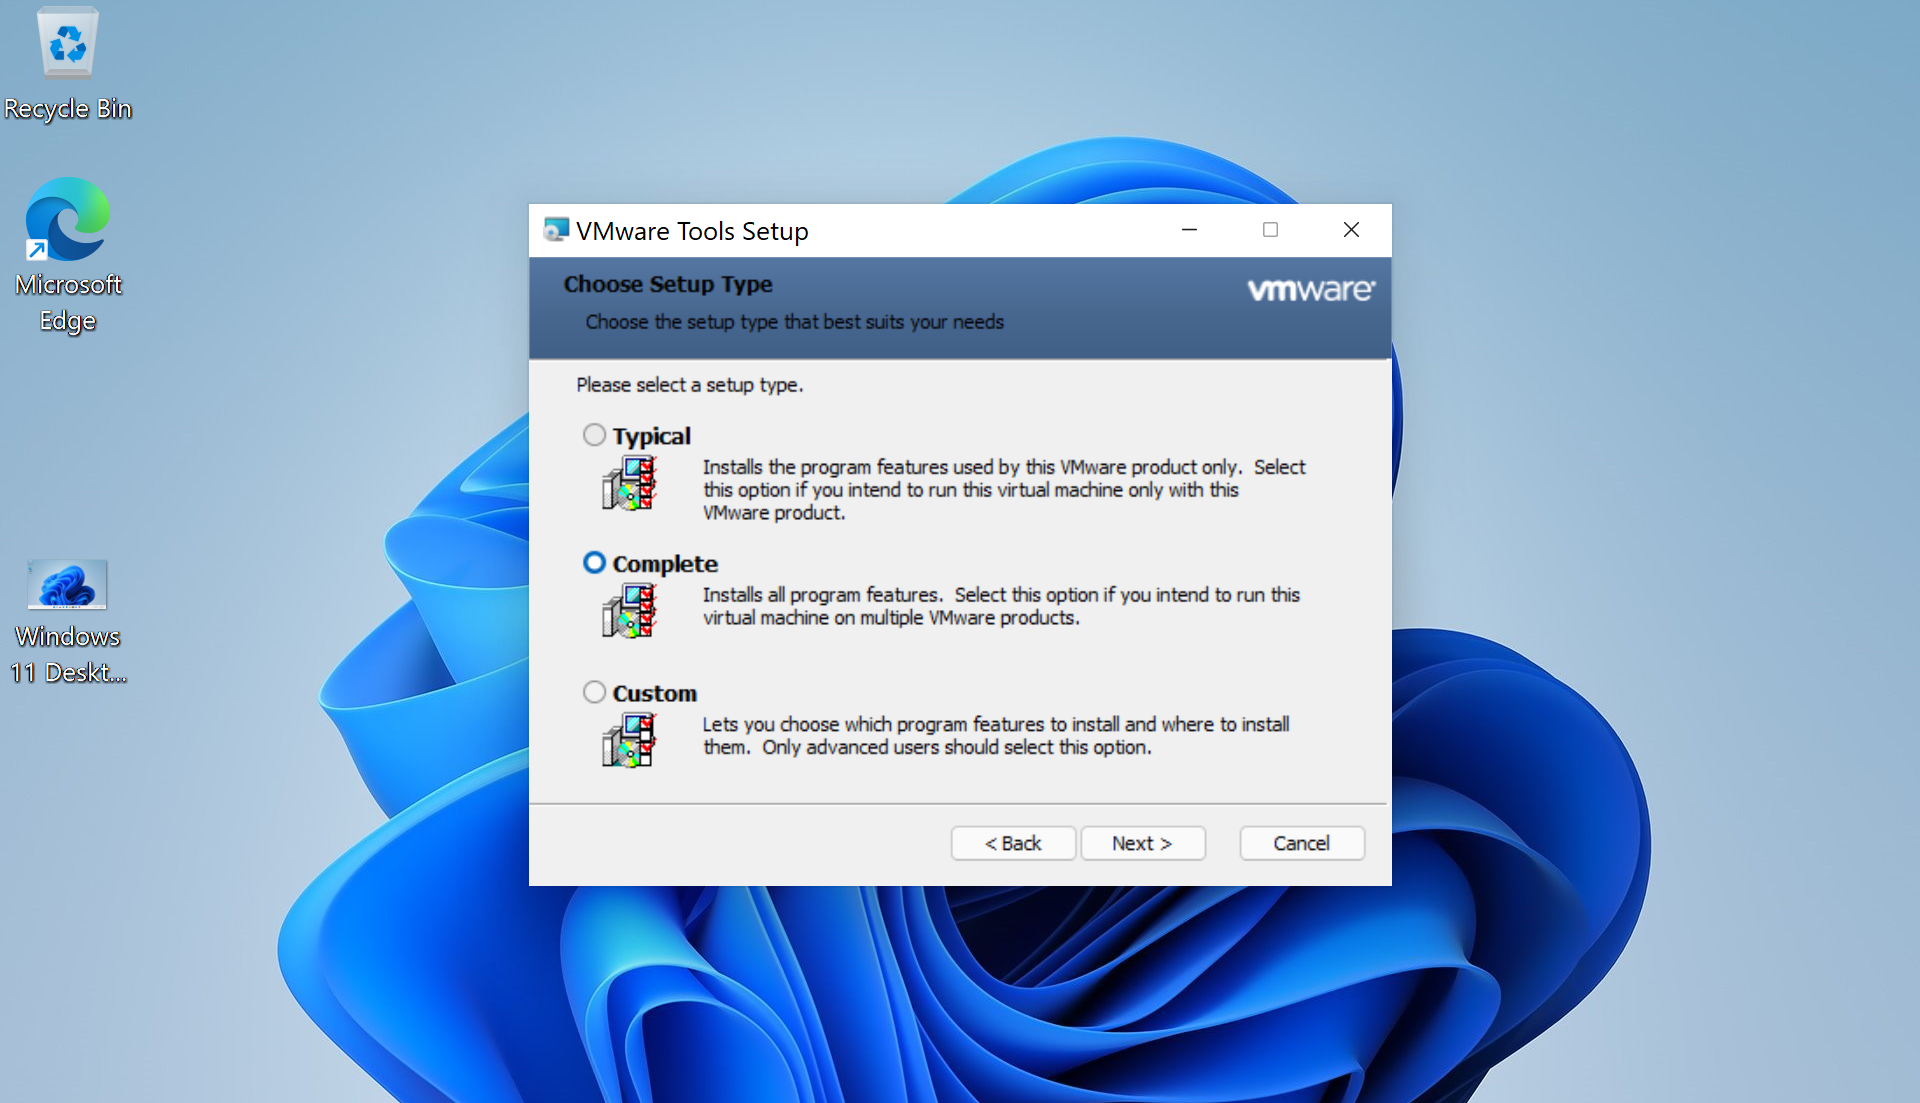
https://www.testingdocs.com/installing-vmware-tools-on-a-vm/
Optional step: Take a snapshot of the VM after the update. To know more about Windows 11 Features:
—
Windows 11 Tutorials
https://www.testingdocs.com/windows-11-tutorials/
More Information on Windows 11
