Install Nginx on CentOS Linux
Install Nginx on CentOS Linux
NGINX (pronounced as “Engine-X”) is a high-performance, open-source web server and reverse proxy server. It is also used as a load balancer, HTTP cache, and API gateway. To install Nginx on CentOS Linux, follow the below steps:
Update Your System
Before installing anything, it’s always a good idea to update your system:
$ sudo yum update

Install EPEL Repository
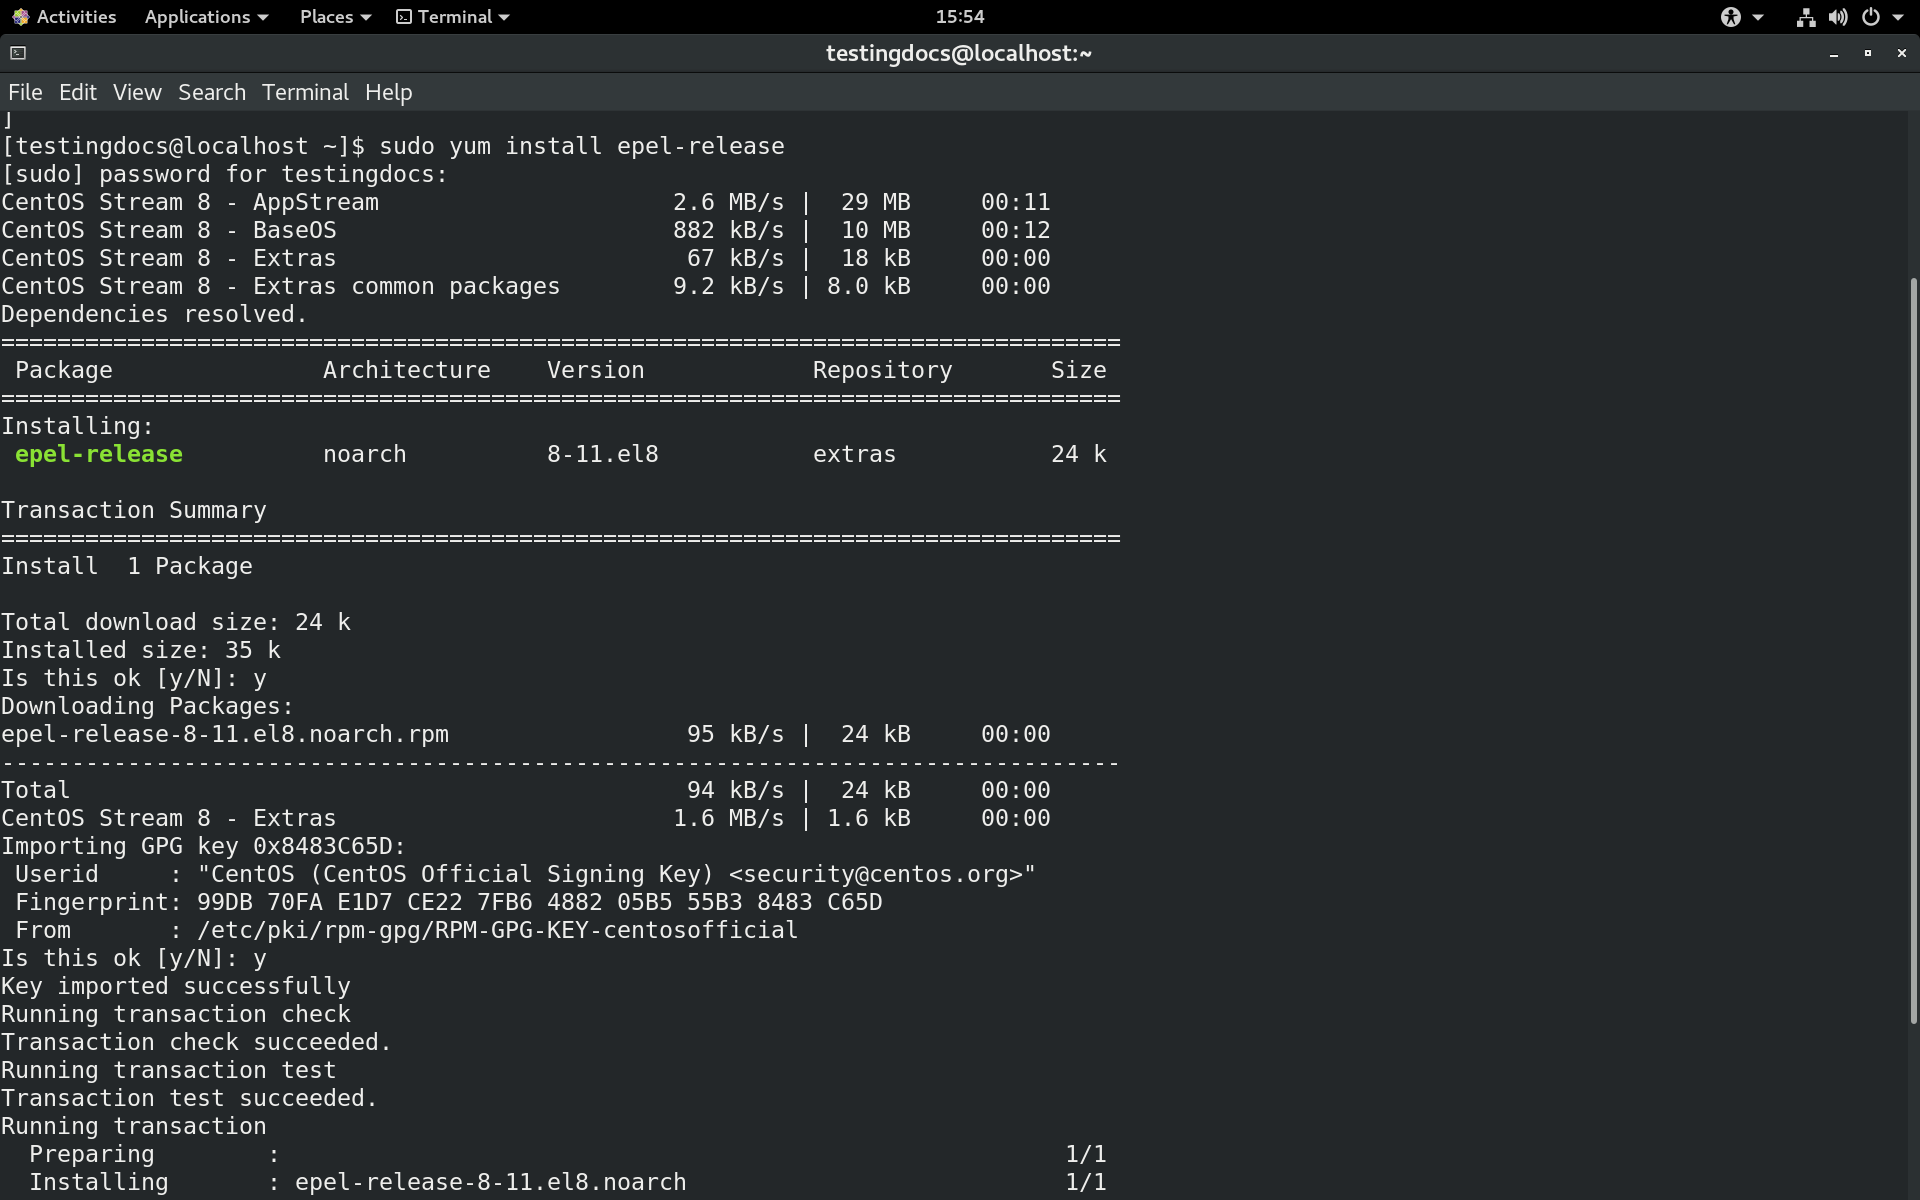
Nginx is not available in CentOS’s default repositories, so you need to install the EPEL (Extra Packages for Enterprise Linux) repository:
$ sudo yum install epel-release
Install Nginx
Now, you can install Nginx using the following command:
$ sudo yum install nginx

Start and Enable Nginx
After installation, you need to start the Nginx service and enable it to start automatically on boot:
$ sudo systemctl start nginx
$ sudo systemctl enable nginx
Check Nginx Status
To verify that Nginx is running, use the following command:
$ sudo systemctl status nginx
You should see something like this, indicating that Nginx is active:
Active: active (running) since…
Open Firewall Ports
If your system uses a firewall, you need to allow HTTP and HTTPS traffic. Run the following commands to open ports 80 (HTTP) and 443 (HTTPS):
sudo firewall-cmd –permanent –add-service=http
sudo firewall-cmd –permanent –add-service=https
sudo firewall-cmd –reload
Verify Nginx Installation
Open a web browser and type your server’s IP address or localhost. You should see the Nginx default welcome page.
Test locally by opening the URL:
http://localhost/

The web page is used to test the proper operation of the Nginx HTTP web server after it has been installed. If you can read that page, it means that the web server installed at the site is working properly.
That’s it! Nginx should now be installed and running on your CentOS system. If you need to configure Nginx for specific use cases (like serving a website), you can modify the configuration files.

