Running Selenium Tests using TestNG
Running Selenium Tests using TestNG
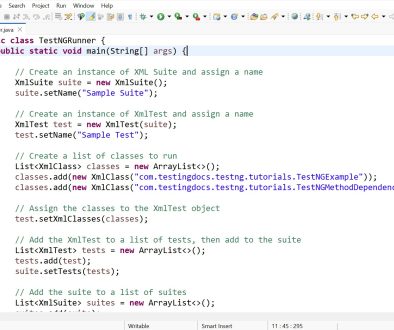
Running Selenium tests using TestNG is a common setup in Java automation. TestNG is a testing framework that helps organize, run, and report Selenium tests efficiently. Below is a simple step-by-step explanation with example code.
Add Required Dependencies
If you use Maven, add these dependencies to pom.xml.
<dependencies>

    <!-- Selenium -->
    <dependency>
        <groupId>org.seleniumhq.selenium</groupId>
        <artifactId>selenium-java</artifactId>
        <version>4.18.1</version>
    </dependency>

    <!-- TestNG -->
    <dependency>
        <groupId>org.testng</groupId>
        <artifactId>testng</artifactId>
        <version>7.9.0</version>
        <scope>test</scope>
    </dependency>

</dependencies>
Create a Selenium Test Class
import org.openqa.selenium.WebDriver;
import org.openqa.selenium.chrome.ChromeDriver;
import org.testng.annotations.*;

public class GoogleTest {

    WebDriver driver;

    @BeforeMethod
    public void setup() {
        driver = new ChromeDriver();
        driver.manage().window().maximize();
    }

    @Test
    public void openGoogle() {
        driver.get("https://www.google.com");
        System.out.println("Google opened successfully");
    }

    @AfterMethod
    public void teardown() {
        driver.quit();
    }
}
Create TestNG XML File
<!DOCTYPE suite SYSTEM "https://testng.org/testng-1.0.dtd">
<suite name="SeleniumSuite">

    <test name="GoogleTest">
        <classes>
            <class name="tests.GoogleTest"/>
        </classes>
    </test>

</suite>
Run the Tests
You can run tests using:
From IDE : Right click:
testng.xml → Run As → TestNG Suite
From Maven : Run the following command
/> mvn test