Add a Project in TestRail
Add a Project in TestRail
TestRail is a popular test case management tool that helps teams manage test cases, test runs, and track testing progress.
Add a New Project in TestRail
Step 1: Log in to TestRail
Open your TestRail URL in your browser and log in using your username and password.
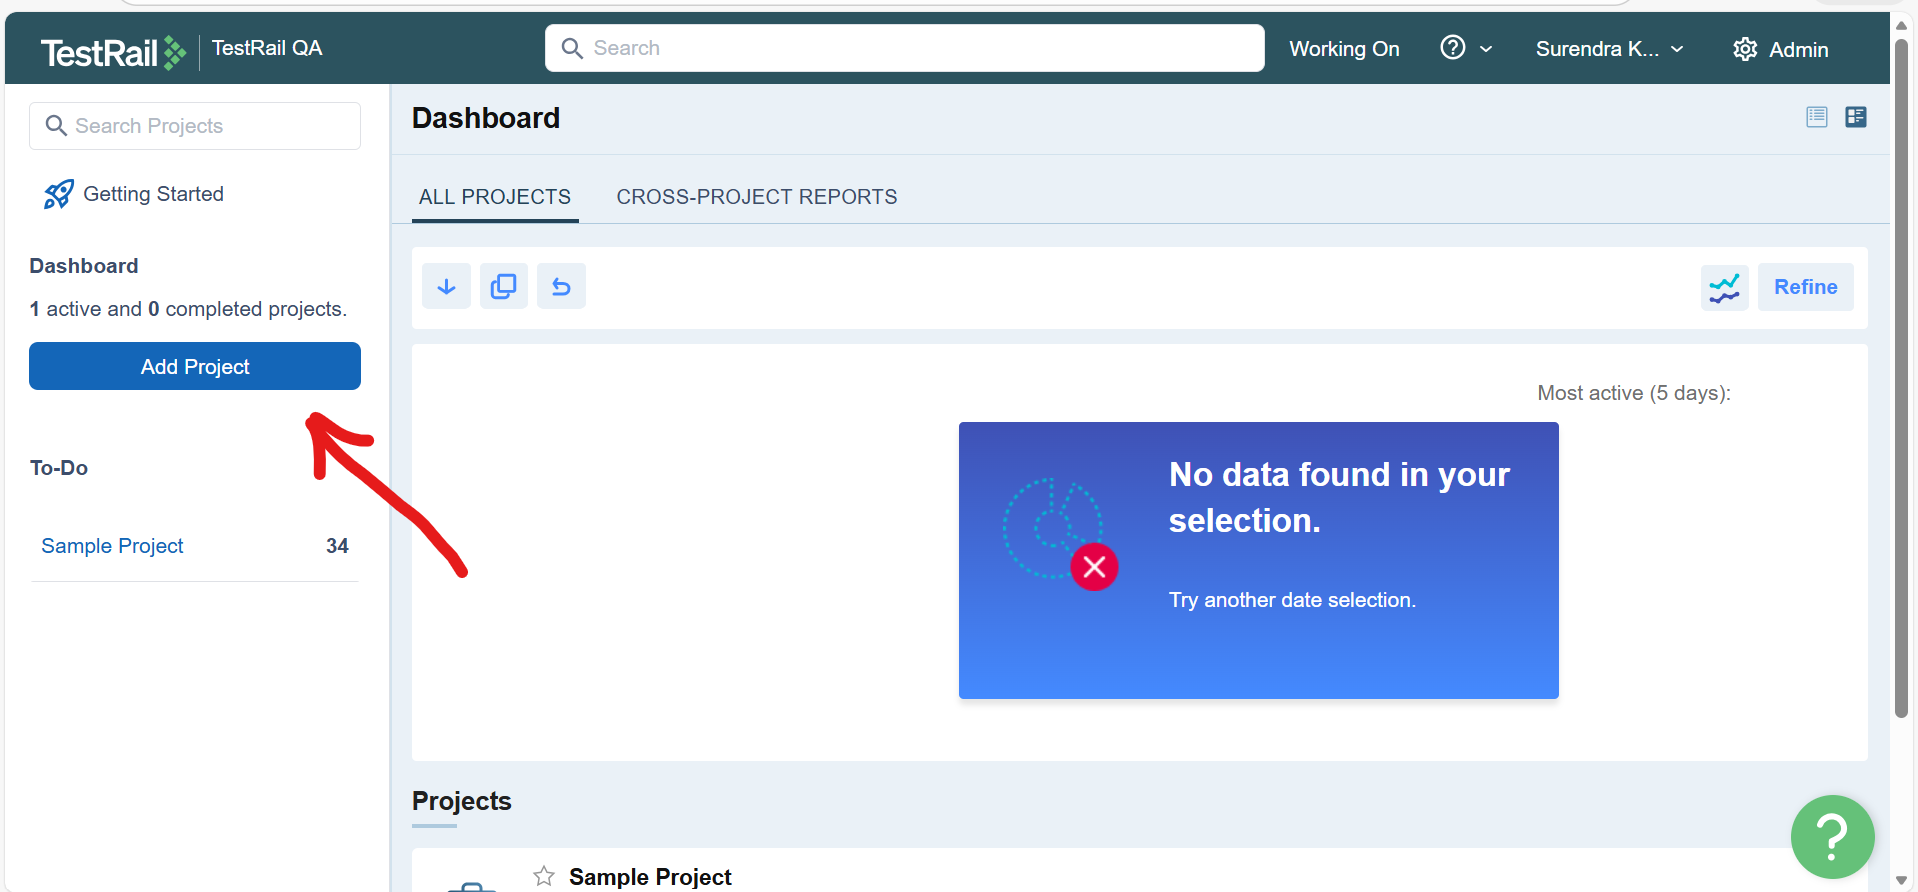
Step 2: Go to the Dashboard
After logging in, you will land on the Dashboard page where you can see existing projects.
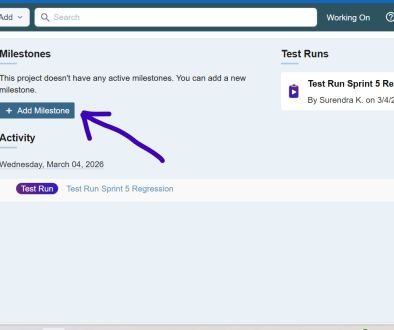
Step 3: Click on “Add Project”
On the Dashboard page, click the “Add Project” button.
Step 4: Enter Project Details
Fill in the required details:
- Name: Enter your project name.
- Announcement (Optional): Add a short description or important notes about the project.
- Show Announcement: Check this box if you want users to see the announcement on the overview page.

Step 5: Choose Project Type
TestRail provides three project types:
- Single Repository: One test case repository for the project.
- Multiple Test Suites: Allows multiple test suites within one project.
- Use a Baseline Support: Enables versioning of test cases.

Tip for Beginners: If you’re unsure, select Single Repository. It is the simplest option.
Step 6: AI Test Case Generation
Check the box Enable AI Test Case Generation to allow users to create testcases using AI technology.
Step 7: Click “Add Project”
After filling in all details, click the “Add Project” button at the bottom of the page.
Step 8: Project Created Successfully
Your new project will now appear on the Dashboard. You can start adding test cases, creating test suites, and planning test runs.
Congratulations, You’ve successfully created your first TestRail project! 🎉