Azure Virtual Desktop
Azure Virtual Desktop
Azure Virtual Desktop (AVD) is Microsoft’s cloud service that lets you run Windows desktops and applications in Azure and deliver them to users anywhere. Instead of buying and maintaining physical PCs or on-premises virtual desktop infrastructure, you host desktops in Azure and users connect from thin clients, laptops, or tablets. This guide explains what AVD is in simple terms and walks you through the main steps to get it up and running from the Azure portal.
What is Azure Virtual Desktop?
Azure Virtual Desktop provides virtualized Windows desktops and remote apps from Azure. It supports single-user or multi-user session hosts, centralized management, and persistent user profiles so a user’s settings and files follow them. Think of AVD as renting Windows machines from Azure that many people can securely sign into and use like their own PC.
Key terms you’ll see often:
- Host pool: A collection of virtual machines (session hosts) that provide the actual desktops or apps.
- Session host: A VM that runs Windows and hosts user sessions.
- Application group: A grouping of desktops or remote apps that you publish to users.
- Workspace: A container where published desktop/app groups are listed for users to subscribe to.
- FSLogix (profile containers): Technology to keep user profiles and data persistent across session hosts.
Why use Azure Virtual Desktop?
AVD is useful because it simplifies PC management, enables remote work, centralizes security and backups, and can be cost-efficient when you scale VMs up or down. It’s also a quick way to provide consistent desktop environments to contractors, remote teams, training labs, or seasonal workers.
Prerequisites
- An active Azure subscription and permissions to create resources (owner or contributor).
- A valid Windows license entitlement for your users (for example, the right Microsoft 365 or Windows subscription that allows virtual desktop use).
- A resource group and a virtual network (VNet) with access to any required domain controllers if you plan to join session hosts to an Active Directory domain.
- A storage solution for user profiles if you want persistent profiles (commonly an Azure Storage account with Azure Files and an SMB file share configured for FSLogix).
- Basic knowledge of Azure networking and virtual machines helps but is not strictly required—you can follow the portal’s guided steps.
Steps to activate Azure Virtual Desktop
Below are concise, beginner-friendly steps you can follow in the Azure portal to deploy a basic Azure Virtual Desktop environment. The portal UI shows forms and wizards that guide you through the same fields referenced here.
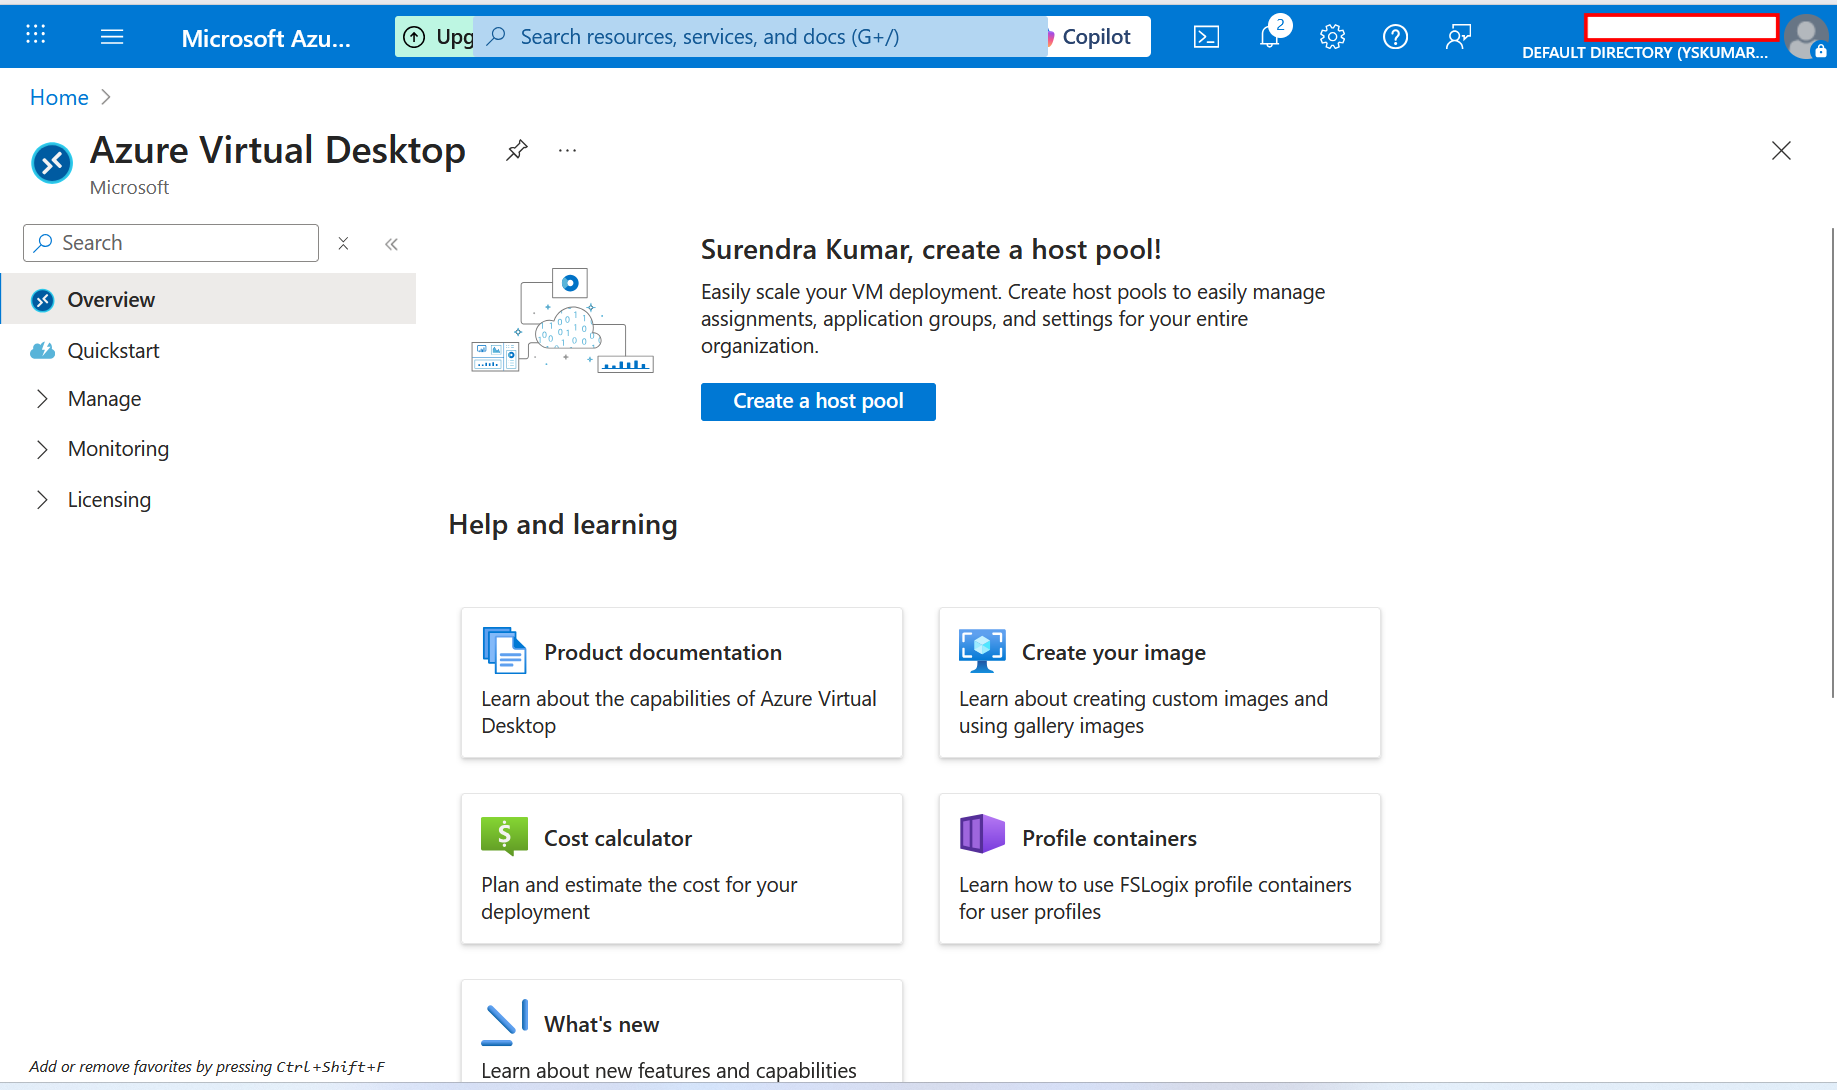
Sign in and open Azure Virtual Desktop
- Sign in to the Azure portal with an account that has permissions to create resources.
- In the portal search bar, type
Azure Virtual Desktop(orWindows Virtual Desktopdepending on the portal label) and open the Azure Virtual Desktop service blade.
Create a resource group
- From the portal menu choose Resource groups → Create.
- Give it a name, choose the Azure subscription, and select the region (location) where you want the resources hosted.
Create a host pool
- Within the Azure Virtual Desktop blade, choose Host pools → Create host pool.
- On the Basics tab, choose your subscription and the resource group you created, then provide a host pool name and select the location (region).
- Choose the host pool type: usually Pooled for multi-user scenarios (many users share session hosts) or Dedicat ed for single-user-per-VM scenarios.
- Choose a load balancing method (the portal will offer options like breadth-first or depth-first—default is usually fine for beginners).
Add session hosts (Virtual Machines)
- During host pool creation you’ll be prompted to add session hosts (VMs). Click to add virtual machines.
- Select a virtual machine image (Azure provides Windows 10/11 multi-session images or you can use a custom image).
- Choose VM size, number of VMs, and enter an admin username and password for the VMs.
- Pick the virtual network and subnet where the VMs will be deployed. If you need domain join, pick a network that can reach your domain controllers.
- Decide whether to join the VMs to an Active Directory domain or Azure AD (for hybrid domain join you need proper connectivity and credentials).
Create an application group and register with a workspace
- Create an Application group for the host pool—choose a Desktop application group if you want users to get a full desktop, or RemoteApp group if you want to publish specific apps.
- After you create the application group, register it with a Workspace so users can see and subscribe to it from their Remote Desktop client.
Configure user assignment and permissions
- Open the Application group you created, go to Assignments, and Add users or groups who should have access to the desktop or apps. Use Azure AD user accounts (or synced AD accounts if hybrid).
- Ensure those users have the required Windows licensing entitlements for virtual desktop access.
Set up user profiles (FSLogix) for persistence
- Create a storage account and an Azure Files share to store profile containers, or use another supported file share solution.
- Configure share permissions and create a folder for profile containers. Note the UNC path (for example,
\\<storage-account>.file.core.windows.net\profiles). - In session host group policy or via FSLogix settings, point profile containers to that share so user settings and small files persist across sessions.
Test the deployment
- Install the Microsoft Remote Desktop client on a test machine (Windows, macOS, iOS, Android are supported) or use the web client link if enabled in your deployment.
- Sign in with a user account assigned to the application group and subscribe to the workspace. Launch the desktop or app to confirm it connects and the user sees a desktop session.
Important operational tips
- Cost management: Choose VM sizes carefully and use autoscaling to shut down VMs when not needed to reduce costs.
- Security: Use Azure AD, conditional access, and multifactor authentication for safer sign-ins. Limit network access and use NSGs or private endpoints if appropriate.
- Monitoring: Use Azure Monitor and Log Analytics to track session host health, connection failures, and performance.
- Backups: Back up critical configuration and any persistent file shares storing user data.
- Updates: Manage OS and application updates via your preferred tooling (Azure Update Management, Intune, or a third-party tool).
Next steps and learning resources
Once you have a basic AVD deployment working, consider learning about autoscale, custom images for session hosts, Azure Files performance tiers for profiles, integration with Microsoft Endpoint Manager (Intune) for management, and user experience optimization (printer redirection, multimedia redirection, GPU VMs for graphics workloads).
Azure Virtual Desktop makes it simple to deliver managed Windows desktops and apps from the cloud. The core flow is: prepare your Azure subscription and network, create a host pool, add session hosts, publish an application group, assign users, and configure profile storage for persistence. With sensible sizing, security controls, and monitoring, AVD can replace or augment physical PCs and help teams work from anywhere.