Connect Real Android device To PC
Connect Real Android device To PC
In this tutorial, you will learn how to connect a real Android device to PC to run tests on the real device. In order to Run Appium automation tests in real android device, we need to connect real android device to PC by enabling USB debugging mode.
To test on a real device or on on a simulator, we need SDK to be installed on your machine. Appium will take the advantage of the SDK to connect to the real device connected via USB or simulator. And Appium only Supports to test on Android, IOS and Firefox OS only. Appium still does not support test execution on Windows OS.
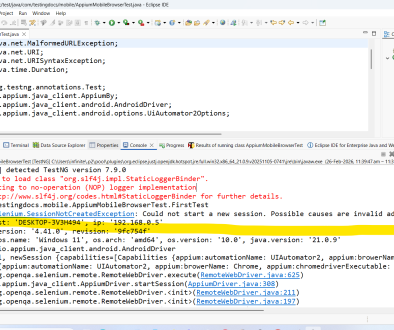
When you run any test, without connecting the device to PS, you will get error as’ org.openqa.selenium.WebDriverException: An unknown server-side error occurred while processing the command. Original error: Could not find a connected Android device. (WARNING: The server did not provide any stacktrace information).
Enable Developer Mode
First Enable Developer Option, To enable Developer Option in android device,
Click on Settings >> ‘About Phone’ option.
Click on About Phone option and Click on Version/ Software Information.
You will find an option called ‘Build Number’ or “Version No”.
Keep clicking Build number option for seven times. It starts showing you information message like ‘You are now 2 steps away from being a developer’ and so on.
Now you can see ‘Developer Options’ from where you can enable ‘USB debugging’.
Click on ‘Developer Options’, which will show you multiple options available
Check ‘USB debugging’ option, Once we check that option, it will display warning.
Click on OK to continue. Done!!!!! Now we have successfully enabled USB debugging mode for android device.
To make sure if the device is connected properly with USB debugging mode, we can check using command prompt, Open command prompt and enter ‘adb devices’, which will show you the device connected.