Upgrade MySQL Database Server
Upgrade MySQL Database Server
In this tutorial, we will learn how to upgrade MySQL Database Server on Windows.
First things first, back up your existing database. Before performing a MySQL server upgrade, it’s crucial to back up your existing database to prevent potential data loss. You can create a database backup by using the mysqldump command-line tool or a GUI(graphical user interface) tool like MySQL Workbench.
Steps to Upgrade
Launch MySQL Installer. This will show the list of installed MySQL products and the current version that has been installed.
An upgrade bubble will appear against the product if a new version exists.
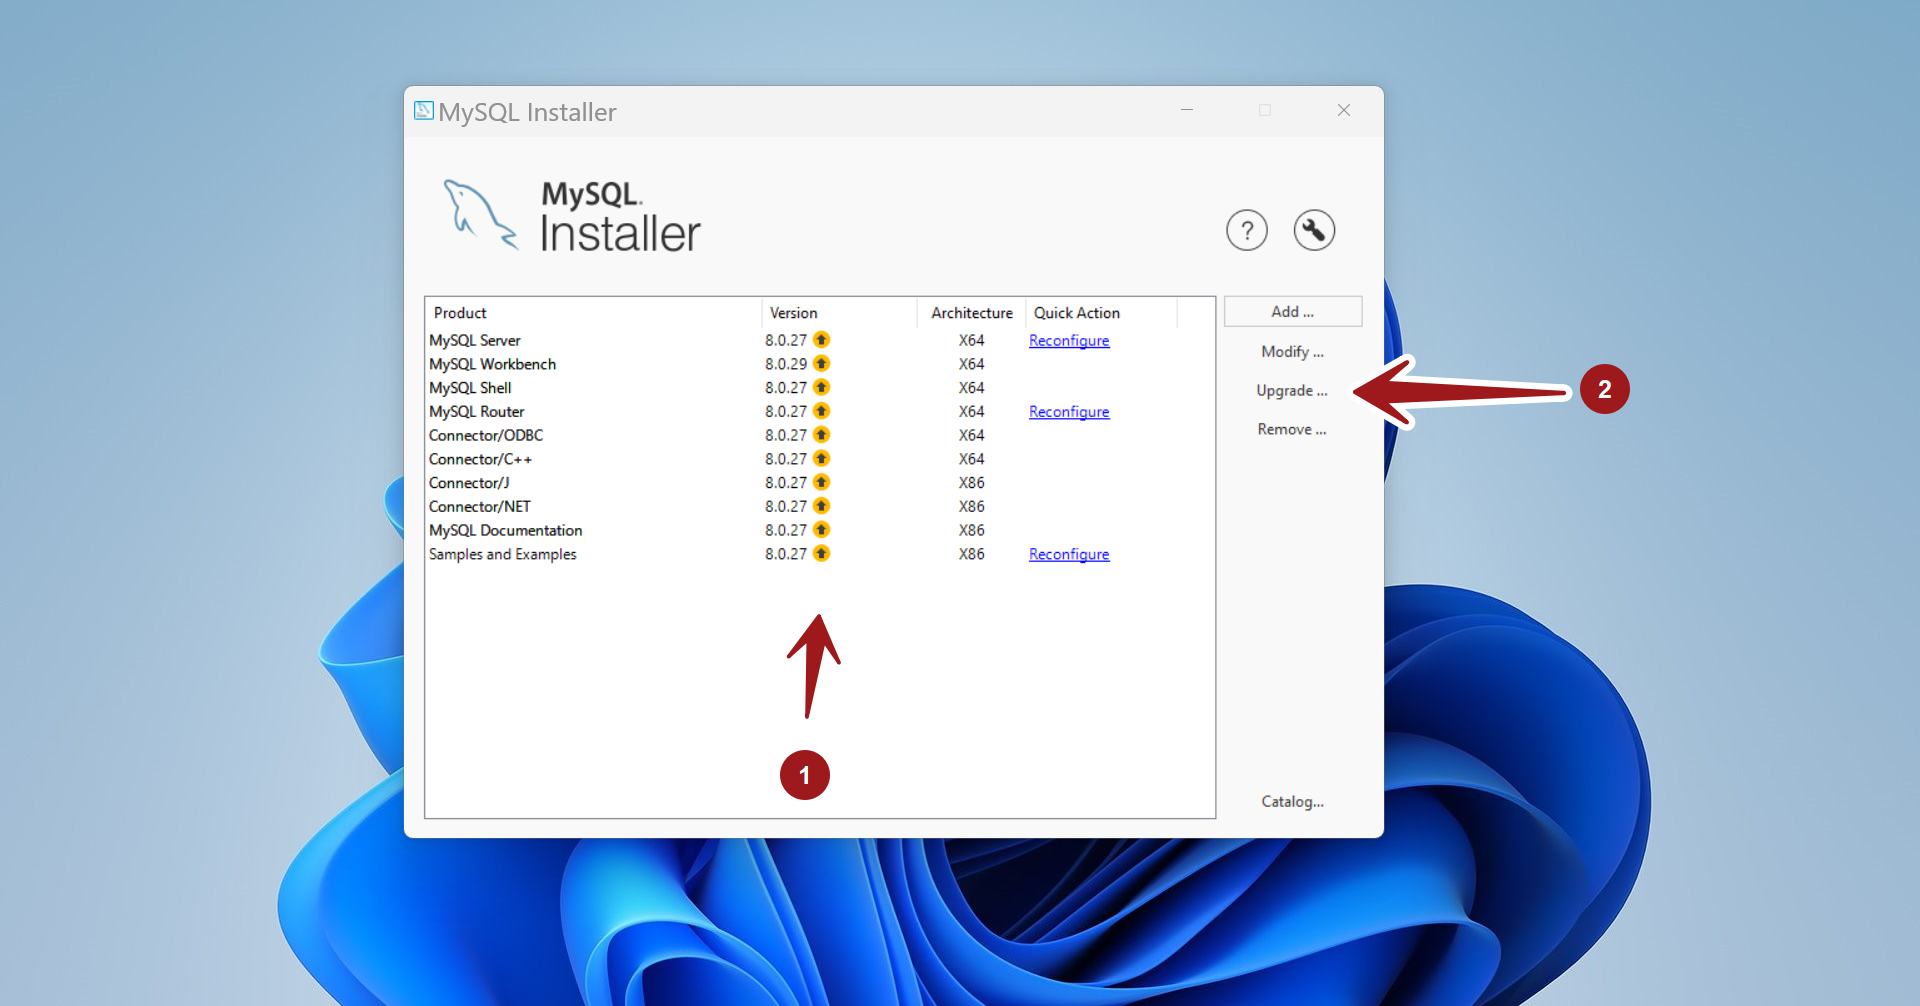
Click on the Upgrade… button.
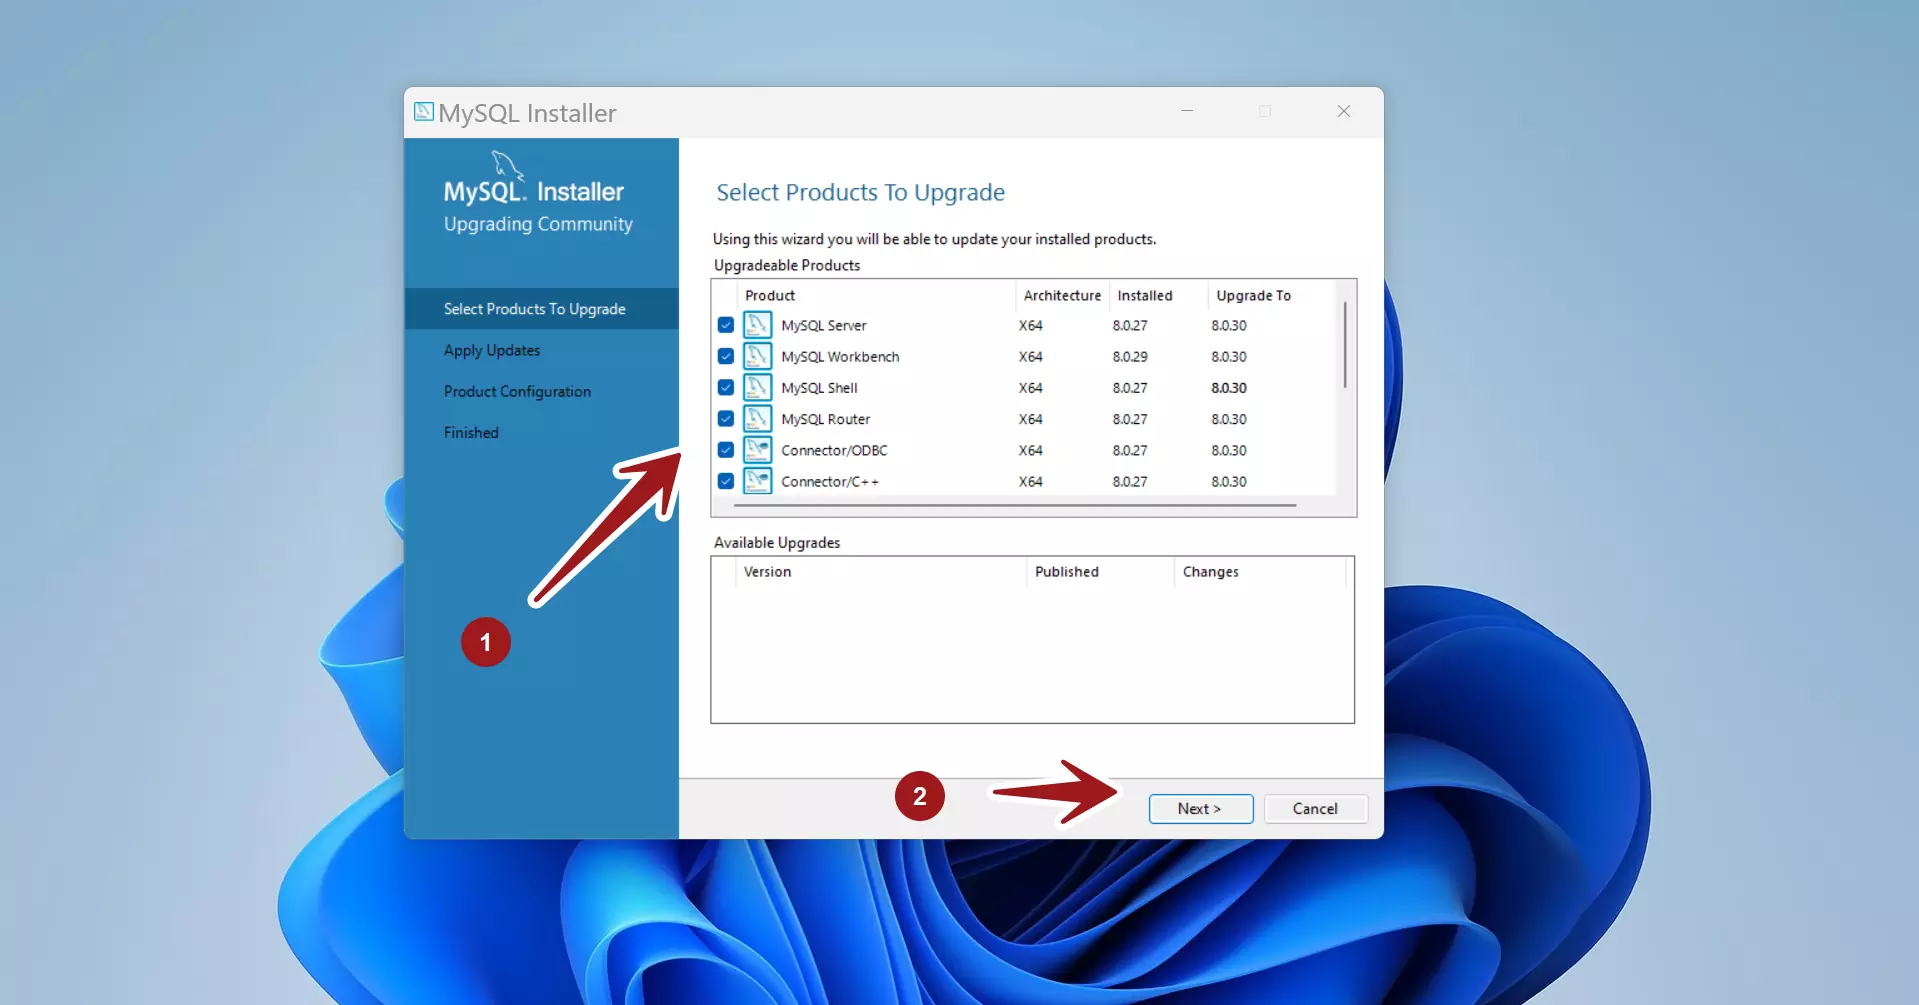
Select the MySQL products to upgrade. Click on the Next > button.
Click on the Execute button to upgrade the chosen MySQL products.
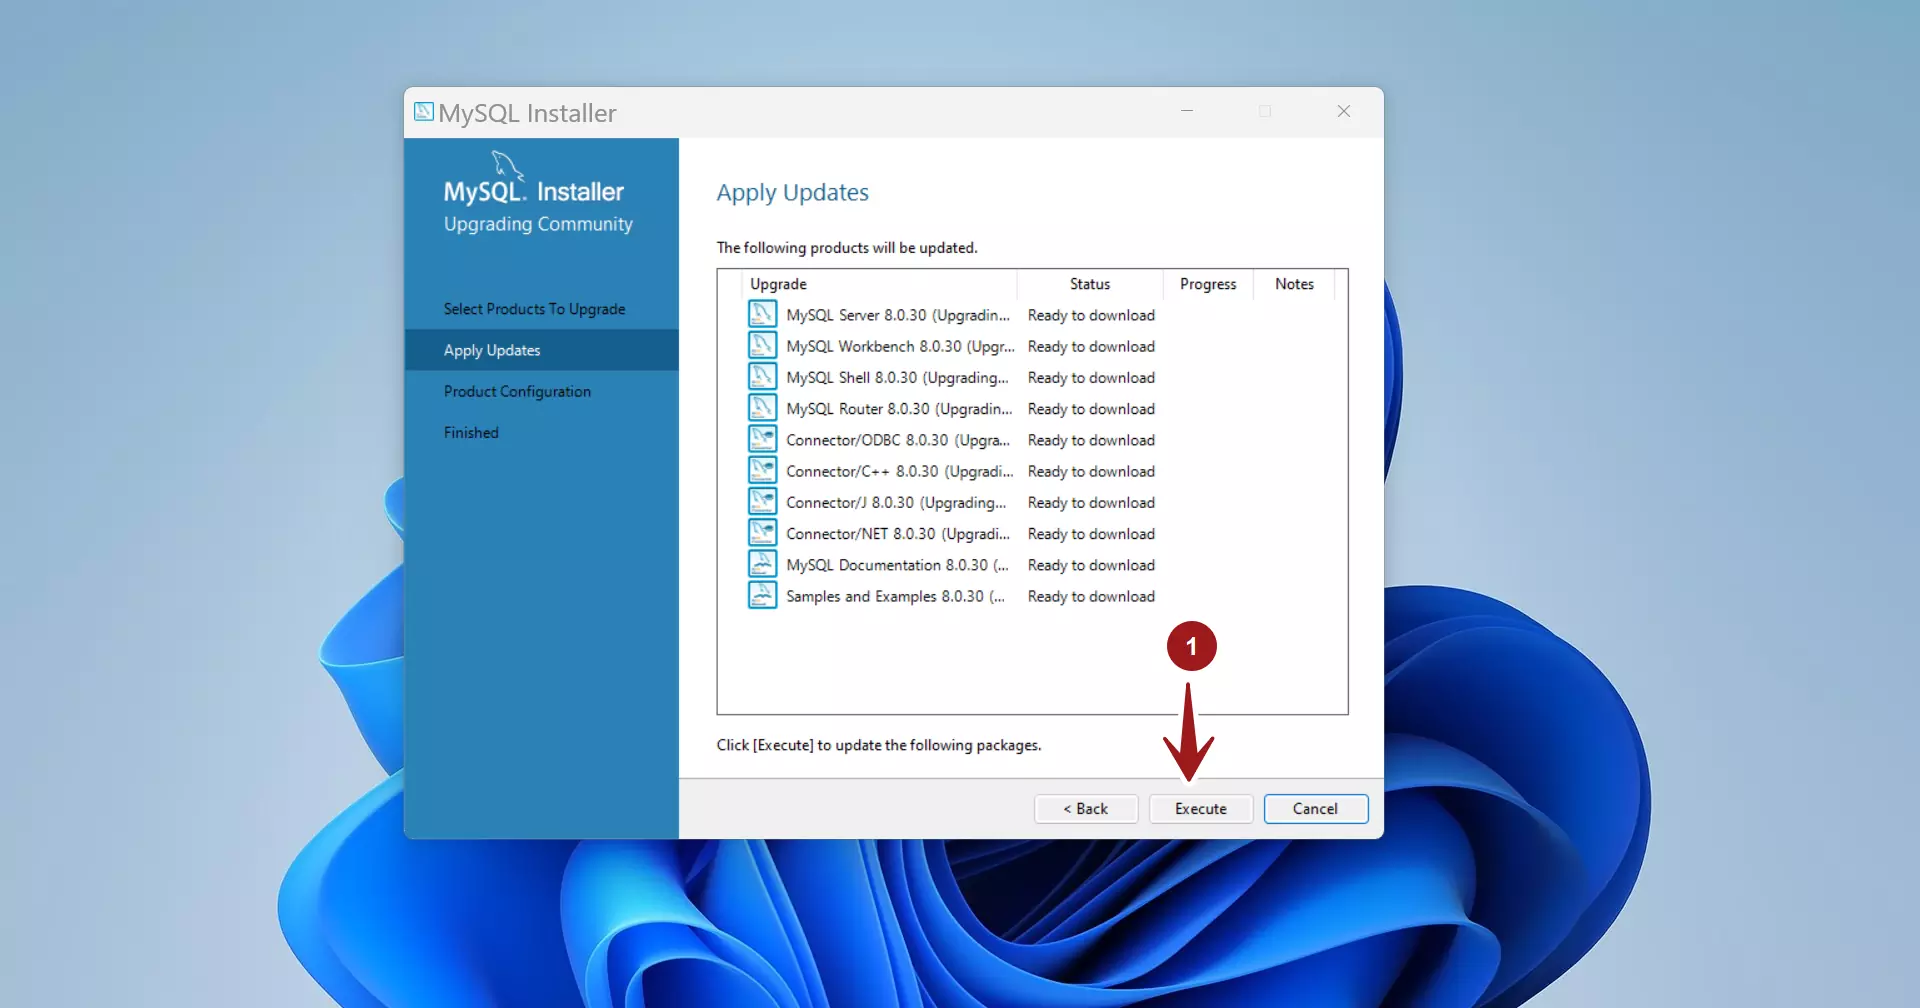
The installer will download the latest MySQL packages and upgrade to the latest version.
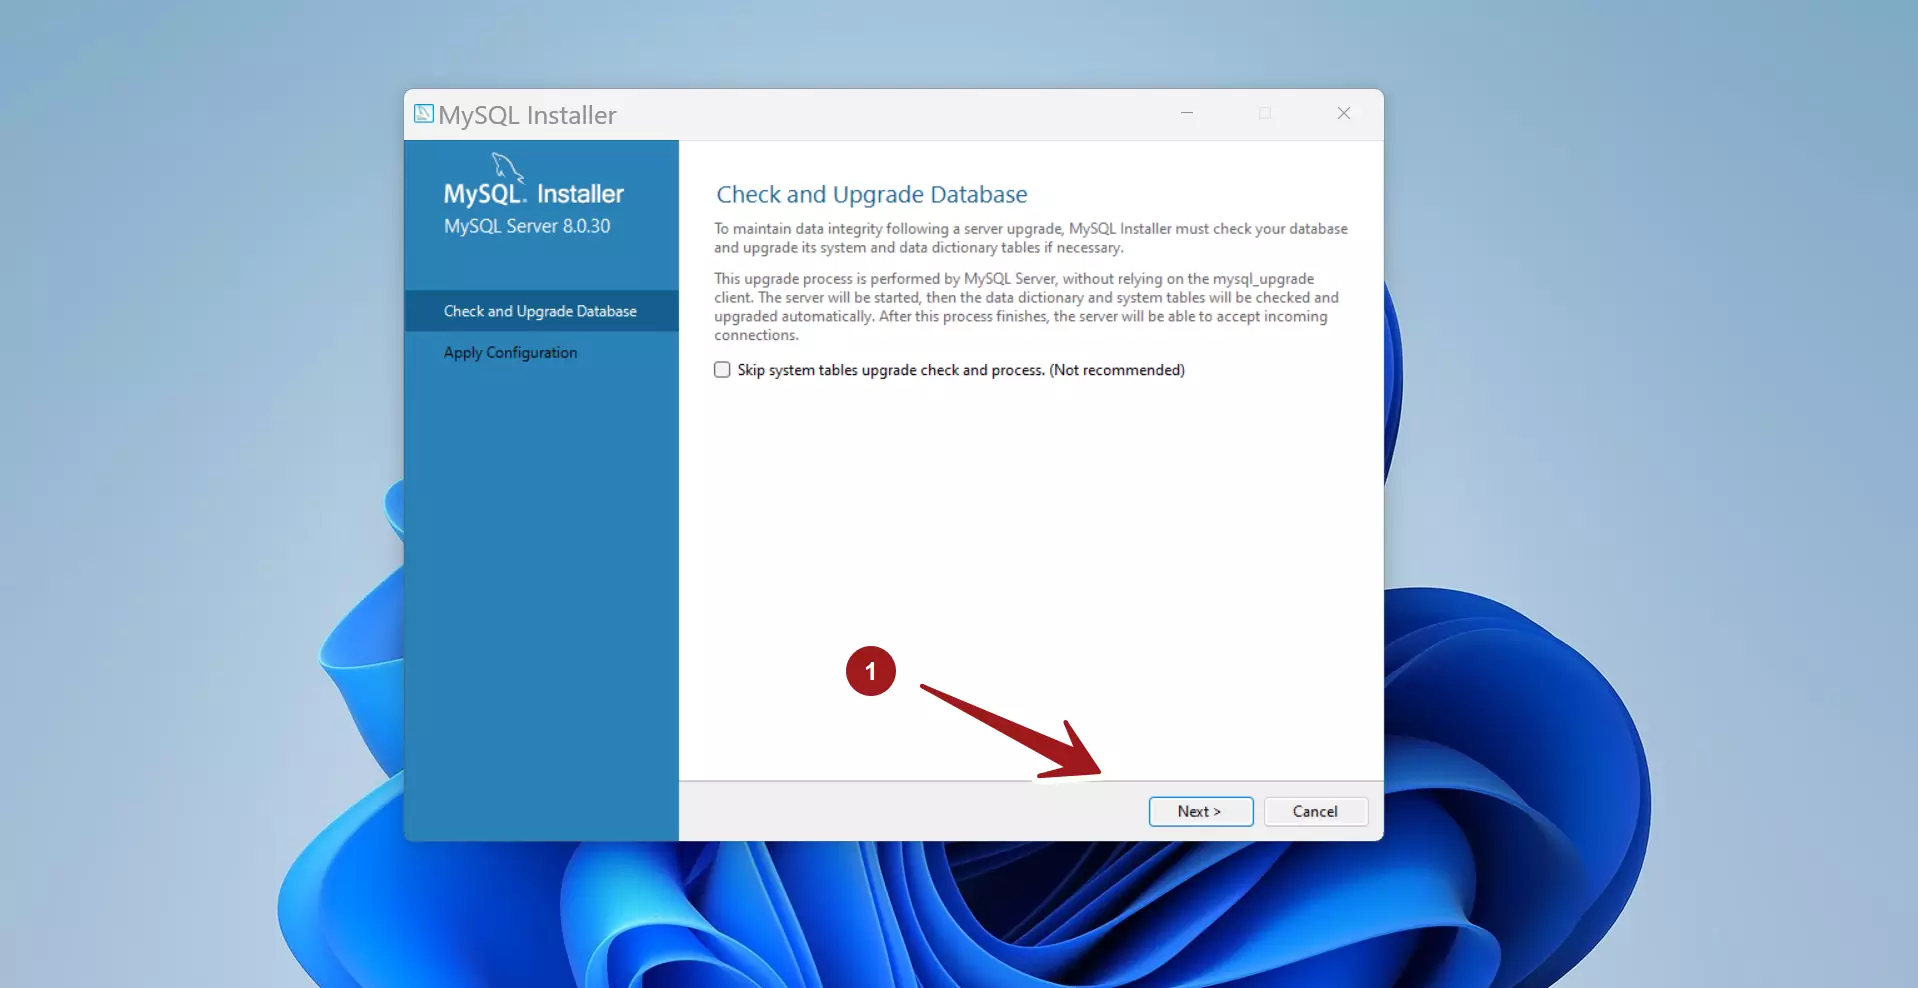
To maintain data integrity, the MySQL installer checks for upgrades to the system and data dictionary tables. Click on the Next > button.
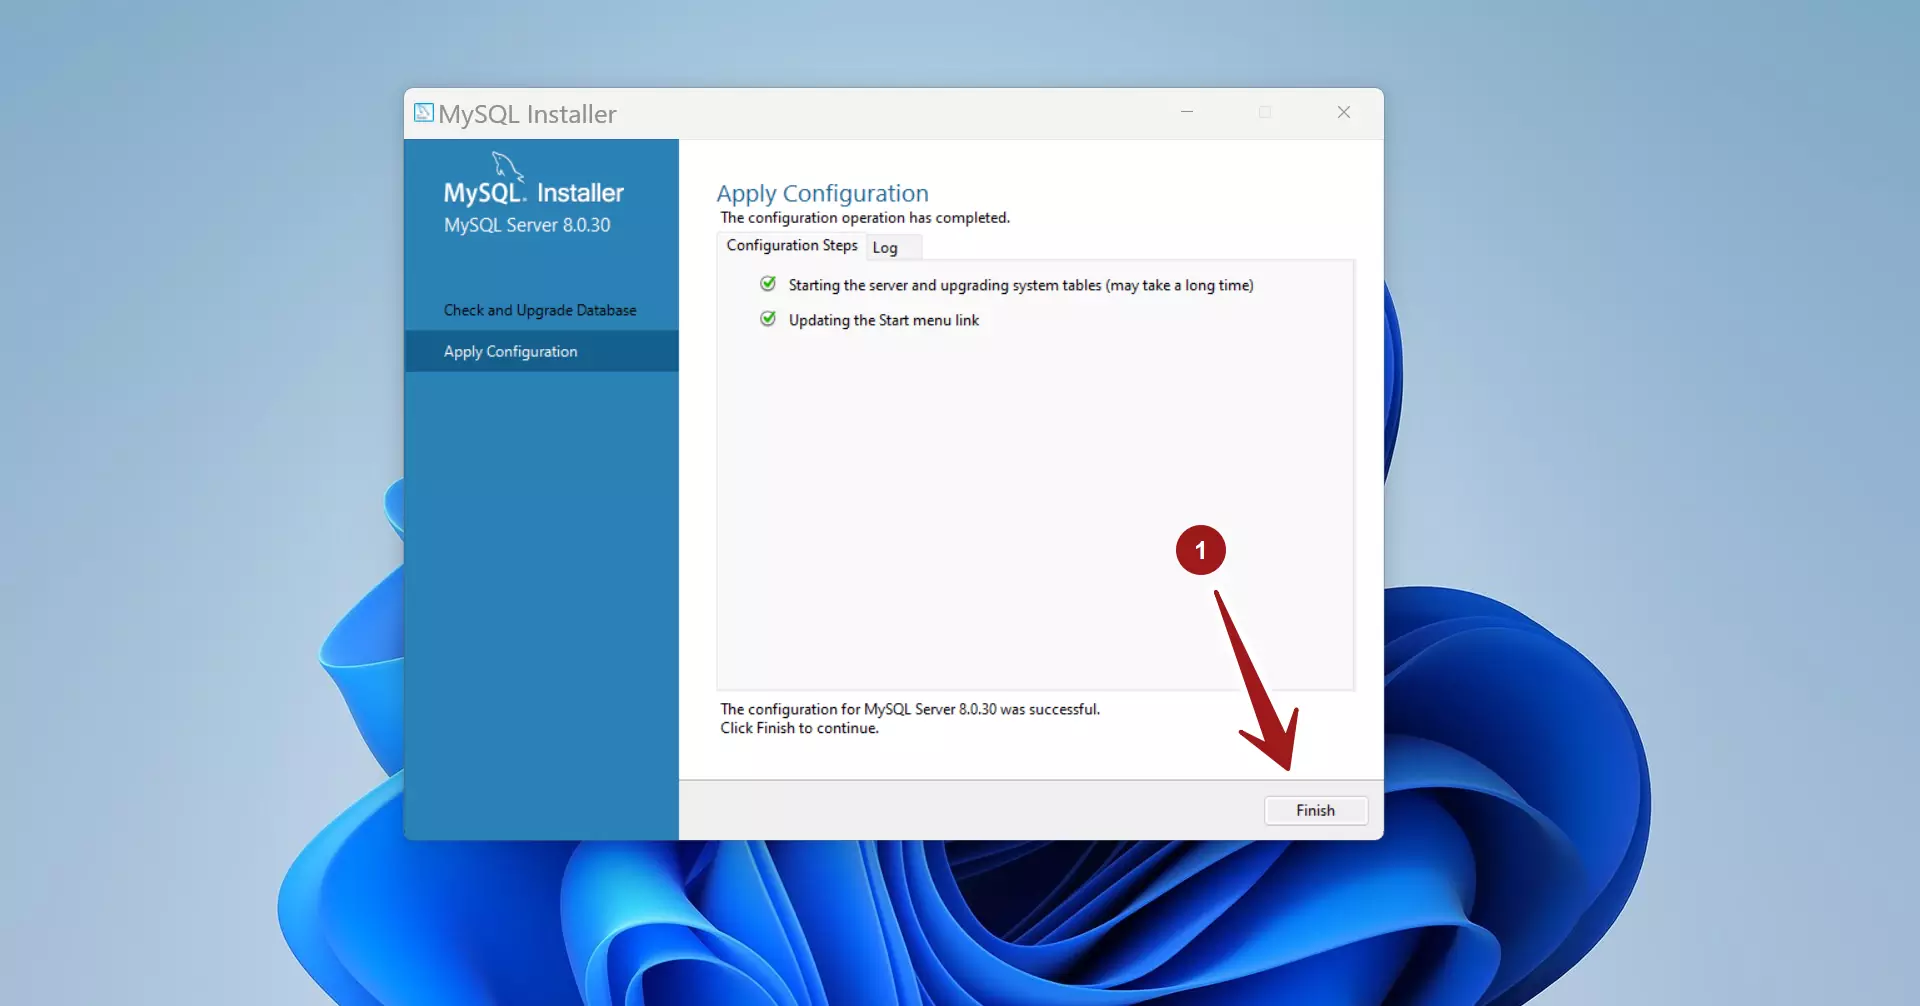
Click on the Execute button to apply the configuration changes.
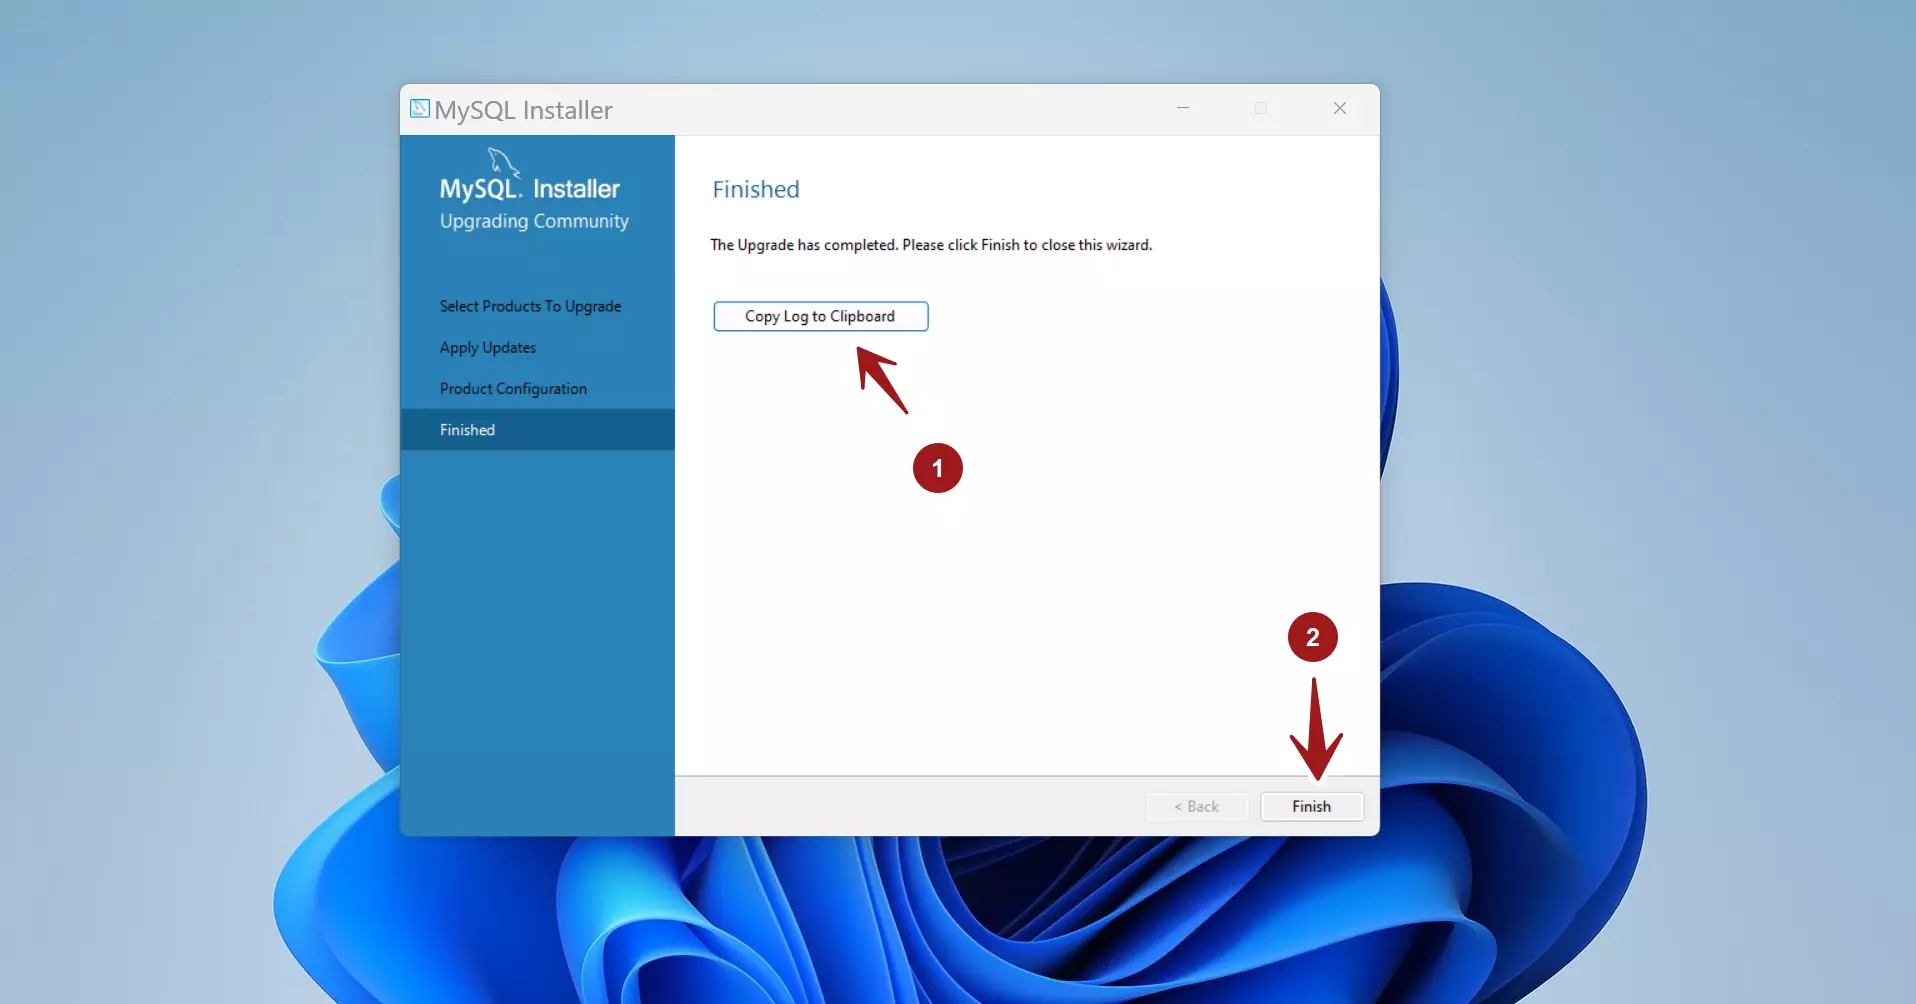
Click on the Finish button to complete the upgrade process and exit the MySQL installer.
Verification
Once the MySQL upgrade is completed, it’s important to thoroughly test your applications to ensure they function correctly with the new MySQL server version. Perform various operations, run SQL queries, and run basic verification tests to verify that your database and application are working as expected.
—
MySQL Tutorials
MySQL Tutorials on this website:
https://www.testingdocs.com/mysql-tutorials-for-beginners/
