Mobile Automation Setup Guide
Mobile Automation Setup Guide
This guide will walk you through the steps to set up Mobile Automation for Android applications. The environment used in the guide is the Windows 10 operating system.
Install the Android Studio SDK
Download the latest Android Studio SDK latest from the URL :
https://developer.android.com/studio
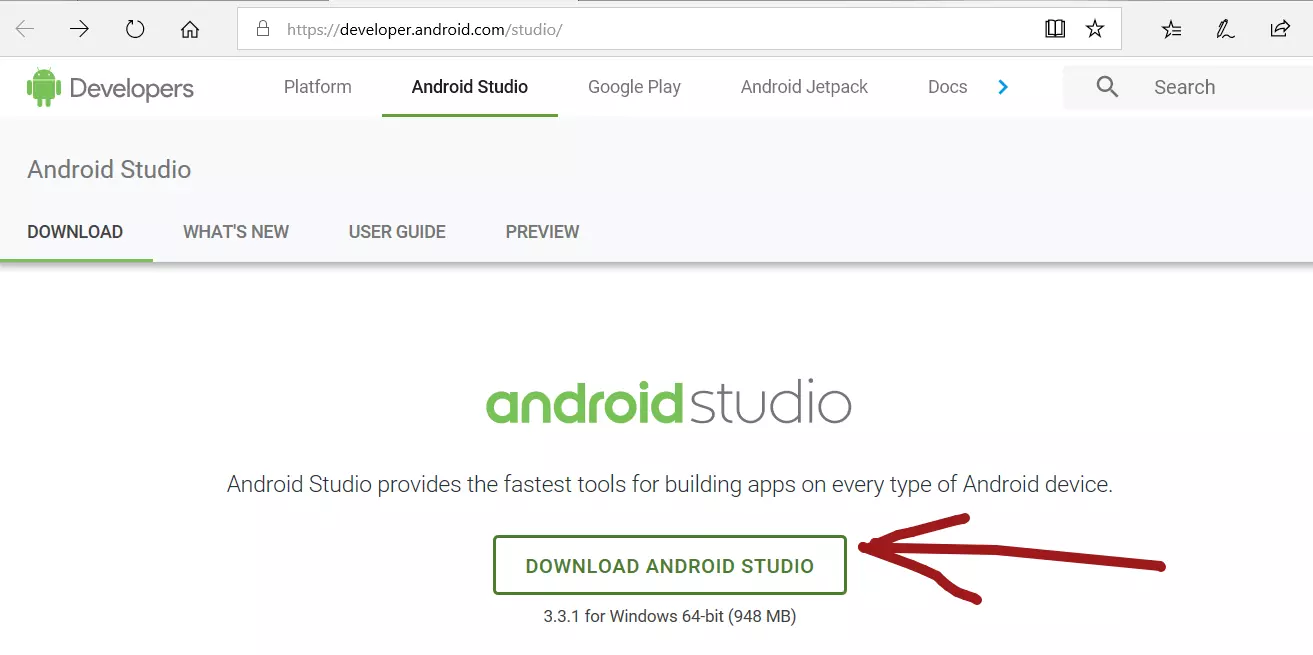 Locate the download and Install the android-studio-bundle windows application
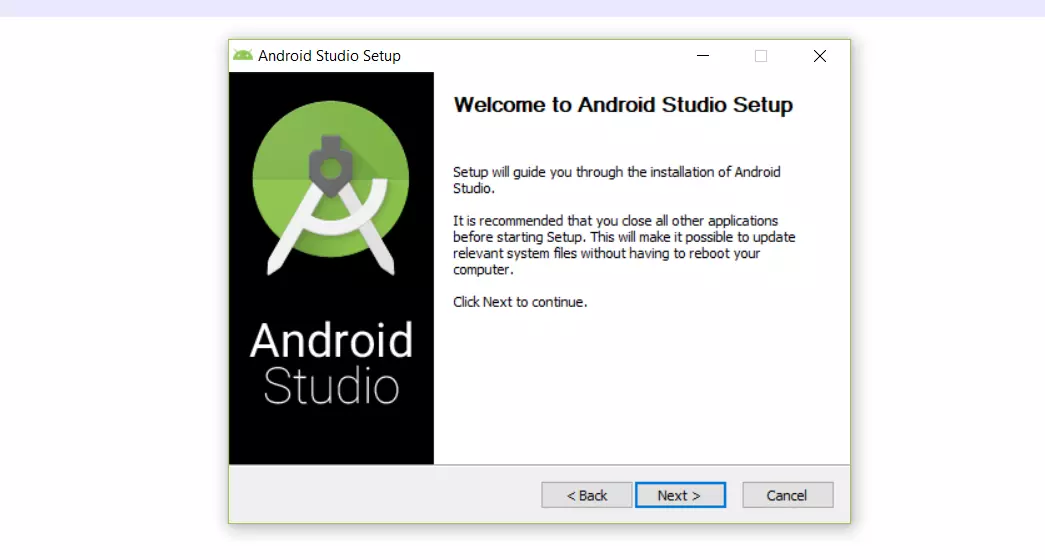
Check the Start Android Studio and click upon Finish button
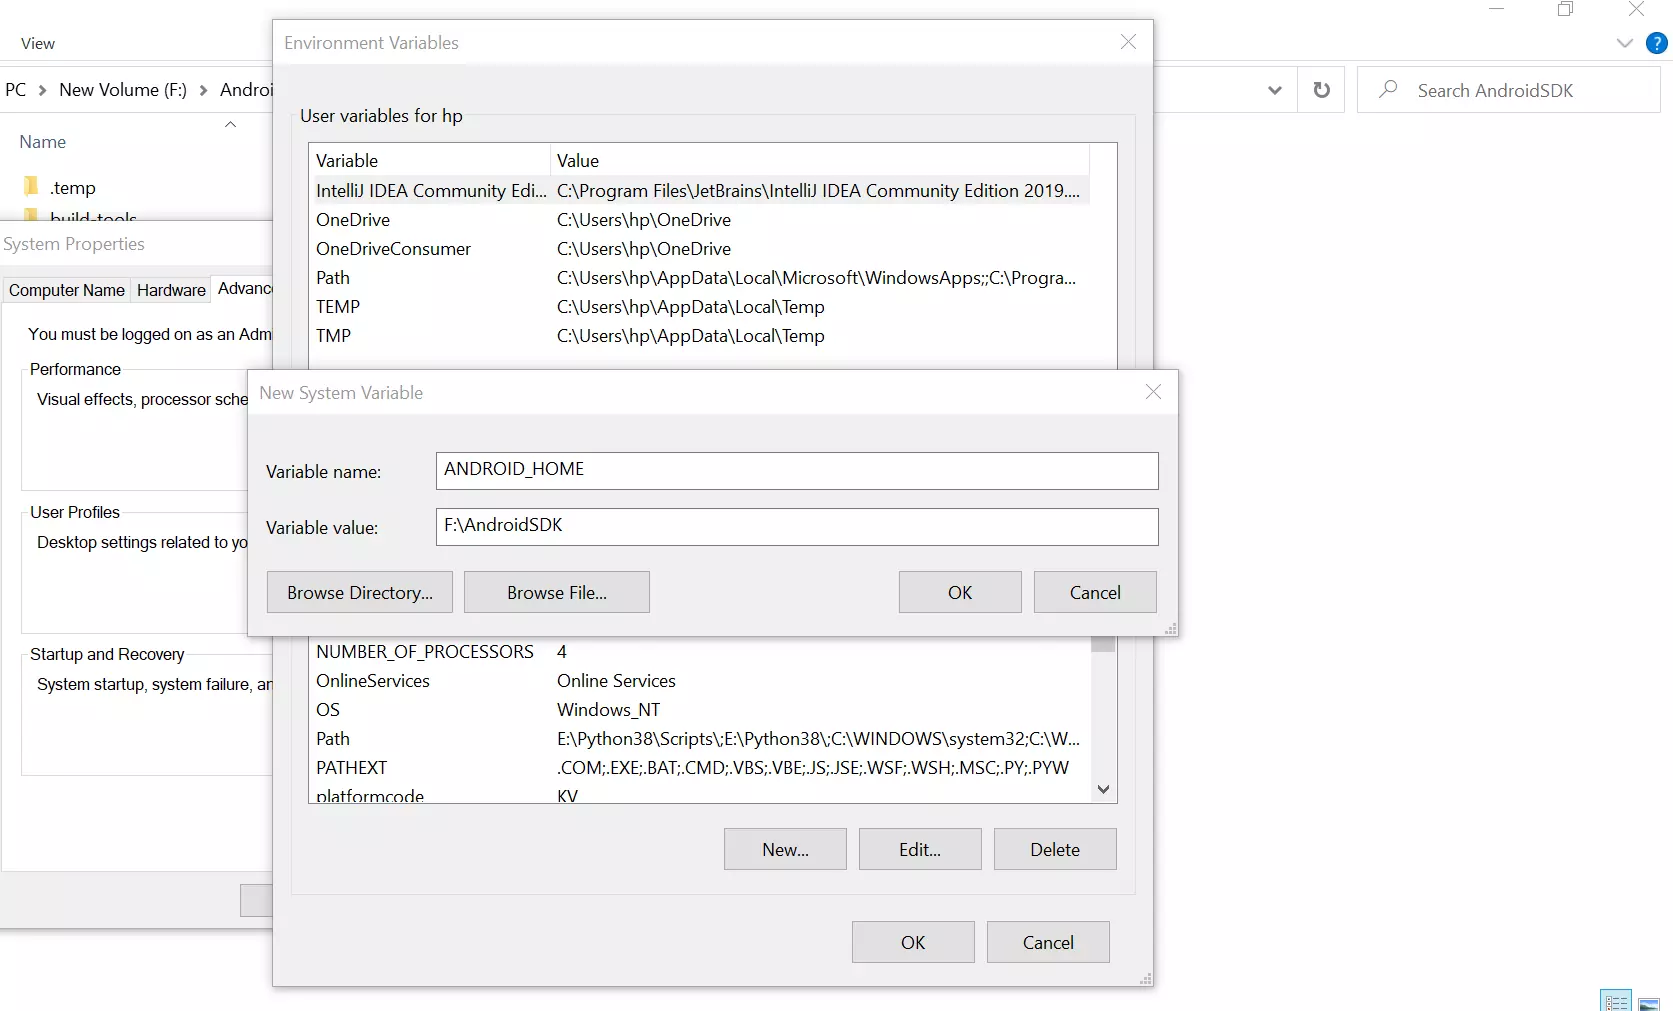
Configure the Android Environment
Create a new user variable with Name: ANROID_ HOME and value: Android Studio location
Add location to the System Environmental Variable “Path” for example as
“C:\android\tools;”
“C:\android\platform-tools;”
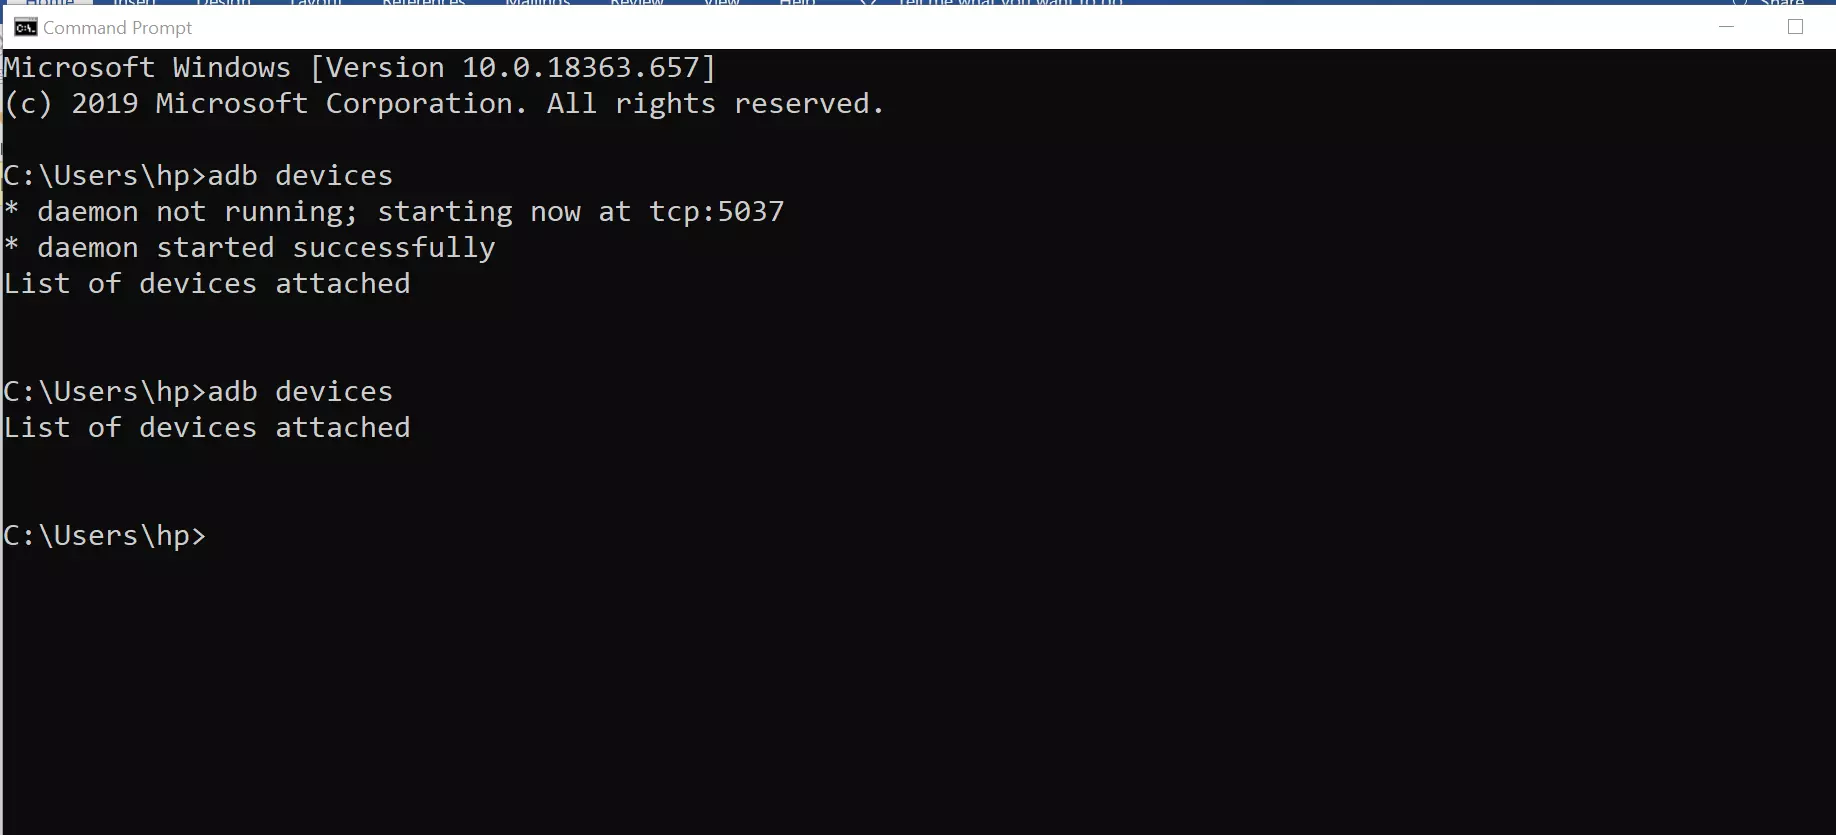
Check the configuration is successful by executing the command.
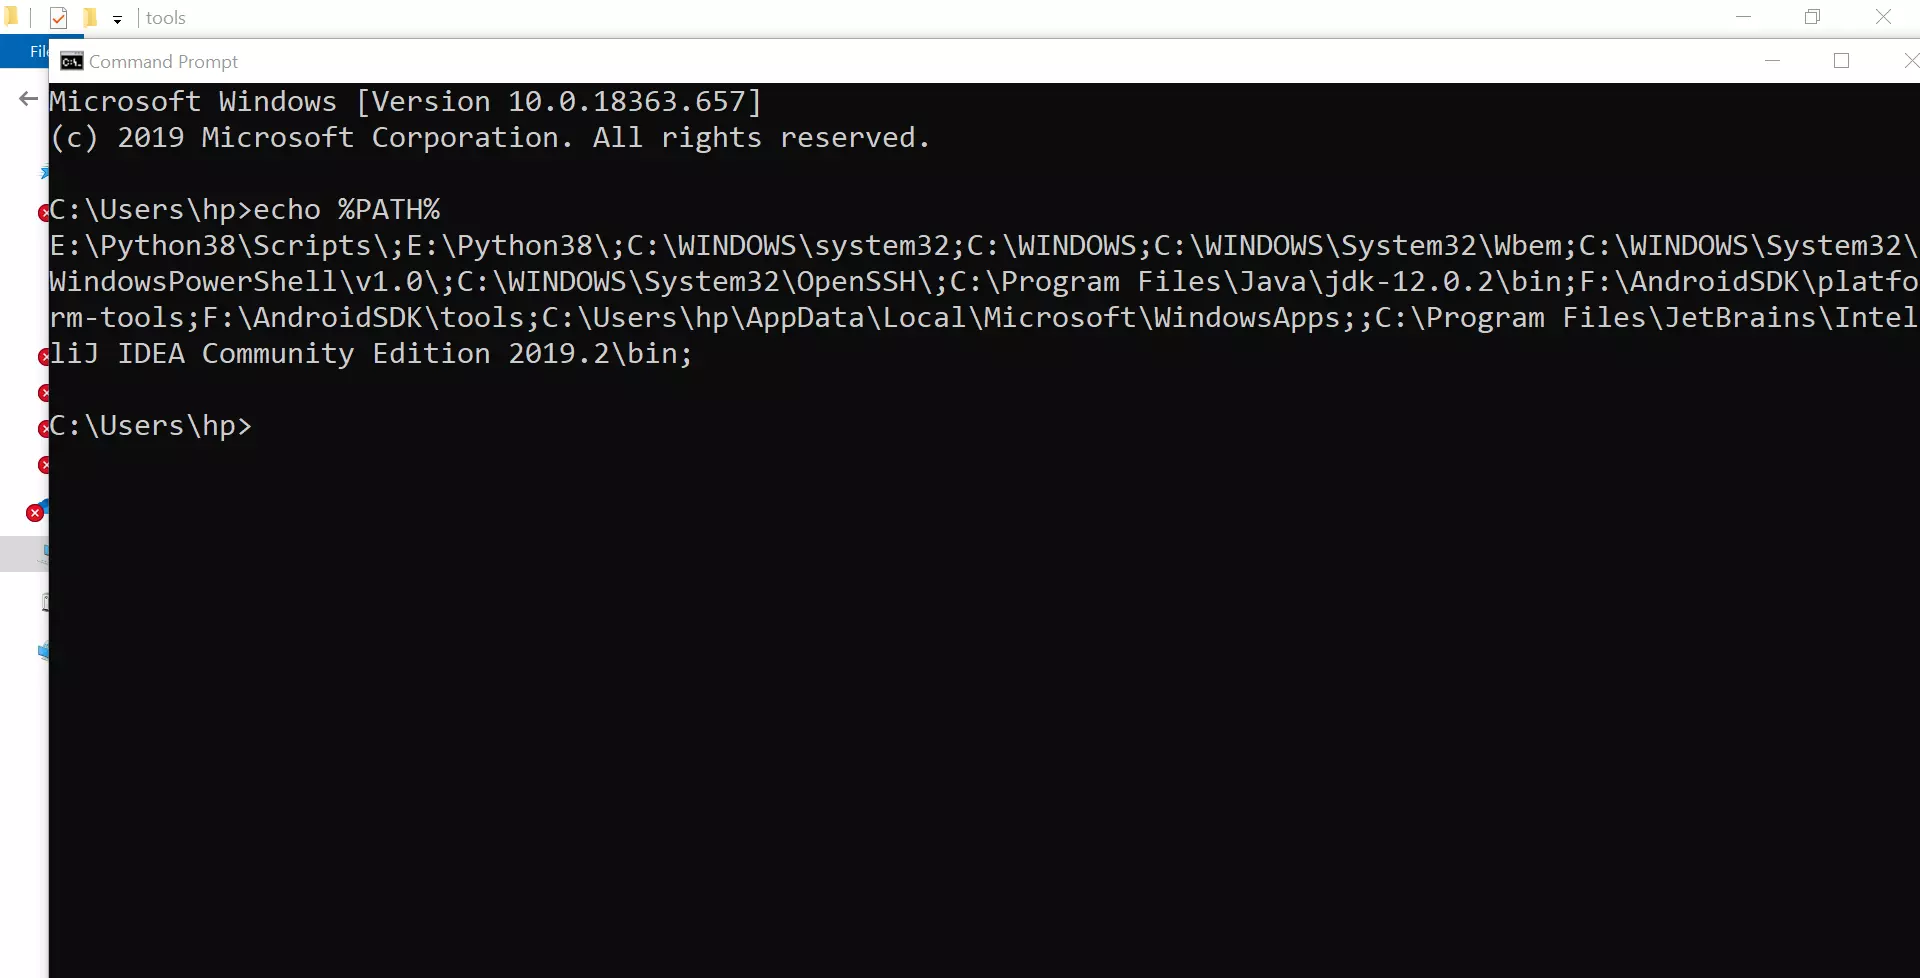
/> adb devices
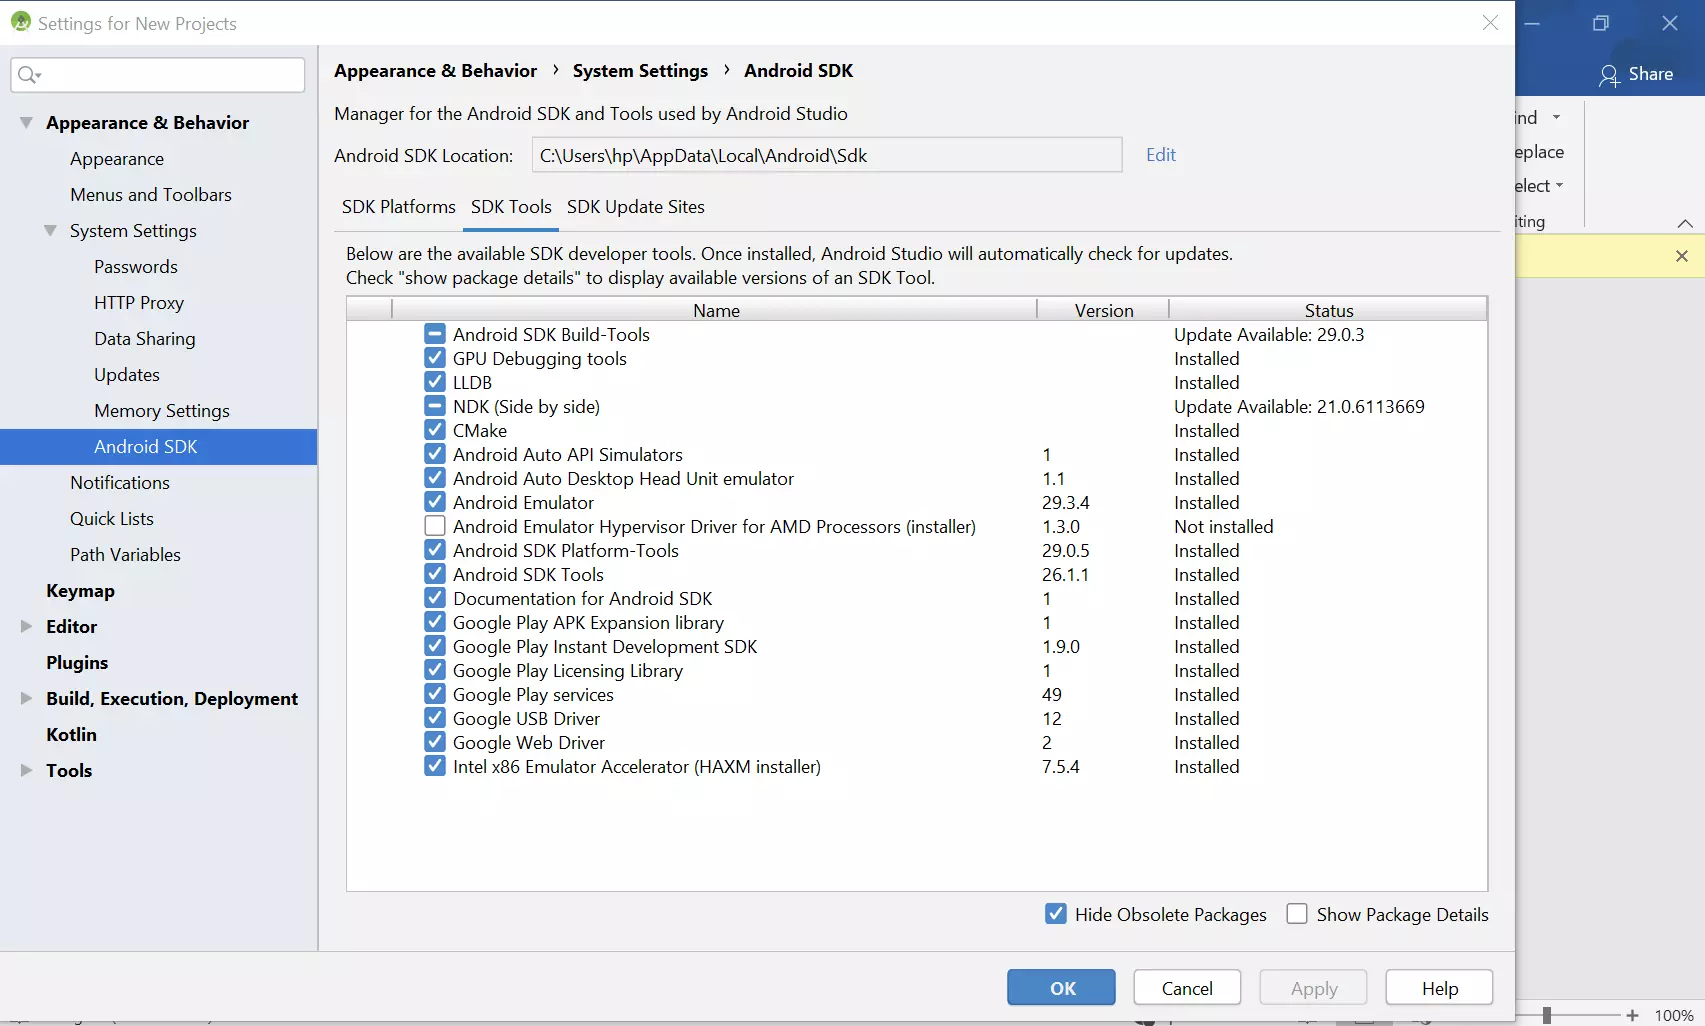
Check the Installation from SDK Manager. Install the packages accordingly.
Appium Installation:
Down load the latest Appium from the followed link:
- http://appium.io/downloads.html
Run the Appium Installer Application to Install the Appium Server.

Setting up Emulator:
Check the AVD Manager and SDK Manager. Click on the AVD Manager to Create and/or Start an Emulator
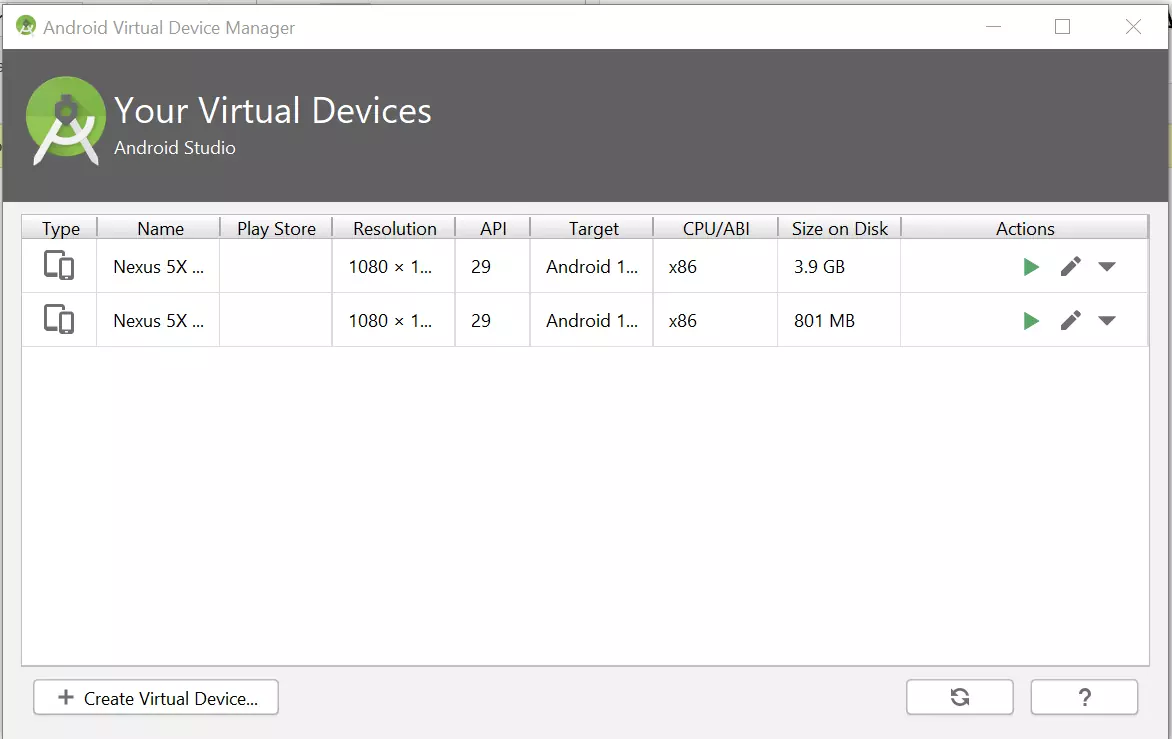
Click on Start after selecting an Emulator.
Post starting the Emulator from AVD Manager, the Emulator is displayed as follows :
Note: Starting the Emulator may be delayed based on the system configuration
Wait till the Device booting is completed and the Android home screen is displayed in the Emulator.
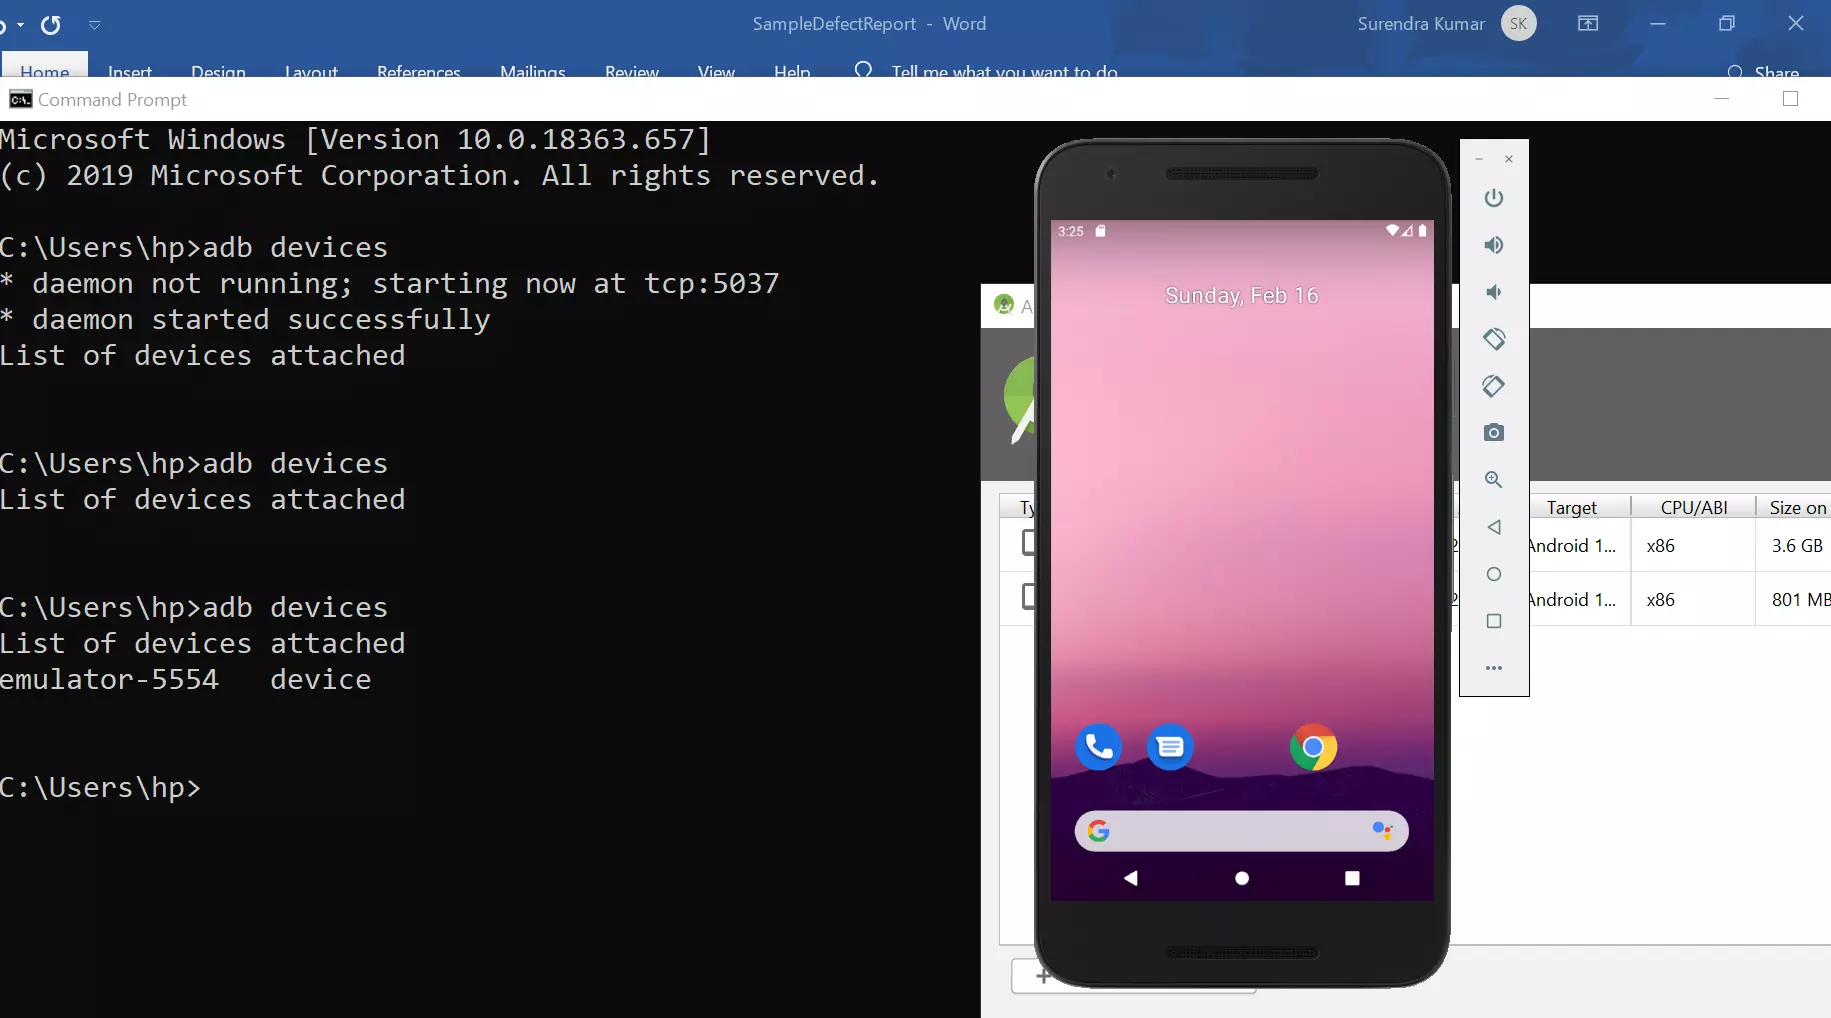
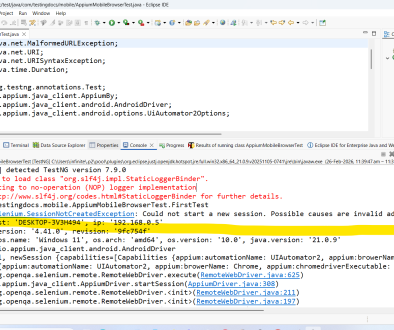
Check in the console if the device (Emulator) is listed by “ADB Devices” as follows :
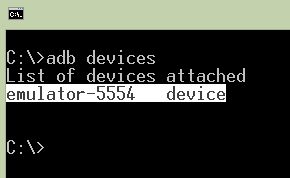
The Mobile Automation Setup is complete. You can start developing automation code using Android Studio.
Running a Sample test
Appium Tutorials
Appium Tutorials: