Install Notepad++ Editor on Windows 10
Introduction
In this post, we will learn the steps to install Notepad++ editor on Windows 10 platform. Notepad++ is an open-source and free source code editor tool. The tool supports many programming languages. It has many features and a very useful tool for testers in day-to-day activities.
Official Website of the tool: https://notepad-plus-plus.org/
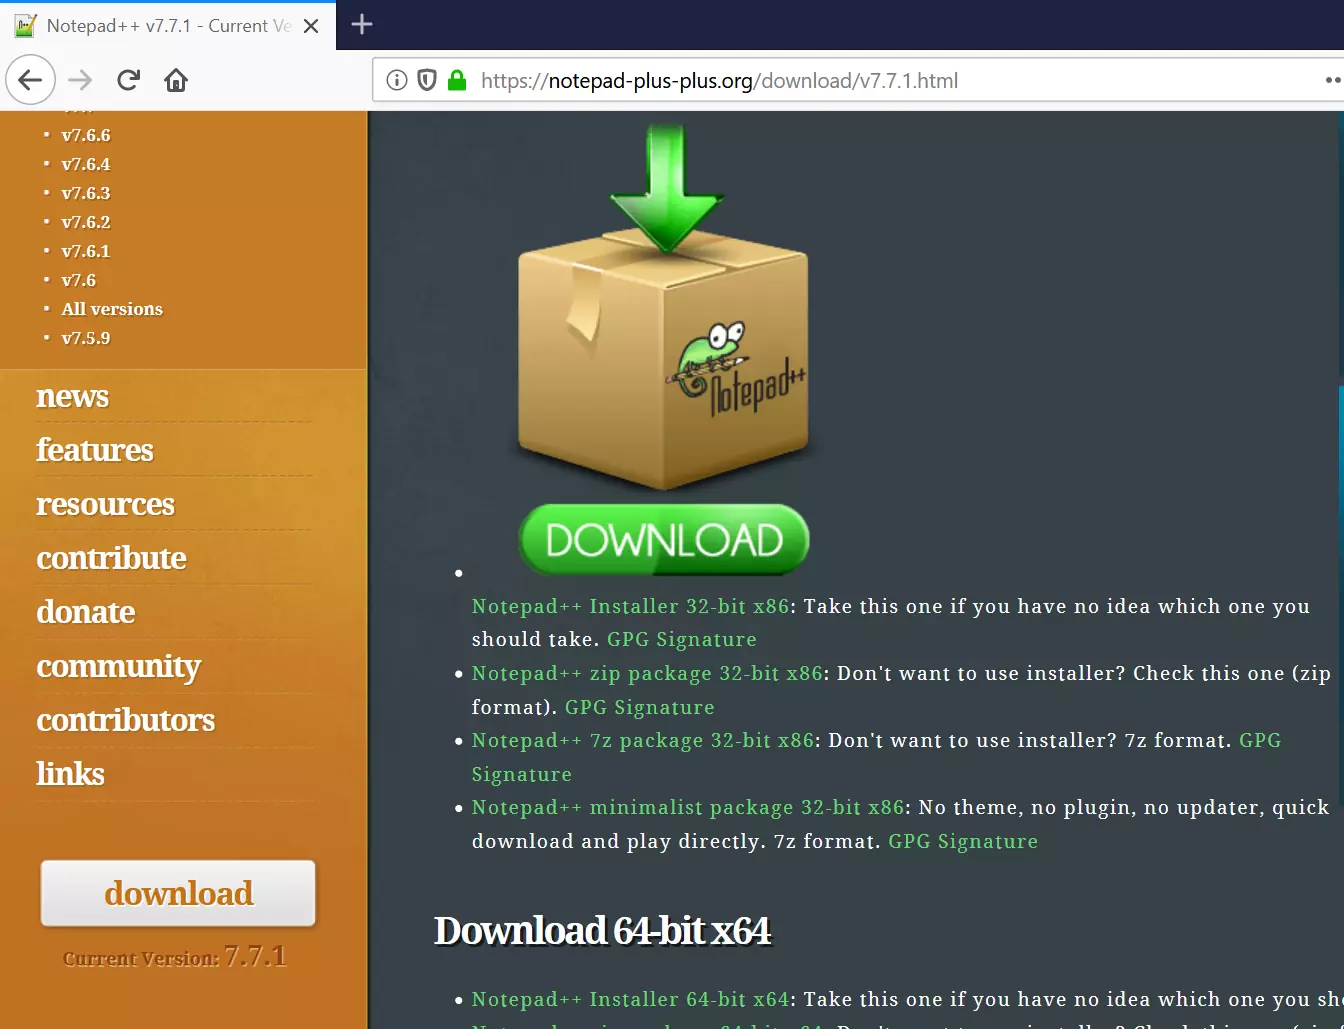
Download Notepad++ Editor
Navigate to the official website.
Click on the Download button.
Based on the machine architecture pick the 32-bit or 64-bit installer. Save the .exe file on to your computer. Modern computers are 64-bit architecture.
Install
Locate the file on the hard disk and double-click on the .exe file.
Click the Yes on the UAC elevation prompt. Non-administrators need to enter the administrator credentials.
Select the language.
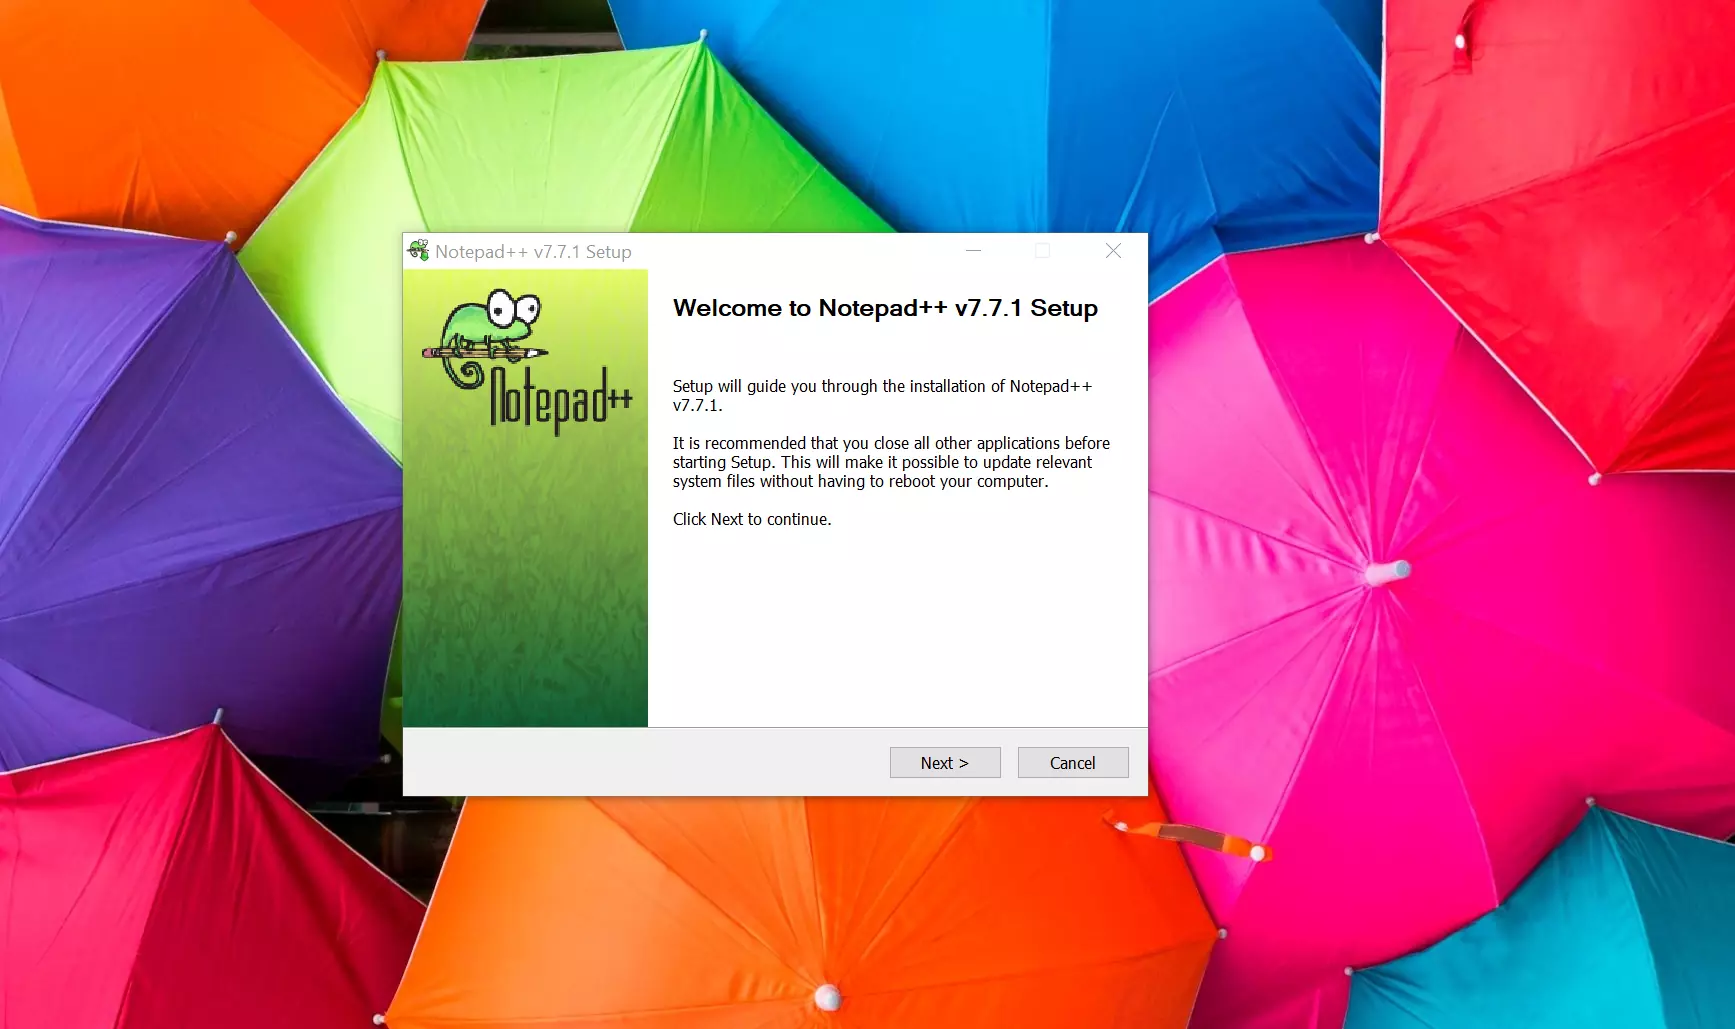
Click on the Next > button.
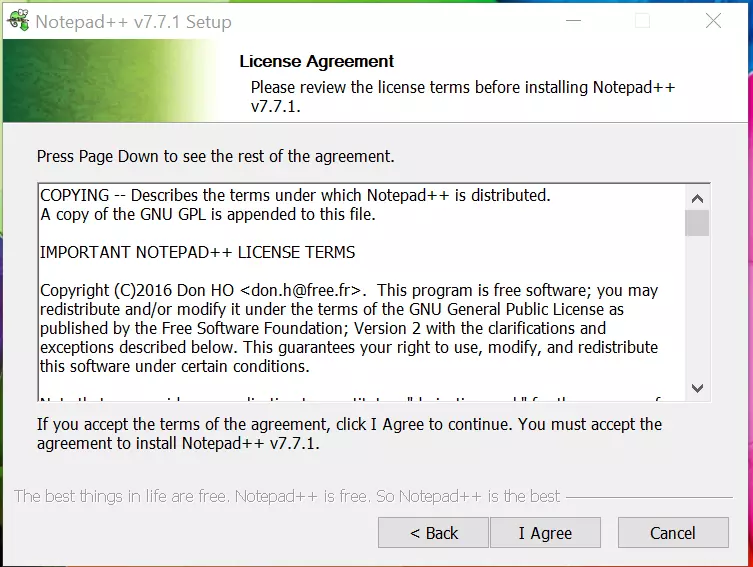
Read the License agreement and click on the ‘I agree’ button.
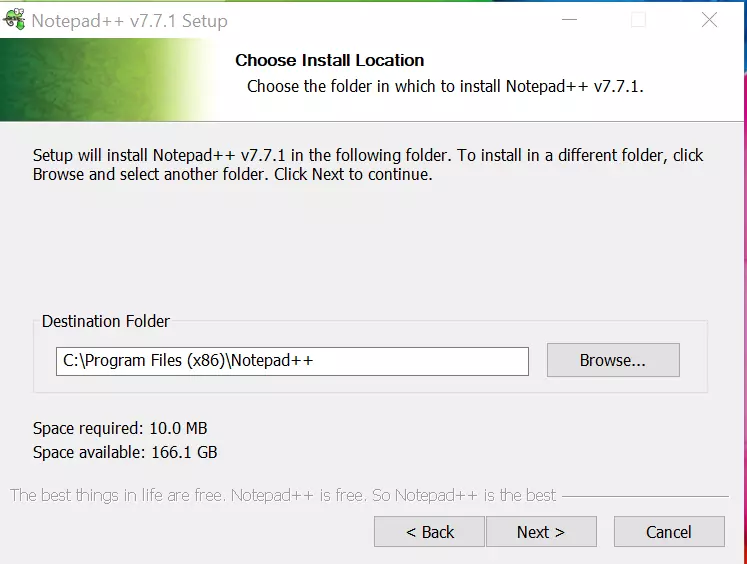
Choose the destination folder and click on the Next > button.
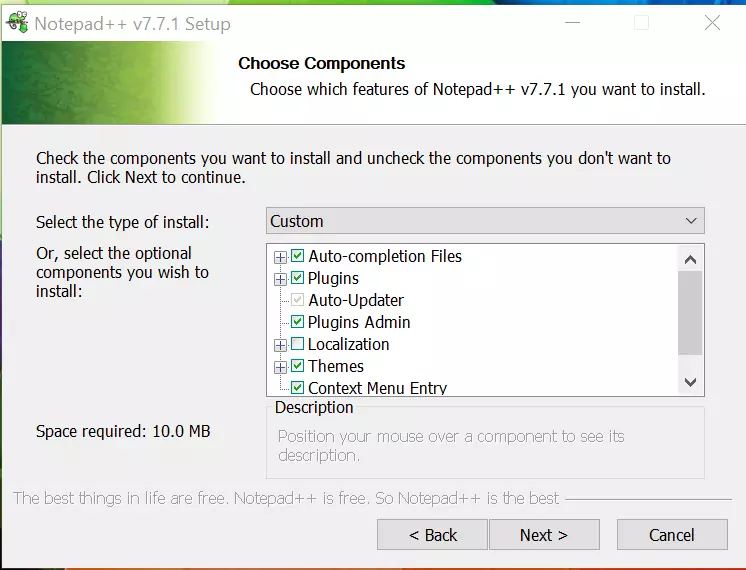
Choose the features and components and click on the Next > button.
Optionally, you can check to create a desktop icon.
Click on the Install button to install the tool.
Click on the Finish button to complete the installation.
Check the option Launch Notepad++ to start working with the Notepad++ editor.
That’s it. We have successfully installed the tool on Windows operating system.
Useful Tools
Other useful tools:
https://www.testingdocs.com/useful-tools-for-software-testers/
