Setup Python Virtual Environment
Setup Python Virtual Environment
In this tutorial, you will learn how to set up a Python virtual environment. Make sure you have Python installed on the computer. Python is a high-level, interpreted programming language known for its clear syntax and readability, making it beginner-friendly. It supports multiple programming paradigms (like object-oriented, functional, and procedural) and is widely used in web development, data analysis, AI, automation, etc.
Windows
- The steps for installing Python on Windows are outlined here.
Linux CentOS
- Steps to install Python on CentOS are detailed here.
Python Virtual Environment
A Python Virtual Environment is an isolated workspace that allows you to manage dependencies for different Python projects separately. It prevents conflicts between project requirements and system-wide Python packages.
Create a Virtual Environment
Steps to create a virtual environment are as follows:
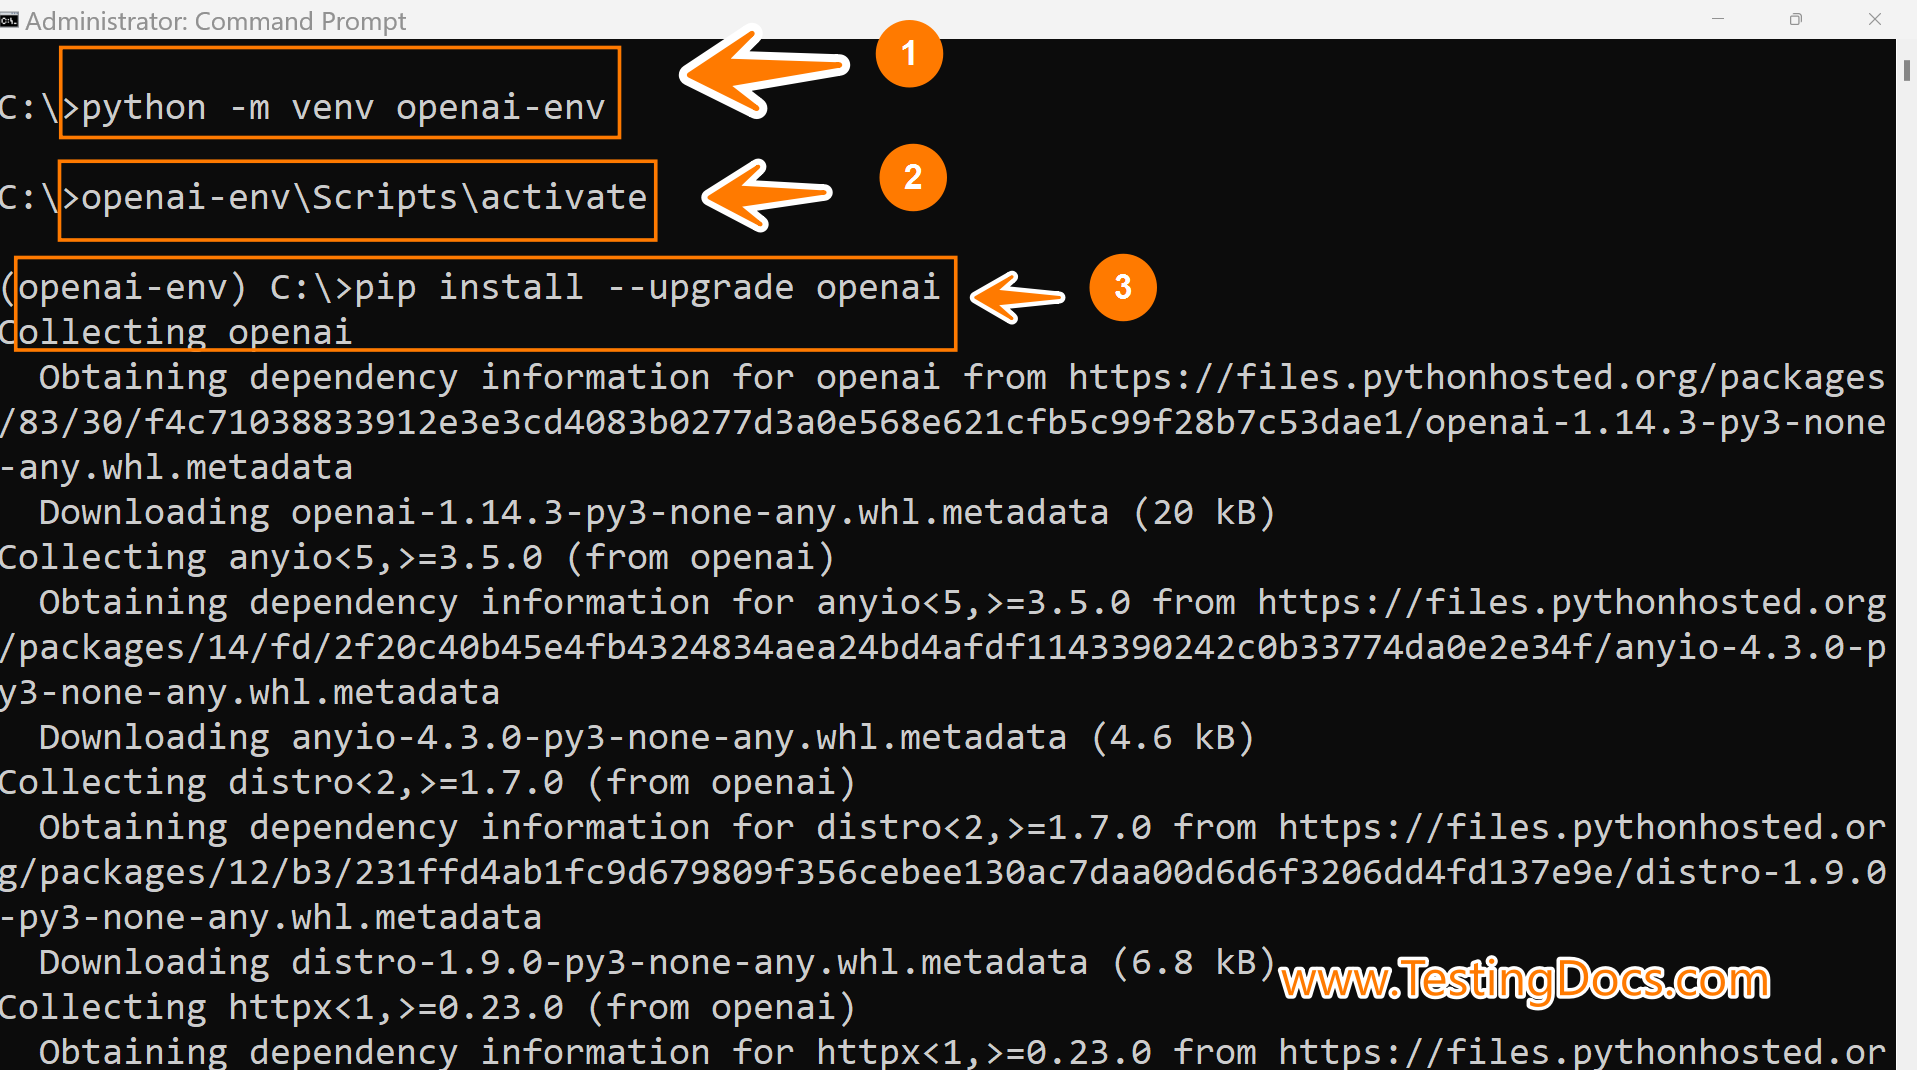
Run the following command to create a virtual environment named “openai-env” inside the current folder:
/> python -m venv openai-env
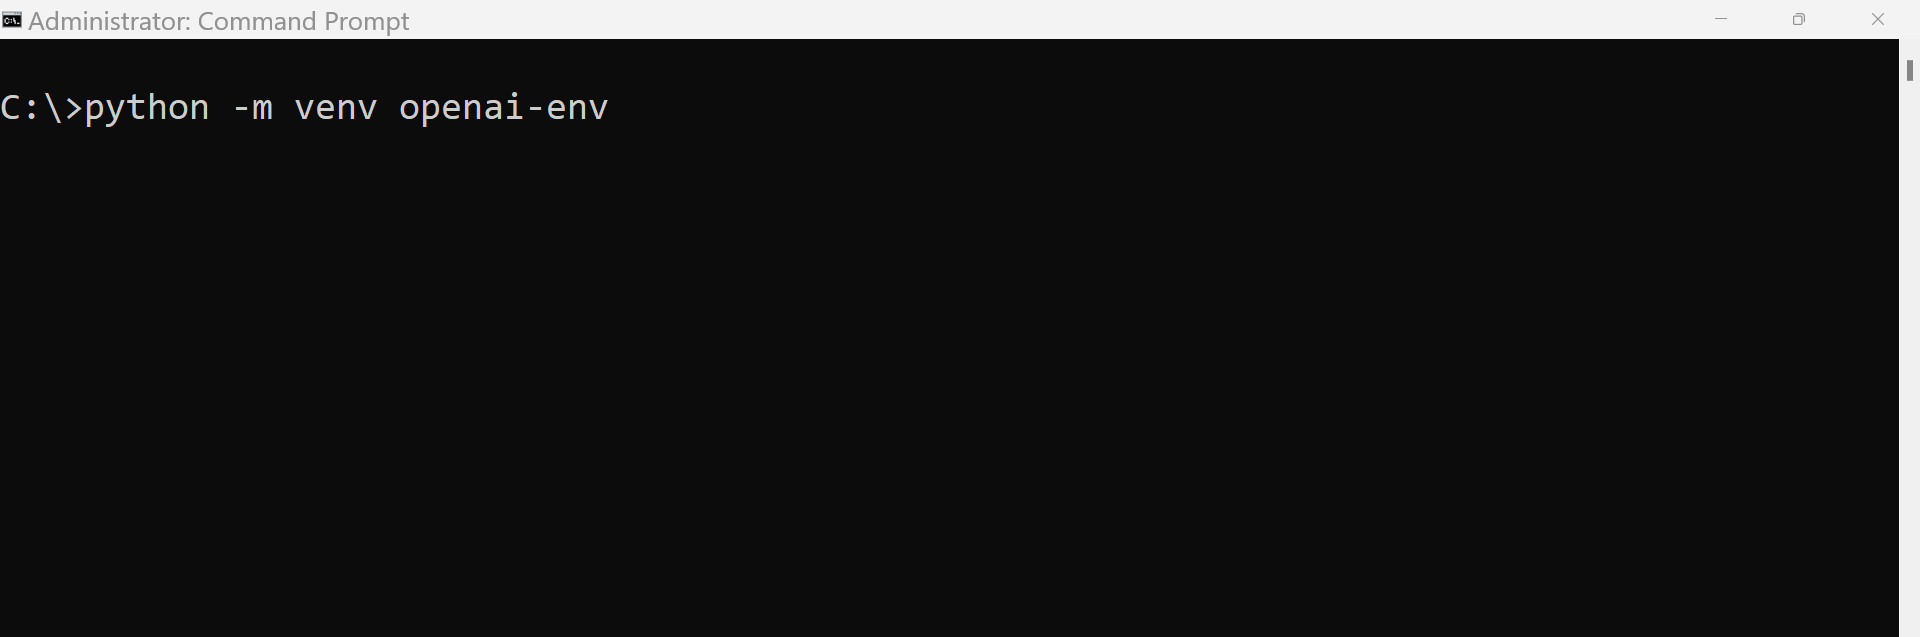
This command creates a directory ‘openai-env’ with its own Python interpreter and libraries isolated from the system’s Python.
Activate Virtual Environment
The next step is to activate the virtual environment. Run the following command to activate it:
Windows:
/> openai-env\Scripts\activate
CentOS Linux:
On CentOS Linux, it would be:
$ source /openai-env/bin/activate
Activating the virtual environment will change your shell’s prompt to show the environment name. The “openai-env” environment name should now appear to the left of the cursor.
(openai-env) />
Install Packages: Once activated, you can install packages into the virtual environment using pip. These packages will be local to the virtual environment and won’t affect the system-wide Python installation.
That’s it. You are done with the Python virtual environment setup on the computer.
Python Tutorials
Python Tutorial on this website can be found at: