Install PyCharm IDE
Install PyCharm IDE
In this tutorial, let’s see how to install PyCharm IDE for Python code development. JetBrains PyCharm is a full-featured IDE for Python & Web development. It’s lightweight and best suited for Python and Scientific development. It is a great IDE to try out if we want to work on a project containing multiple scripts interacting with each other.
PyCharm Editions
The IDE supports multiple operating systems like Windows, Linux, and Mac. PyCharm supports two editions:
- PyCharm Professional Edition
- PyCharm Community Edition
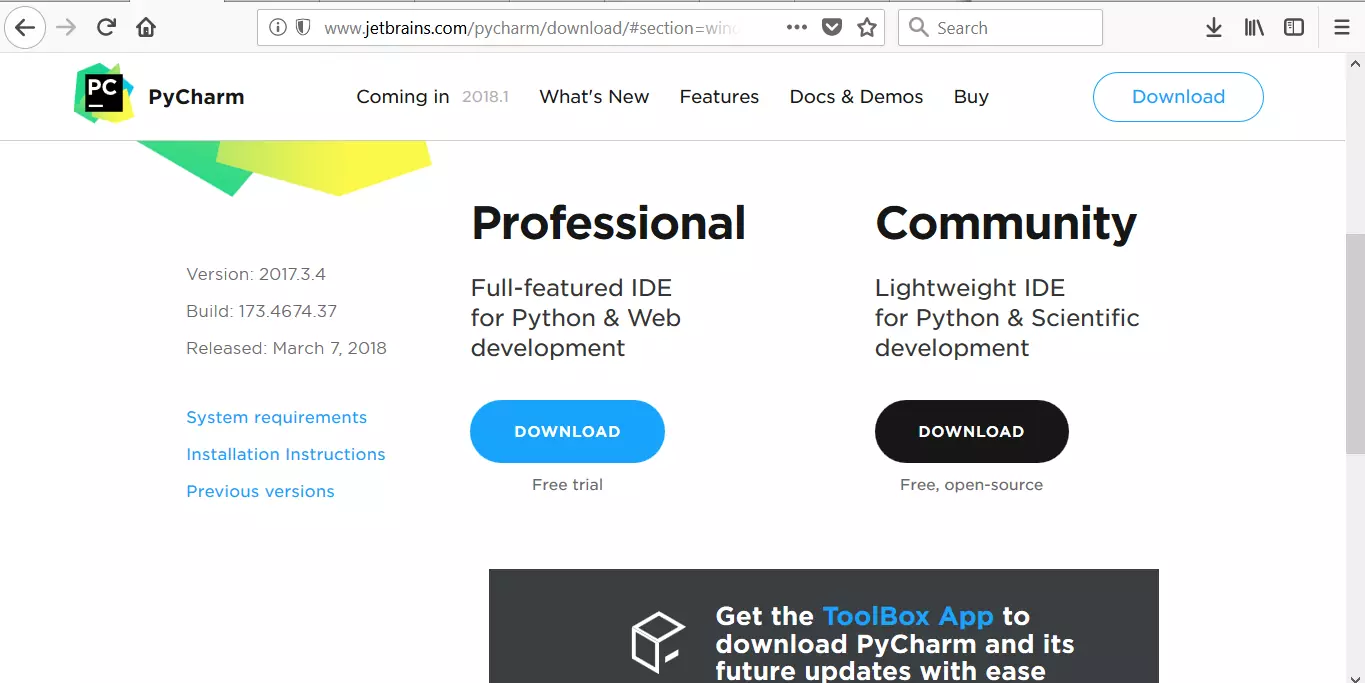
The Community Edition is free and open-source but has fewer features. The Professional Edition is commercial but provides outstanding tools and features. The professional edition is free for a 30-day trial, allowing us to try the IDE.
To learn more about PyCharm, you can visit the following URL:
- http://www.jetbrains.com/pycharm/
System requirements
- 1 GB RAM minimum, 2 GB RAM recommended
- 1024×768 minimum screen resolution
JRE 1.8 is bundled with distributions for all platforms. You don’t need Java installed on your machine to run PyCharm.
Download PyCharm
To download, visit the following URL:
- http://www.jetbrains.com/pycharm/download
Click on the download button to download the respective IDE installer. The download installer file format would be:
pycharm-community-<version>.exe
Install PyCharm
Click on the downloaded installer and follow the Installer wizard steps. On the Windows operating system, you can run the exe file you downloaded and follow the instructions of the PyCharm Setup wizard.
Accept the UAC elevation prompt dialog. Some important install options are to create a desktop icon, choose install location, and Python file associations( *.py)
IDE UI Theme
Select the IDE UI Theme.
- Light theme – IntelliJ
- Dart Theme – Darcula
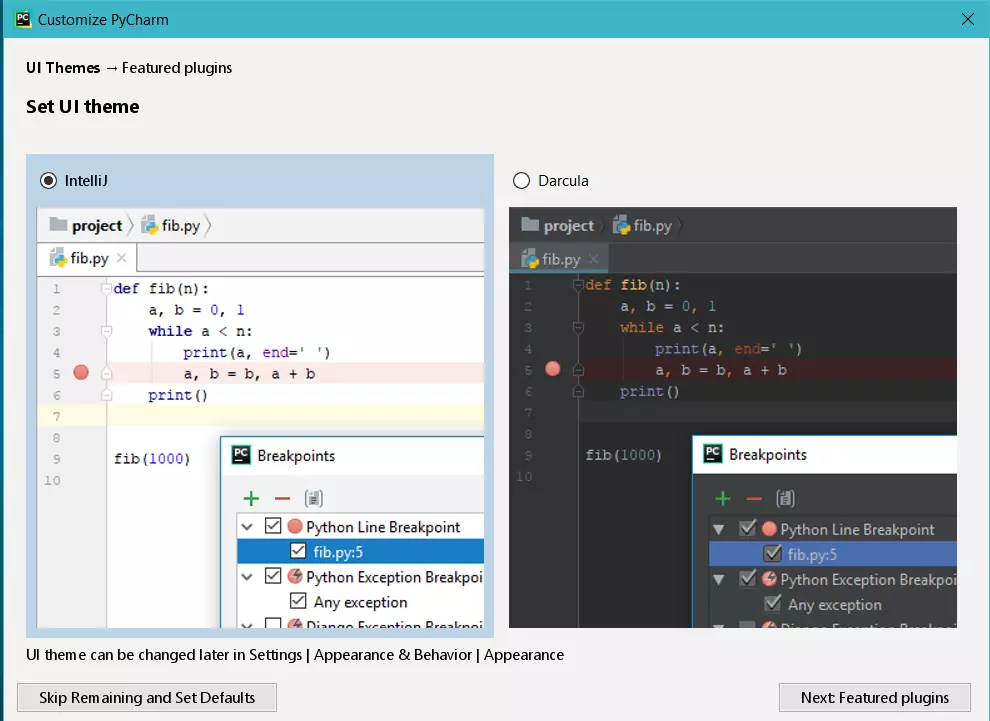
Once done, you can launch the IDE by double-clicking on the desktop icon. This will launch the IDE window.
—
Python Tutorials
Python Tutorial on this website can be found at:
