Setup Python on Windows 7
Setup Python on Windows
Let’s set up Python on Windows 7. This guide will help you through the process. Setting up a Python environment involves the following steps.
- Check install
- Download Python
- Install Python
- Verify Install
Check Python
Open Command Prompt.
Type python and press Enter.
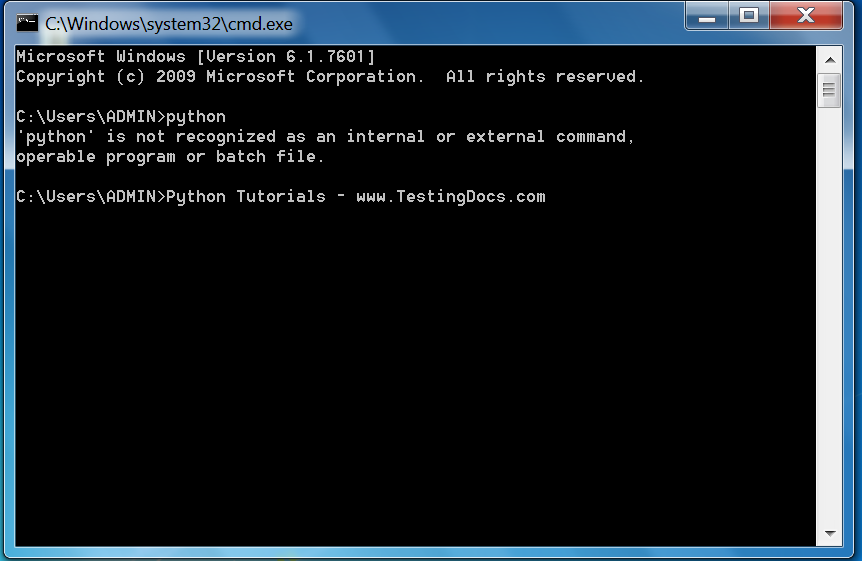
If you encounter ‘python is not recognized as an internal or external command’, then Python is not installed on the machine.
Download Python
Go to the official Python website:
python.org.
Navigate to the Downloads section. Download the installer for Windows—for example, python-2.x.msi. Always check the system requirements for the Python version you are downloading.
Install Python
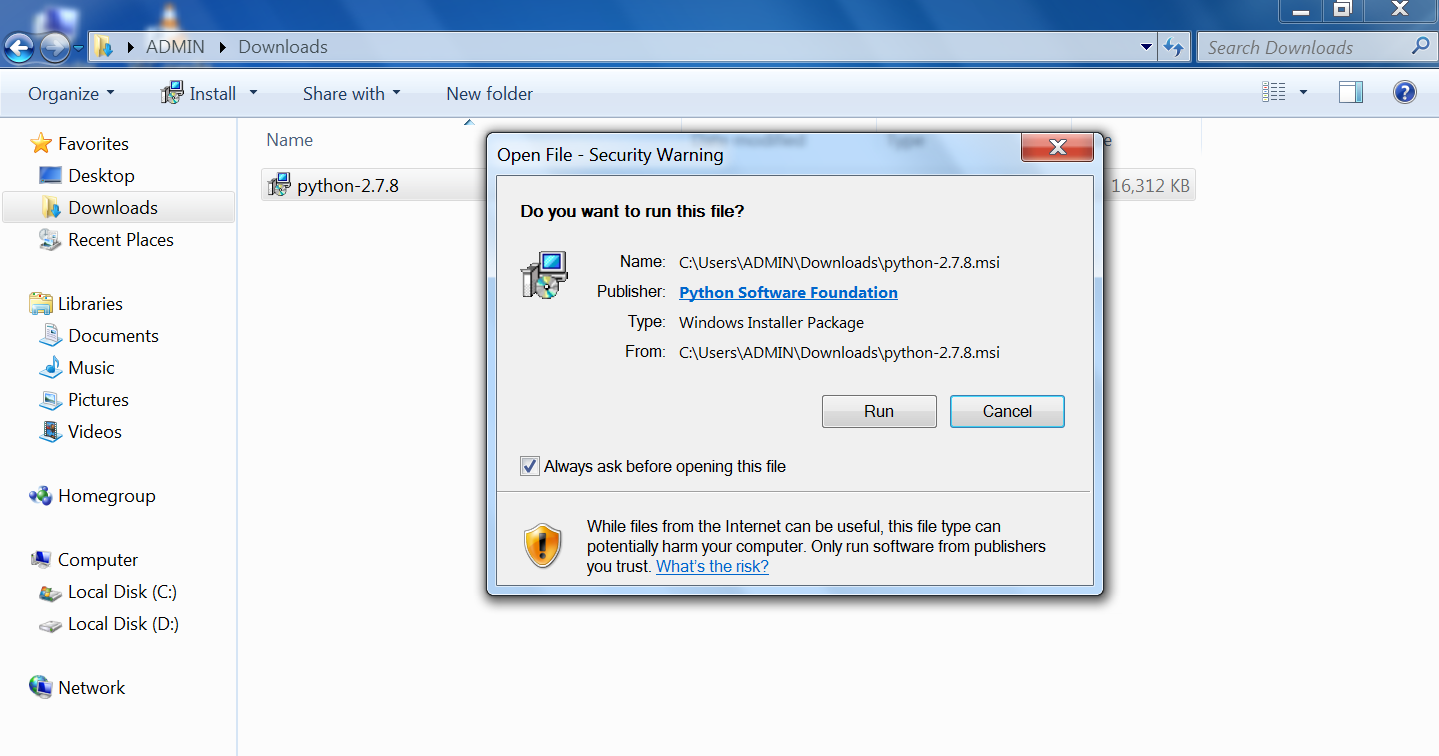
Double-click on the installer file to Run the downloaded installer. Click on the Run button.
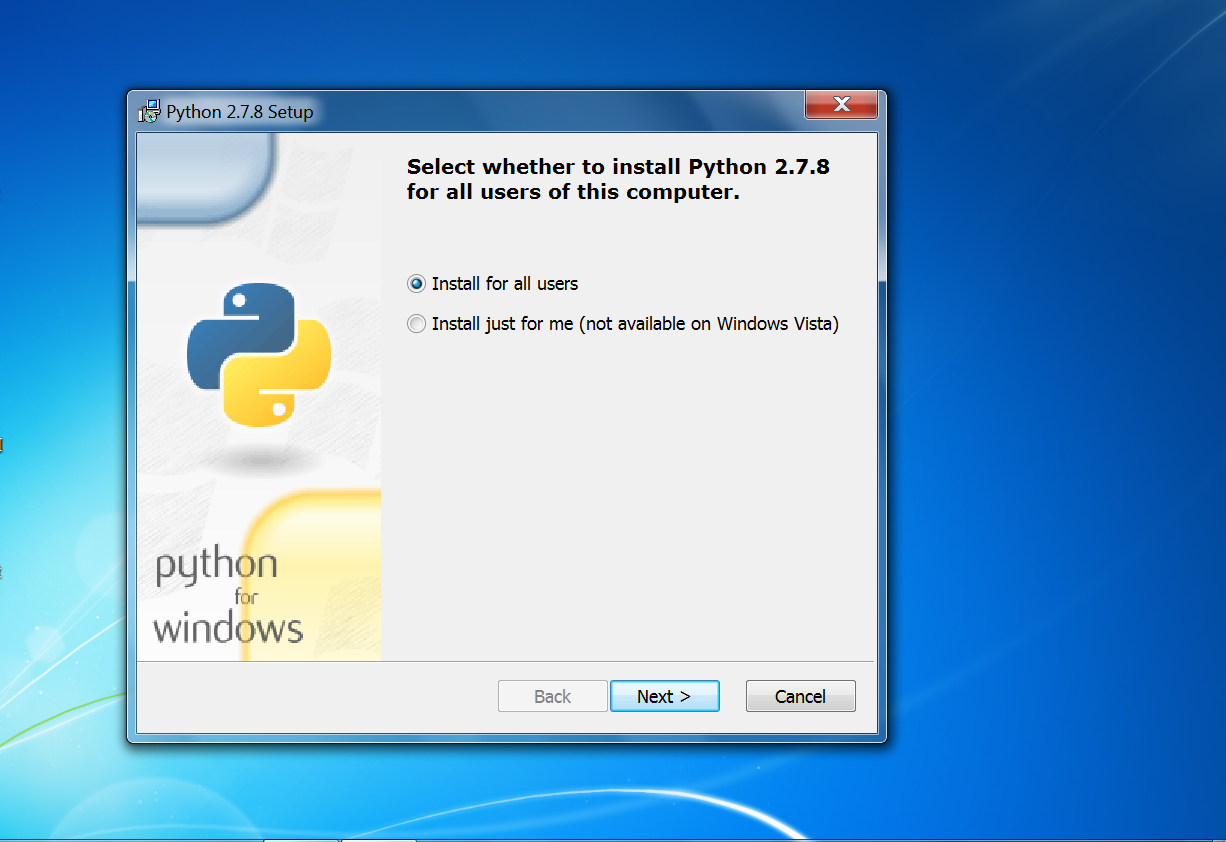
Select whether to install Python for all users. Click on the Next > button.
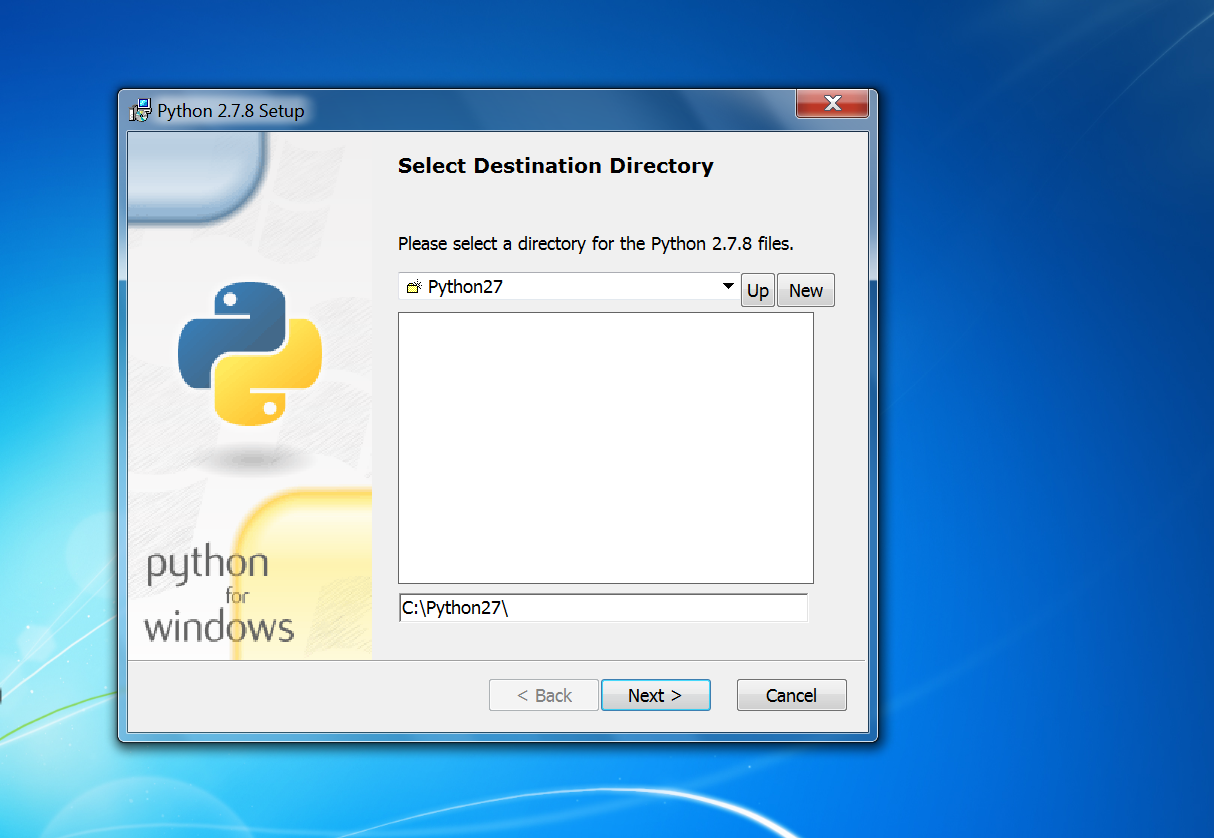
Select the install folder. Click on the Next > button.
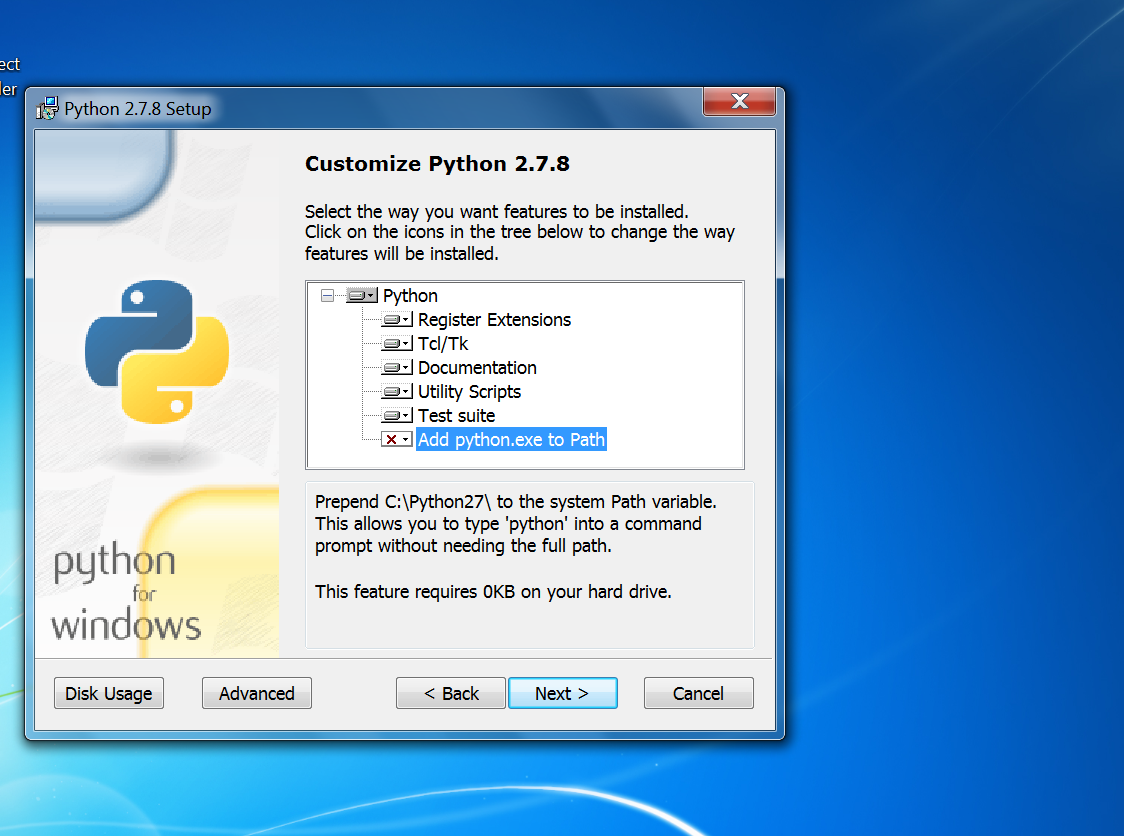
Select the features to be installed. It’s recommended that all the components are selected.
Add python.exe to the PATH variable. Click on the Next > button.
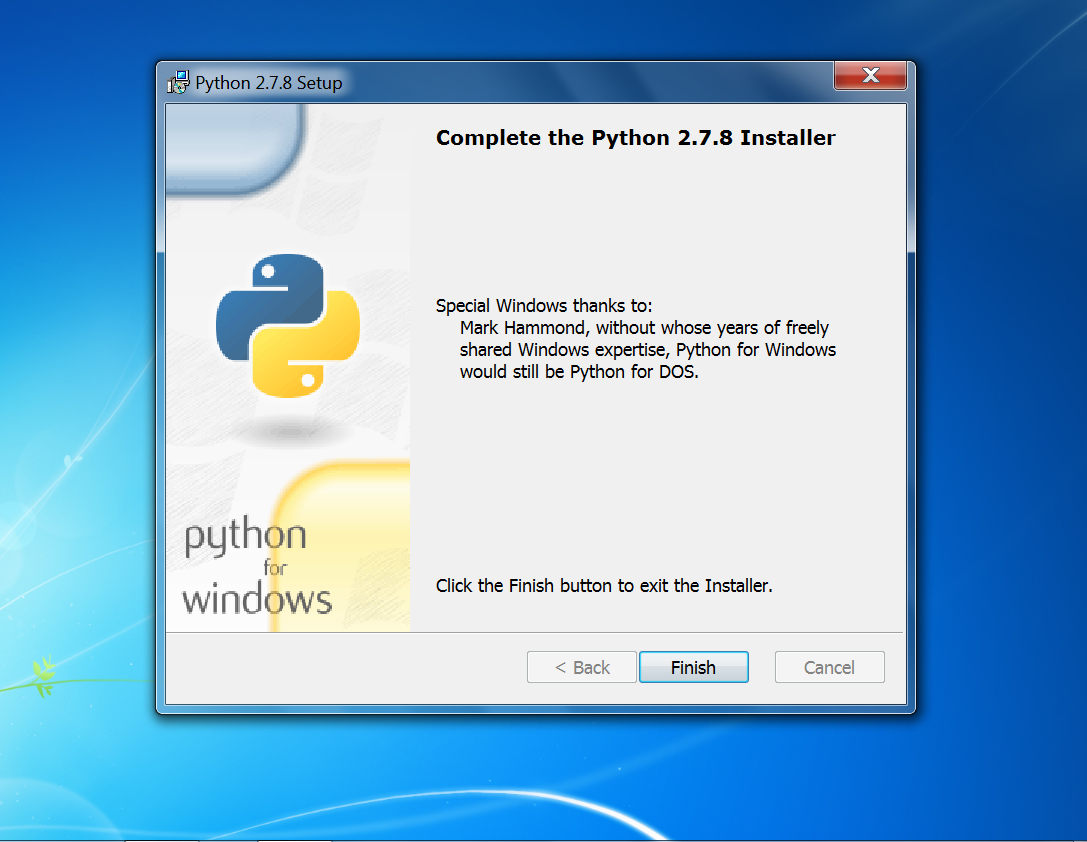
Click on the Finish button to complete the Python installation.
Verify Install
Open Command Prompt.
Type python –version and press Enter. This should display the Python version if it were installed correctly.
Note that Windows 7 is an older operating system, and Microsoft has ended support for Windows 7, which means it no longer receives security updates, making it vulnerable to security risks.
Steps to install Python on the Windows 11 version can be found here.
—
Python Tutorials
Python Tutorial on this website can be found at:
https://www.testingdocs.com/python-tutorials/
More information on Python is available at the official website:


