Install Docker Desktop on Windows
Install Docker Desktop on Windows
In this tutorial, we will go through the steps of downloading Docker Desktop on Windows. The environment is Windows 10 operating system.
Check system requirements
- Windows 10/ 11 64-bit.
- Enable Virtualization in BIOS/UEFI settings.
- Hyper-V and Containers Windows features need to be enabled.
Download Docker
Log in to Docker Hub with your Docker id.

Click on the button Get Started with Docker Desktop button.
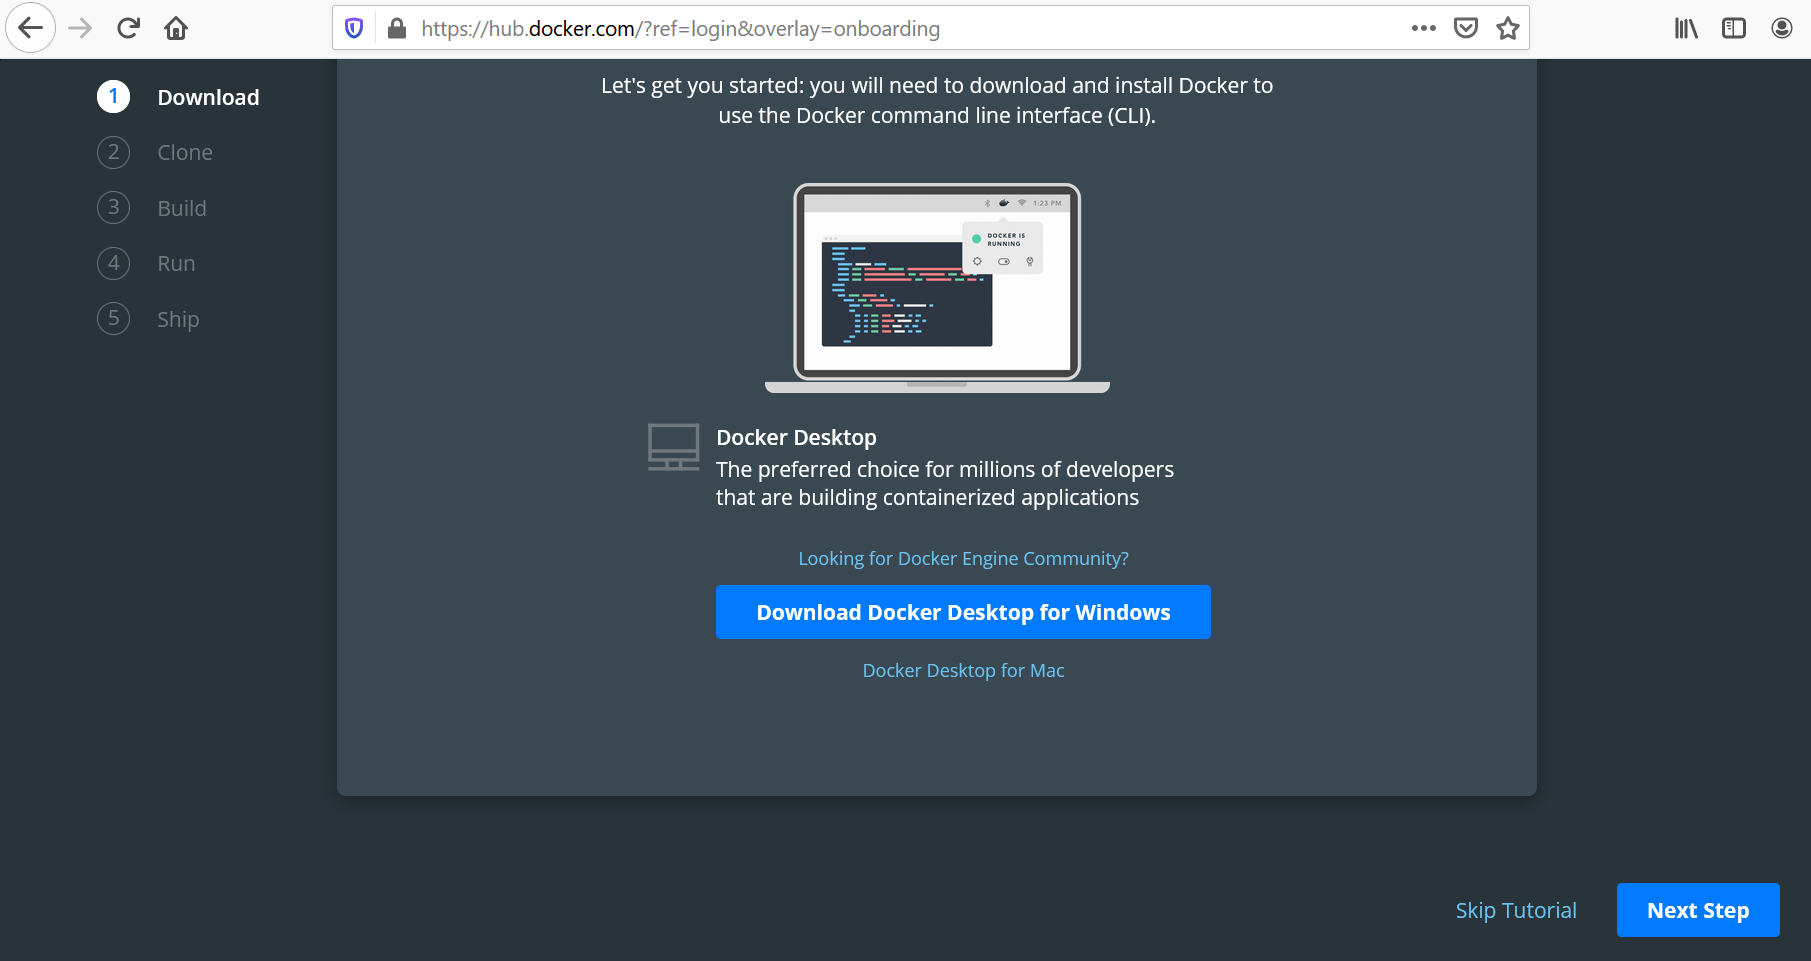
Click on the Download Docker Desktop for the Windows button to Download the tool.
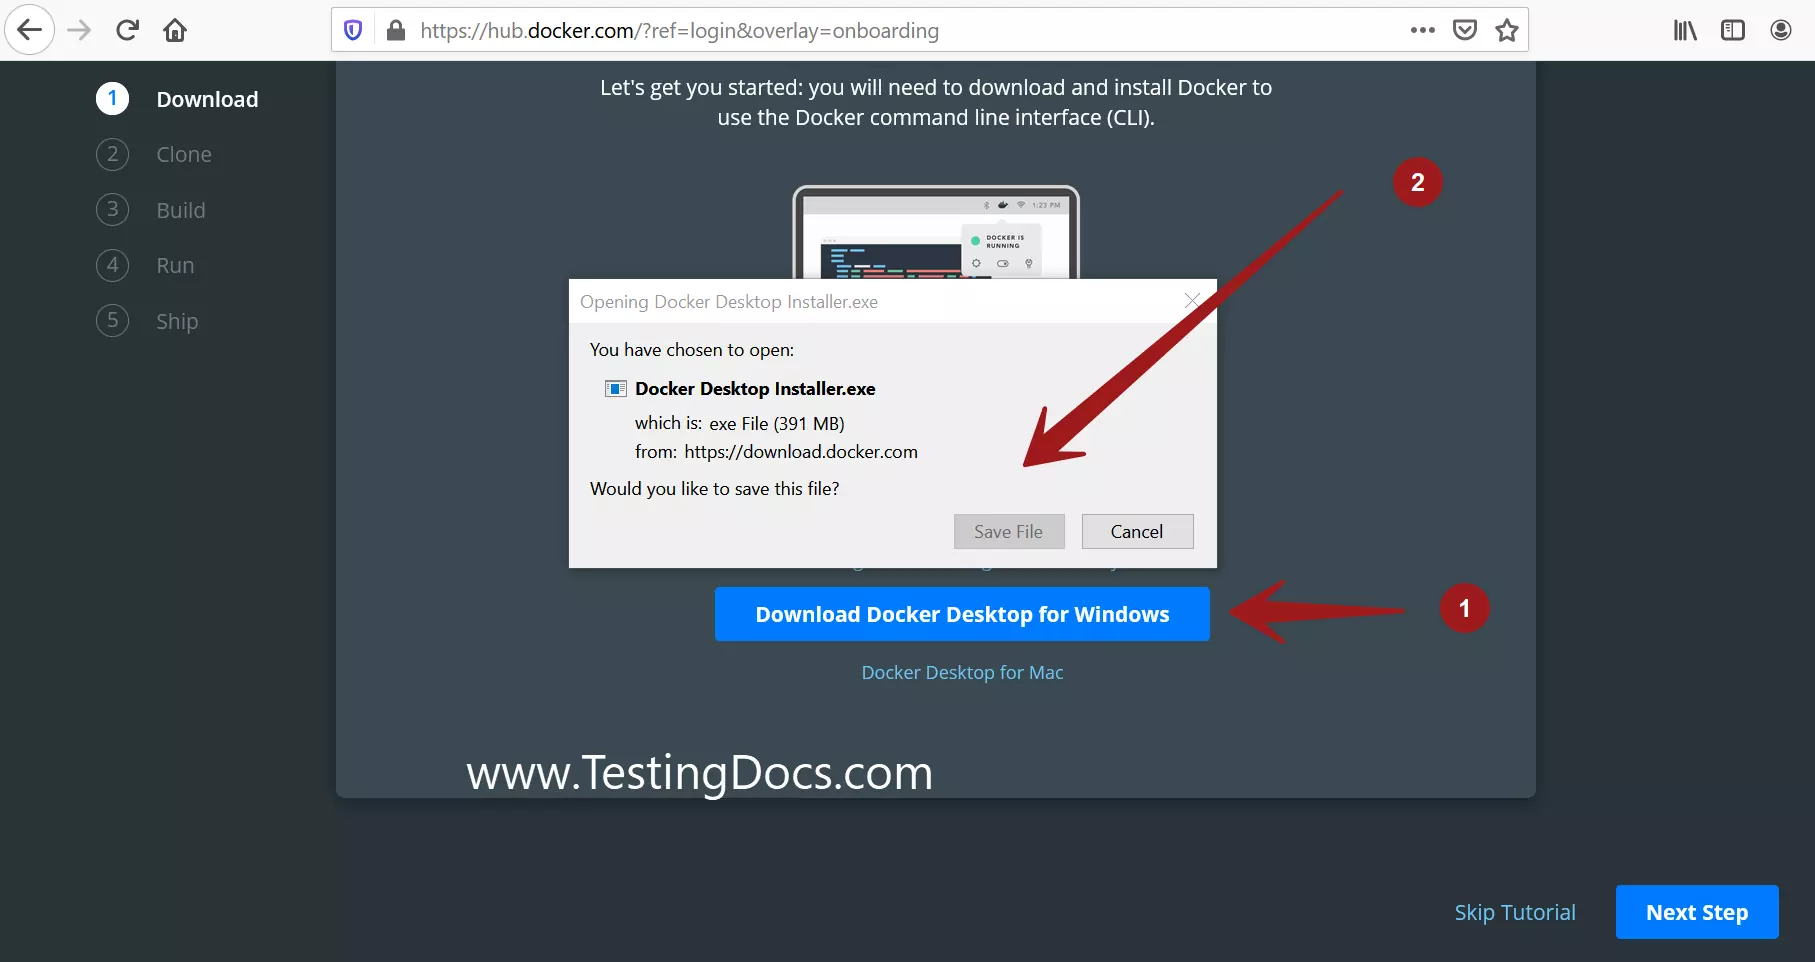
Install Docker Desktop
Double-click on the download entry for the Docker Desktop Installer.exe to install it on your computer.
Otherwise, locate the Docker Desktop Installer.exe on the computer. Generally, you will find it in the Downloads folder, and double-click on it to install.
Follow the install wizard steps to install the tool on your computer.
Start Docker Desktop
After the installation is complete, the Docker Desktop should start automatically. If not, search for “Docker Desktop” in the Start menu and launch it. It may take a few minutes for Docker to initialize.
Configure Docker
You may need to sign in with your Docker Hub account (or create a new one if you don’t have one). Once Docker is running, you should see the Docker icon in your taskbar.
Verify Installation
Open a Command Prompt or PowerShell window.
Run the following command to check if Docker is installed correctly:
/> docker –version
You should see the Docker version printed in the terminal.
Run Docker
You can now start using Docker. To test it, run a basic Docker command like:
/> docker run hello-world
This will download and run a sample Docker container to verify everything is working.