Install Visual Source Code on Windows
Install Visual Source Code on Windows
In this post, we will learn how to install Visual Source Code IDE on Windows machine.VS Code IDE, in short, is a free and open-source editor. It has many features like integrated Git, debugging and plugins/extensions to help you with coding. VSCode comes with built-in support for JavaScript, Node.js etc and has a rich ecosystem of extensions for other languages like C++, C#, Java, Python, etc.
It is available on many platforms, such as Windows, Linux, and Mac. However, in this post, I will focus on the Windows 10 operating system.
Download Visual Source Code
Open a web browser and navigate to
- https://code.visualstudio.com/Download
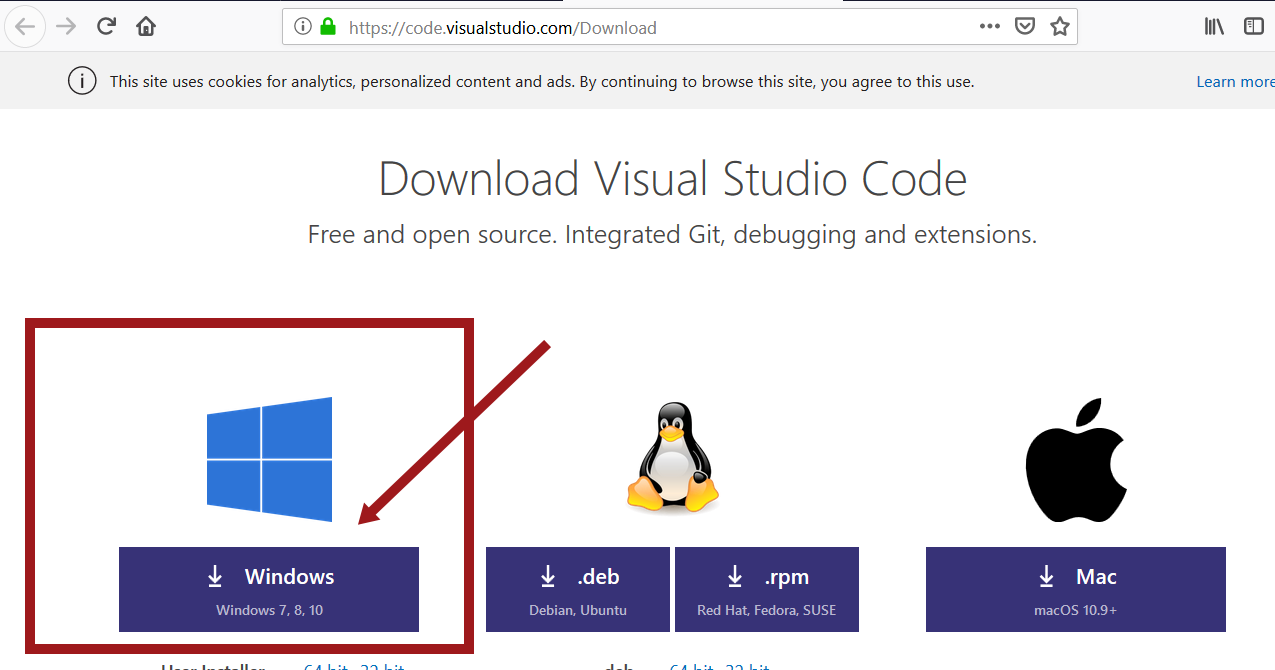
Choose Windows, and depending on your machine type, choose either 32-bit or 64-bit installer.
32bit or 64bit
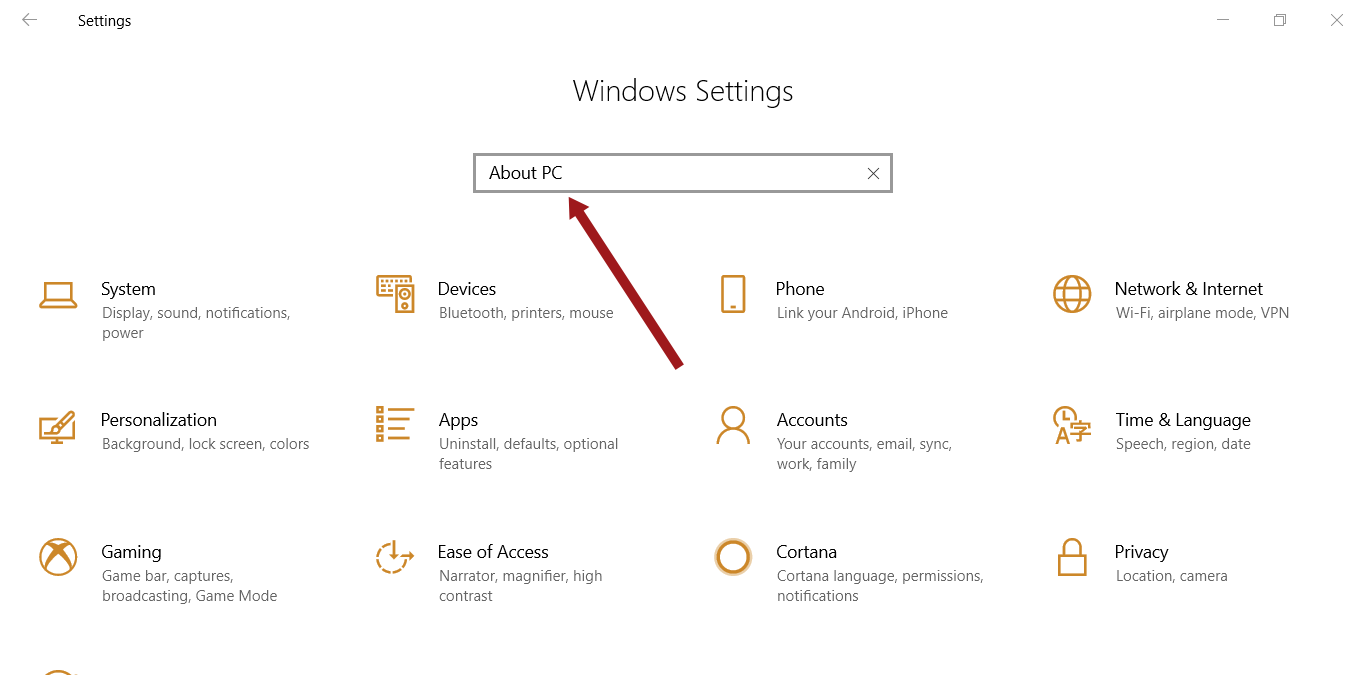
To know your machine type on Windows 10
Navigate to Start menu >> click on the Settings icon
Type ‘About your PC’ in the search bar.
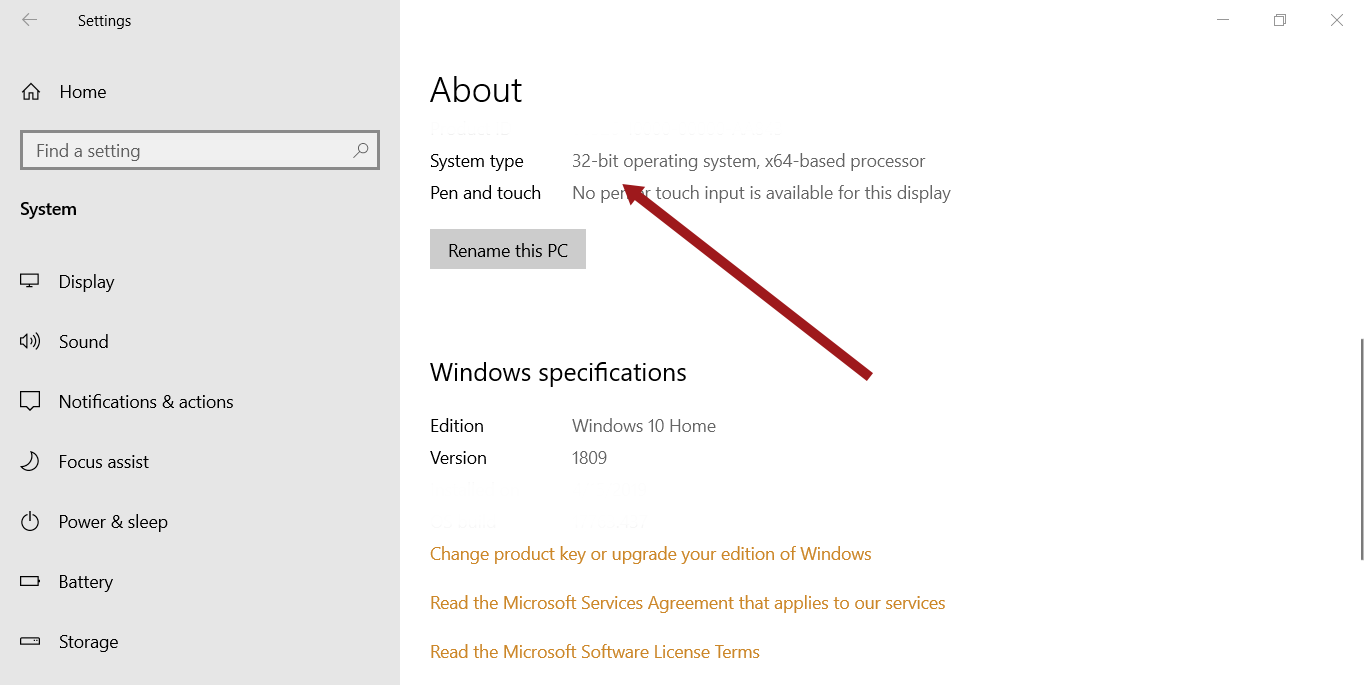
Check System type for 32 bit or 64-bit operating system.
Download the VSCodeSetup<version>.exe file.
Install Visual Source Code
Double-click on the installer and go through the wizard screens by clicking on the Next button.
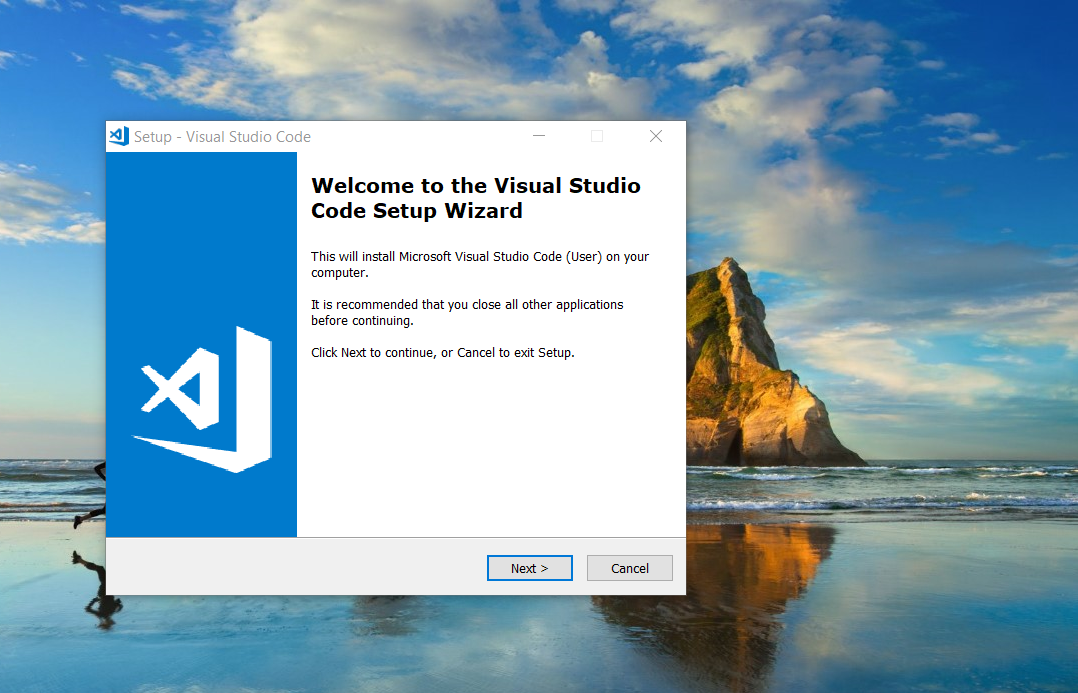
Install Wizard
The next screen contains the license agreement. Read and Accept the agreement, then click on the Next button.
Choose the folder to install the IDE and click on the next button.
The next options are to create a Start menu folder, desktop icon, and file associations.
Choose the default options and click on the ‘Install’ button to install the IDE.
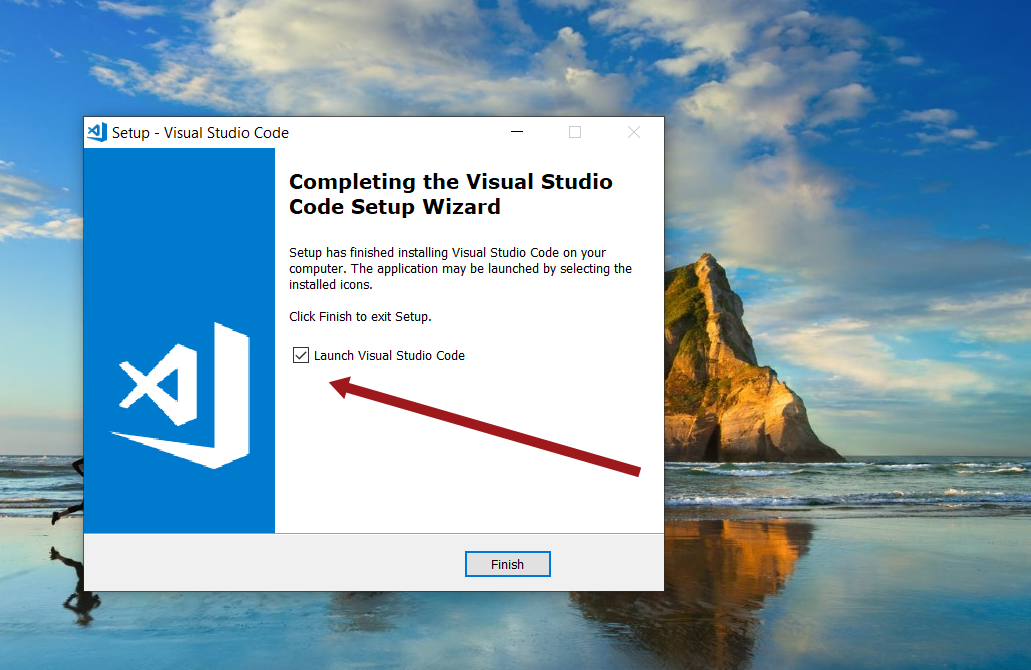
On successful installation, check the box ‘Launch Visual Studio Code’ option and click the Finish button.
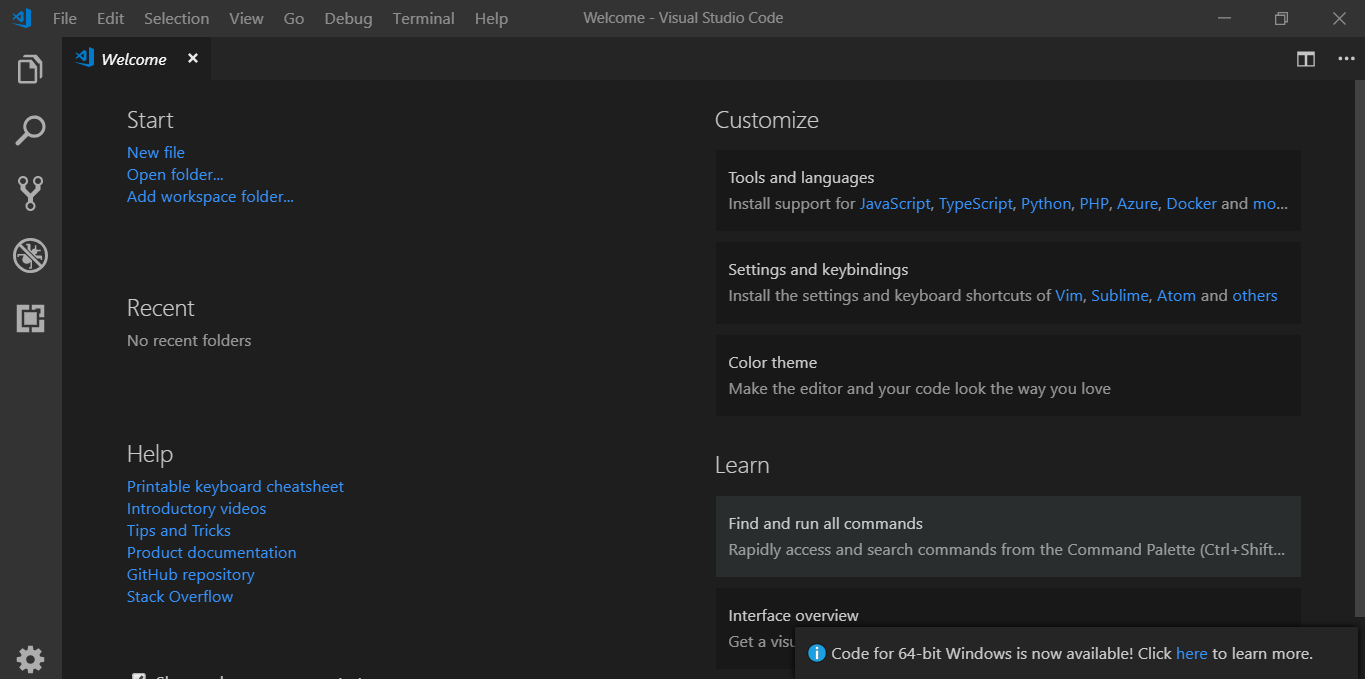
Welcome Screen
You can start exploring and beginning your journey with VS Code IDE. The Welcome screen contains some useful links.