Selenium Hub and Nodes
Selenium Hub and Nodes
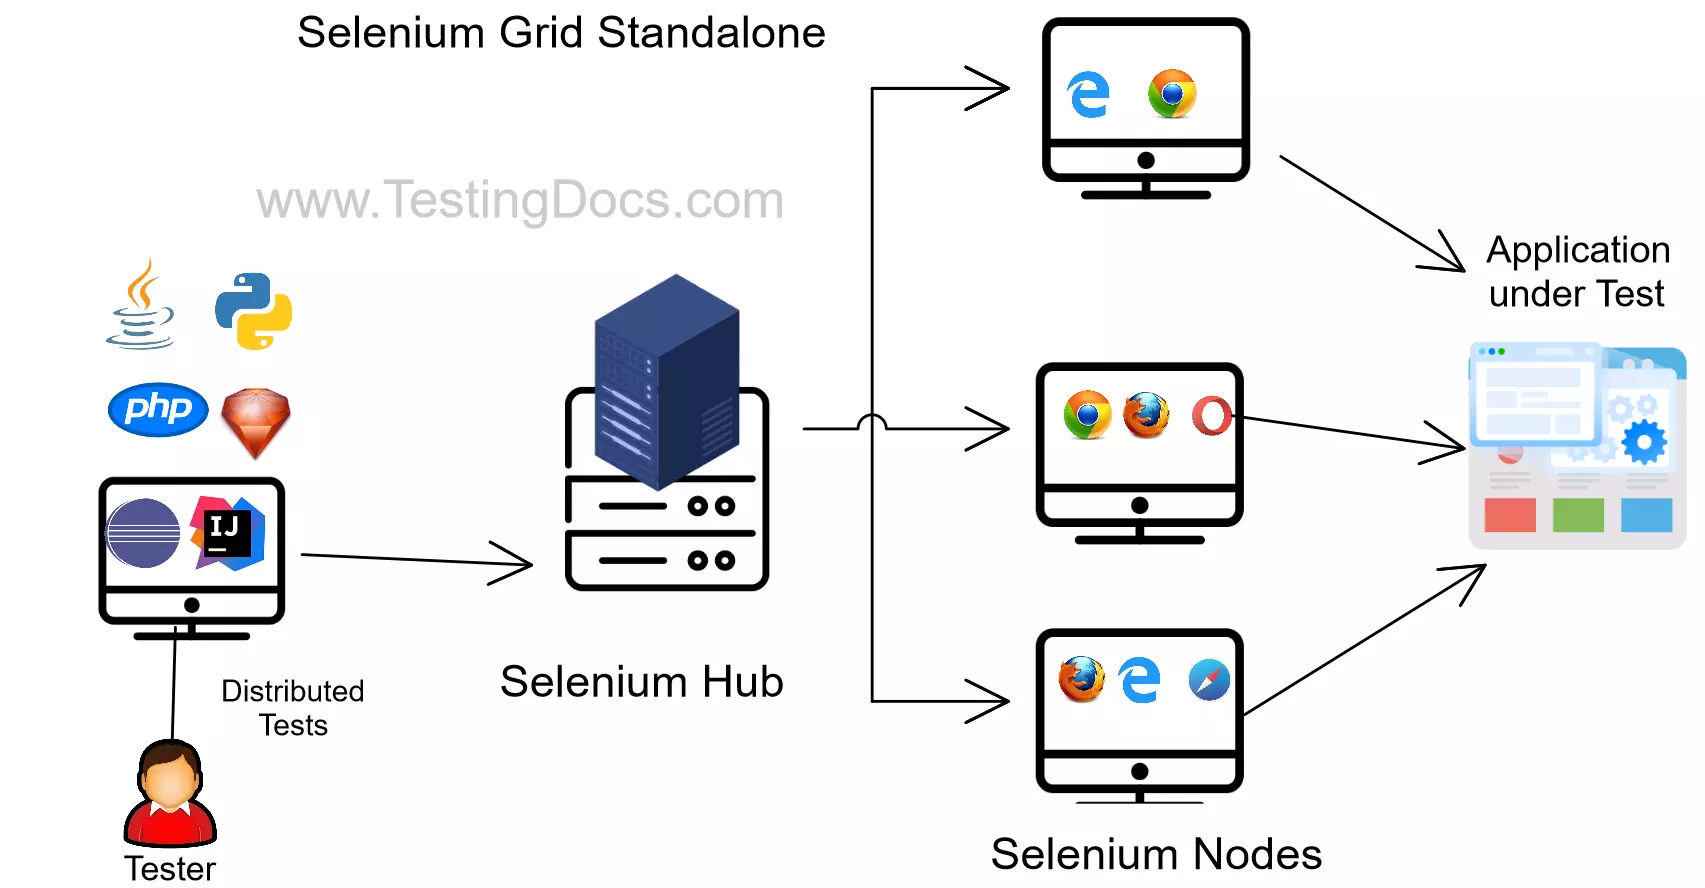
In this post, we will discuss the hub and node configuration with Selenium Grid ( Get Started with Selenium Grid). Also, we will see sample command line commands to start the hub and register nodes. Furthermore, I have used the Windows 10 operating system and Selenium server 2.53.1 version and localhost.
First of all, to set up the Selenium grid we need Selenium Server. We can download the server jar file from Selenium’s official website here:
http://www.seleniumhq.org/download/
Tip: Always download the latest version, the latest version would have bug fixes and enhancements.
Selenium Hub
To start the hub, open the command prompt and navigate to the location where you have a jar file. We can start it by using the following command.
/> java -jar selenium-server-standalone-<<version>>.jar -role hub
After you have run the above command, it will start. Also, you should see a success message that it has started successfully. Also, it runs at a default port 4444. Furthermore, you can check the status in the browser by typing the URL:
http://localhost:4444/grid/console.
Selenium Nodes
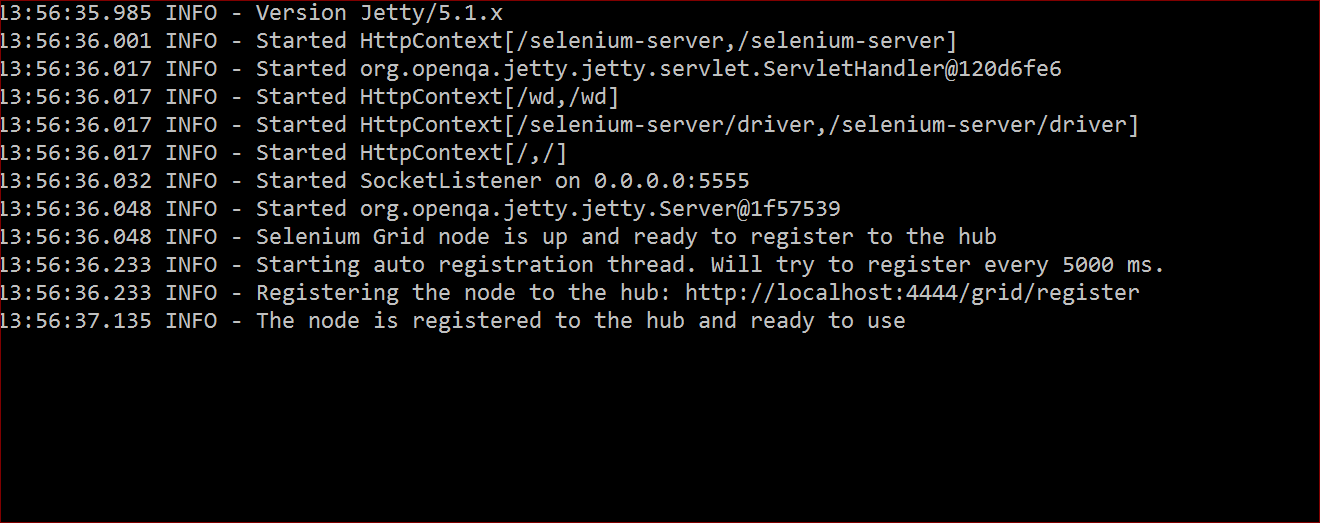
Now, we will register a node. To do that, open another new command prompt window and navigate to the location where you have jar file. Type the below command to register a node.
/> java -jar selenium-server-standalone-<<version>>.jar -role node -hub http://localhost:4444/grid/register
As a result, to check the node status, visit http://localhost:4444/grid/console in the browser.
In addition, we can also customize the browsers and the no of instances we need for testing. For example, If we want to launch 2 Firefox and 2 Internet Explorer instances for testing.
Below is the command to customize the instances.
/> java -jar selenium-server-standalone-2.53.1.jar -role node -hub http://localhost:4444/grid/register -port 5555 -browser browserName=firefox,maxInstances=2 -browser browserName=iexplorer,maxInstances=2

Since we have customized it, we can notice in the above figure that 2 Firefox browser instances and 2 Internet Explorer instances are registered with the node. Also, notice that we can choose the port number for the node. In addition, if we want to start browser instances at port 5557 we can specify that in the above command.
Run a test
https://www.testingdocs.com/running-test-using-remotewebdriver-with-marionette/


