Jenkins Configuration
Jenkins Configuration
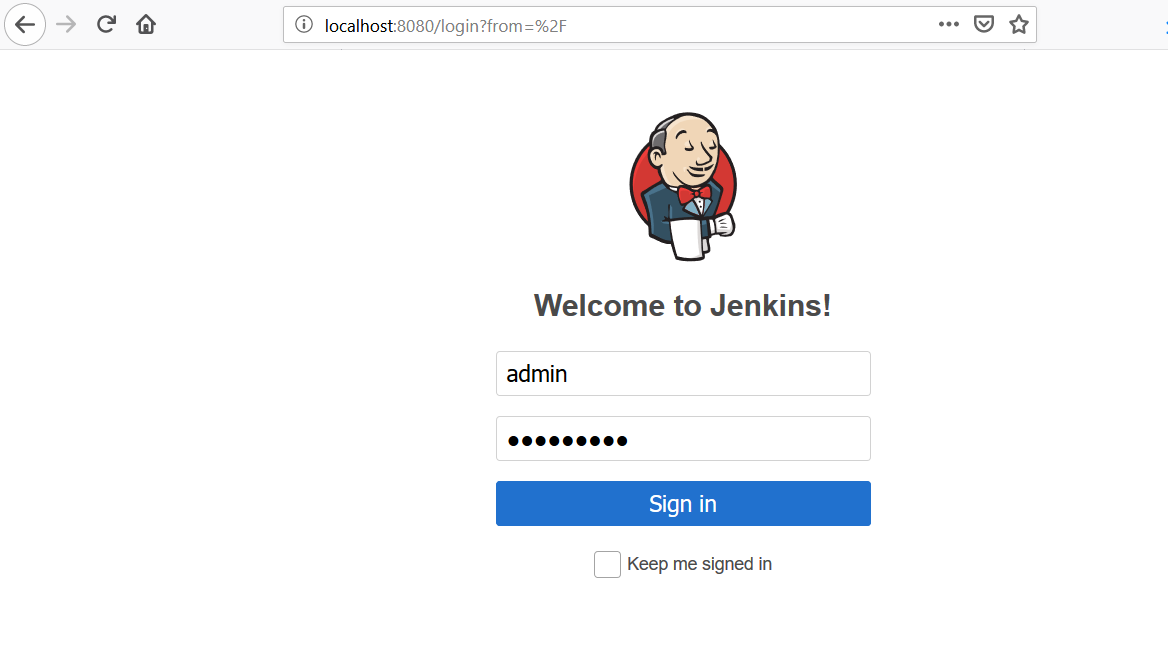
In this post, we will learn simple Jenkins configuration steps. To start with, navigate to the Jenkins dashboard. Log in to the default Jenkins home page ( http://localhost:8080)
Jenkins Configuration steps
Click on the Manage Jenkins link on the dashboard.

Click on the Configuring System link at the top of the page. This will take you to Jenkins’s main configuration page.
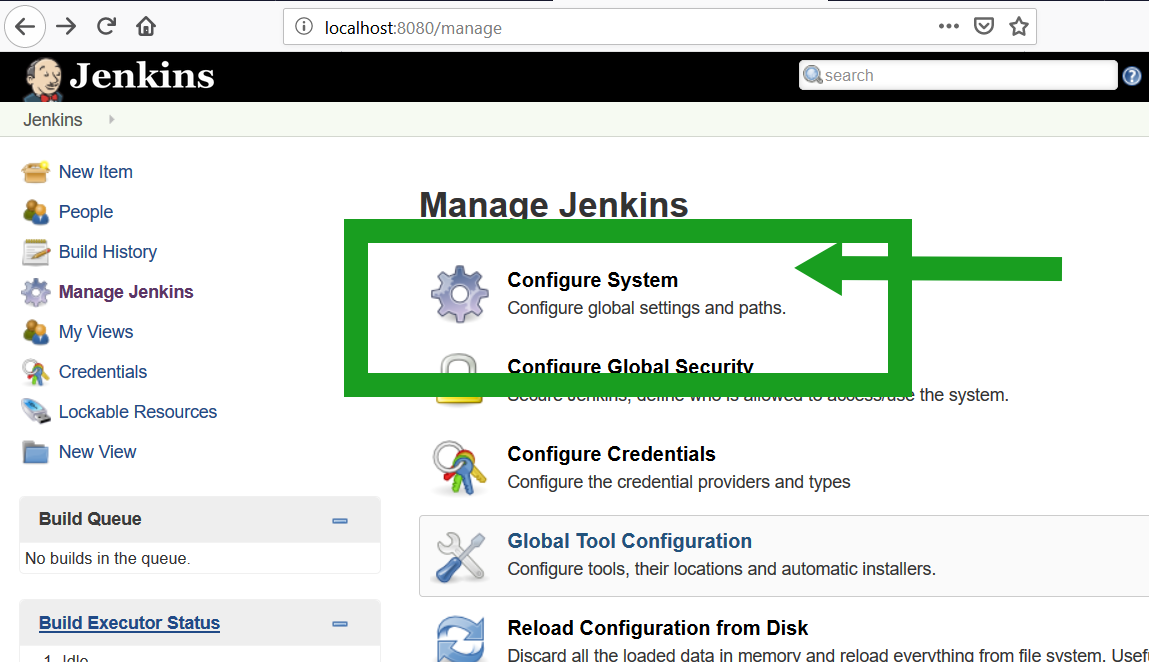
You can configure global settings and paths on this page.
Configuring JDK
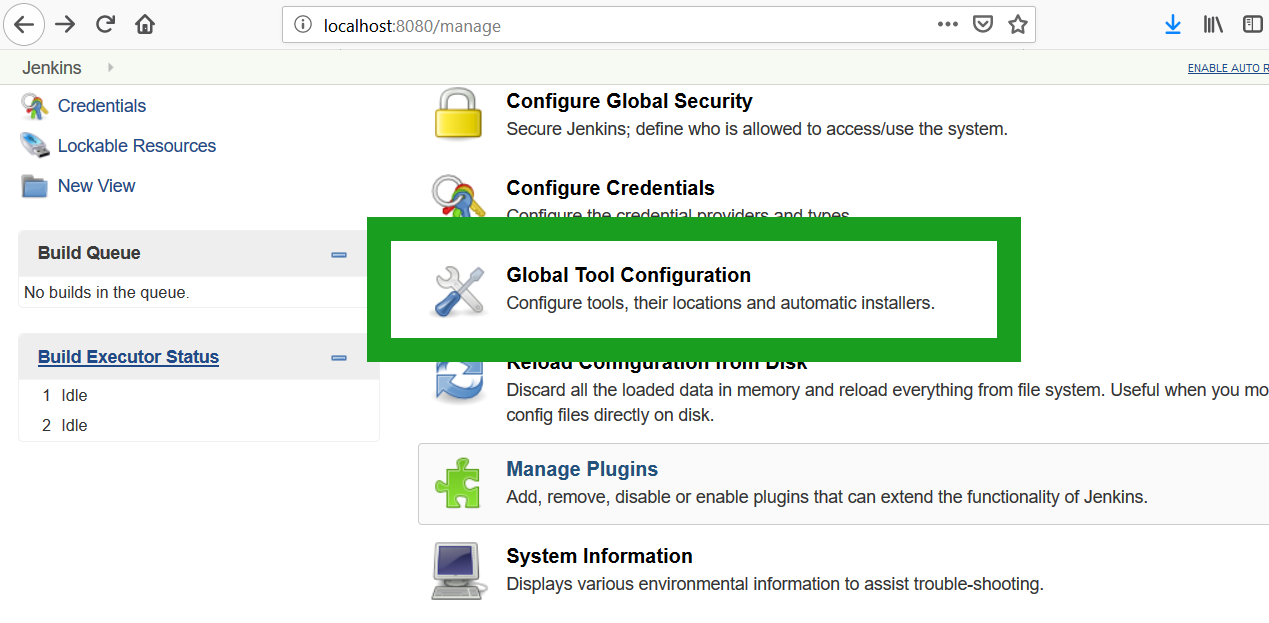
Click on the Global Tool Configuration link to configure and Add JDK.
Click the Add JDK button in the JDK section to add and configure JDK.
If you have a Java JDK installed on your machine, you can provide the name and path to your JDK in the JAVA_HOME field. Uncheck the Install automatically checkbox. Hit the Save button to save the changes.
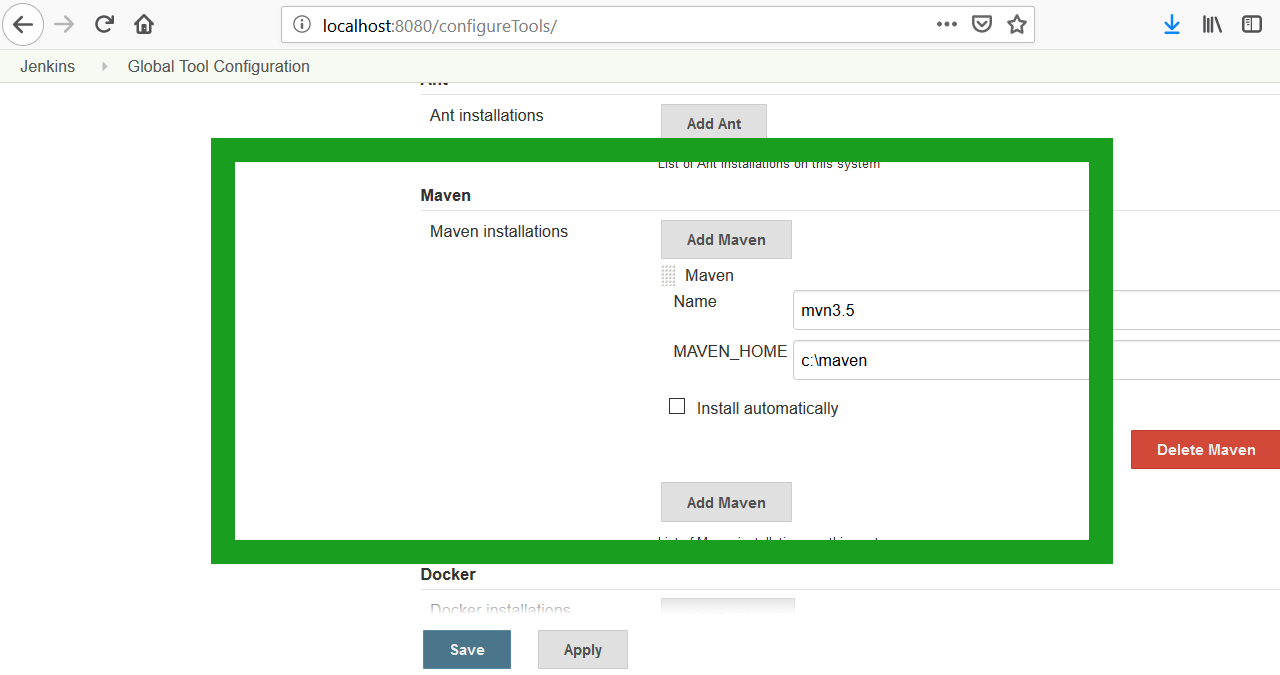
Configuring Maven
Jenkins provides several options for configuring Maven. If you already have Maven installed on your machine, you can provide the name and path in the MAVEN_HOME. Uncheck the Install automatically checkbox. Click on the Save button to save the settings, as shown below.
Alternatively, you can install a Maven distribution by extracting a zip file located in a shared directory or install from Apache by choosing a version from the drop-down menu.
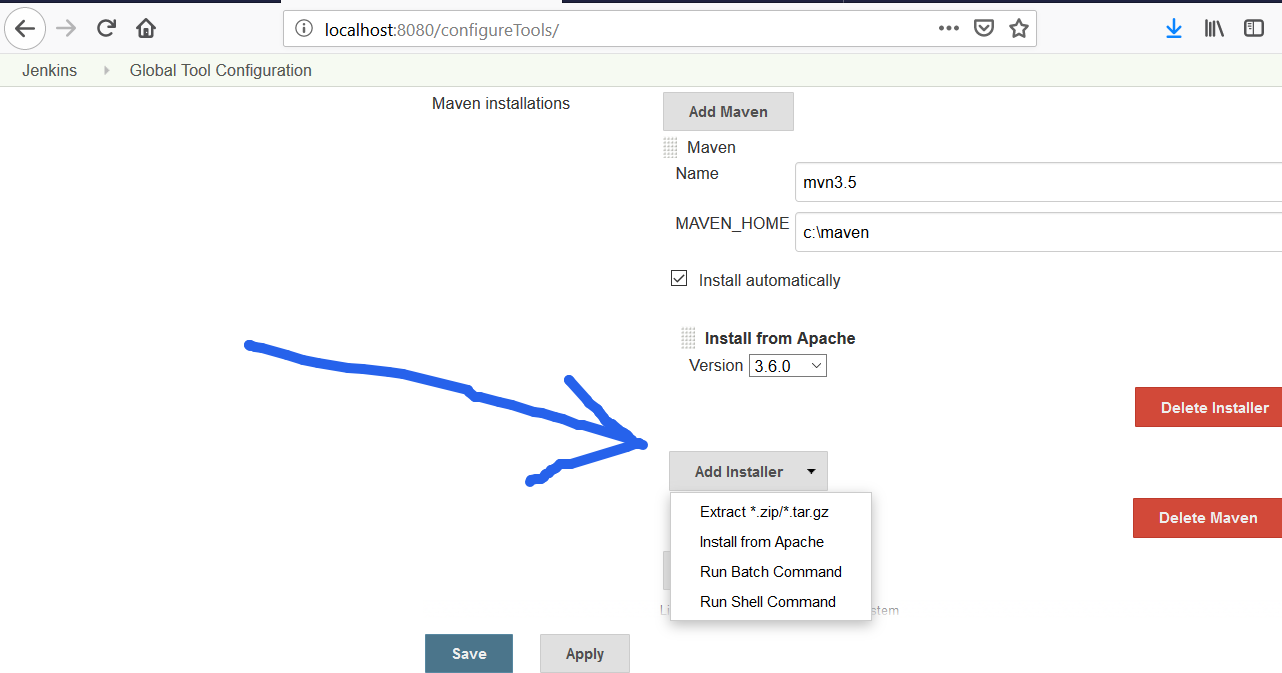
To explore the options, check the checkbox Install automatically and click on Add Installer drop-down.
More Jenkins tutorials:

