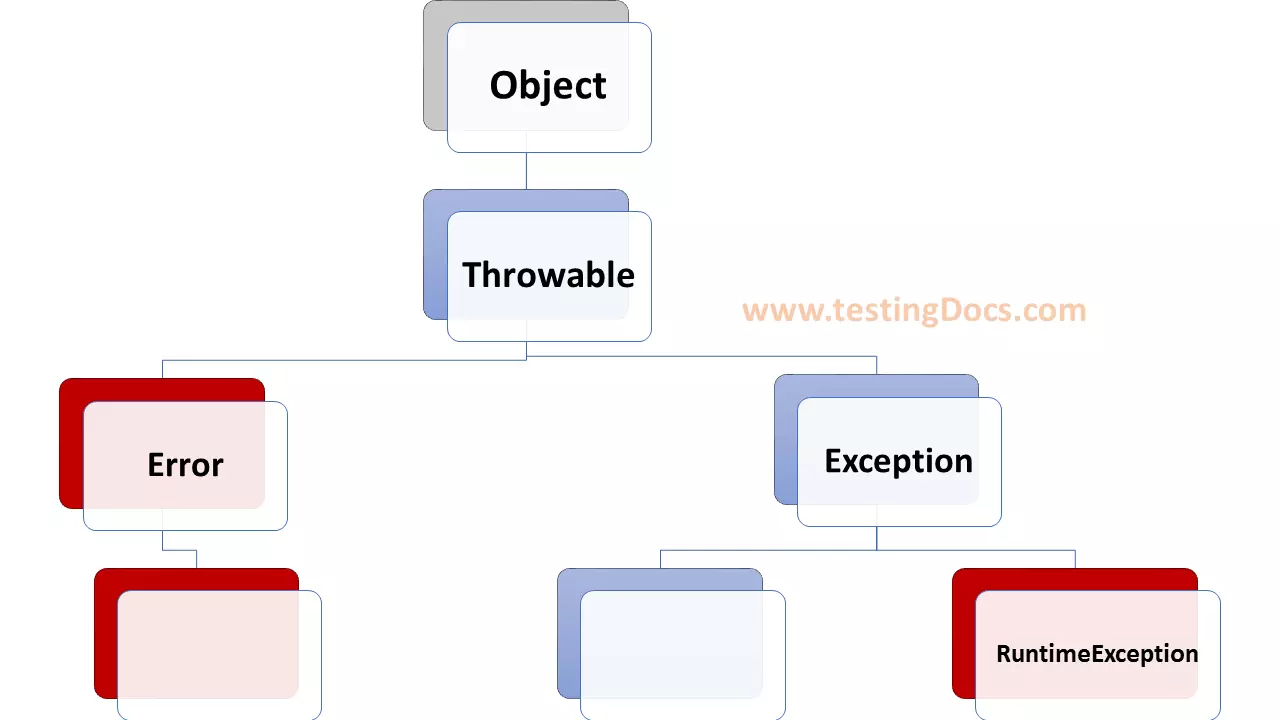
Install Greenfoot on Windows
Overview
In this tutorial, we will learn the steps involved in downloading & Install Greenfoot on Windows 10 operating system. Greenfoot is an educational IDE designed for beginners to learn Java object-oriented programming language. We must have JDK installed on the system to use Greenfoot.
Download
Navigate to the Greenfoot website:
Click on the Download tab and Click on the Windows logo to download the installer.
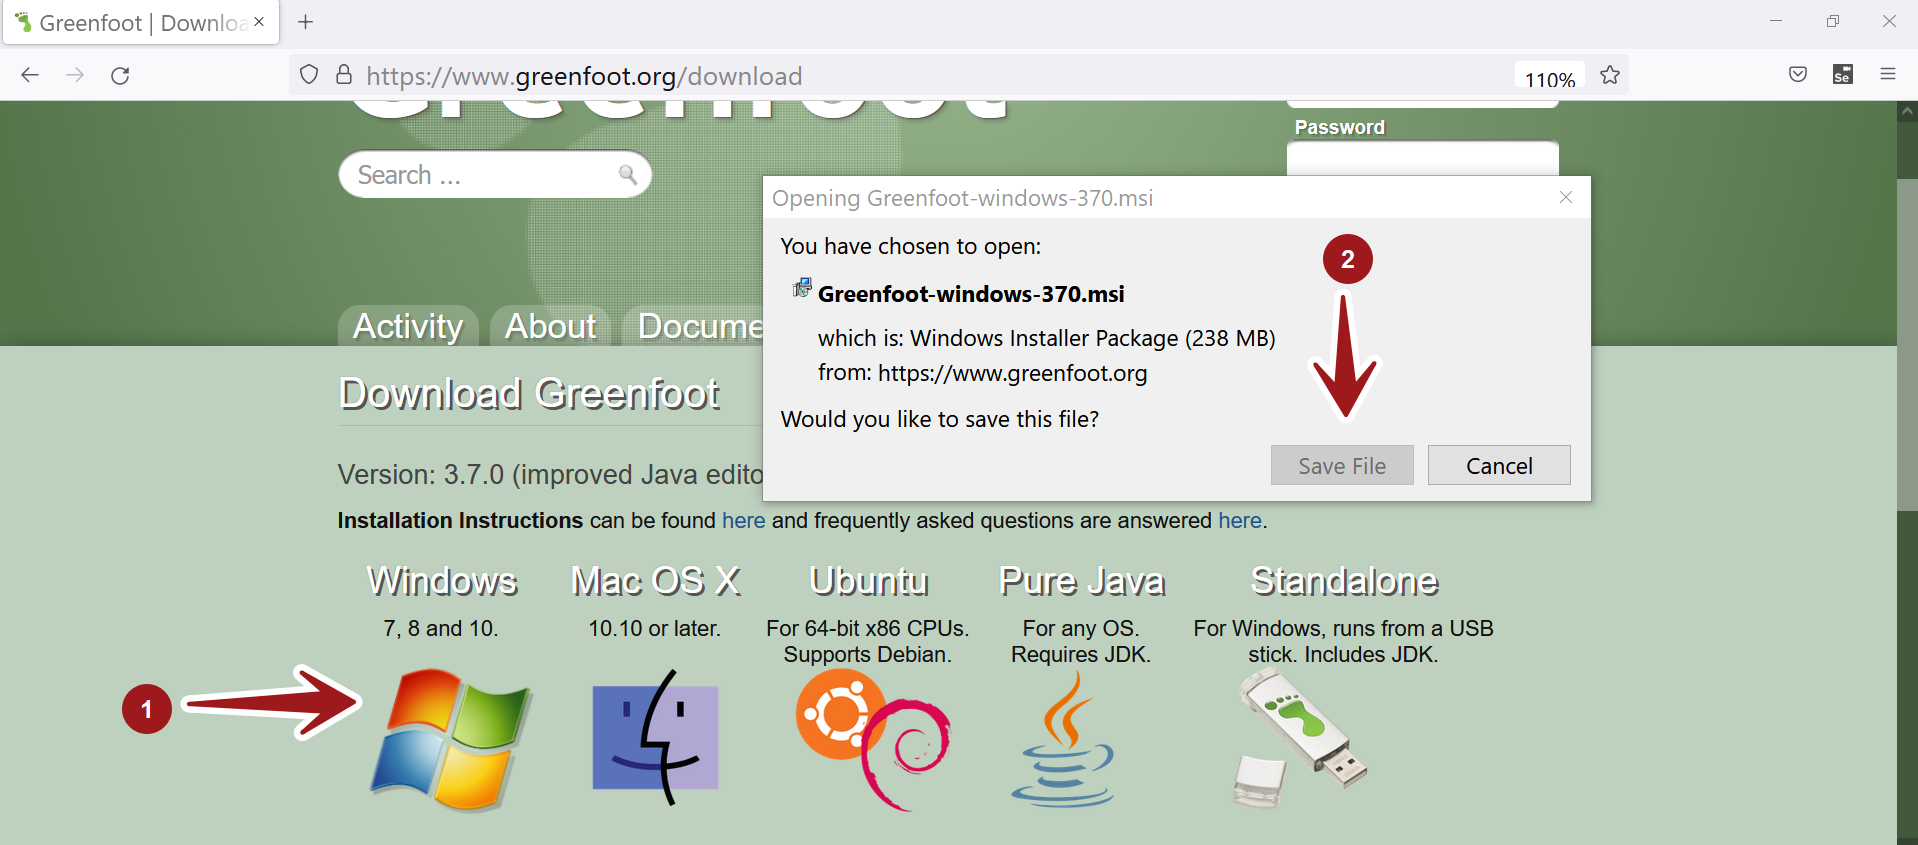
Save the installer on to the computer.
Install Greenfoot
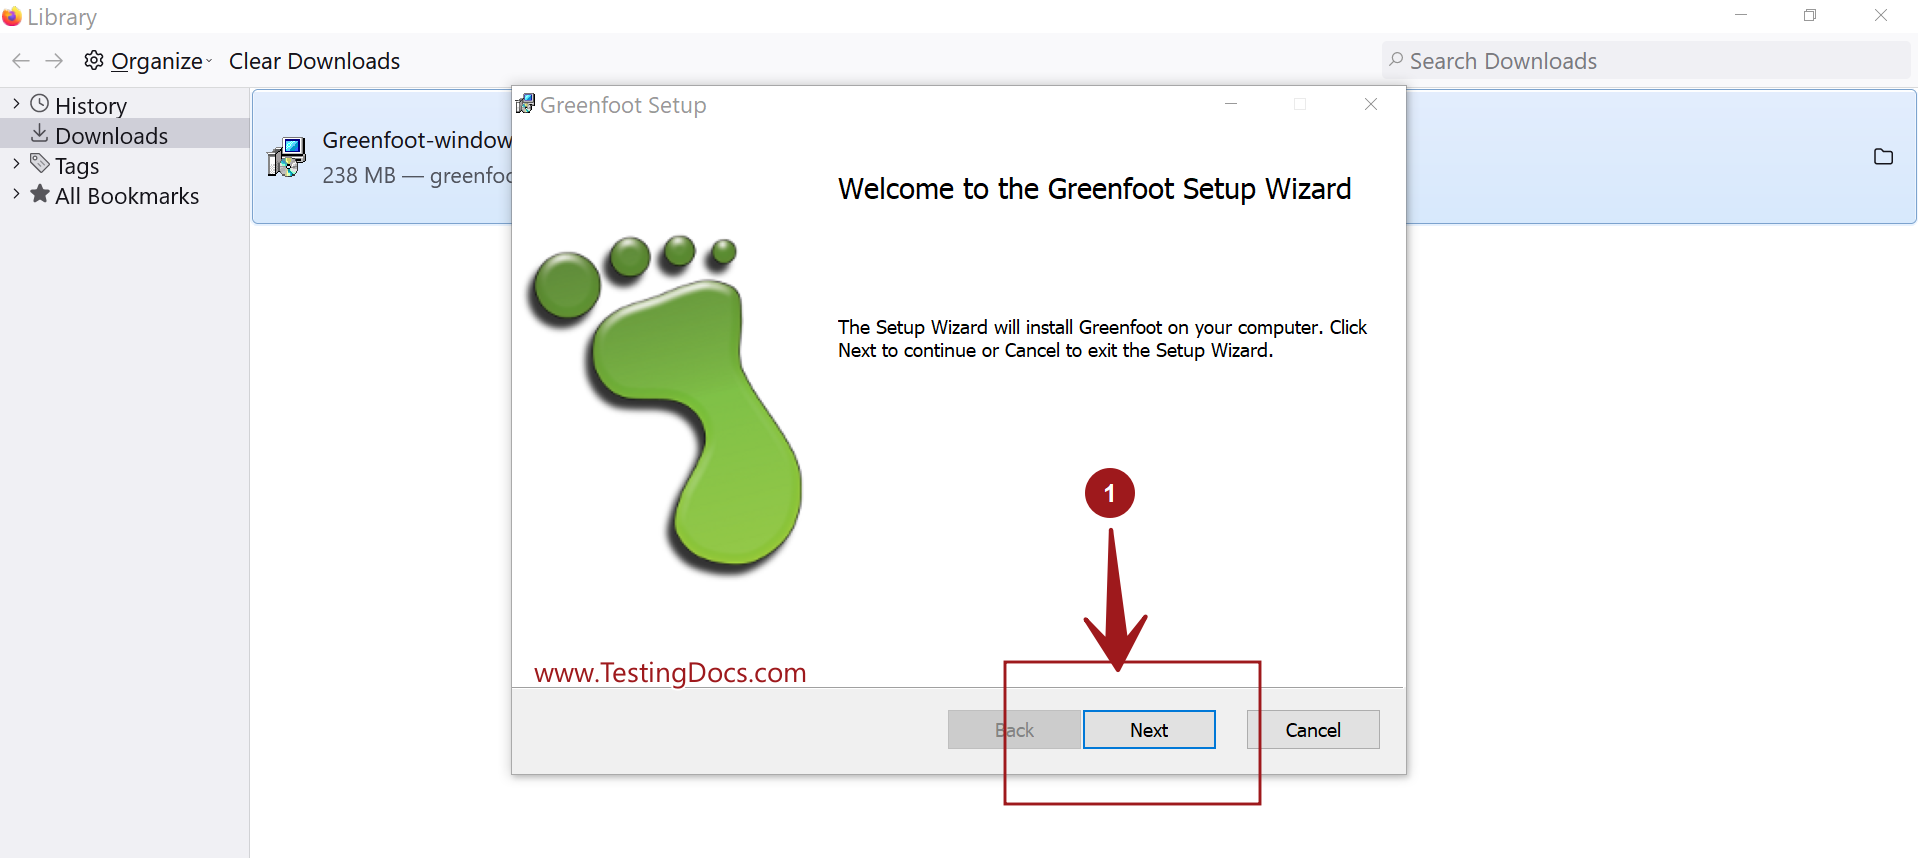
Locate the installer on the computer usually in the Downloads folder. Double click on the installer to launch the Setup wizard.
Follow the instructions on the Setup Wizard screen. Click on the Next button.
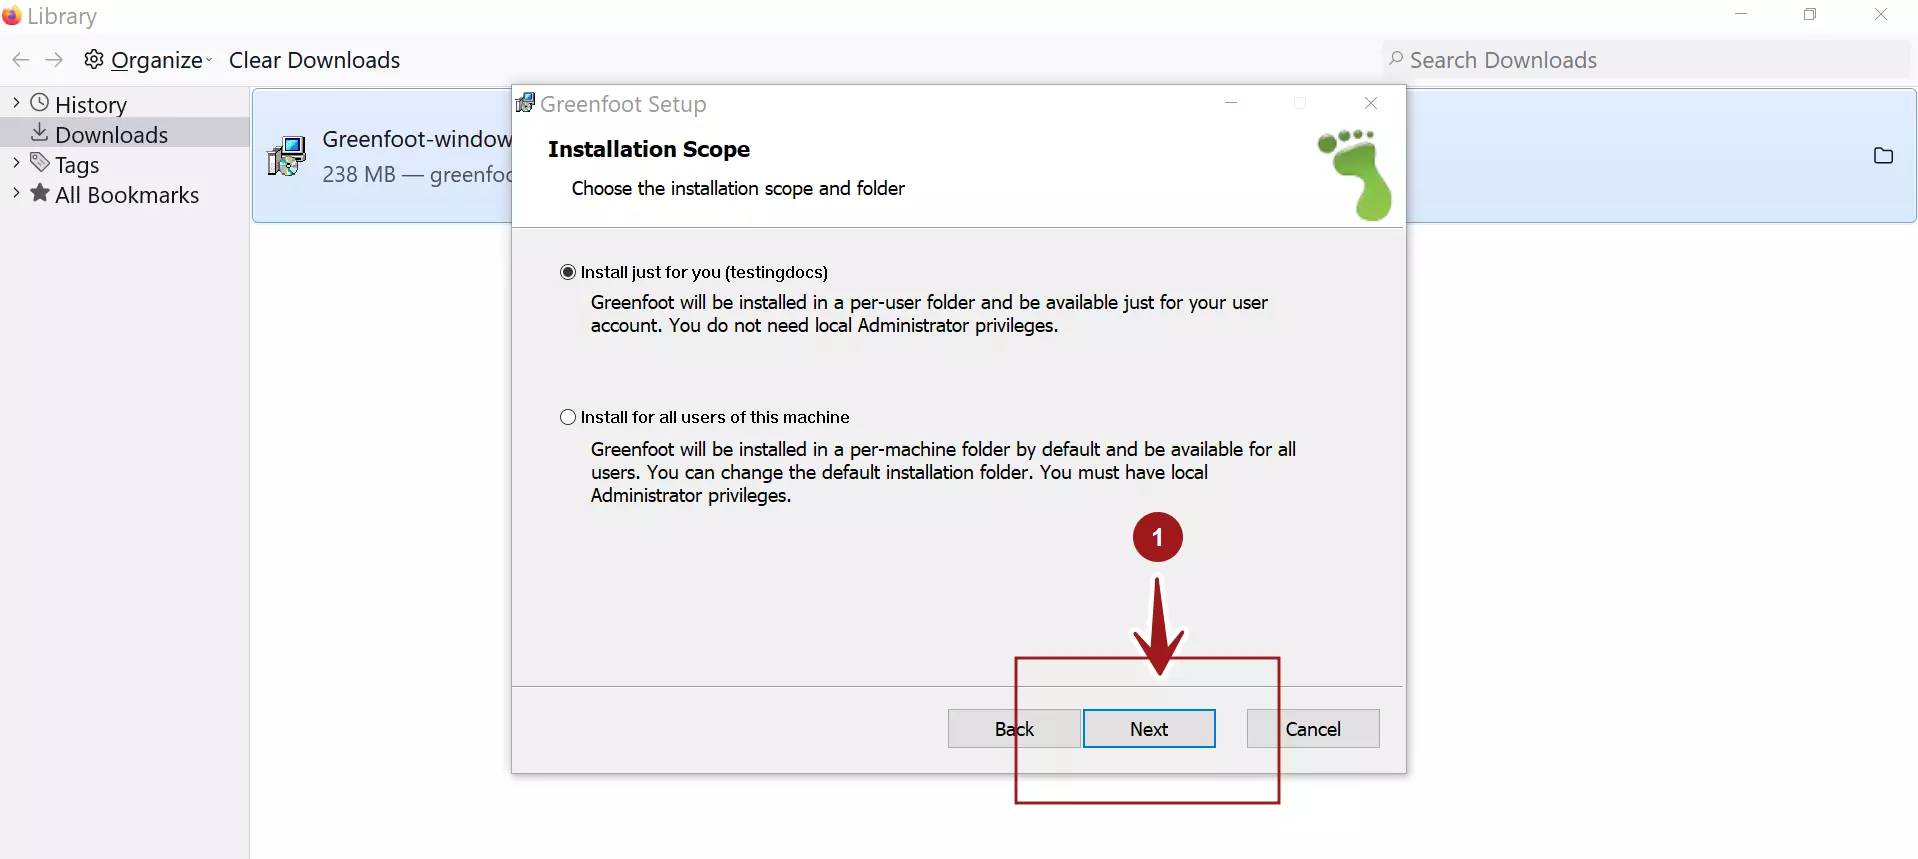
Installation Scope
Choose Install for all users of the machine or just you. To install Greenfoot for all users you must have Administrator privileges.
Click on the Next button.
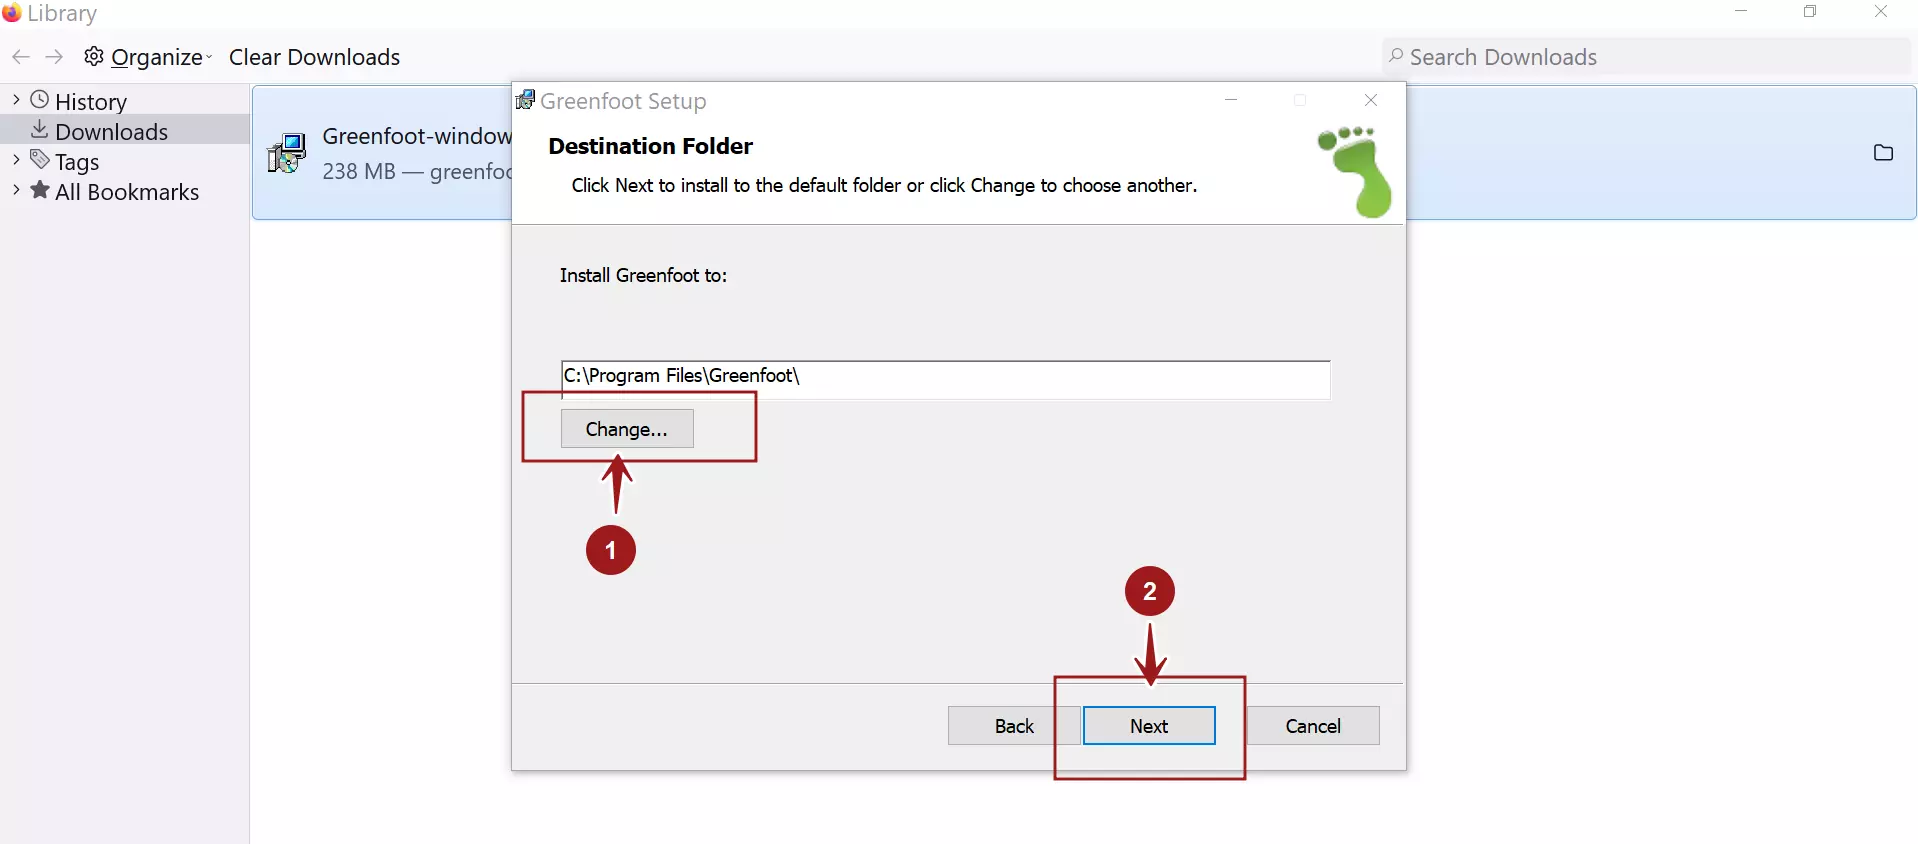
On this screen, we can change the install folder. To change the destination folder for the application click on the Change… button.
Once done, click on the Next button.
Greenfoot File associations and Desktop Shortcut.
Check the options in the screen to create file associations, program menu and desktop shortcuts.
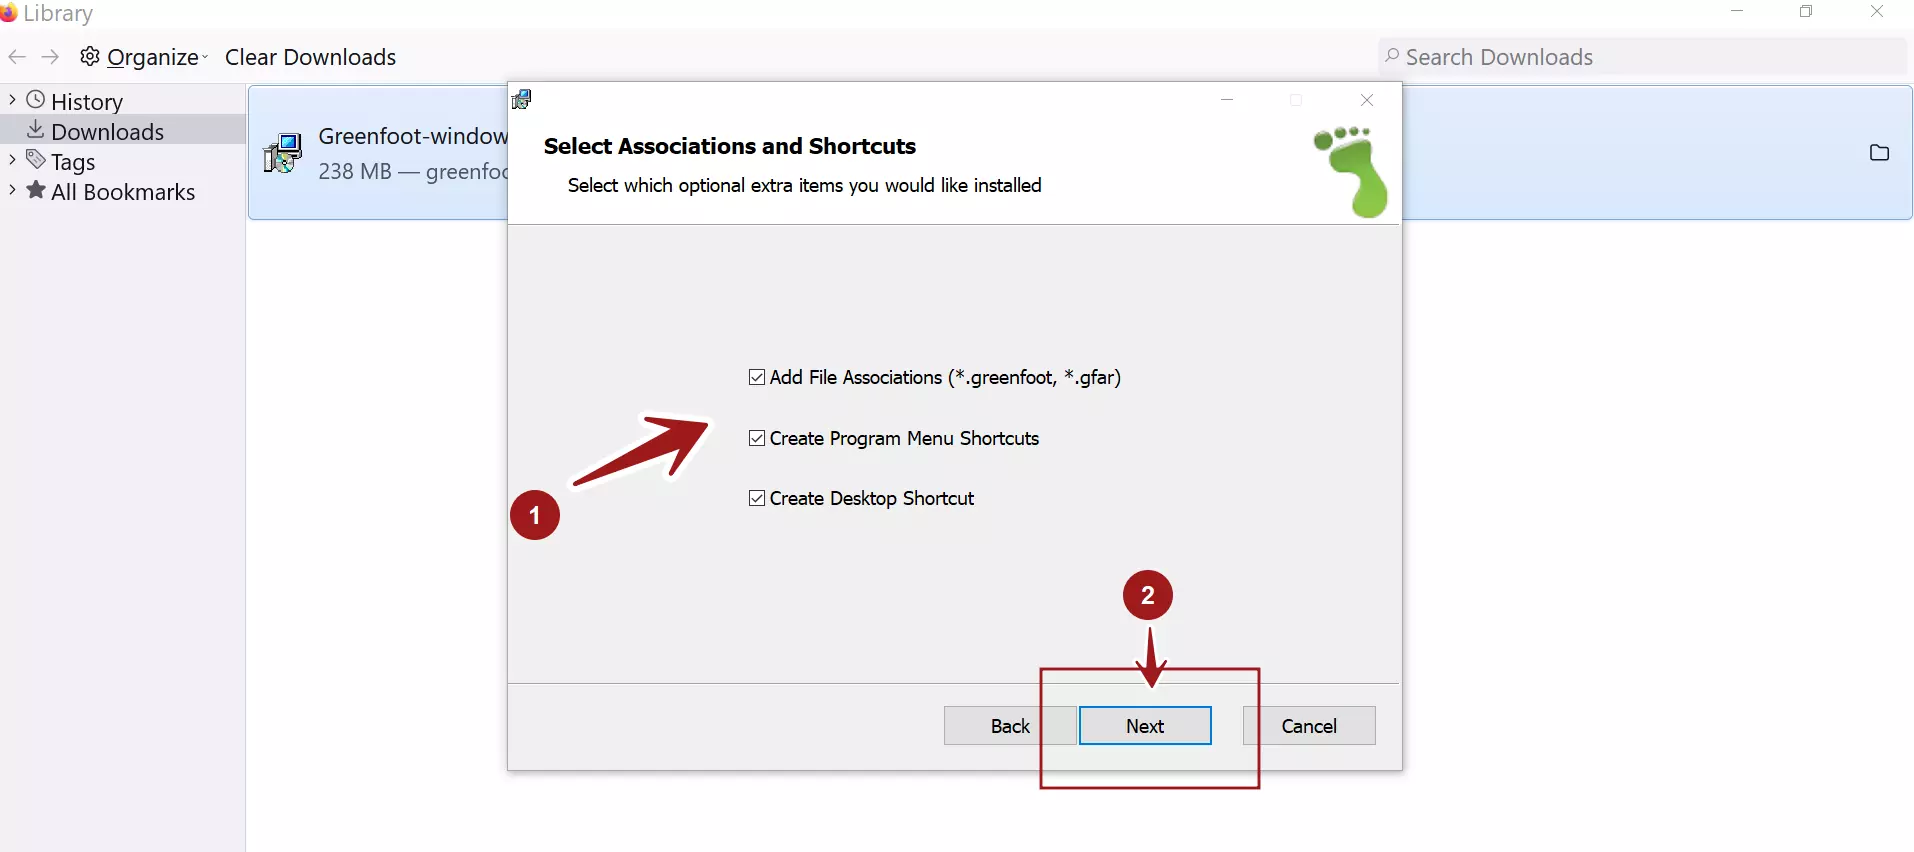
Once done, click on the Next button.
Click on the Install button to install Greenfoot application on the machine. Click on Yes in the UAC elevation prompt.
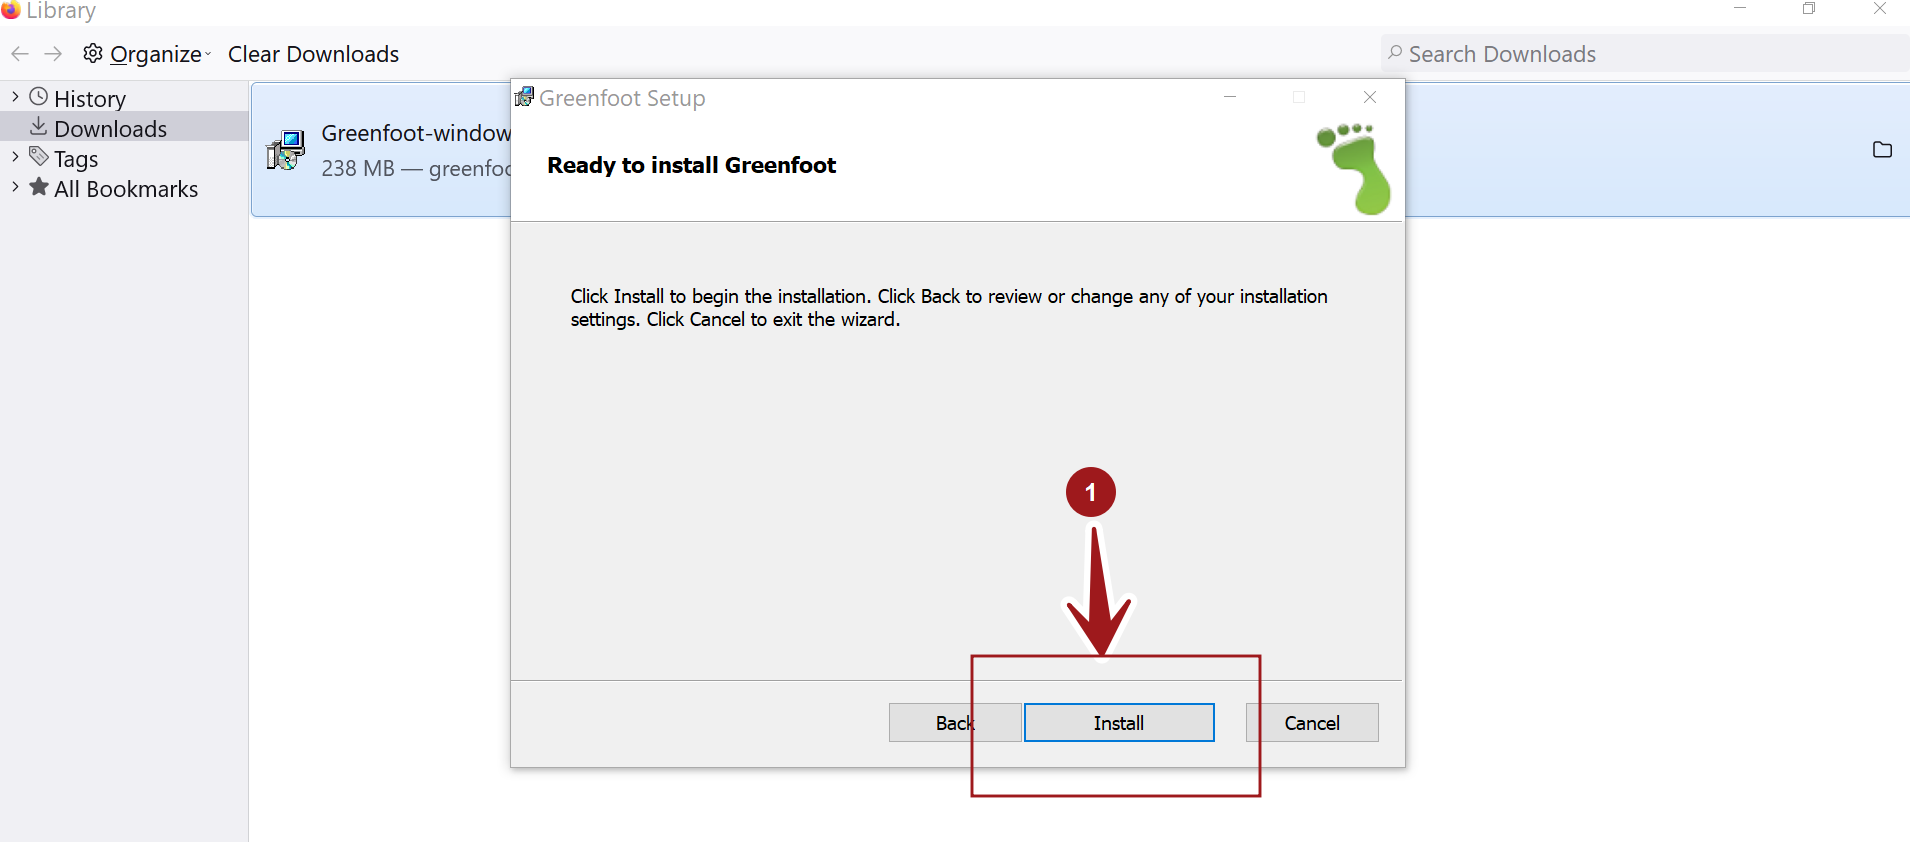
The application would be installed on the machine.
That’s it. We have successfully installed Greenfoot on Windows.
—
Java Tutorials
Java Tutorial on this website:
https://www.testingdocs.com/java-tutorial/
For more information on Java, visit the official website :

