Selenium3 : Marionette and GeckoDriver Example
Introduction
In this post, we will discuss running Marionette and GeckoDriver Example using Selenium3. We will go through a sample code example for a better understanding. Firstly, we will look at the new things first. Also, running a test on the latest Firefox browser binary we would face NotConnectedException firefox exception. Furthermore, if you face the same issue read further.
What is Marionette?
Marionette, the next generation of FirefoxDriver. So, like the other drivers available to Selenium from other browser vendors, Mozilla has released an executable that will run alongside the browser.
What is Gecko?
Gecko is a web browser engine used in many applications developed by Mozilla Foundation and the Mozilla Corporation popular example: Firefox Web browser
What is GeckoDriver?
Like the other browsers, it’s a proxy for using WebDriver compatible clients to interact with Gecko engine based browsers like Firefox browser. Furthermore, Geckodriver implements an API described by the WebDriver protocol to communicate with Gecko-based browsers. Also, something similar to IEDriverServer, Microsoft EdgeDriver etc.
You can download the latest executable on the official GitHub release page. To understand more, please refer to the documentation as well.
In order to start using the new WebDriver implementations and Selenium3 in your Maven project, just add the following dependency to your pom.xml:
Selenium3 Maven dependency
<dependency>
 <groupId>org.seleniumhq.selenium</groupId>
 <artifactId>selenium-java</artifactId>
 <version>3.0.1</version>
 </dependency>
Now, just like other browsers, we need to specify the system property with the path of the driver as shown below. Also, we might be familiar with doing something like this for other browser drivers.
System.setProperty("webdriver.gecko.driver","path_to_gecko/geckodriver.exe");
WebDriver geckodriver = new FirefoxDriver();
Sample code using Geckodriver
public class GeckoBrowserExample
{
 public WebDriver driver;

 @BeforeMethod()
 public void startGecko()
 {
 System.setProperty("webdriver.gecko.driver", "geckodriver.exe");
 driver = new FirefoxDriver();
 }

 @Test
 public void sampleGeckoTest()
 {
 System.out.println("Launch Bing .....");
 driver.navigate().to("https://www.bing.com");
 }

 @AfterMethod
 public void closeGecko()
 {
 if(driver!=null) {
 driver.close();
 }
 }
}
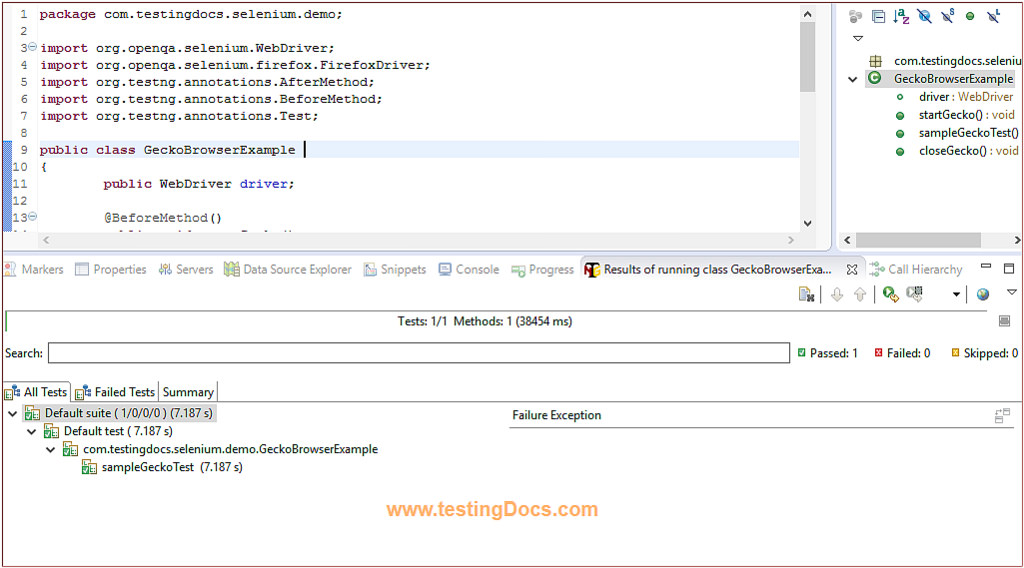
Test output:

The above example is just for illustration purposes. In real-time if you have a number of tests and classes, it’s optimal to move the driver initialization to @BeforeSuite.
To execute tests on a remote machine, we need to use Remote Webdriver. Also, we may need to add additional code, something like below:
DesiredCapabilities capabilities=DesiredCapabilities.firefox();
capabilities.setCapability("marionette", true);
WebDriver geckodriver = new FirefoxDriver(capabilities);
In conclusion, we can use the above approach for running tests on Firefox Browser using Selenium 3.x version.
Selenium WebDriver Tutorials on this website can be found at:
https://www.testingdocs.com/selenium-webdriver-tutorial
For more details on the Selenium, visit the official website at:


