Maven Project using NetBeans IDE
Maven Project using NetBeans IDE
In this post, we will create a Maven project using Apache NetBeans IDE. Like other IDEs, NetBeans has a bundled Maven build tool for project management.
Steps to Create a Maven Project
Steps to create a Java project are:
Launch NetBeans IDE
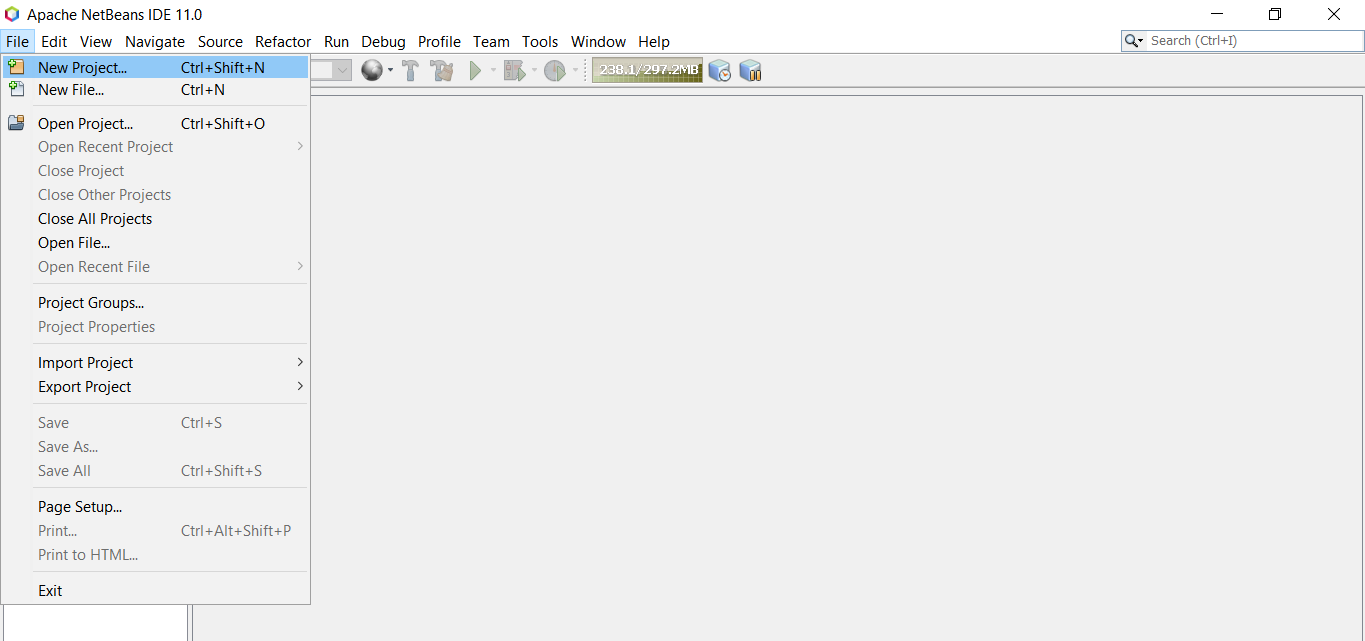
Click on File >> New Project
In the New Project wizard, choose Java with Maven and select Java Application.
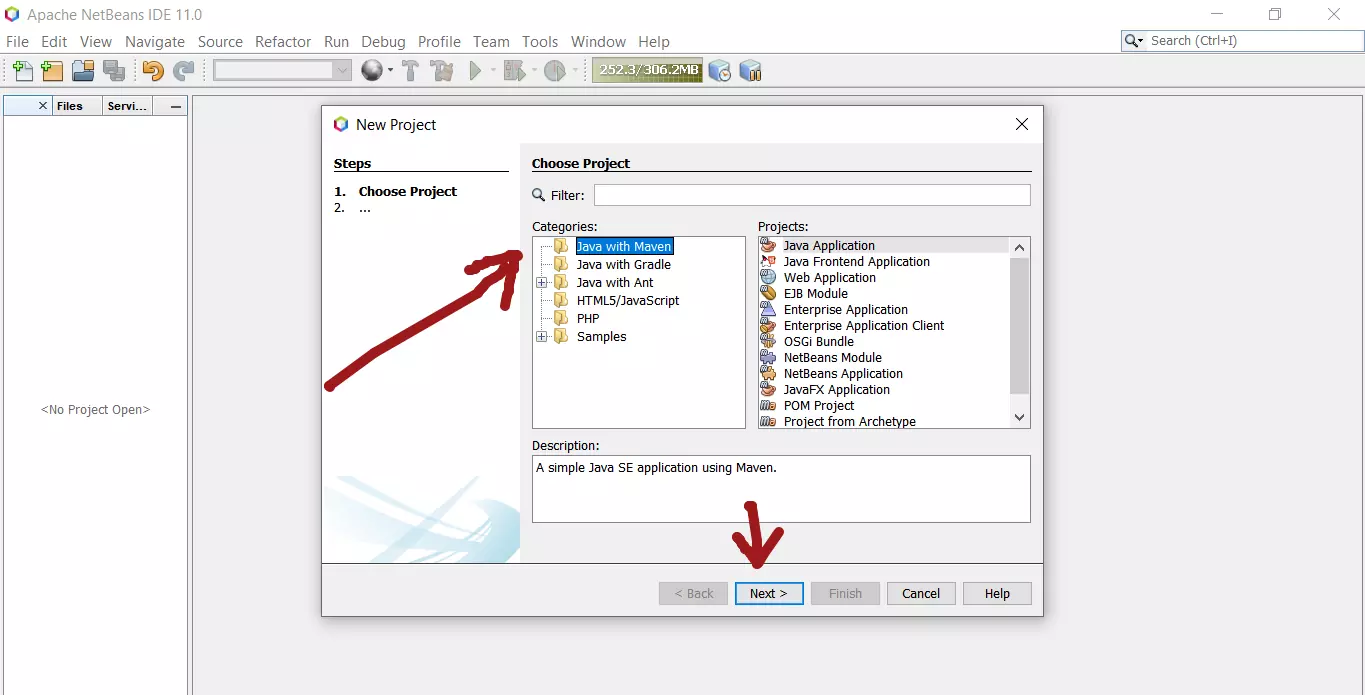
( You can pick any build tools like Maven, Gradle, Ant etc.). The above option would allow you to create a simple Java SE application using Maven.
Click on the Next > button.
In the Name and Location screen of the wizard, fill the details of the project.
In the Project Name field, give the project name for example SampleApplication.
Fill the other details of the project like Group Id, Version, Package etc.
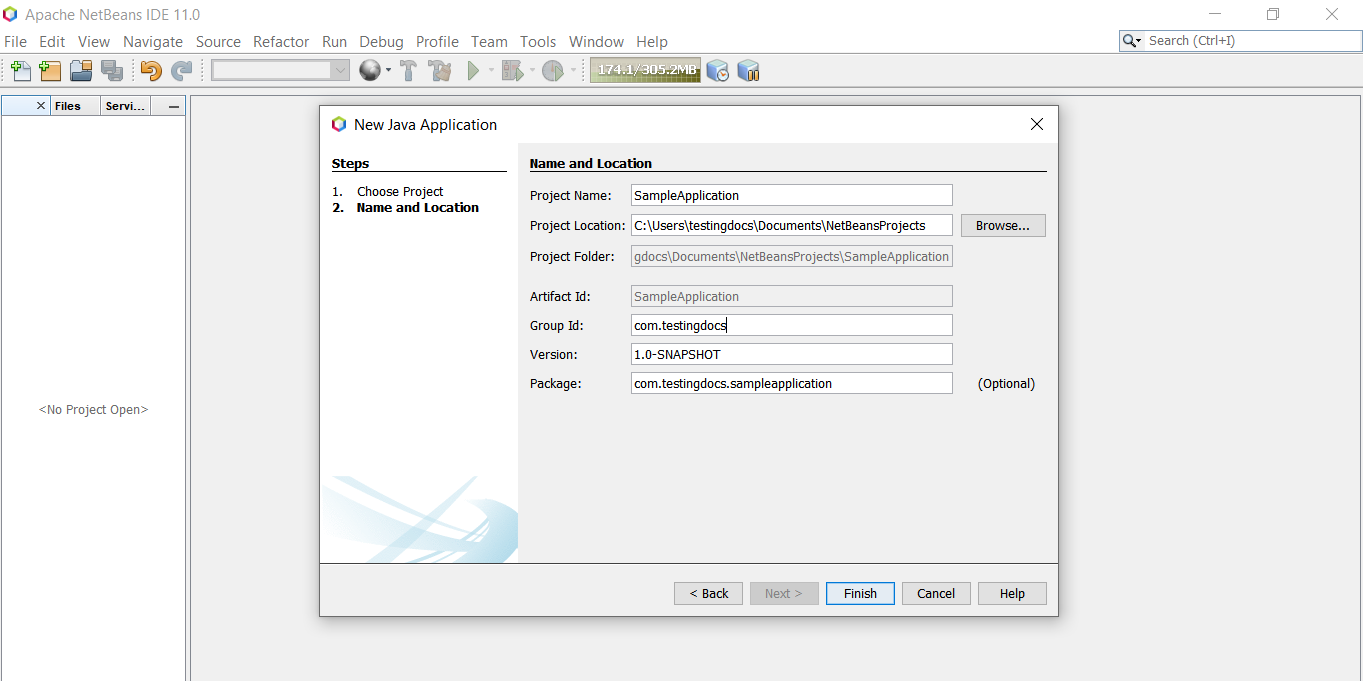
Click on the Next > button.
Once you click on the Finish button, the project will be created.
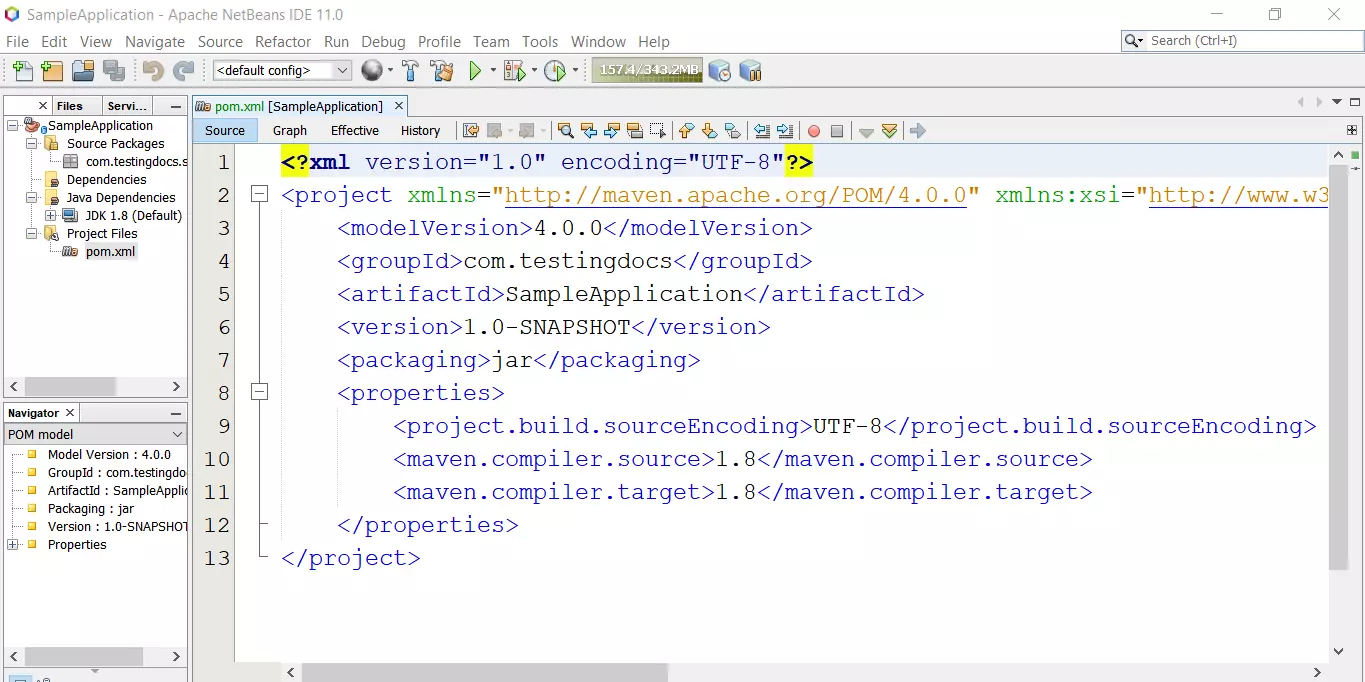
Project components
The following components will be created in the project:
Source Packages
Maven Dependencies
Java dependencies
Project Files with pom.xml file.
Bundled Maven
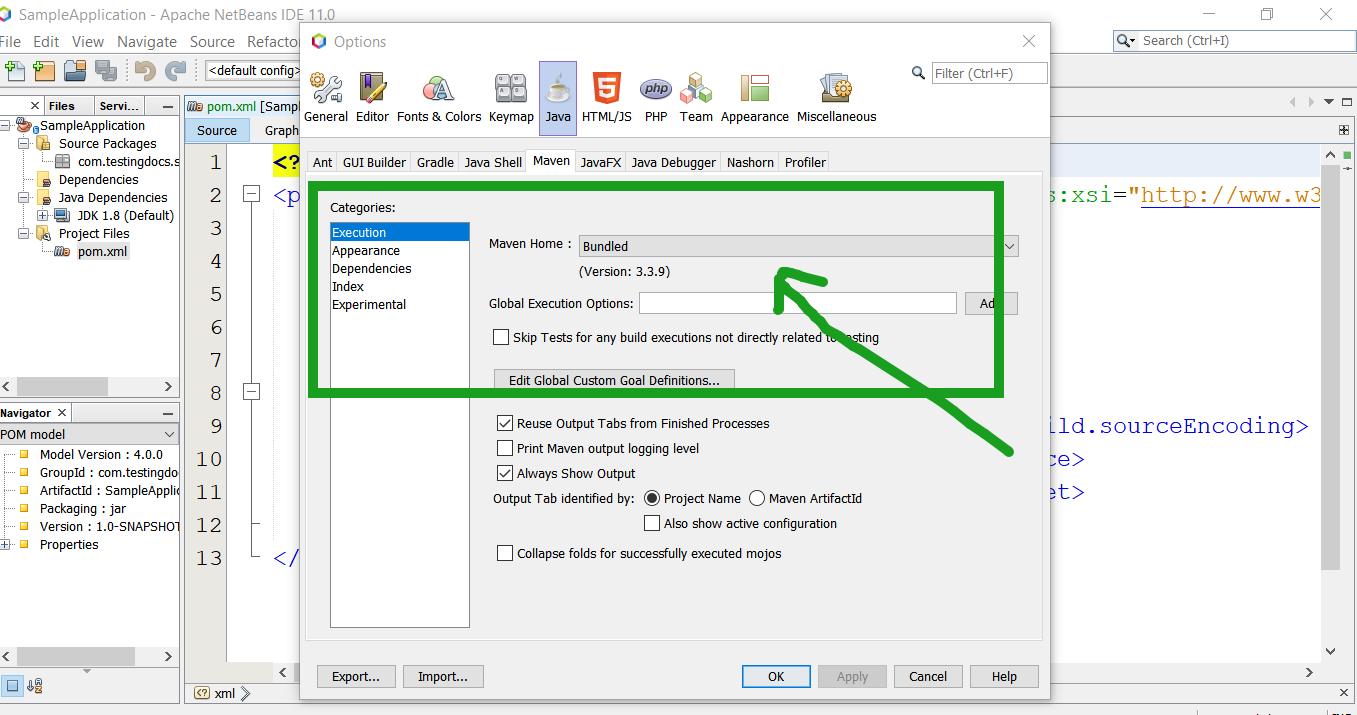
To check the bundled Maven with the IDE,
Tools >> Options >> Java >> Maven Home
NetBeans IDE Tutorials
More Information on NetBeans IDE
- https://netbeans.apache.org/


